Crafts for children 4-5 years old from paper
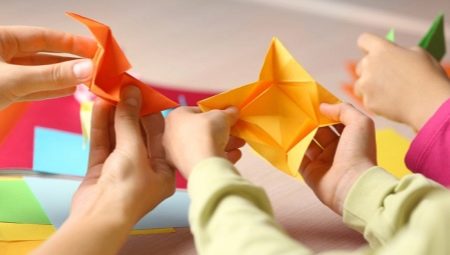
There are many interesting schemes for making paper crafts for children aged 4 to 5 years. Making various figures with his own hands, the child develops many useful skills and abilities. Making paper and other crafts contributes to the development of perseverance, fine motor skills, and imagination.
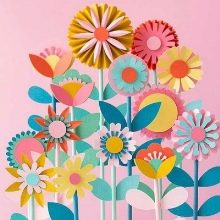
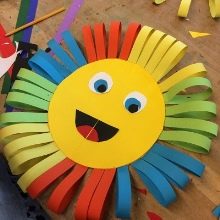
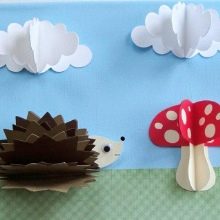
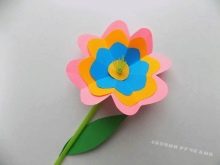
How to make voluminous flowers?
Children aged 4-5 years old can easily make a lot of attractive and elegant crafts out of paper. So, correctly made volumetric flowers are especially beautiful.
For this you need to take:
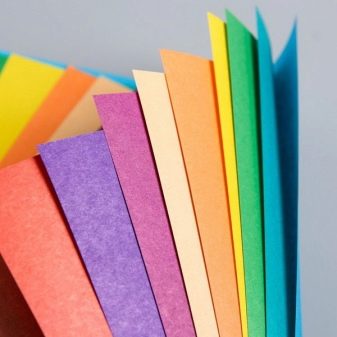
- colored paper or cardboard;
- paints;
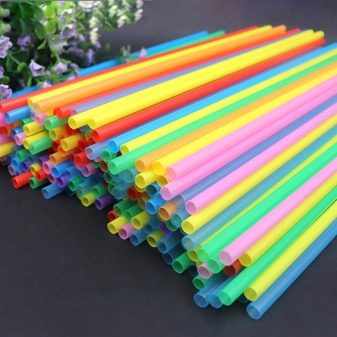
- cocktail tubes;
- nail scissors;
- container for chicken eggs;
- pencil.
Let's analyze the correct procedure.
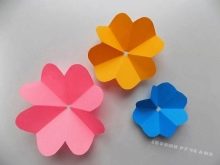
- First you need to draw blanks of multi-colored flower buds. They must be carefully cut. In the center of each flower, you will need to make a hole at least 5 mm in diameter.
- You will need to paint the egg container with green paint. It should dry completely. Holes are made in it for installing the tubes.
- 10 leaves are cut out of green paper. A couple of such parts are glued to 5 tubes.
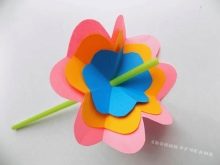
- Next, a flower bud is collected... It is made from 3-4 blanks put on a tube. To prevent this component from starting to crumble, the tip of the tube should be slightly trimmed with nail scissors. This will form the stamens. On the back of the bud, you need to stick a green paper strip around the straw. In the same way, you will need to make the remaining flowers for a voluminous bouquet.
- The made flowers must be inserted into the holes in the container.... The craft is ready!
How to make a shark?
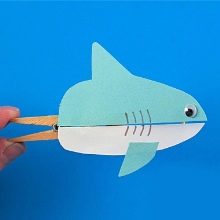
A funny shark can be made out of paper and a clothespin. Let's consider step by step how it should be made correctly.
- Have to take 1 wooden clothespin.
- Two blanks are cut out of blue or light blue paper, as well as white, one of which will be the shark's back, and the second - its belly... The latter must be made of white material.
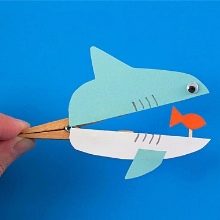
- The bottom half of the paper shark needs attach a small orange fish.
- The back of a shark with an aggressive fin should be glued to the top of the clothespin, and the white belly to the bottom.
- The shark needs to be supplemented with gill lines... You can draw eyes or glue ready-made plastic ones. At the bottom, you need to glue another blue fin.
Pressing the clothespin will give the impression that a predatory fish is trying to catch a small fish attached to the lower half.

More ideas
Consider the instructions for making other curious crafts designed for children aged 4-5 years.
Hedgehogs
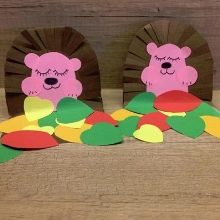
Colored paper makes beautiful hedgehogs. Let's find out how to make them.
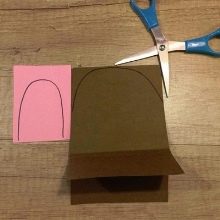
- You need to take 2 sheets of brown paper... Each of them must be folded along a line just below the middle. Further, these two blanks are glued together "back to back".
- The top of the brown structure is rounded with scissors. An oval piece is cut out of pink paper.
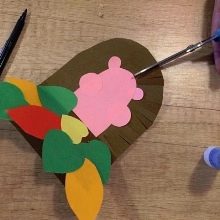
- Next, a cut pink oval is glued to the brown base. Its dimensions should be smaller than the dimensions of the brown rounded part.
- The pink oval will be the hedgehog, and the brown surrounding will be its thorns. You need to glue 2 more small pink circles to the face: these will be paws. Even smaller circles should be glued on top of the pink part: these are the ears of the animal.
- At the bottom of the craft, you can glue the cut out elements of yellow, green and red colors. They need to be shaped like foliage.
- Next, use scissors to make cuts on the brown paper surrounding the hedgehog's face. Due to this, the imitation of thorns will be more pronounced.
- On pink faces, with a felt-tip pen or marker, it is worth drawing the eyes of the animals, as well as the nose and mouth. Small black claws should be drawn on the front legs.
You can make several of these animals at once. The child will definitely like the process of creating them.
Cherries
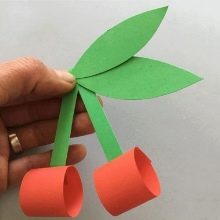
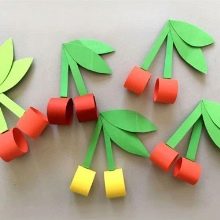
Cherries are made of colored paper very simply.
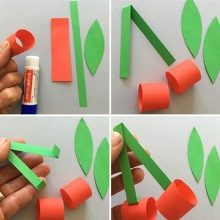
- Several strips are cut. You will need red or scarlet stripes that are wider and shorter, as well as green stripes that will be narrower and longer.
- The red stripes should be rolled up so that they form a rounded wide tube. The long green strip is bent at an angle so that two ends appear, to each of which one red tube should be glued.
- The craft should be supplemented with leaves, glued in the very place of the fold of the impromptu green twig.
Caterpillars
Consider the instructions on how you can make caterpillars out of paper.
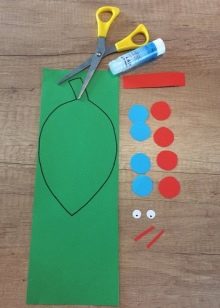
- Cut out of green paper details in the form of leaves.
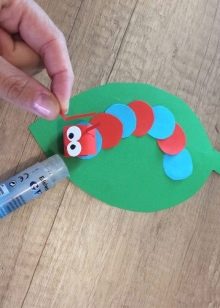
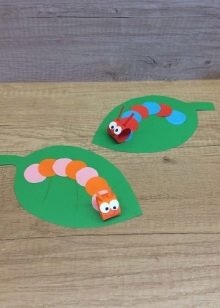
- These blanks will need alternately glue small circles of blue and red... This will be the body of the caterpillar.
- The part that will play the role of the head can be made in the form of a wide ring... White eyes with black pupils should be glued to its upper part. You can draw a smile.
Wood
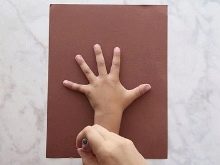
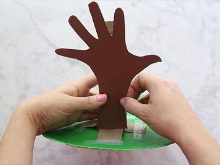
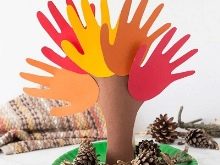
You can make an unusual tree out of palms from colored paper.
- The child will need circle your pen on several sheets of colored paper.
- You need to take a green plastic plate. The base of the tree should be fixed on it. It can be made from a toilet paper roll.
- The largest and highest hand must be glued to the base first.... Its outline can be "borrowed" from one of the adults. Thus, a paper trunk will be formed, the top of which can be safely pasted over with multi-colored handles cut out according to a children's template.
Christmas tree
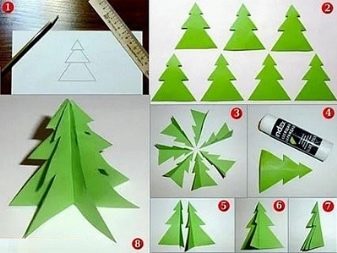
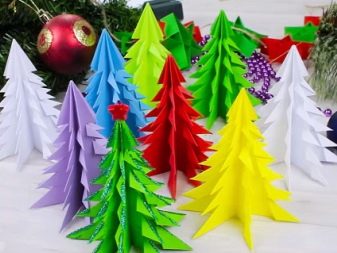
A spectacular volumetric herringbone can be obtained from paper:
- 7 identical elements should be cut in the form of a simple Christmas tree;
- halves of these parts must be glued in turn;
- the result will be something like a small book, which at the very end will need to be neatly looped back.
Rabbit
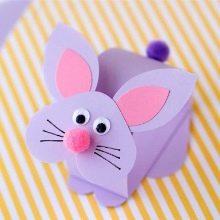
We will learn how to make a cute rabbit.
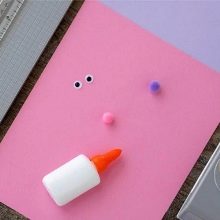
- Have to take a sheet of pink and pale purple colored paper, 2 small pom-poms, as well as ready-made plastic eyes bought in the store for creativity.
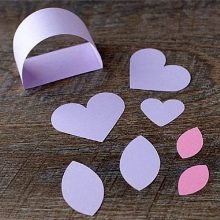
- From the pink leaf follows cut out a couple of hearts, ears for the future rabbit and a paper piece with a flat bottom and a semicircular top.
- From pale purple components, it is necessary assemble the body of the rabbit, as shown in the diagram.
- A rabbit face should be made from one heart. You need to glue one small pompom, eyes, and also two small pink parts to it. The latter are glued to the ears to indicate their inner part. The antennae extending from the nose should also be drawn.
- All components are glued together into a single structure... At this point, the paper rabbit will be ready.
Cat
Let's figure out how you can make a postcard cat.
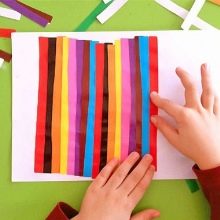
- You need to take a sheet of cardboard or paper. It is necessary to stick many stripes of various bright colors on it.
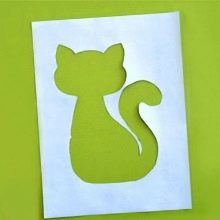
- Next, another sheet of white paper is taken, the outlines of a sitting cat are drawn on it. It will need to be cut along the contour, leaving a void in the form of an animal on a white sheet.
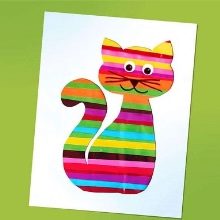
- A white sheet with a cut out cat is placed on a sheet, pasted over with multi-colored stripes... In the area of the face, plastic eyes are glued, a nose, cheeks and mustache are drawn with a black marker.
Fox
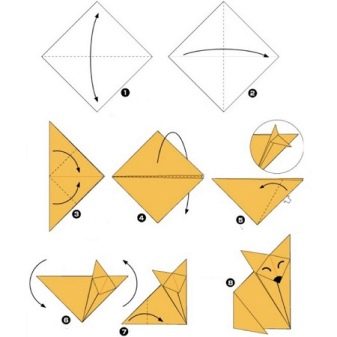
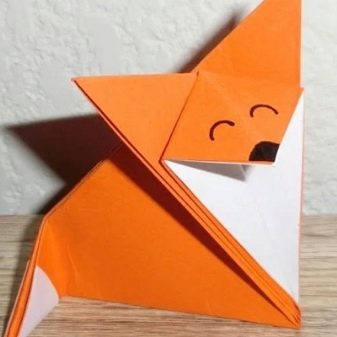
A very original chanterelle can also be made from paper. It can be done using the popular origami technique. A child of 4-5 years old will definitely be very interesting to engage in such unusual creative processes for him... You will need to mark the diagonal of the square. It is folded in half to form a triangle. The corners of the base are folded up to form a rhombus from several layers. On one side, bend the corner and unfold it so that you get a muzzle with ears. It remains only to independently draw the eyes and nose of the animal.
The fox's tail should be bent so that it can stand steadily.
Snail
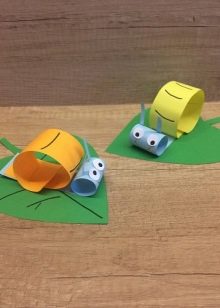
Charming snails are made of colored paper easily and quickly.
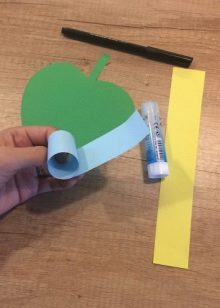
- Green paper first cut out a piece in the form of a leaf.
- Two wide stripes are cut out of blue and yellow colors. 2 thinner strips should be cut from one of the colors.
- Next, the yellow and blue stripes are twisted by winding around a pen or marker. The resulting curls must be glued at the last joint.
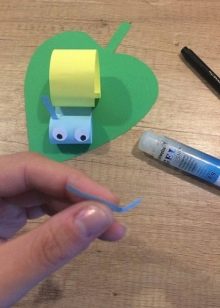
- The yellow spiral will serve as the snail's shell, and the blue spiral will serve as its body, so the first part will need to be glued onto the second. It is for this that the blue spiral is not twisted to the end.
- Plastic eyes should be glued to the rounded snail's face... You can paint a smile, as well as highlight the stripes on the yellow shell.
Pumpkin
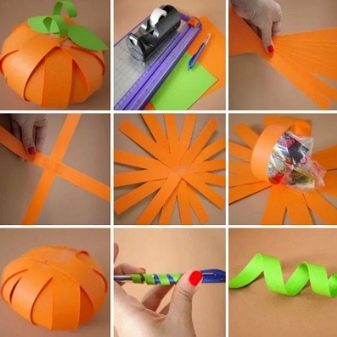
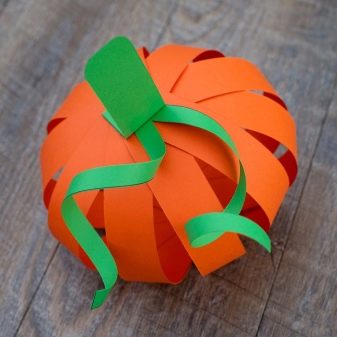
There are several ways to make a fun pumpkin craft. A little master can make different types of crafts from colored paper:
- will look original layered paper pumpkins, made according to the same principle as the Christmas trees described above;
- pumpkin can be harvested from several strips orange paper, connecting at a common point in the center;
- you can make a beautiful applique, which depicts several pumpkins decorated with yellow foliage and other autumn elements cut from colored paper.
How to make an applique "cherry" from colored paper, see the next video.


