Crafts from corrugated paper
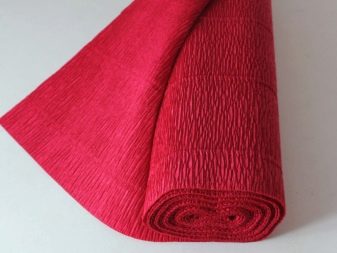
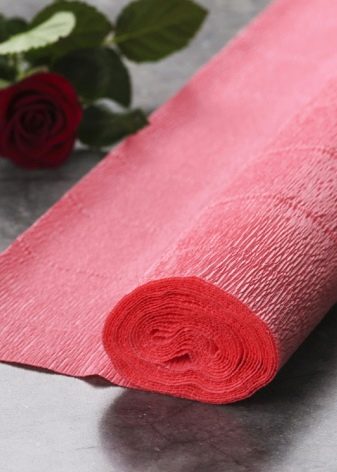
Corrugated paper is a great material for creativity. It is used to create crafts, jewelry, postcards and gifts.
Interesting autumn works
Using soft corrugated paper, you can create bright themed crafts for kindergarten or school.
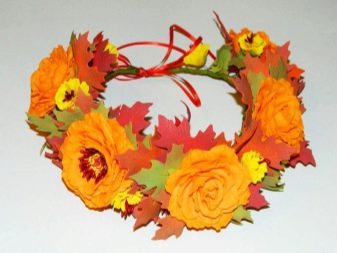
Leaves
The beautiful crepe paper maple leaves can be used for postcards, fall arrangements, or even home decoration. They are very simple to do.
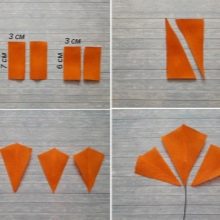
- First, you need to cut 5 rectangles out of corrugated paper. One of them should be the largest, two - the smallest and two more very small.
- The large part must be carefully cut diagonally.
- One of the parts must be glued to the wire with an acute angle.
- The second half must be attached to this part with an overlap.
- The remaining parts must also be cut and glued so that the sharp corners are connected to each other.
- After that, they can be attached to the base.
- The edges of the resulting sheet must be carefully corrected, making them sharper.
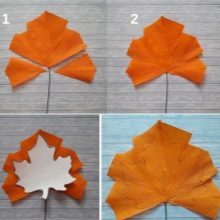
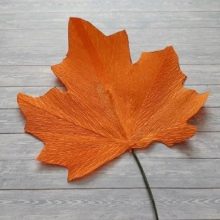
If desired, the base of the sheet can be slightly tinted by drawing veins on it. This will make it look even more realistic.
Cones
Another interesting craft that you can do with your own hands is a simple cone on a spruce branch. To create it, you will need paper of two colors, scissors and floral sticks. The step-by-step process for creating this easy craft consists of the following steps.
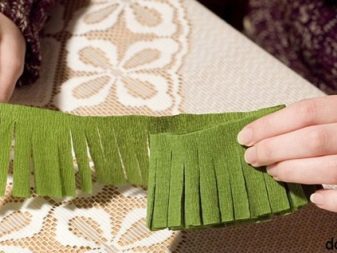
- First you need to make a spruce branch out of green paper. To do this, cut a strip 6-8 centimeters wide from the roll.
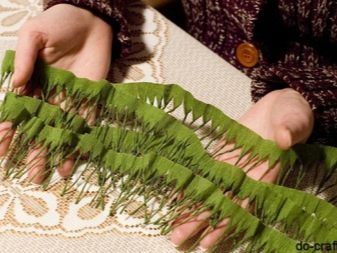
- It is necessary to make many cuts on it, not reaching the edge.
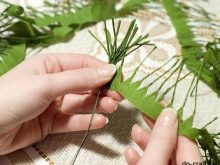
- Each of these thin strips must be carefully twisted to form long spruce needles.
- According to the same scheme, you need to make a few more similar details.
- Having dealt with the blanks, you can start creating full-fledged branches. The green detail needs to be wound on a floral stick. In this case, the layer should not be too dense. The more cuts were made on the strip, the more magnificent the twig will turn out.
- After that, you can start creating a bump. Fold the brown strip in half. Its approximate width is 7 centimeters.
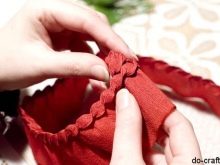
- The edge of the part must be carefully wrapped to form a side.
- This edge needs to be embossed. After that, the tape must be twisted. The embossed edges should be close to each other.
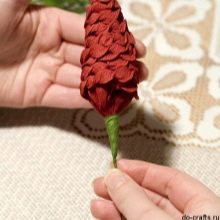
- When the cone is ready, twist its edges and wrap it in a small piece of green paper.
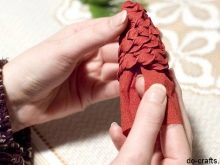
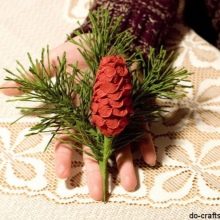
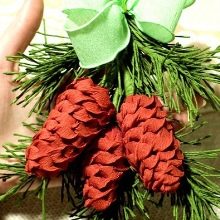
The cone is very easy to attach to the branch by this tip. The attachment point can be decorated with a large bow. The pine cone created according to this scheme can also be used for other crafts with the theme of autumn.
How to make a cake?
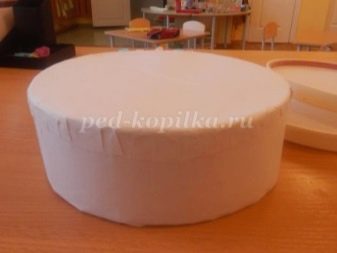
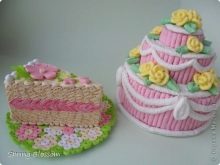
A corrugated paper cake is not only a great decoration, but also a good gift wrapping. To create it, in addition to the colored material, you will need a blank made of penoplex. To create a three-tiered cake, you need to prepare three parts with a diameter of 12, 17 and 25 centimeters. Penoplex discs must be carefully sanded using sandpaper. They should be smooth and even. After that, you can start creating crafts.
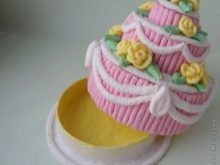
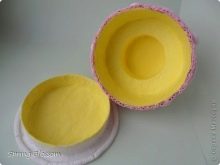
- First you need to take the smallest circle and cut the middle out of it. The inner edges of this workpiece also need to be lightly sanded. From the middle of the circle, you need to make a bump 0.5 centimeters thick.
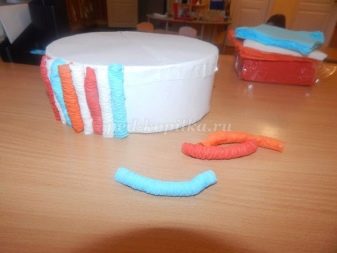
- The blanks must be pasted over with corrugated paper on all sides. Do the same with the lid.
- This piece is glued to the small circle with hot glue.
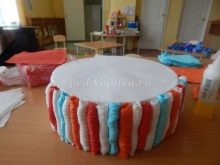
- You can use rolled strips of corrugated paper or candy to decorate the cake. These decorative details are glued to the base on double-sided tape.
- The tiers are attached to each other with hot glue.
- When the craft is ready, you can decorate it with corrugated paper flowers, as well as various ribbons and beads.
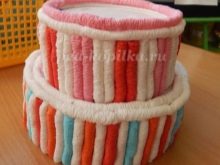
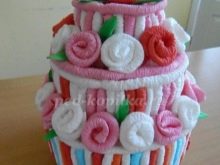
The top of the cake is used to store various things. You can put a cash gift, some kind of decoration or any other valuable thing there.
Making flowers
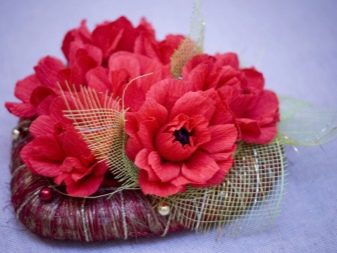
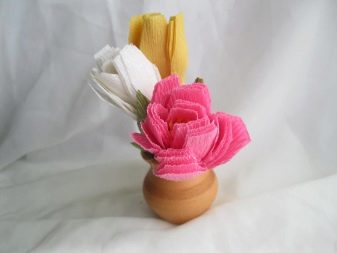
Corrugated paper flowers are the most common decoration made from this material with your own hands. Such crafts can be part of a birthday present, Teacher's Day, or September 1st.
Roses
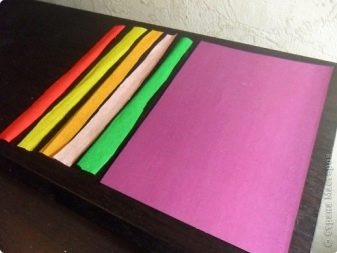
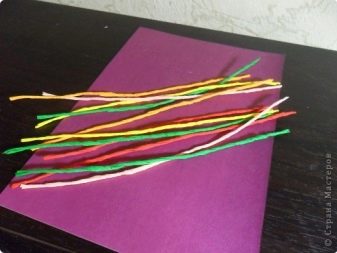
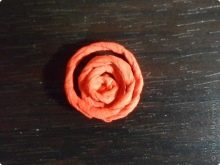
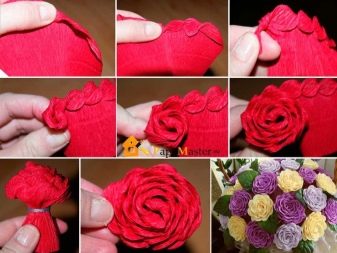
Volumetric roses made from this material are very beautiful. You can do them in different ways. The simplest of these is to create flowers from twisted tubes. Even preschoolers can learn how to make them.
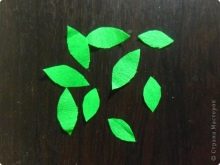
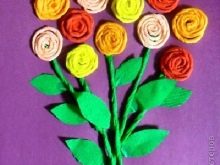
To create such roses from corrugated paper, you need to form long volumetric tubes. When they are ready, they need to be twisted into a spiral. These flat roses can be part of a beautiful applique. All you need to create it is to glue the buds to cardboard and decorate the craft with leaves from the same material. The picture is very nice.
The second way to create roses is more complicated. It is suitable for children 6-7 years old. Fold a long strip of red corrugated paper in half. Its edge must be carefully folded. Next, you need to form small petals on it, gently bending the paper. After that, the strip must be twisted into a tight bud. The lower part must be fixed with a wire. Later, this detail can be hidden behind green paper leaves.
Chrysanthemum
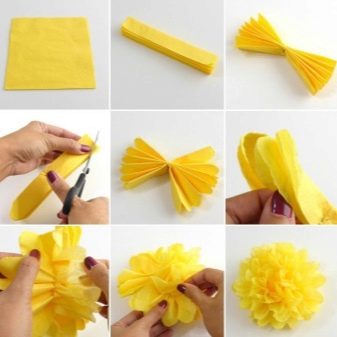
To create this fall flower, you will need yellow or white corrugated paper, scissors and wire.
- The first step is to fold a piece of paper with an accordion and fix it in the middle with a wire.
- The edges of the strip must be carefully rounded.
- After that, the flower needs to be made more voluminous by dividing the petals of which it is composed.
- Then the leaves need to be pulled up a little. This will make the chrysanthemum fluffy.
- To make the flower look more realistic, the edges of the petals can be carefully cut with scissors.
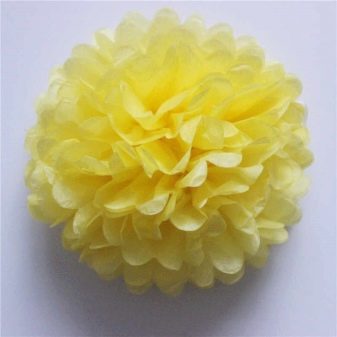
The craft is beautiful and very bright.
Peonies
To create exquisite peonies, the needlewoman will need white, pink and green paper, wire, scissors and teip tape.
- Light pink corrugated paper should be cut into 25 squares.
- The edges of these parts must be carefully rounded off using sharp scissors.
- Petals should be cut out of green paper. To make them look more realistic, they need to be slightly stretched.
- Decorate a piece of wire with green tape.
- You can start attaching the petals to the resulting stem. You need to fix them with high-quality glue.
- The junction of the bud and stem must be decorated with green tape.
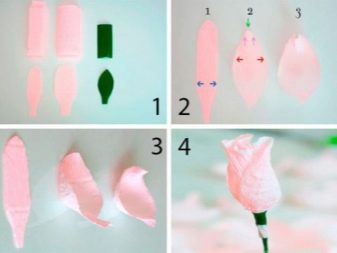
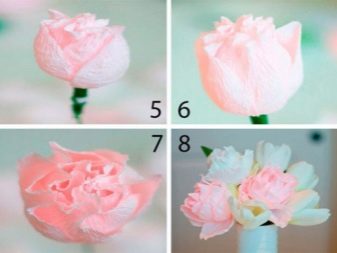
When the flower is ready, its petals need to be straightened so that it looks more voluminous and beautiful.
Poppies
Another beautiful flower that a 5-6 year old child can make with his own hands is poppies. The process of creating such a craft consists of the following stages.
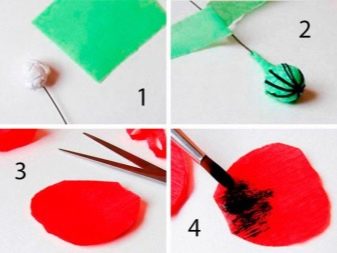
- First, you need to form a small ball out of paper. It will be the base of the flower.
- The ball must be carefully secured to the wire. It, together with the stem, must be wrapped in green paper.
- The middle of the poppy must be tied with black thread.
- Several large petals need to be cut out of red corrugated paper.
- The lower part of each such detail must be tinted with black.
- A strip of dark colored corrugated paper must be carefully cut without reaching the edge. You will get a beautiful black fringe.
- It must be carefully wound around the ball and secured with glue.
- The dried petals need to be stretched slightly in different edges, giving them a more realistic shape.
- When ready, they can be attached to the base of the flower.
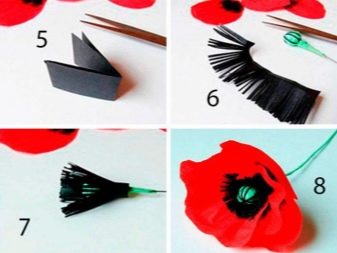
Corrugated paper poppies look spectacular and bright. They can be used to create bouquets and wreaths.
Snowdrops
You will need green and white paper to create this delicate spring flower. A master class on creating such a craft consists of simple steps.
- First you need to prepare a piece of wire 20-25 centimeters long.
- At its tip, you need to fix a small piece of cotton wool.
- This blank must be dipped in glue, and then in corn grits.
- While it dries, 6 oblong petals must be cut out of white paper.
- Cut 3 green leaves from green corrugated paper.
- After that, it is worth attaching the petals to the base of the flower, creating a beautiful bud.
- The stem must be wrapped with a thick layer of corrugated paper. After that, it must be carefully bent.
- When the flower is ready, you need to attach long leaves to it.
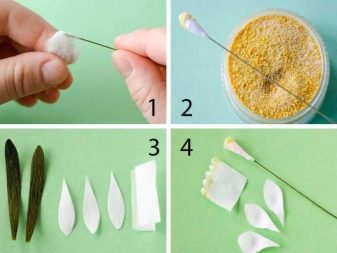
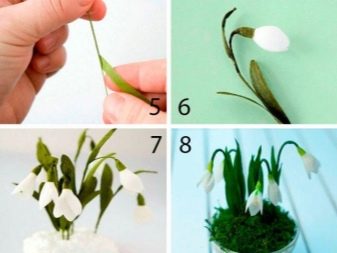
Having made several snowdrops, you can assemble a beautiful bouquet from them.
More ideas
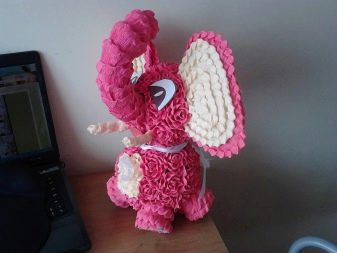
In addition to flowers and leaves, you can create other crafts from corrugated paper. Both beginners and experienced needlewomen can find for themselves a suitable scheme for creating jewelry.
Pom poms
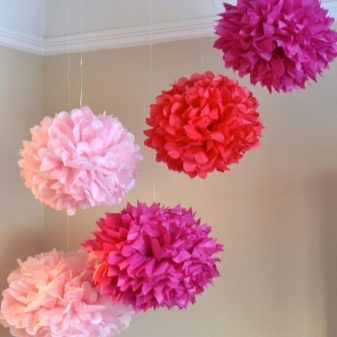
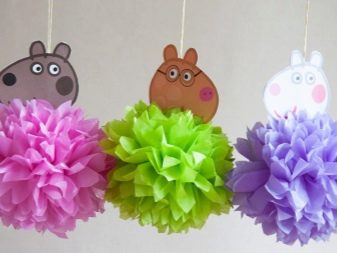
Bright, multi-colored pom-poms are often used to decorate the home for the holiday. They are created according to a simple and understandable scheme.
- The first step is to fold a few sheets of paper into a stack. Pom-poms can be either solid or multi-colored.
- All sheets must be collected in an accordion.
- The pile folded in this way must be tied in the middle with wire or strong thread.
- The edges of the accordion can be slightly rounded.
- After that, the pompom must be dissolved. The petals must be disconnected from each other in turn.
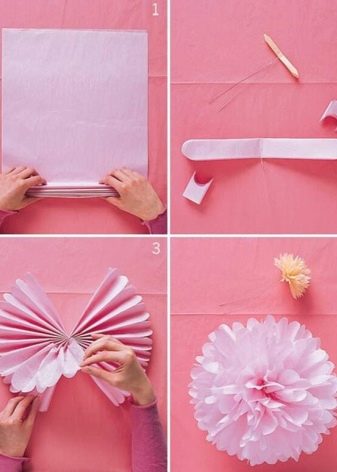
Ready-made pom-poms turn out to be dense and beautiful.
They can be hung on strings or attached to walls with double-sided tape. Even a child of 3-4 years old can cope with the creation of such a craft.
Butterflies
Small graceful crepe paper butterflies are another simple craft for young children. The process of its creation is as follows.
- First, you need to cut out two ovals from colored paper.
- Each of them must be pinched in the middle using a wire.
- It is necessary to form thin tubes from brown corrugated paper. One of them will be used as the body of the butterfly, the other two as its antennae.
- Attach the wings to the long brown piece. This can be done with glue or double-sided tape.
- Thin antennae made of corrugated paper are attached to the upper part of the insect's body.

Such a butterfly can be used to decorate a postcard or "plant" on a living flower in a baby's room.
Topiary
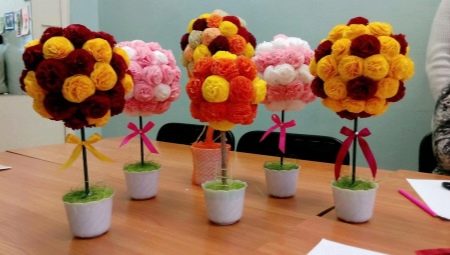
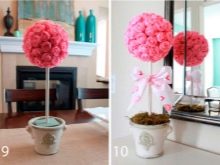
An exquisite topiary will also be an excellent decoration of the room. You can make such a tree in a pot by following simple instructions.
- First you need to create a base. It is made of thick paper wrapped with a thick layer of twine.
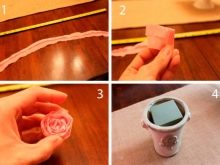
- Then you can start creating flowers. To do this, corrugated paper must be cut into strips 3-4 centimeters wide.
- The edges of the stripes must be embossed. The resulting workpiece must be twisted into a tight spiral. The bud will come out voluminous.
- When the flower is ready, its edges must be slightly straightened.
- The free edge of the strip must be fixed with glue.
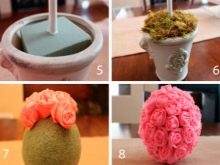
- Having prepared the required number of roses, you can proceed to decorating the ball. Flowers are attached to it with glue or double-sided tape. They can be located in a chaotic manner. The main thing is that there are no "gaps" on the surface of the finished product.
The finished ball can be placed in the pot by filling the empty space next to it with beads, moss or stones.
Christmas tree
Another simple craft that a child can make even at 3-4 years old is an ordinary green Christmas tree. There are several schemes for creating such a decoration.
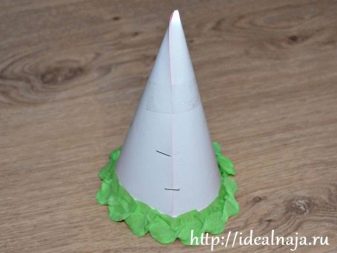
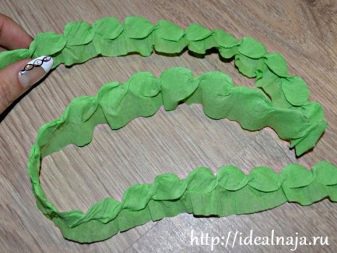
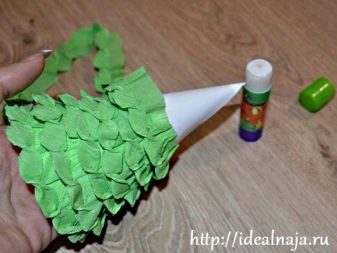
- Cone-shaped spruce. The first step is to prepare a cone from a sheet of thick cardboard. Its edges must be sealed with paper or a stapler. The green corrugated paper should be cut into thin strips. They need to be embossed by pulling the edges with your fingers in different directions. The resulting volumetric strips are attached to the cone in layers. The finished product can be additionally decorated with toys made from scrap materials or beads.
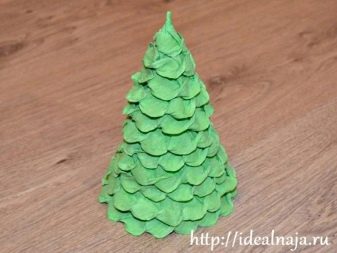
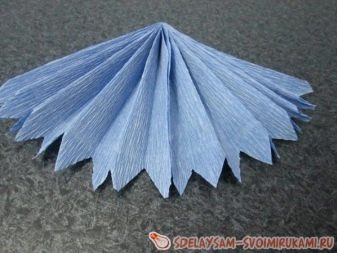
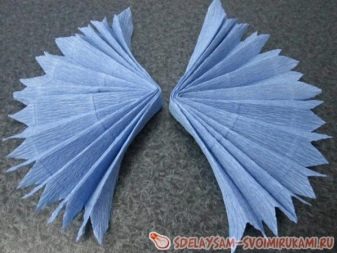
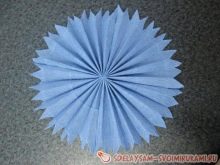
- Volumetric tree. To make such a voluminous tree, corrugated paper needs to be cut into strips. Each of them should be 2 centimeters smaller than the previous one. To create a layer, the strip must be folded like an accordion and tied in the middle with a thread. Its edges need to be made slightly sharpened. After that, the product must be straightened, forming an even circle. Having made several such blanks of different diameters, they need to be fastened with glue. The top of the tree should be decorated with a colored bow or star.
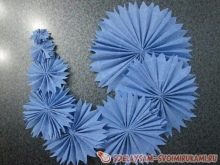
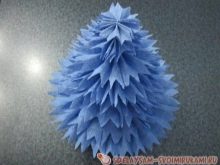
Such simple Christmas trees are a great decoration for any room.
Snowflake
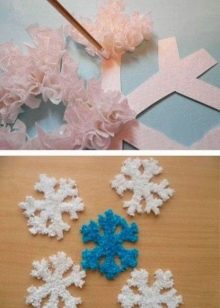
Preparing for the New Year, it is worth learning how to make corrugated paper snowflakes. Crafts made from this material are lush and beautiful.
The first thing to do is draw the snowflake on cardboard and cut it out carefully. The corrugated paper should be cut into thin strips. They must be twisted into small roses. All these details should be fixed on a snowflake, abundantly smeared with glue. After that, the craft must be left for a couple of hours in order for the glue to dry.
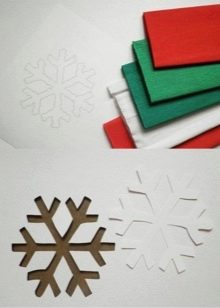
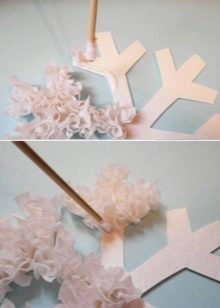
Crafts made of corrugated paper are popular with both children and adults. Using the ideas proposed for inspiration, you can spend time with your child and create a large number of different decorations.
See the next video for 7 corrugated paper craft ideas.


