Making paper umbrella crafts

Making a variety of handicrafts with your own hands is not only fun and interesting, but also a useful activity for children. Most often, paper of various colors is taken for their manufacture; this material allows you to create a variety of beautiful and original products. Today we'll talk about how you can make a small paper umbrella yourself.
How to make appliques?
To begin with, we will look at how you can make flat, beautiful applications in the shape of umbrellas with your own hands.
Simple
First you need to prepare everything you need:
- a sheet of cardboard;
- several sheets of colored paper of different bright colors;
- glue stick;
- PVA glue;
- scissors.

After everything is prepared, you can get to work. Lay out the base in advance at the workplace; it is better to take a sheet of cardboard as it.
It can be of any color, but it is better to use a blue material so that it imitates the sky.

After that, sheets of colored paper are taken, it is better to immediately take brighter colors (red, orange, yellow, green). But at the same time, they should not merge against the general background. Blanks for the future umbrella are cut from the paper base, for this you will need to make parts in the form of triangles of the same size.
Then, an umbrella head is formed from each cut out blank; for this, its sides are rounded so that one side remains convex and the other concave. The central triangle is made with two convex sides. The lower part of the parts is also trimmed slightly, giving it an arc shape.
Such blanks are cut from two sheets of different colors, while two such parts should be made from each, so that then two crafts should be made at once.
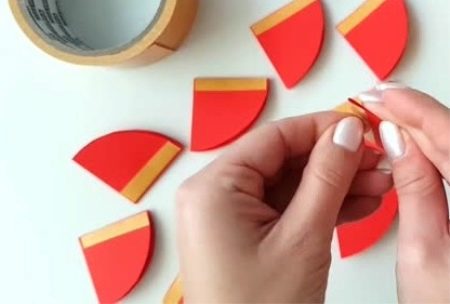
After that, brown or black cardboard or paper is taken. A handle with a rounded end is cut out of it with scissors.
If desired, the pen can be simply drawn on a cardboard base using a felt-tip pen, paints.


When all the elements are ready, you can start forming the overall composition. For this, the parts from which the umbrella head will be created are carefully coated with glue on one side, and then carefully glued onto cardboard. Moreover, it is better to make the sides of the same color, and in the central part it is worth placing an element of a different color to make the product more interesting and bright.
In the same way, make another umbrella on another cardboard sheet. The result is beautiful colorful crafts. Sometimes, small drops are formed on their surface with the help of PVA glue, which will imitate rain.
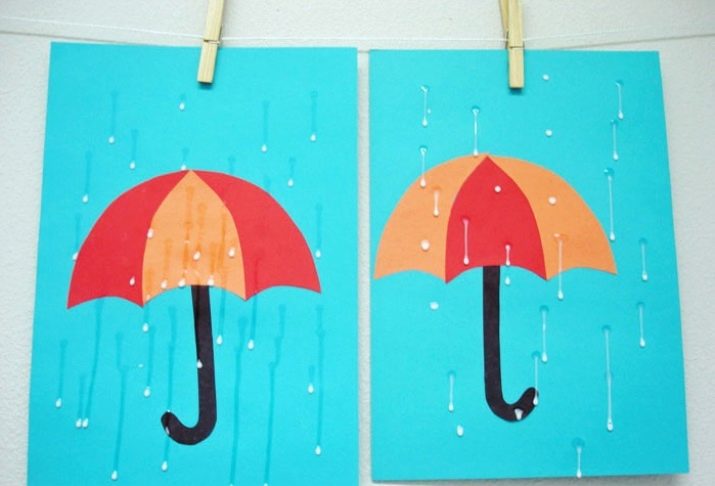
There are other options for making such flat appliqués. So, you can make a monochromatic umbrella hat from one sheet of paper, glue it on a cardboard base, draw an umbrella handle with a pencil or felt-tip pen and paint the background as you wish.


This option can be perfect for children in kindergarten for the development of fine motor skills of hands.

With autumn leaves
The technique of making an applique on the theme "Autumn" is quite simple. All the same materials and fixtures should be prepared as in the previous version. First, a sheet of cardboard is taken, it will act as the basis for the craft.
Then they take colored paper, you can prepare three sheets of different colors at once. The composition with corrugated material will look interesting. Three elements of the same shape and size in the form of triangles are also cut out of the paper base, from which, using scissors, blanks with rounded sides are carefully and gradually formed for the upper part of the umbrella.


After that, take black paper, from which a handle with a rounded end is cut out.

Then you need to take several other colors of the paper material. Better to cook yellow, orange, green, red, pink. Leaf blades are cut out of them. Maple leaves will look the most beautiful and graceful. To make them even and neat, it is better to use templates. They are tightly applied to the material, and then outlined with a simple pencil along the contour lines and cut out.
Several such pieces of paper should be made from each sheet of paper. Then, using a black or brown felt-tip pen, thin veins are drawn on the surface of each obtained workpiece.
This is optional, but it will still make the elements more natural.


When all the details are prepared, they begin to lay out on cardboard material. In this case, the finished umbrella can be depicted in an inverted position. Maple leaves are laid out in a chaotic manner, but they should look harmonious in the composition. If desired, the finished applique can also be supplemented with small cuttings in the form of flower buds and other vegetation.

Making voluminous crafts
Such paper crafts made from bulky blanks look unusual. Next, we will consider some of the options for making such decorative items.
Out of circles
First, you need to prepare the following materials:
- double-sided colored paper;
- scissors;
- glue stick;
- simple pencil;
- cocktail tube.

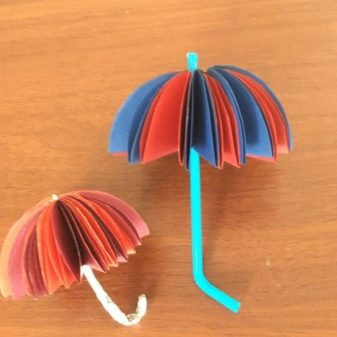
Several sheets of colored paper are taken, you can use any color... 15 blanks are cut out of the material in the form of circles. They must all be the same size. It is better to make the diameter about 10 centimeters. After that, each resulting workpiece is carefully folded in half, and then in half again, so that the result is a quarter of a mug.


After that, each element should be slightly reinforced with glue. To do this, each quarter is opened, a small amount of the composition is applied in the upper parts, and then the sides are glued together.
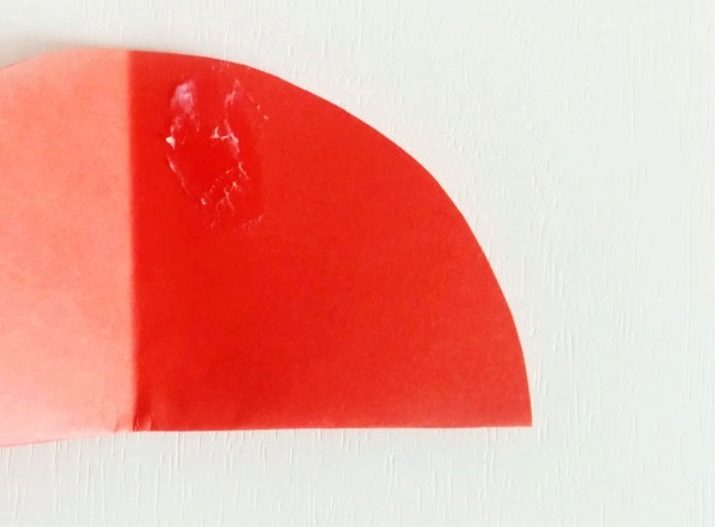
Then all the quarters are glued to each other. In this case, it will be necessary to fix the forked side to the forked side, and the right angle to the right angle. Later, the adhesive composition is applied between the quarters on the upper part so that the lower one can open up. First, two parts are fixed, and then all the others.


When the circle is closed, you will need to glue the sides of the first and last paper blank together.

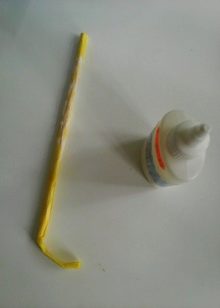
At the same time, they make a handle for the umbrella. For this, a cocktail tube is taken. It should be immediately shortened a little, and then bend its edge, where the accordion begins.
Double-sided tape is fixed on the tube, and then inserted in this form into the umbrella. As a result, you should get a colorful and unusual volumetric craft with your own hands.


From cones
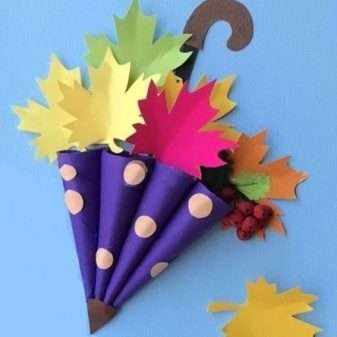
Now we will look at the instructions on which you can make a beautiful paper umbrella from cone-shaped elements. To do this, first prepare one sheet of colored paper, it can be of any color. From such a base, four identical blanks are cut out with scissors in the form of squares with a side of about 10 centimeters.

Next, each resulting workpiece is carefully folded in the form of a bag, the edges of which should be immediately fixed with PVA glue. Later, scissors are taken, with their help you can easily trim the upper edges of the paper parts.


All 4 elements are also glued together, for this, a little glue is applied to their sides, and then pressed tightly against each other. As a result, the basis for the future umbrella will be obtained.


In addition, you need to attach the finished hat to a cardboard sheet. This is also done with an adhesive. In this case, it is better to place the cardboard in a horizontal position. After that, a sheet of brown paper is prepared, a handle with a round end is cut out of it with scissors. And also from the same material it is necessary to make a small part in the form of a flat cone. It is fixed on the top of the umbrella.
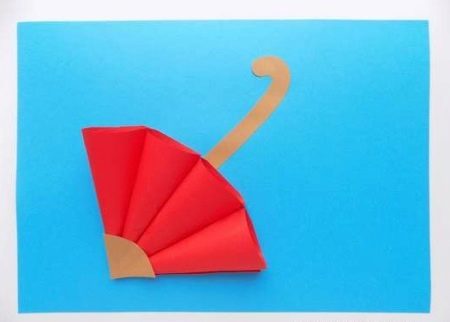
If you want to make the composition more interesting and bright, then you can additionally cut out decorative elements in the form of autumn leaf plates. For this, prepare a few more sheets of colored paper. Each of them folds in half. Leaf templates are tightly attached to them, they are outlined with a simple pencil and cut out. In this way, about 15-20 small leaves should be made.


Further, all the resulting leaves are glued to cardboard, forming a single composition. To give it volume, you can fold each element in half and apply glue only on the fold line and glue only this side to the base, and bend the sides slightly upward, as a result, you get a beautiful and voluminous craft.


Making an origami umbrella
To make this original craft step by step with your own hands, you should prepare rectangular blanks with dimensions of 10x20 cm and square blanks with dimensions of 20x20 cm from colored paper.Further, a square is taken, it is neatly folded in half diagonally. At the same time, the fold is carefully ironed.
After that, the square is turned over and bent from a different angle, as a result, the figure is folded along its other diagonal. Later, the workpiece is folded in half and a rectangle is obtained.


There should be only three triangles on the material. The side figures are wrapped inward. The side folds towards the center. The same will need to be done with all four corners. The resulting triangle is straightened in both directions, this is done with all 4 triangles.
The protruding part of the paper blank is slightly bent upward, and then immediately folded inward.


Next, take a pre-prepared rectangle. The handle of the future umbrella will be formed from it.To do this, the paper is tightly rolled into a thin tube, first, all edges must be carefully greased with glue. One edge of the resulting part is slightly folded up.


At the same time, you need to take the umbrella blank and cut off a small corner from it so that you can insert the handle. It is well greased with glue, slightly retreating from the top and bottom, and fastened together with the cap.


At the final stage, the upper part of the finished umbrella is gently straightened to make it more voluminous.
In the same way, you should make several such crafts in the form of umbrellas at once, and all of them should have different colors.
As a result, it will be possible to make a whole beautiful composition consisting of several paper products.


Another way to create a voluminous paper umbrella-shaped craft is presented in the next video.


