Paper crafts for Teacher's Day

Handicraft is highly appreciated in any business, especially if it is a gift made by a child. At any age, you can find paper crafts that will be up to the kid's shoulder. The student can be offered to do something pleasant with his own hands for Teacher's Day, in order to please his beloved teachers.
To cope with the task at hand, you need to choose a suitable craft, find all the necessary materials and tools, and get to work.


How to make a bouquet?
Children can please the teacher on his professional holiday with a wide variety of crafts. One of the most popular, relevant and correct products will be creating a bouquet... In order for the craft to come out uncomplicated and not require a large amount of additional materials, the easiest way is to make it out of paper. A paper bouquet can be flat, made using the quilling technique, or voluminous, depending on the wishes and capabilities of the students.


To work in the quilling technique, you must have:
- a sheet of paper that will act as the basis for the craft;
- quilling paper - strips of different colors, depending on the color scheme of the future bouquet;
- quilling hook or homemade version of this product;
- glue (better than PVA);
- comfortable scissors;
- pencil, ruler, eraser.

The work itself is not difficult, but to get a beautiful final result, you need to show diligence and dexterity. The process of creating such a bouquet looks like this:
- zones are highlighted on the base sheet, where the bouquet itself and the area for congratulatory words will be;
- an approximate drawing of the future bouquet is drawn;
- the basic colors for creating a postcard are determined;
- stalks of flowers are created with stripes of green;
- using a quilling hook, strips of those colors are folded, from which the flowers themselves will be created;
- ready-made flowers are glued to the base near the stems;
- the last are the leaves, which, after folding, need to be given an oblong shape.


Once the flowers and leaves are glued to the base, you can add decorative details in the form of a beautiful ribbon that ties the flowers to. At the bottom of the finished craft, there is a leaf with the inscription "Happy Teacher's Day", and if you wish, you can sign the name of the teacher.

If students want to make a voluminous craft, then you can use for this:
- several sheets of colored paper;
- ruler;
- pencil;
- scissors;
- improvised means.

The creation process looks like this.
- Prepare a strip of colored paper about 20 cm long and 5-6 cm wide. It is advisable to make a neat piece with a pencil and a ruler.
- Fold the resulting part along, and then fold it twice across to get a small rectangular element.
- Scissors cut from one side to the middle of the rectangle. When everything is ready, the element unfolds.
- Take a piece of green paper about 30 cm long and 3 cm wide.
- Using a pen rod or similar shape, wrap the colored paper onto the base, moving diagonally upward, creating a stem. At the end of the process, we remove the rod or other object.
- The first colored part is leveled to give volume to the future flower, after which it is folded in half again, but not pressed. With progressive movements, it must be wrapped around the green base, using a glue stick for fastening.
- Create the petals using the same green paper, making jagged cuts on the top to simulate foliage. This element is screwed onto the base diagonally downward.
To create a bouquet, you can use any number of these flowers, using the same or different colored paper. The finished result can be connected with a beautiful ribbon or wrapped with wrapping paper for flowers.
How to make a beautiful bouquet for Teacher's Day, see the video.
Other colors can be used to please the teacher.
To create paper tulips, you need to prepare:
- corrugated paper;
- double sided tape;
- green tape tape;
- wire;
- gift wrapping paper and flowers and ribbon.

The work progress is as follows:
- stems are created with the help of wire, their length should be the same;
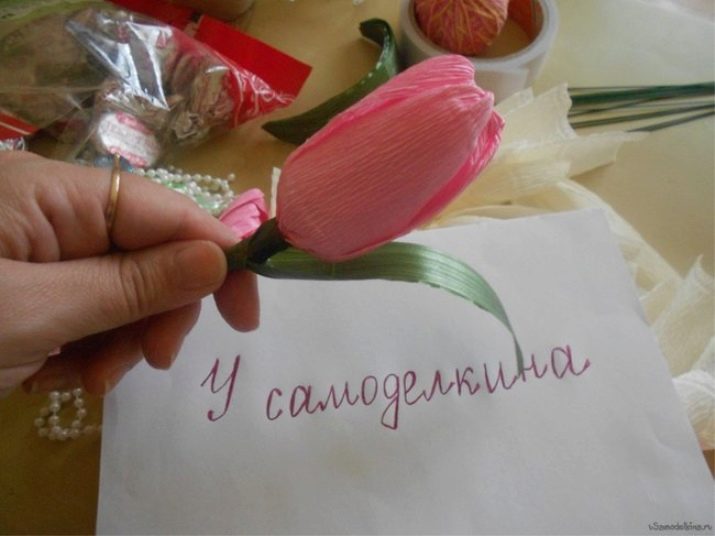
- 6 strips 10 cm long and 4 cm wide are cut from colored paper, each strip is twisted in the middle and folded in half, which makes it possible to obtain a two-layer petal;
- all petals are gathered together and fastened with a tape-tape;
- the wire is wrapped in green corrugated paper, on top of which green petals are attached;
- the buds are fixed to the stems with tape or tape;
- a bouquet is created from all the flowers, which is additionally decorated with green leaves around the perimeter of the craft.


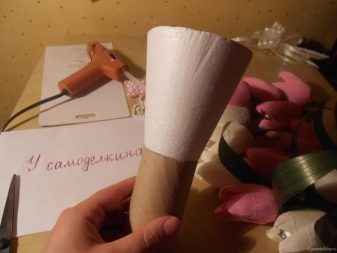
The finished bouquet is wrapped in wrapping paper for gifts and tied with a beautiful ribbon. A more sophisticated but delicious version of this craft involves the use of round candies that are found inside each bud.


There are a huge variety of bouquets of flowers; for them, ordinary colored paper, cardboard, corrugated options are used, which allows you to create amazing products that in many ways resemble real flowers. With the right materials, you can make roses, daisies, peonies, and many other flowers.


Making a postcard
The simplest and most versatile gift for a teacher is a postcard, therefore children should be able to create various versions of this craft. To prepare such a surprise, you must have:
- thick paper or cardboard for the base of the postcard;
- colored paper (corrugated, if necessary);
- scissors;
- markers, felt-tip pens, paints;
- ruler and pencil.

If you create a simple and light postcard, then the process of its implementation looks like this:
- the blank for the base must be bent in half, giving it the shape of a postcard;
- decide what will be on the front side of the product, and what is inside, and make notes with a pencil;
- cut decorative elements from colored paper and carefully glue them to the front of the base;
- if a congratulation is being prepared for a mathematics teacher, then you can use a notebook sheet in a cage and write any example on it as a decoration;
- decorative elements can be colored autumn leaves, imitation of a portfolio made from a matchbox, pasted over with colored paper, small pencils and much more;
- when the outer part is ready, inside you can outline a place for congratulations or paste in special beautiful paper on which pleasant words for the teacher will be written.

In addition to simple standard options, there are products that are created using the technology of quilling, scrapbooking, using a large number of additional elements. One of the most suitable options would be an owl card. To create it you need:
- several sheets of colored paper;
- scrapbooking sheets;
- cardboard;
- decorative elements;
- simple pencil, scissors and glue.

The process of creating such a postcard looks like this:
- find an owl template, which will be used to create a card, cut a figurine out of cardboard and scrap paper;
- glue both parts with the wrong side to each other;
- stick beautiful colored paper on the inside of the card using the already existing owl template;
- the wings are decorated with colored paper of a different color and glued on both sides of the product;
- using the base, the head is also cut out, which also has a contrasting color in comparison with the body (in the presence of curly scissors, it is better to make the bottom of the part uneven, creating a beautiful decorative cut);
- to the almost finished product, we additionally glue the tummy of an owl, which has the same color as the head, and is slightly smaller in size than the body of the craft itself;
- two round eyes of colored paper and round pupils of a smaller size and of a different color are cut out on the head;
- under the eyes is a beak that looks like a small triangle.


You can decorate the owl with ribbons and any other decorative elements. The wings of the craft should bend, covering the tummy, on which you can write a wish to the teacher.
More ideas
In addition to flowers and cards, there are also a wide variety of paper crafts for Teacher's Day that a child can do with their own hands. Using various materials and imagination, you can come up with something amazing and pleasant for the teacher and please her on a professional holiday. Crafts made of cardboard and colored paper do not require much effort, a lot of time to complete, therefore they are considered the most acceptable option for congratulating teachers.
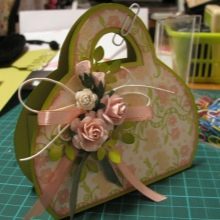
It will look very original school paper bag, cut and glued to a suitable base, or a volumetric version of it made of cardboard with imitation of books inside. You can present your favorite teacher with a craft in the shape of her handbag, decorated with appliqués in the form of autumn leaves or flowers, with a greeting card inside.


Thanks to scrapbooking, you can build original pencil cases decorated with ribbons, quilling patterns, beads and buttons.
Elementary schoolchildren can make crafts in the form large colored paper pencil, on the back or inside of which wishes for the teacher will be written.

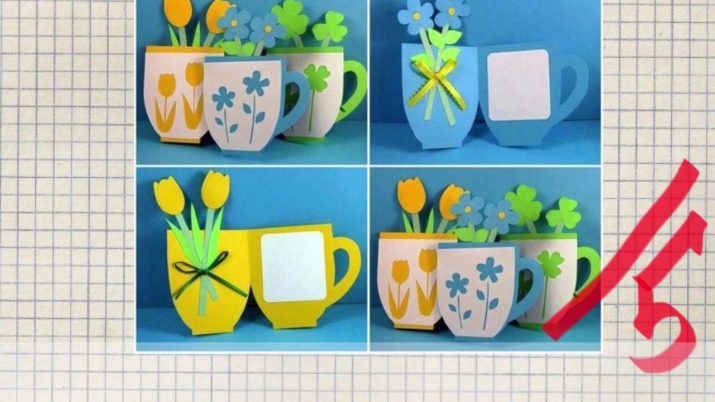
They will look very cute mini bouquets in a cup - these products are also within the power of primary school children.


