Crafts from disks

CDs are very rarely used nowadays. Many have an impressive collection of CDs at home, but not everyone knows how to give them a new life. In fact, from this material you can make interesting crafts that are useful in everyday life.

How to make a flower vase?
Disc vases are a popular craft among both beginners and experienced craftsmen. Various variations are possible, but these two are the most popular among all categories of fans to create unusual things at home.
Silver vase
To get the job done, we need:
-
standard CDs;
-
transparent glue;
-
foil;
-
plastic bottle or smooth glass vase;
-
a can of dark paint.
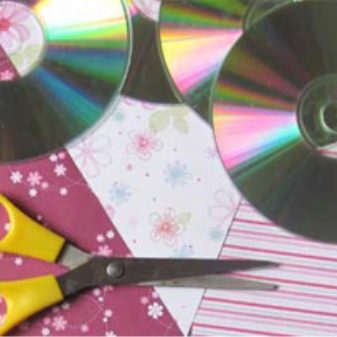
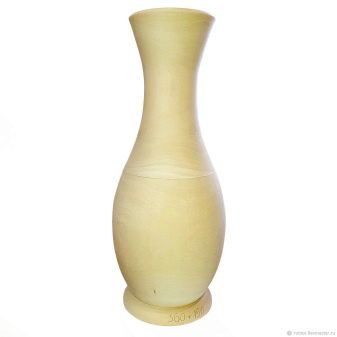
First, you need to cut the discs into thin strips, with which you have to glue the surface of the vase. It is recommended to work with thick gloves, cutting the discs into fragments with scissors, otherwise calluses can be rubbed.
In principle, it is not at all necessary to cut discs exclusively in strips. They can be cut into triangles, squares or figuratively, without shaping. It all depends on what design is planned initially. When you're done cutting discs, it's time to move on to processing the vase.

You need to start processing it from the bottom. For this, the lower part of the vase is covered with glue, and on top of it - with crumpled foil. The rest of the product also needs to be pasted over with foil, only smoother.
After the glue has completely dried and the foil has finally adhered, the bottom of the vase is treated with paint from a spray can. Until the paint has set, you need to wipe it off the convex fragments of the foil with a piece of cloth so that it remains only in the depressions. The effect will be very interesting.
This procedure must be repeated with the rest of the vase.Do not apply a lot of paint, otherwise the desired effect will not work.... Next, you need to take pieces from DVDs and paste over the top of the product with them. Ready!

To make the vase look even more luxurious in the interior, you can put dry twigs sprinkled with silver paint in it, or an artificial sakura branch.
Volumetric vase of discs
To make it you will need:
-
DVD-blanks - 16 pcs.;
-
toilet paper roll;
-
a piece of cardboard;
-
acrylic paint;
-
hot melt glue;
-
rhinestones on a sticky base.
Let's look at the work process step by step.
- Paint the cardboard tube with indigo paint. Leave to dry for 60 minutes. Cover the painted tube with the prepared varnish.

- Cut the discs into equal segments, discarding the perforated parts. If the material is difficult to cut and breaks, you must first soak the discs in hot water. A few minutes will be enough.

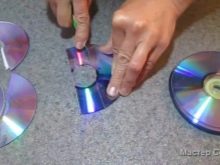

- Glue the segments in pairs, with the shiny side out.


- On one side of the sleeve, glue a round bottom made of cardboard, previously painted to match the sleeve.
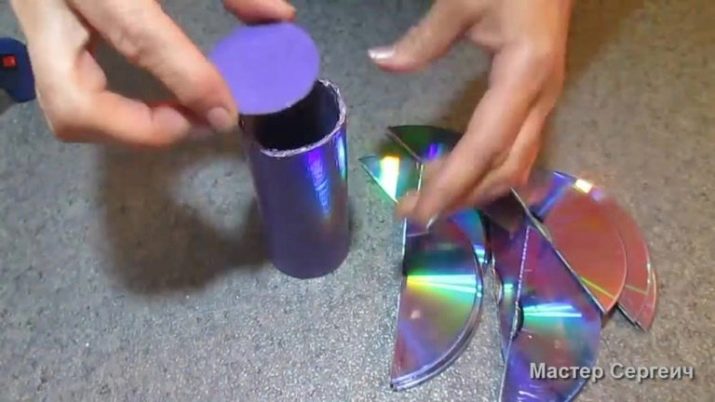
- Glue the disks on it.

- Glue rhinestones on the neck of the original vase and on the ends of the disc segments.

Making a stand
Napkin fixture
This craft will quickly find application in the kitchen and will become a table decoration. The following materials will be needed:
-
2 discs;
-
decor;
-
knife (scissors);
-
hot melt glue.
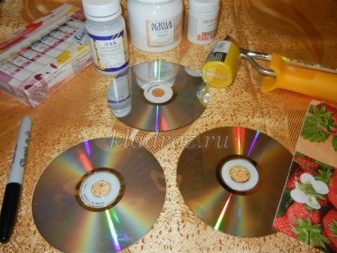

Take one of the discs and cut exactly in half. The halves must stand firmly on the surface.
The base of the stand is a whole disc. Now take the glue and glue two sides to the base, but not at a great distance. When everything is dry, decorate as you see fit.
Hot stand
A simple option, it is done very quickly and easily. One side of the disc is decorated with any material you like. It is important that the jewelry turns out to be a flat plane, otherwise the glass or cup will slide off. Such a product will come in handy in autumn days, when it's time to drink tea.
More complex decoration using decoupage technique. Ingredients:
-
any number of disks;
-
corrugated board;
-
scissors (clerical knife);
-
white acrylic putty;
-
mini spatula;
-
three-layer napkins;
-
glue "Titan";
-
glossy acrylic varnish;
-
soft brush;
-
foam sponge;
-
arbitrary tone acrylic paint (for ends);
-
fine sandpaper.

We offer a detailed master class.
Trace the disc with a pencil and cut out 2 circles. If the cardboard is thick, one cardboard circle is sufficient.
Apply glue to the discs, glue them together with the circles with a "sandwich".
Cover with a file and place under a press until the glue dries.


The glued dried blanks should be treated with a putty on both sides and from the end.
After the filler is completely dry, sand it.
Acrylic primer or white acrylic paint is suitable as a base.

Glue the napkins on the blanks using diluted 1: 1 PVA and water or special glue for decoupage.
After the napkin is dry, cover the product with acrylic varnish. Also stick napkins on the backs of the coasters. Apply varnish in the same way.


Using a sponge, cover the ends of the stands with acrylic paint of the desired tone. Cover all coasters in 2-3 layers with glossy varnish.


More ideas
Bike
This craft using discs is not just decorative - it is useful because it serves as a planter for flowers. This product looks very impressive. And it is suitable as an interior decoration for a summer residence and a city apartment.
What you need:
-
empty clean plastic bottle 1 l;
-
white, black and any bright paint;
-
computer disks - 3 pcs .;
-
scissors (sharp knife);
-
hot melt glue;
-
wooden sticks for ice cream.

Manufacturing process:
-
the neck is cut off from the bottle at the level, as shown in the photo;
-
the lower part of the bottle is cut off, which will be a flower pot;
-
plastic is painted yellow or green (in this case);
-
the same must be done with chopsticks;
-
rims-wheels are made in black and white design;
-
when everything is dry, a bicycle frame is assembled from sticks;
-
wheels are attached to it with glue, and then plastic containers are installed;
-
a little earth is poured into the "pots" and small flowers are planted.


A wonderful planter is ready!
Smeshariki
The heroes of this famous cartoon are positive and kind. They teach young viewers to find a way out of everyday difficulties. Children will make such characters with great pleasure.
It remains to find out from the child what kind of hero he wants to create. Templates for application on crafts from disks can be taken ready-made or drawn by yourself.
You will need:
-
discs unusable in everyday life;
-
colored paper (cardboard);
-
double-sided tape (glue);
-
scissors;
-
screwdriver (nail);
-
threads (fishing line);
-
felt-tip pens of different colors.
Since the craft will turn out to be unstable, it will be more convenient to make a pendant mount. First of all, for this, you need to make a small hole in the disk, and thread a thread or fishing line through it. To make this easier to accomplish, the sharp part of the clove must be heated over a flame and pierced the surface of the disc at the very edge.

Nyusha
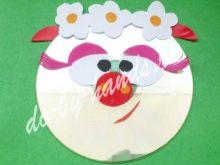
When working without a template, you need to choose the appropriate paper colors: pink, purple and red.
Make a sketch of the face, legs, pens, ears and more. If the paper is thin, you can attach the sheet to the monitor and simply translate the picture. Carefully cut all parts. And distribute on a disk, after applying glue to them.



Barash
For this interesting craft, you will need a lot of paper circles and a lot of patience. Using scissors, you have to cut a certain number of spirals. They can fill the entire surface of the disc, or arrange only along the edge.
-
Prepare for work disk and a sheet of purple paper.

- Draw circles on the seamy side of colored paper using a compass or a suitable lid. Cut out the circles and try them on so that they are enough to paste over the template around the perimeter of the entire circle. Create a spiral from each circle using scissors.

- Stick the spirals on the mirror side of the CD... To do this, it is enough to grease the edge of the disc with glue, attach the spiral and lightly press on it with your finger.

- While the glue is drying, cut out the rest of the cartoon character... The best way to draw the horns is to draw one curved horn on a sheet of blue paper, then fold it in half and cut out two mirror elements. And you will also need white and black circles for the eyes, for the nose and a small red mouth.


- Glue all the elements prepared to get the muzzle of Barash.

Thus, you can make any hero of your favorite children's cartoon.
Owl
A beautiful souvenir owl made from music or video discs is a symbol of wisdom. An interesting point is that the wise bird is made from carriers that store a lot of information.
For crafts you will need:
-
CD-disks - 10 pcs.;
-
large sharp scissors;
-
hot glue gun ("Moment");
-
simple pencil;
-
food foil;
-
a cut of yellow artificial leather (velvet, cardboard).
The discs are to be cut. Since this is a rather fragile material, you should prepare them with a margin.

Let's analyze a step-by-step master class.
- Take 2 discs. They need to be superimposed on each other so as not to close the middle. Fix them with glue.
- Along the edges of the resulting part, make frequent cuts of the same length, 1.5-2 cm each.
- Next, cut out 2 round identical parts from leatherette or something else. Glue the circles in the middle, and put the pupils with a black marker.
- From the old disc, cut 3 triangles (for 2 ears and beak) and 2 rounded rectangles (for eyebrows). Stick the blanks on top.
- Then fold the 2 discs into a figure eight. Place with a shift downward under the owl's head and glue.
- Cut another blank of two discs along the edge and glue from below.
- Glue 3 CDs folded in a triangle at the back: wings are formed on the sides, and a crest on top.
- Make a twig for the owl to be placed on.The twig is made from a pencil tightly wrapped in cling foil.
- Cut leaves from computer disks in any quantity. Scribble veins in the middle of each.
- Stick the foliage on a stick, and attach the bird.

Disco ball
The disco ball is probably one of the most successful solutions to how to use unusable discs.
Tools and materials:
-
foam sphere;
-
many disks;
-
glue;
-
scissors.

Consider the instructions.
- Slice removable media with freeform elements.
- Lubricate blank glue, and decorate its surface with iridescent shards. Once the glue is dry, you can mount the disco ball under the ceiling.
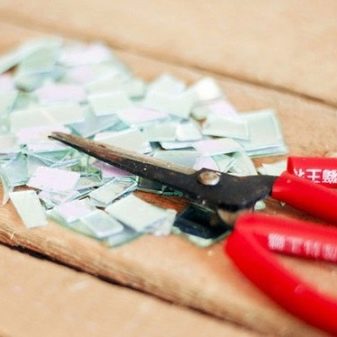
- It will be just as easy paste over an old but durable ball (for fitness) with particles of a mirror mosaic. For this, the rubber surface must be thoroughly washed and degreased. Cut the discs into squares with scissors. Then glue the fragments onto the ball with the reflective side outward using superglue.
- It is necessary to provide an eyelet for attaching the ball. For safety reasons, it is better to take a long cord and tie it directly on the ball. By gluing the fragments of the disc onto the cord, it will be possible to fix it firmly and completely. In the end, all that remains is to tie the ends.

A more sophisticated method consists in the step-by-step assembly of a structure from whole disks. True, its shape can only be remotely considered a ball.
In each disc, make 5 holes at the same distance almost along the edge.
A small ball will need approximately 12 discs.
Place one disc on the table and place 5 discs close to it.
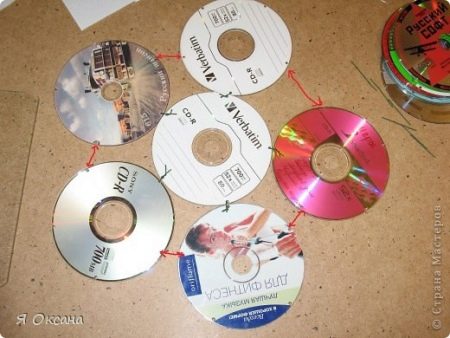
One of the holes on their edge should be opposite the hole in the center disc. Then, using plastic clamps, connect the side discs with the central one. It is not necessary to tighten the clamps to the end, while the structure must still be movable.
Then fasten all the side discs together. It will look like a flower.

Place the next 5 discs between the discs in a staggered manner and connect them. Close the entire structure with the last disc, tighten the clamps, giving a spherical shape. Cut off the ends of the clamps.


Fishes
To make a fish from a disk with your own hands, you need to prepare:
-
disc - 1 pc.;
-
sheets of blue and red paper;
-
golden felt-tip pen;
-
scissors;
-
glue;
-
a pair of plastic eyes.

The body of this fish will be made from a disc. All that remains is to adapt the fins and other elements to it. First, cut out a pair of fins and a fish's tail from blue paper. The task is suitable for children from 3 years old.
Using glue, fix the fins and tail on the seamy side of the “blank”.
Cut a mouth for a fish out of red paper, glue it on the front of the craft.
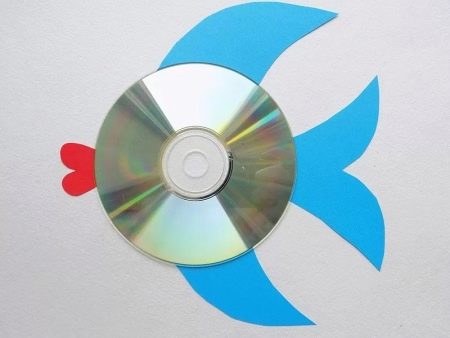
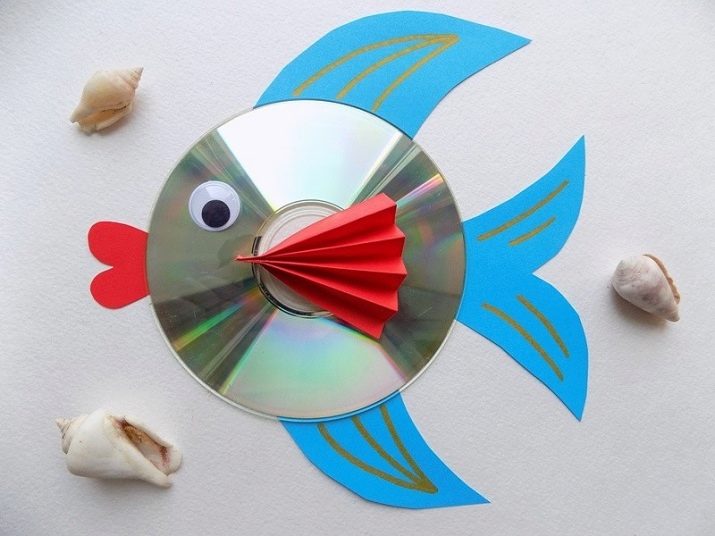
Use a gold felt-tip pen to arrange the scales on the fins and tail of the fish.
It remains to complete the side fins of the fish. They are cut from red paper. First, cut a rectangle 21x6 cm.
Fold it in half and cut. This will create blanks for a pair of fins.
Fold in "accordion".
To give them the shape of fins, you will need to glue the "accordion" on one side.


Now we glue these fins on the sides of our fish. Don't forget to add plastic eyes.
Dog
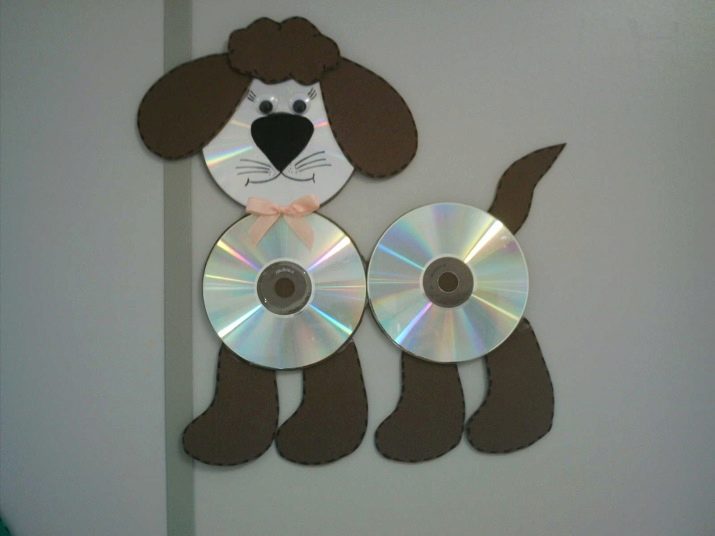
For crafts, you will need 3 discs that are no longer useful, cardboard or thick brown and black paper, glue, scissors, a black marker.
Fasten a CD or DVD together, glue cardboard ears, bangs, paws and a tail on them. Next, draw up the details of the face: glue the eyes and nose out of cardboard, draw a mouth and mustache. You can glue a beautiful bow on the dog's neck.
Bear
With this craft, you can start acquainting the child with working with the material - a CD-ROM. Everything is done very simply, for sure the kid will easily cope with the task. This is a good assignment for a kindergarten student.
You only need one used "blank" and a template for the face, paws and ears of the bear.It is convenient to print it already in color, or to invite the young creator to color the picture along the contour on his own. In this case, you will need a brown felt-tip pen, pencil, or paint. For individual colored fragments, you can use pink colored paper, felt. Prepare glue and brush. Glue the finished eyes on the animal's face at the end of the creative process.
You can quickly make a bear out of a CD out of brown paper. It will take two circles. Cut out two semicircles from one of them. These will be ears. A whole circle will serve as a muzzle for a forest dweller. It remains to glue the details and draw the nose.

Hare
Making a bunny is very simple if you follow the principle described in the previous work. You just need a piece of white or gray paper. The ears will turn out to be more voluminous if they are pasted over with cotton wool.
A more complex and attractive option would consist of five unnecessary DVDs. You also need to use a hot glue gun and scissors. One disc is cut into fragments for ears, legs and tail. Discs are glued to each other, as in the photo. Then the cut parts are determined in their places. Imitation of wool on the edge is made with a marker that is resistant to abrasion. The muzzle and eyes are made from scrap materials. Cotton wool, white cardboard, felt will do.


More ideas for crafts from disks in the video below.


