Corrugated paper peonies
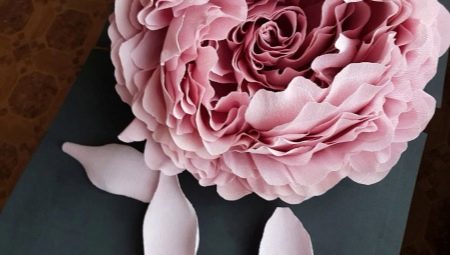
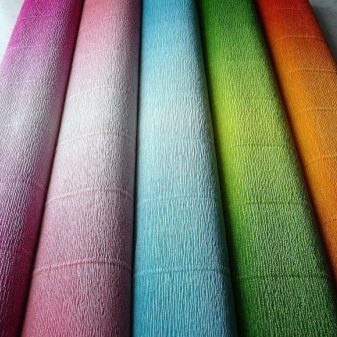
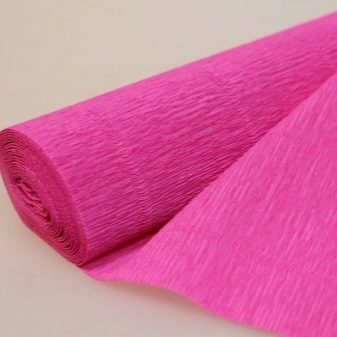
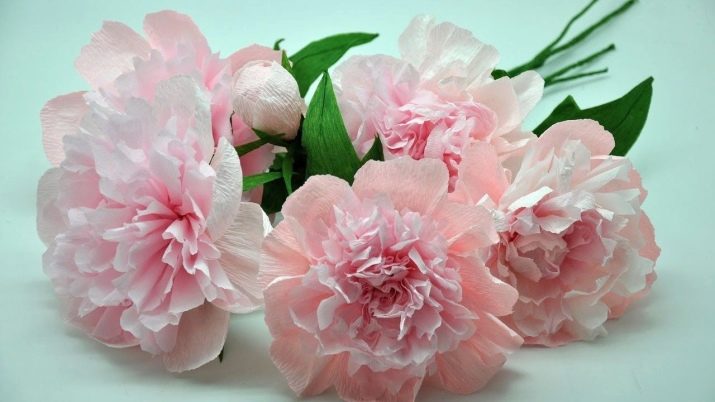
Corrugated paper offers tremendous potential for unique, delicate designs. They can transform the interior, be presented as a gift, and become a special decor. Crepe (that's also called corrugated paper) is presented in a huge number of colors, it is very convenient to work with, it is even pleasant to interact with it tactilely, while it is accessible to a person with any level of artistic training. And if you want to start right away with impressive beauty, it can be lush corrugated paper peonies.
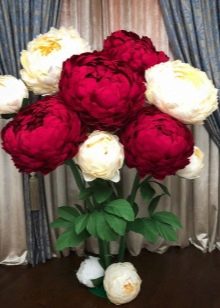
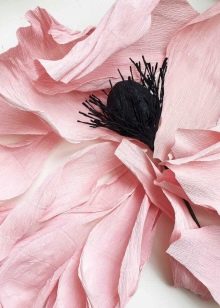
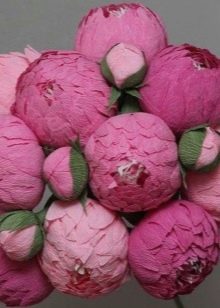
What will it take to work?
This paper is made from natural recycled materials and is considered to be a material with good environmental performance. It is also more resistant to moisture than normal because its structure is porous. It is also important that it is not so expensive, and you can gradually assemble a whole set of different colors. But corrugated paper alone is not enough to create peonies.
You will also need the following accessories in the work.
- Scissors... You will have to cut a lot, therefore it is important that they are sharp, not very short and fit comfortably in the hand.
- Glue... It is advisable to take a PVA or glue stick, but often there is nothing more reliable than a thermal gun.
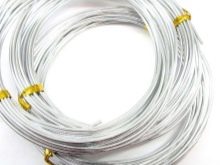
- Metal wire. The frame of the future flower can consist of it. And the larger the flower, the more needed the wire.
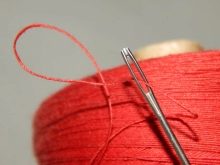
- Thread, needle... Some workshops exclude the use of glue, because all the elements are sewn to each other.
- Other decor. This is all that is used besides the basic materials.For example, designer printed paper / cardboard for accents, mesh, rhinestones, beads, bugles, floral tape, skewers, etc.

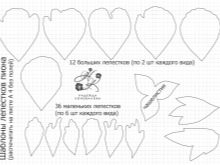
Often, making a flower cannot do without templates that simplify the process and speed it up. And you also need to understand which technique is easier to work with. For example, you can attach a peony bud to the fixing head. Or you can continuously wind the corrugated paper around the wire. Or do this: pre-sew paper blanks with threads, subsequently fastening them to the stem.
And of course, you need to prepare a place for manipulation.
It is desirable that everything is in order there with daylight (a place by the window), there is enough space, the unfinished craft can be freely left at the workplace.


How to assemble a simple peony from paper only?
Of course, those who have not previously worked with corrugated paper in principle should get to know it, that is, do something extremely light with their own hands. To make a simple peony, you need pink, purple and green paper.
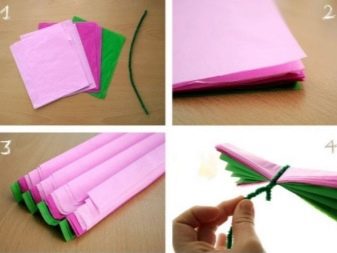
In stages, everything looks like this.
- Rectangular blanks are made in all three colors, the size is 10 by 8 cm.
- The leaves are stacked on top of each other so that purple paper is inside. Two layers of green are enough, but 5-6 pieces of pink and purple leaves are needed.
- The paper is folded like an accordion.
- The squeezed accordion in the middle must be tied with chenille green wire. If there is none, you can replace it with copper, only for a start it must be wrapped in green corrugated paper.
- Trim the edges of the accordion with scissors so that they become semicircular. Roll the ends of the wire together to form the stem of the flower.
- Sequentially it is necessary to lift one paper layer at a time, form a bud.
- In the same way, a part of a flower is made from purple paper.
- Bottom green layers should be straightened because they mimic leaves. The petals are straightened to make them look natural.
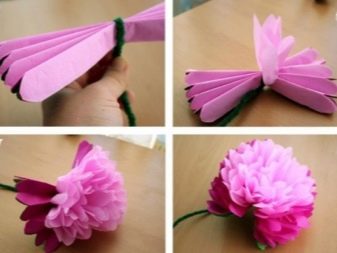
This is the simplest MK, which will take a minimum of time, but the flower will turn out to be lush and beautiful. There are probably even easier instructions where you can do without wire - just one paper, but the strength of the products immediately becomes less pronounced.
Option of a bouquet with sweets
Candy flowers are another popular theme, as they become a sweet gift as well.
To make one flower of such a composition you will need:
- candy (round);
- skewer;
- scissors;
- a piece of mesh (instead of it, you can take cling film or double-sided tape);
- glue gun;
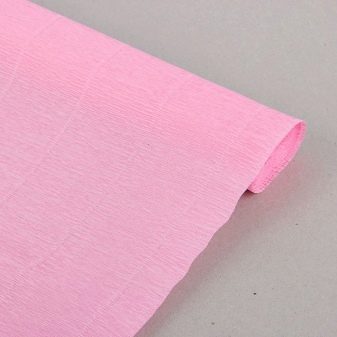
- floristic "corrugation" of the desired shade.
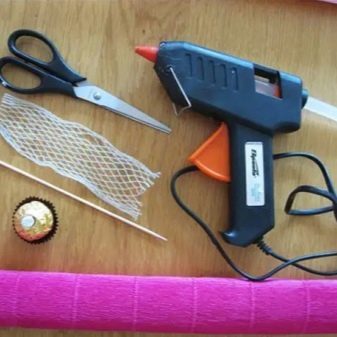
The master class consists of a number of steps.
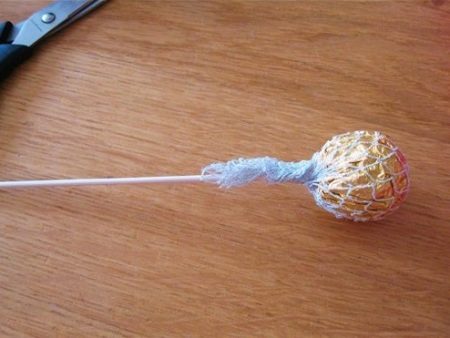
- Gently get the candy out of the brown paper wrapper, wrap it up - neatly again, fine work - in a mesh. Apply a drop of glue and attach to a skewer.
- Then the corrugated paper needs to be cut. Make 3 strips 2 cm wide, 3 strips - 3 cm each and one strip - about 5 cm. Anyone who is experienced does this by eye.
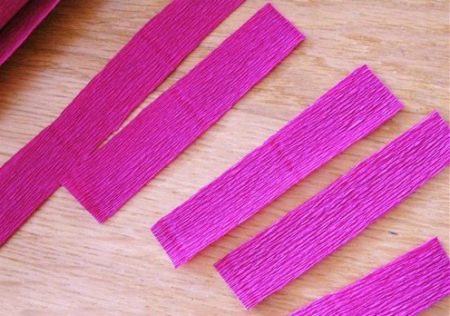
- Each strip is cut into 5 identical pieces. One peony will require 35 such details.
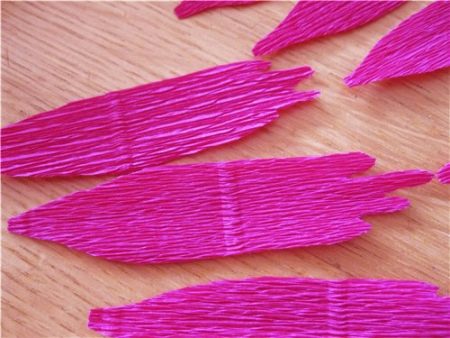
- Each two-centimeter strip must be cut as shown in the figure. You need to cut it arbitrarily, without achieving the sameness of the petals (this does not happen in nature). Three-centimeter strips are fantastically cut out.
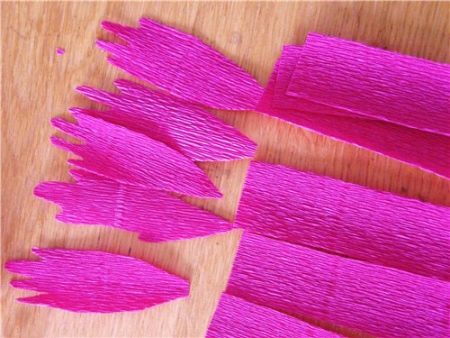
- Then both of them need to be bent with fingers and scissors.
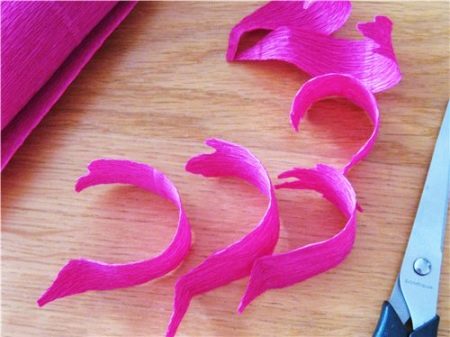
- Now you can start placing green parts around the candy (you will need 7 of them for the first circle, 7-8 for the second) and then glue the three-centimeter petals, also in two circles. There will be 4 layers in total.
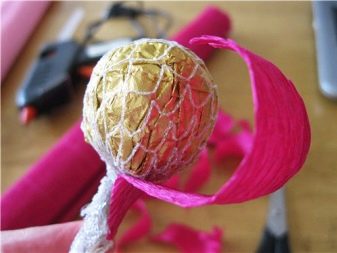
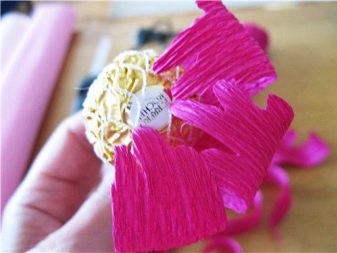
- It is always necessary to glue, maintaining some layering, that is, an overlap. A flower is already emerging, but the end is not yet near.
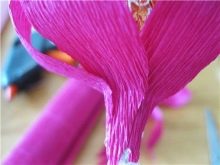
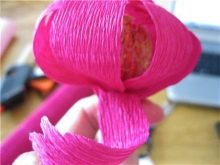
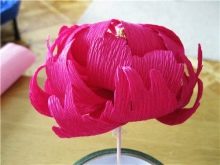
- It is necessary to take strips 5 cm wide, also cut into 5 fragments. These will be the lower petals. They are cut in the shape of the shoulder blades, stretch and bend with scissors, the petal becomes convex.
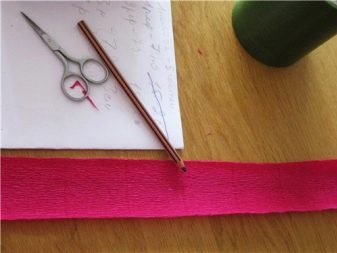
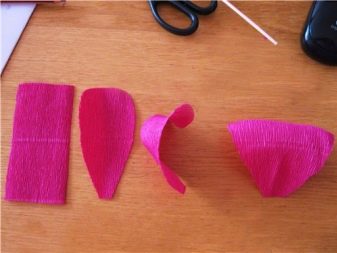
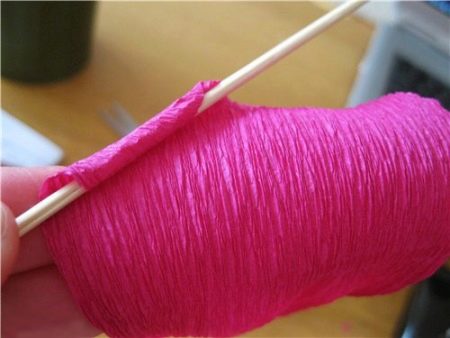
- Then the edges of the petal must be twisted with a skewer.
- And now the finished lower petals are glued from below.
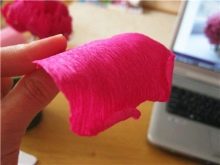
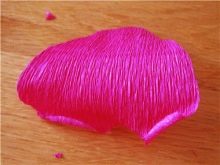
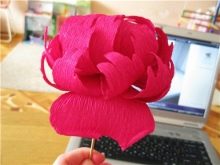
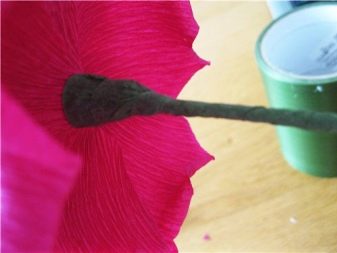
- A strip of green "corrugation" is wrapped around a skewer (without gaps), only at first its tip is placed on a drop of glue. And at the end there will also be a fixation on it.
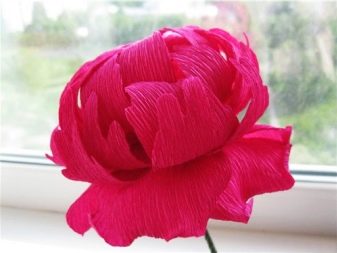
One flower is ready - a large crimson peony, very accent in the composition. But it still has to be made pink, because the bouquet will be multi-colored. For him, a pink "corrugation" of two shades is useful: you need to cut 2 light stripes of 2 cm each, 1 dark one - 2 cm each, 3 dark - 3 cm each and 1 dark one - 5 cm each.
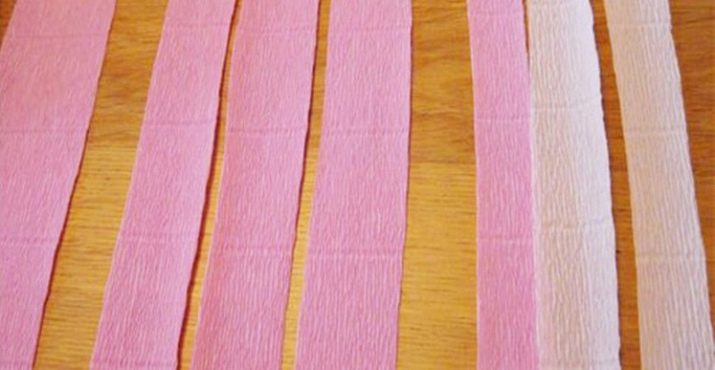
How to make a pink peony - just 2 steps with differences from the first MK:
- Glue light pink petals in the first circle, and in the second - alternate light and dark, then the third;
- pink and white peonies are made according to the principle of burgundy, but the lower petal row is glued on the contrary: in burgundy, it was bent outward, in white and pink, the bottom should rush inward.
To make a bouquet in a basket that looks gorgeous, you need to create 3 flowers of different shades, this is at least. Then you will need to cut out the green leaves, which will make the composition more realistic. They are already fixed at the end when the basket is assembled. The number of leaves is not determined in advance, but only after the bouquet is collected and it becomes clear how much greenery is needed.
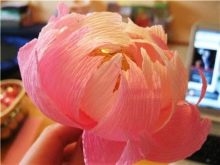
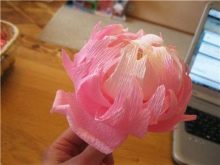

Making a growth peony
A growth peony is a huge flower, an ideal decoration for a festive hall. You can make such items and then sell them to decorators - or rent them out. But it will take a lot of corrugated paper and time to make a very large flower.
What is needed to create it:
- a cardboard coil (usually culinary parchment or foil is wound on this);
- 2 or 3 rolls of corrugated paper - it is better if these are sheets of different shades, but related (light pink and pink, for example);
- glue gun;
- tape tape;
- scissors.
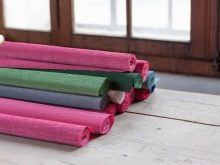
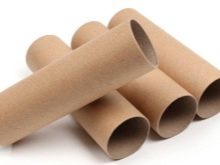
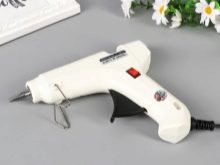
Here's a step-by-step guide.
- Unwind a meter of paper from the roll, cut into 3 identical fragments. Fold one such element in three. Cut through the side sections, not reaching 5 cm to the edges. Divide the resulting strip into 3 parts, keeping in mind the distance that will become the base of the flower.
- Round the edges of each part with scissors, creating petals. Expand the entire petal tape, then fold it like an accordion and twist it. The petals need to be spread with your hands, giving them a shape.
- Gather the paper tape in folds, and then fix it on a cardboard tube with a glue gun. Above - fixation with tape.
- 5 more of the same petal beams need to be made, only they are already assembled without a cardboard base - they are simply wound up with tape.
- All petals are connected with hot melt glue and fastened with tape on top. This is a lush middle, it is ready. Now a large-petal peony corolla is being made.
- Measure out 1 meter of corrugated paper, halve it. Fold the strip in three, separate the side bases with scissors, do not reach 6 cm to the edge. Make the top wavy. Expand, assemble with an accordion, twist the lower part, straighten the petals.
- Cut out a circle of 18 cm in diameter from cardboard, make a cross-shaped hole in the middle. Glue the petal strip along the edge of the circle.
- Fold the second strip of paper in three, separate the sides, but just round the edges. And again unfold, fold like an accordion, twist and straighten the petals. Glue the tape on the other side of the cardboard circle.
- Make another such "skirt", fix both with hot melt glue to the lush base of the peony.
- Cut off a meter of paper, make 2 stripes of round petals out of it. Cut them in two, straighten them, form a depression in the middle. Glue these petals onto the flower.
- It's only about the largest petals. You need to take another 1 meter of corrugated paper, fold in half, cut in half.
- Each strip will have to be folded 6 times, split the sides, round the petal edges, twist and unfold. And these petals should be glued to a cardboard circle with a diameter of 23 cm.Again the "skirt" is fixed to the flower.
- The large flower is already lush, but if you want, you can add more petals to the middle. There will be an even more magnificent composition.
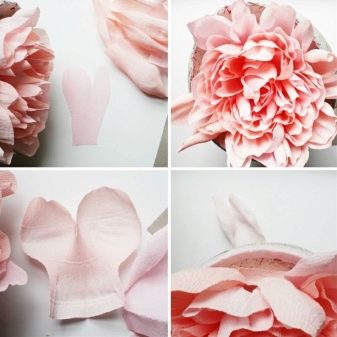
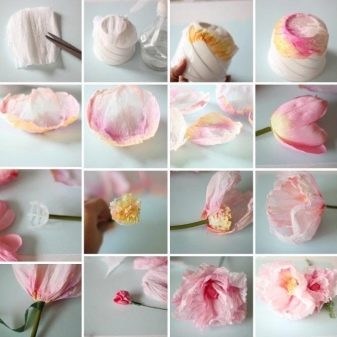
Sometimes the peony is decorated with rhinestones or beads, thereby creating the effect of dew drops on it.
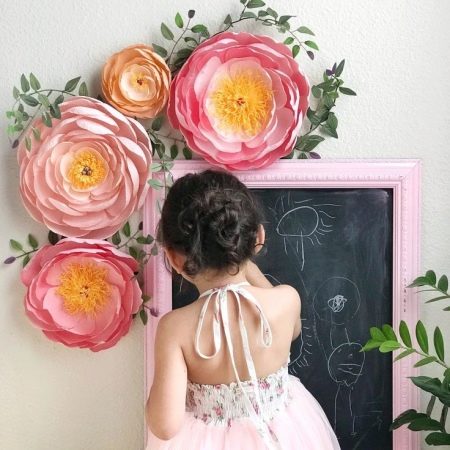
This MK is compiled only in relation to the bud, these are usually attached to the walls, decorative "backdrops", creating a special background. And these peonies are also considered growth peonies. But if you want to make a huge flower on a leg (that is, standing), you can leave the same bud, but the leg will have to be made separately.
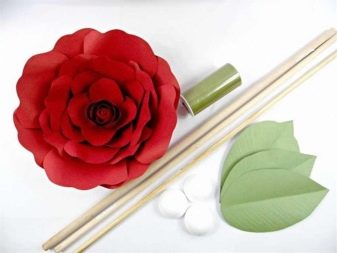
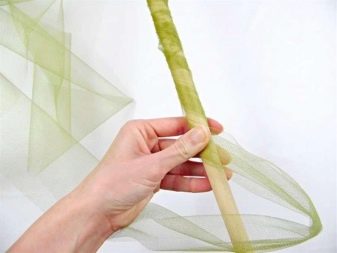
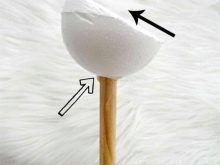
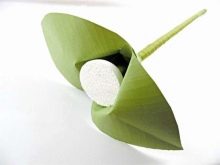
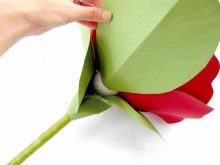
To create a stem, you will need a 2 cm diameter wooden pole (you can get a little bigger), foam balls 10 cm in diameter (you need to cut them in half), green cloth and paper, and glue. The pole must be wrapped in a green cloth. Alternatively, you can paint it with spray paint, but the craft looks more elegant with matter. A hole is made in the half of the foam ball, which should match the diameter of the pole. This half element is pushed onto the stem and fixed with glue. At the same time, it should be located at a slight angle.
Of course, the styrofoam ball should not be visible, which means it needs to be hidden with large green leaves.
A bud is glued to the flat part of the ball (how to make it is shown step by step above). Its foam blank is still visible - you need to cut out additional leaves, close the white ball with them. The stem is ready.
If necessary, it can even be stuck into the ground on the street - the structure will remain stable.
And a few more important recommendations for making flowers from corrugated paper.
- Cotton wool can be used to make the core for the flower (if it is decided that it should be visible). A ball rolls out of it, which is then wrapped in yellow corrugated paper. And at the bottom of the core, you can add green paper - and fix everything with glue.
- If you have to work with wire, you need to stock up on wire cutters or pliers.
- Scissors for cutting petals will require both large sharp and manicure scissors.
- If you decide to make dew on flower petals, you can use rhinestones, beads, or better - pearl beads (it is as realistic as possible).
- To get a special shimmer of large decorative flowers, you can generously spray them with glitter varnish (there are silver and gold sequins there), in the sun or in the evening it will look especially impressive.
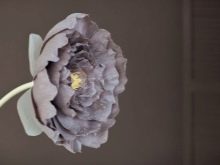


Sometimes growth peonies are used as a place where gifts are hidden, for example: a box with a ring, certificates or something like that.
These little things, indeed, will be pleasant to find in the midst of lush petals. And a gift for a child can also be put there. And at the same time, make a photo session next to the flower. By the way, it is convenient to make the child's annual birthday cards next to the peony - it will be seen how the baby is growing.
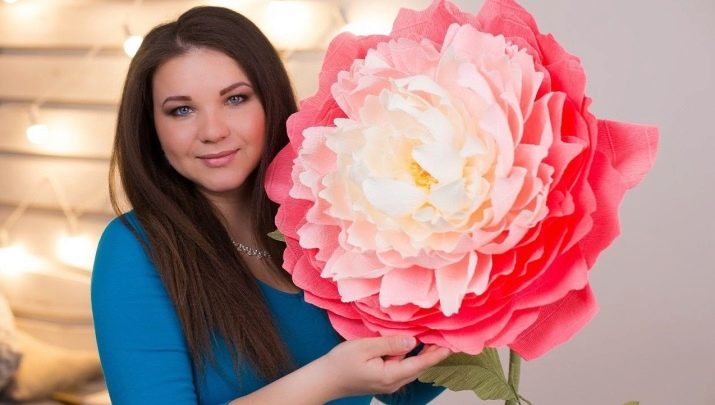
It will take just a couple of hours to make a growth peony from corrugated paper with your own hands. To do this, you need to watch the following video.


