Corrugated paper roses
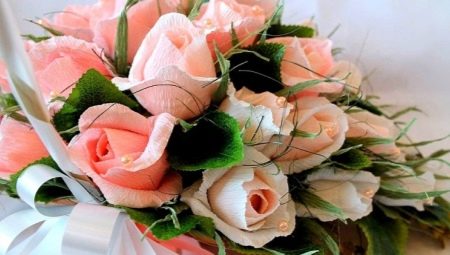
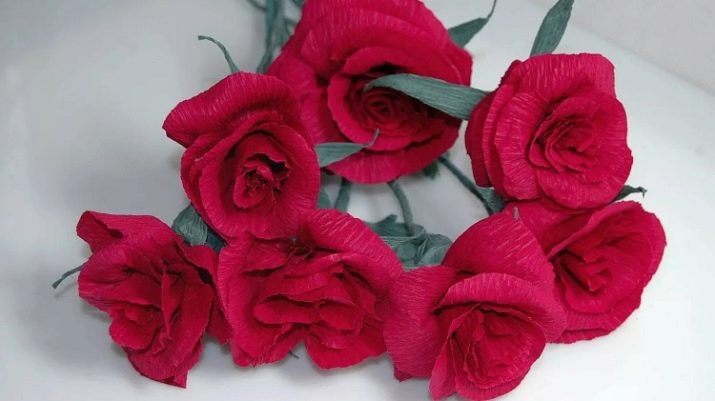
Corrugated paper is a pliable and very interesting material from which you can make a huge variety of crafts. Flowers made from such paper are spectacular and original. In the article we will look at how you can make beautiful roses with your own hands.
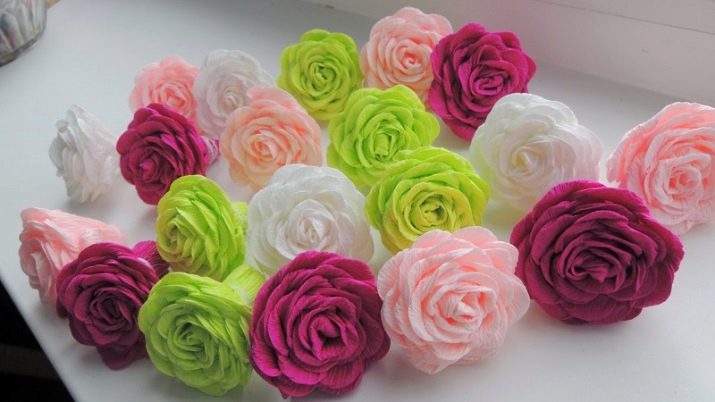


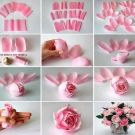


What will it take to work?
Corrugated paper is an affordable and original material that is very easy to work with. From this component, both experienced and novice craftsmen can create interesting crafts of indescribable beauty. Especially spectacular and unusual are corrugated paper roses. To create such things, you first need to prepare a number of basic components.
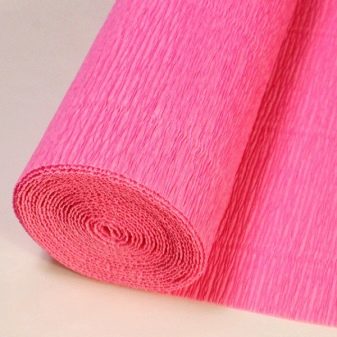
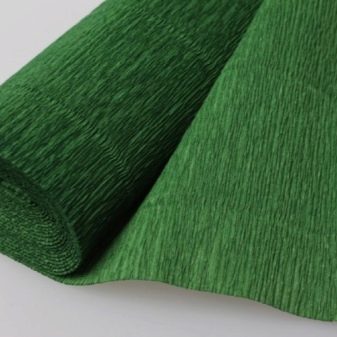
First of all, you will need to prepare sheets of corrugated paper of a suitable color. Rosebuds are most often made from red, pink, white or yellow material. Of course, the master can also make unusual flowers of non-standard colors - there are no restrictions on the choice of colors. Quality corrugated paper is sold in many stores today.
The product can be found in retail outlets where stationery and everything for creativity are sold.
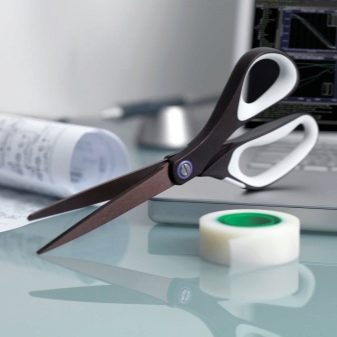
Creating beautiful flowers from corrugated paper is impossible without the use of handy scissors. This tool should be selected with particular care. Stationery should have as sharp and sharpened blades as possible. If the scissors are blunt, it will simply not be possible to make even and neat cuts. Because of this, the appearance of the plant-based craft can be seriously affected.
To make paper roses, you usually need a wire base. Most often, this component is used to model a beautiful and stable stem of a future plant. And also it is necessary to prepare a high-quality adhesive composition.
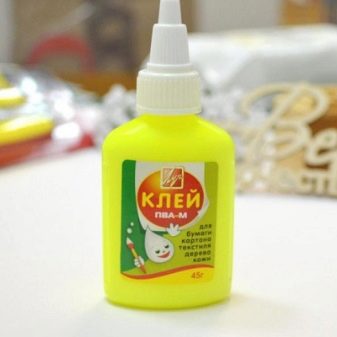
As a rule, the use of standard PVA stationery glue is sufficient. In some cases, a more powerful glue of the "Moment" type is used.
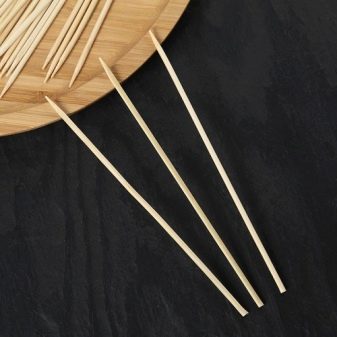
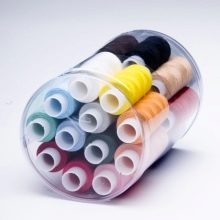
Instead of wire, the craftsman can use wooden skewers. They will also serve as an excellent base for rose buds from corrugated paper. Many workshops involve the use of threads to make paper roses. Usually, with the help of these components, the masters tie up individual elements of the composition, for example, petals.
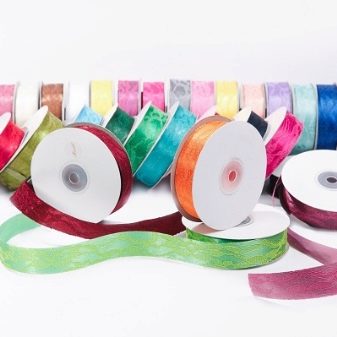
To make the craft even more spectacular, bright and elegant, it can be supplemented with various decorative elements. Paper flowers will be adorned with multi-colored satin ribbons, beads, decorative accessories and other similar components.
How to make roses out of paper only?
Cute and neat corrugated paper flowers can be created not only by experienced, but also by novice papermakers. There are many interesting master classes suitable for inexperienced craftsmen. Let us consider in detail how you can easily and quickly make the simplest roses with your own hands, using only corrugated paper of suitable colors without additional decor.
- In this case, the master will first need to prepare red and green paper. And you will also need a wire base, adhesive and threads.
- At the first stage, you will need to very carefully cut a strip from a red paper sheet. The length of this part should be 58 cm, and the width should be 19 cm.
- Now the blanks will need to be neatly folded together with the long sides. After that, the lower part of the paper parts should be greased with adhesive. This should be done along the paper "grains".
- Next, the halves must be glued together.
- You will need to make a blank for future petals from a sheet of cardboard. Suitable dimensions for a convenient template are shown in the diagram.
- The prepared strip, cut from red corrugated paper, will need to be carefully folded in the form of an accordion. Next, the made template of future petals is applied. The part can now be easily cut by moving the scissors along the outline of the template. To make one paper rose, you need to build only 15 petals. Their size is selected individually - both small and large options are suitable.
- Now the paper petals need to be turned out, making the upper edge wavy, and the lower one even, straight.
- The master will need to wind the first harvested petals as tightly as possible on a wire base. With subsequent blanks, it will be necessary to do the same, but a little freer, without excessive winding density. A neat rose should be formed from these elements.
- The petals will need to be carefully tied with a thread of a suitable color. Thus, these corrugated paper components will be securely fixed on the wire backing.
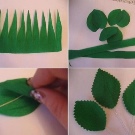
- To make sepals, you need to take green corrugated paper. The length of this base should be 12 cm, and the width should be 9 cm. With scissors, it will be very carefully cut through the cloves on one of the sides. The optimal length of the prongs is 7 cm.
- At the next stage, you will again need to take the adhesive composition. They will need to lubricate an even part of the prepared sepals. Further, these components can be easily glued to the previously formed rosebud.
- The next stage is the preparation of the petals, the length of which is 7 cm. They are cut out, greased with glue, after which a wire base is inserted in the center of these parts, the rest of the components are pressed.
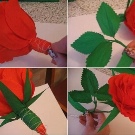
- To cover the wire on the petals, you will need to use a strip of corrugated paper. After that, all the finished parts are attached to the stem.
At first glance, this master class may seem complicated, but in fact it is extremely simple to perform. The main thing is to act strictly in stages and be careful.

Option of a bouquet with sweets
Ordinary bouquets of paper flowers turn out to be original and effective, but compositions with sweets come out even brighter. Such a craft can be presented as a creative gift or an addition to the main present.
To model such an original craft, the master can use materials of different colors. For example, a two-color or three-color composition can turn out to be elegant and bright. The master can independently choose the color combinations that he likes the most.


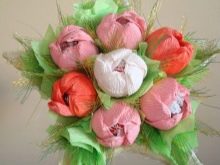
Let's look at step-by-step instructions on how to make an original paper bouquet with sweets correctly. For each beautiful flower, the master will need to cut one blank from red corrugated paper. The size of this component should be approximately 75x85 mm. And also a green blank is also useful. Its size should be 75x50 mm.
In the next step, the master will need to very carefully cut two corners in a circle on the short side of the red rectangular component. For this purpose, the paper blank is pre-folded in half. Now a piece of green paper is first folded several times, and then 2 corners are carefully cut using scissors with sharp blades. After these actions, pointed ends should remain on the workpiece.
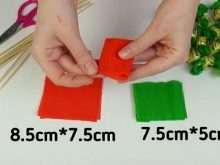
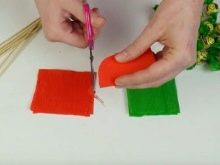
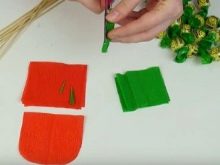
The green roll of paper does not need to be unwrapped yet, but the sharp ends must be twisted. You can unfold the workpiece after these manipulations. The red leaf will need to be carefully stretched in the middle of the rectangle. This will form the base for the subsequent placement of the candy. Now the sweet component can be freely, but very neatly, placed in the central part of the paper red bud. Previously, the master should bend the tails of the candy wrapper if these parts interfere with the neat execution of the flower.
Next, you need to take the adhesive composition. They are used to process the paper from the inside on the underside of the flower bud. You will need to install a stick at this place. The latter will play the role of a rose stalk. At this stage, you can use a skewer or toothpick. The glue-coated paper blank is wrapped around the stick-stem, while fastening the bud. On top of the formed twist, it will be necessary to reapply the adhesive composition. After that, the bud in its lower part is wrapped with a previously prepared strip of green corrugated paper.
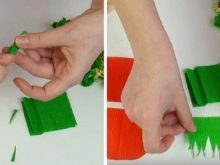
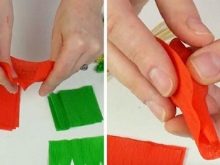
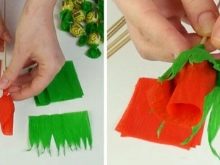
According to similar instructions, the master will need to make the rest of the flowers for the subsequent formation of a lush bouquet. So that the original bouquet made does not begin to crumble and lose its correct shape, it can be tightly tied with a thin elastic band for money.
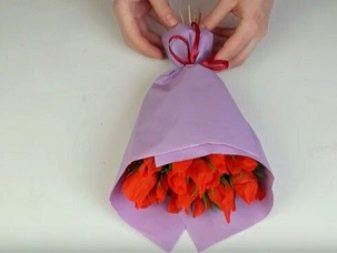
The formed bouquet can be beautifully complemented with aesthetic packaging material. You can do with ordinary colored paper in bright colors.
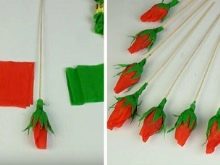
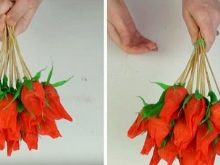
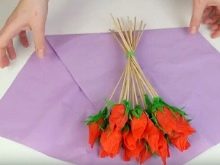
As a result, you should get a very beautiful and unusual bouquet of paper roses with candies hidden in the buds.
To create such an interesting product, the master can use absolutely any candy. Most often people use "Rafaello" or other round-shaped sweets for this.

More ideas
There are many more interesting ideas for creating beautiful roses from high-quality corrugated paper. Many master classes are extremely simple, but there are also quite complex manufacturing schemes. So, from corrugated paper people create wonderful volumetric figures, decorative decorations for the interior, spectacular gift compositions.
For example, a paper craft in the form of roses with sweets in a neat wicker basket turns out to be very cute and creative. To model such a charming composition, the master will come in handy:
- corrugated paper of 2 different colors (the choice of colors is selected based on the wishes of the master);
- candies;
- any basket of suitable size and appearance;
- wooden skewers;
- threads;
- scissors;
- glue sticks;
- glue gun;
- green teip tape;
- organza;
- sisal fiber;
- decorative elements;
- stationery knife;
- floral sponge or oasis for flower stand on skewers.


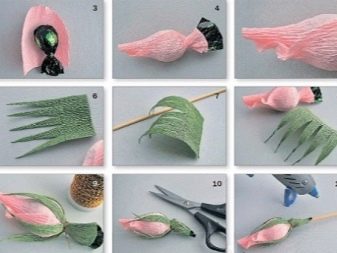
Let us analyze in detail each stage of making a beautiful craft in the form of paper roses with sweets and a basket.
- First, the craftsman will need to carefully cut the corrugated paper to create the buds. This should be done in the form of strips of 5-6 cm. After that, the strips are cut again to make rectangles. 6 rectangular parts should come out of one strip.
- Next, a green tape is taken. From it you will need to cut similar rectangles, as during the preparation of parts for the buds. The master needs to cut sepals from the available elements. Using a skewer, you will need to twist their edges.
- At the next stage, each rectangle, which is intended for assembling a flower, will need to be rounded and trimmed. The formed paper blanks are gently stretched, moving away from the center. Now you should put the candy into one ready-made rectangle, and one "tail" is squeezed at the same time. Thanks to such actions, the sweetness is completely hidden, it becomes invisible. The candy must be twisted to form a bud. The lower part is then tied with a thread so that all components are securely fastened.
- Now the sepal will need to be wrapped around the sweet bud made. It is better to fasten the part with a thread. Using a glue gun, you will need to fix the skewer, and the excess paper should be cut off. According to a similar scheme, the master will be able to make a sufficient number of paper roses.
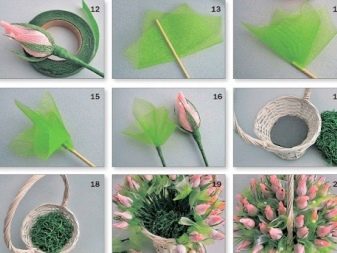
- Next, you will need to cut the organza into square blanks with dimensions of 5x5 cm. The squares are rolled up and then glued to the skewers, as shown in the diagram. After that, the skewer itself will need to be wrapped with green tape.
- A suitable base must be cut out of the sponge for the future paper bouquet of roses. The dimensions of the "stand" must correspond to the dimensions of the selected basket.
- The prepared base is placed in a basket, and sisal is laid on top. After that, the finished paper flowers with organza are inserted into a sponge. In this case, the master can adjust the height of the skewer independently. It is recommended to place homemade plants closer to each other.
- It is recommended to additionally paint the finished interesting craft with the use of sparkles, or decorate with various elegant components: beads, rhinestones, satin ribbons, and so on.
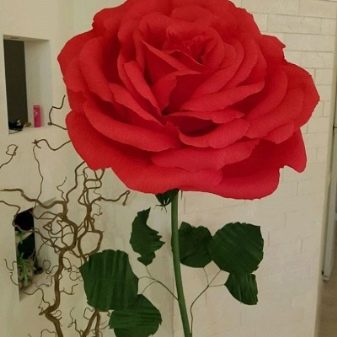
If you don't want to make a simple bush rose, you can build a large growth structure. To do this, the master will need:
- corrugated paper of green and red colors;
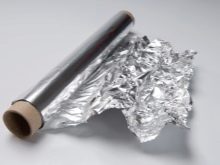
- a small amount of foil;
- metal-plastic pipe with a diameter of 16-20 mm for the manufacture of a leg;
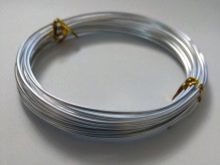
- wire base with a diameter of up to 2 mm for leaves and stem.

We will find out how this beautiful volumetric craft is done correctly. First, the red corrugated paper is cut into strips, the width of which is 12-14, 15-17 and 18-30 cm. The available paper blanks of different sizes are halved. Smaller strips are bent in half, and then oval parts are cut out in the form of a drop.
The blanks of future rose petals are stretched with your fingers in the middle. This must be done so that the parts acquire the structure of a hemisphere. Similarly, you need to form large and medium rose petals.
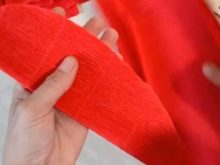
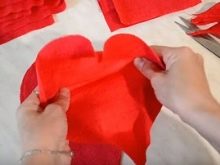

In the next step, the master will need to prepare the middle for the flower. This part will be a ball with a diameter of 200 mm. To make this component, you need to take a piece of foil. You will need to place scraps of paper in its central part. Next, the foil is wrapped and the entire contents are rolled up in the form of a ball. To further secure the bud on such a stand, a hole is made in the ball for a pipe. The hole should be 16 mm in diameter. The core of the flower is then pushed onto the pipe.
To prevent the bud from falling, its core should be fixed with hot melt glue. Next, the master will need to wrap the core of the pink bud with brown paper. Then the foil balloon is covered with some red petals. They can be fixed with glue in the form of a gun.
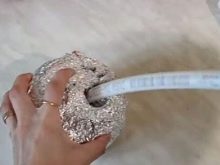
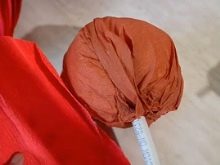
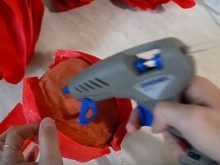
As a result, you get the core of the bud. At the next stage, the made petals are sequentially glued to the finished core. In this case, hot glue is used. The petals in the composition should overlap each other.
The smallest ones are glued first. The glue is applied only to the bottom of the blanks. Next, the middle, and then the largest petals from corrugated paper are sequentially attached.
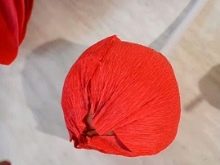
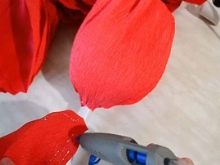
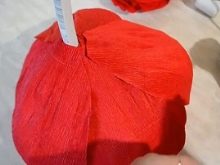
When the glue solution is completely dry and set, it is advisable to carefully spread the petals in different directions. This must be done to make the bud of the growth rose look more lush and attractive. Next, the master must start making the leaves. To make them, you need green paper strips with a width of 60-70 mm. Green blanks are cut in half, giving the shape of leaves.
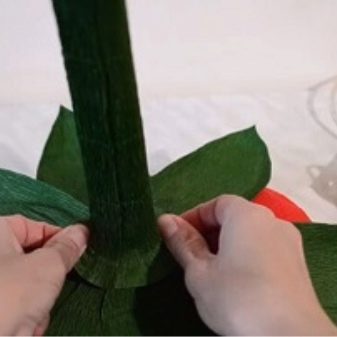
These parts are gently stretched to add volume. The finished leaves will need to be glued one by one around the entire perimeter of the bud. Next, you need to make a cover for the pipe. To do this, you must use green paper. The craftsman should cut strips of corrugated paper with a width of about 60 mm. The edges of the blanks are glued together to form a tube-shaped blank.
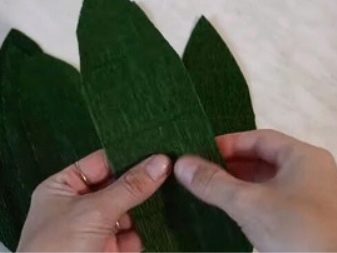
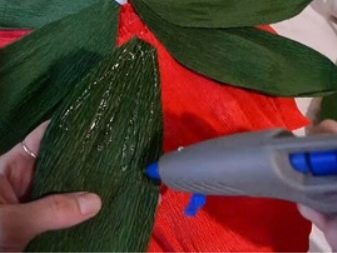
The edges of such a "cover", which will cover the bud, are carefully stretched. Now you need to prepare a piece of pipe to make a reliable base. This component is coated with adhesive, then a cover made of green paper is put on the pipe. The latter must be squeezed for a stronger fix. The wide part of the cover should cover the areas with leaf attachment at the base of the bud.
The lower half of the pipe is rolled up in the shape of a ring so that the craft has a strong and stable base. Several pieces of wire can be screwed onto the pipe to attach the foliage to the stem. The joints are then wrapped in green corrugated paper. The latter is fixed with glue. They make large green leaves, attach them to the wire with hot glue.
In the next video, you will find a very simple way to make roses from corrugated paper.


