Plasticine bas-relief
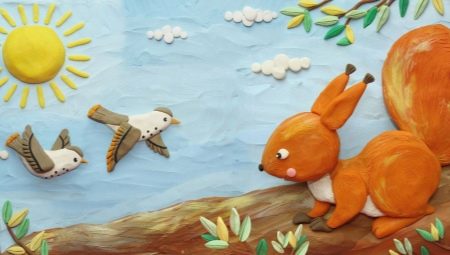
A bas-relief is a complicated version of the technique for creating a plasticine image... This requires some skill, the ability to combine different colors and accuracy. This technique should be studied from simple jobs, gradually moving on to more and more complex ones, as in any business.
Modeling of plasticine bas-reliefs is used by children of preschool and primary school age. After all, this seemingly simple lesson develops the creative abilities of children and spatial thinking.
Peculiarities
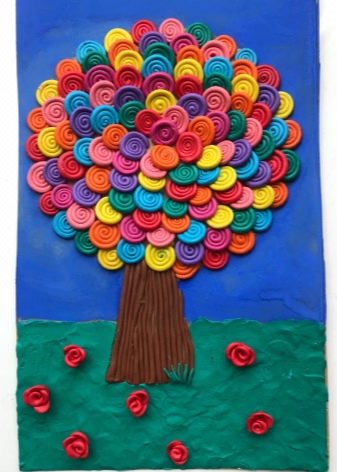
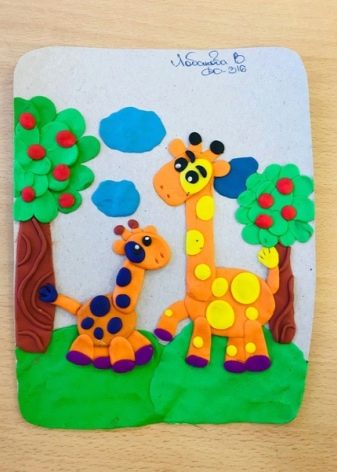
Making bas-reliefs from seemingly simple plasticine makes you feel like a young sculptor. After all, this material is very similar to clay. One of the options is to create volumetric animals. However, the subjects of the paintings are often ornaments, plants and much more. It all depends on your individual fantasy and imagination.
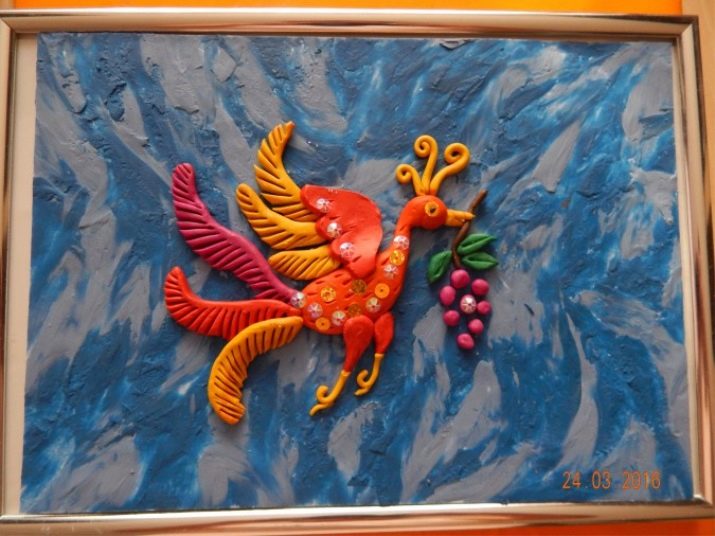
The creation of a plasticine bas-relief can be carried out in a variety of ways. They are determined and depend on the specifics of the work. The choice of method can be influenced by the size of the future painting and much more.
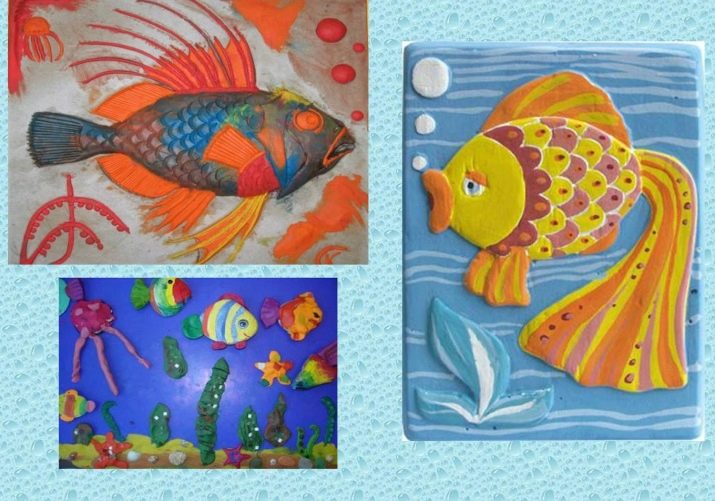
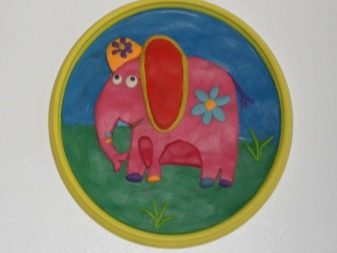
Plasticine bas-reliefs come in various sizes. For example, oval or square.
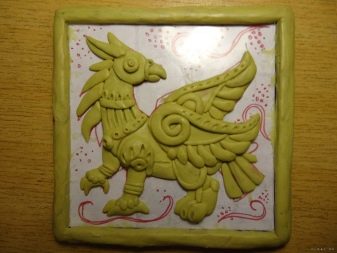
For production, you will need a picture, which we will transfer to the bas-relief. You will also need a base, a set of stack and a number of other tools. We use cardboard, wood or other material as a basis, depending on your preferences. You will also need a sculpting board.
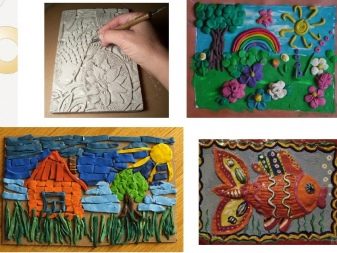
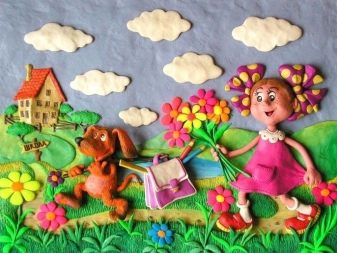
To begin with, we decide on the plot of the future painting and draw a template or a future sketch on paper with a simple pencil.
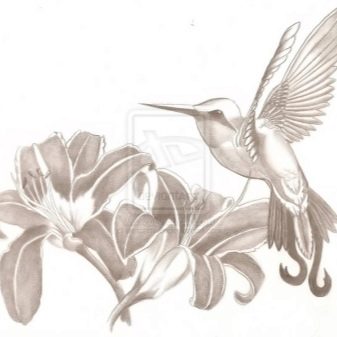
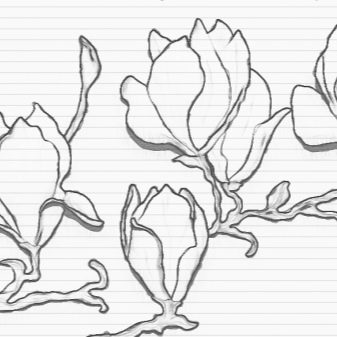
At first, the future relief has a flat surface and looks like an oil painting. But then, thanks to the bas-relief modeling, the figures appear above its surface.... Such work comes in different shapes, it can be round or square. Plasticine is applied using a stack or with your fingers.
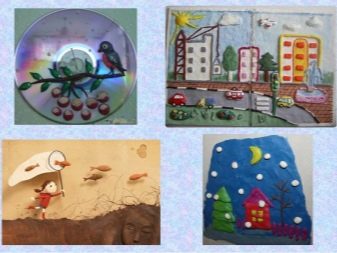
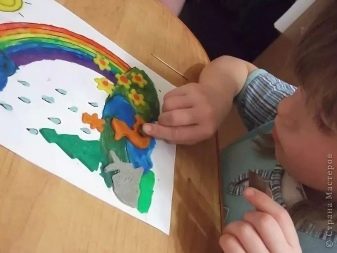
You can add relief to a painting using various methods:
- using a stack;
- by creating parts;
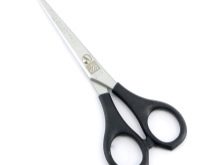
- scissors, etc.
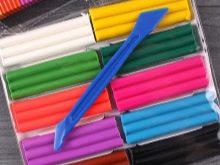
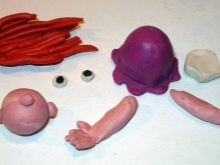
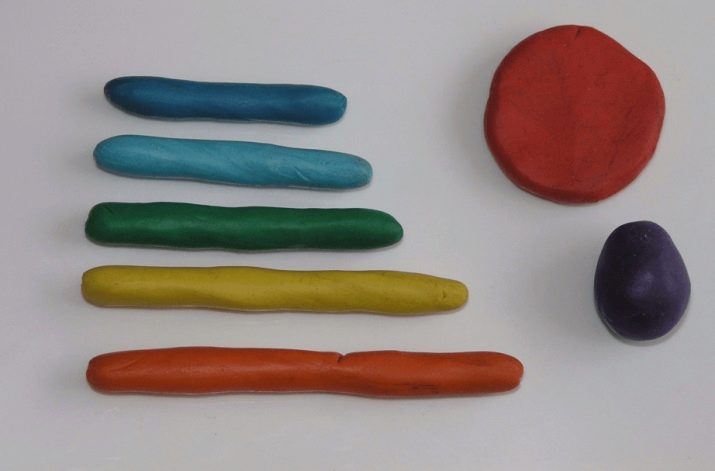
Use rollers to make thin stripes. We make longer details of the picture from small rollers. Before that, they are pre-cooled. When applied to a bas-relief, the rollers increase in width. In the manufacture of such details of the bas-relief as petals or various curls, heated plasticine is used. It is usually squeezed out through a syringe. And with an awl or a comb, you can get such an effect as ripples or sea waves. To make the leaves, use a stack or scalpel.
In the case when the elements of the bas-relief are difficult to make, they are pre-prepared on paper, cut out and attached to the picture.
To store such plasticine bas-reliefs, a transparent film or glass is used as a protective coating. Such paintings should be protected from sunlight and heat.
If irregularities occur, smooth them out with fingers moistened with water. The front details of the composition should be more prominent. It should be noted that such plasticine bas-reliefs can be made on cardboard, glass or paper. Depending on the base material, the technique of applying plasticine also changes slightly.
Of the methods of sculpting bas-reliefs, it can be noted:
- rolling out;
- smoothing;
- smearing, etc.
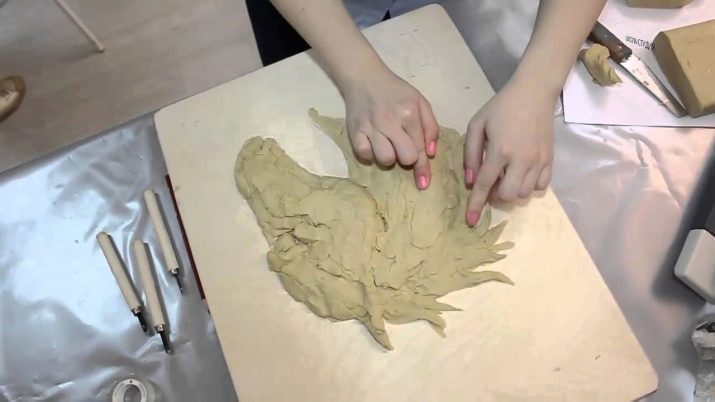
It should also be noted that this art form develops fine motor skills in children very well.
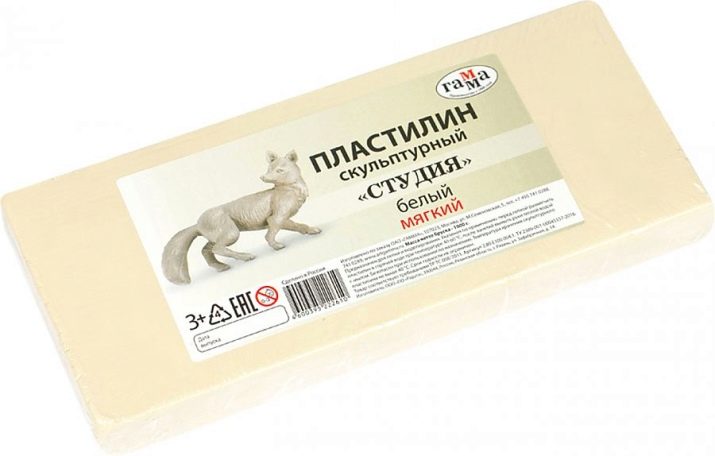
Sculptural plasticine is used as a material for sculpting bas-reliefs, which must be chosen correctly, since quality is a very important aspect. Such plasticine is much more flexible than usual. When choosing it, it is necessary to take into account such points as its elasticity, the ratio of softness and hardness. Also, it should not leave marks on surfaces and crumble. Sculptural plasticine melts easily under the influence of temperature.
Simple option
Now we will consider a simple version of how, step by step, with our own hands, you can blind an easy version of a bas-relief for children. For this we need the following materials:
- plasticine of different colors;
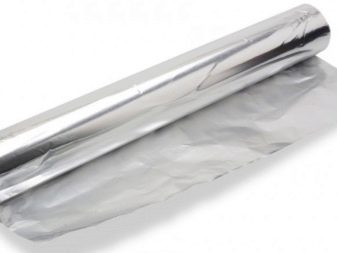
- foil;
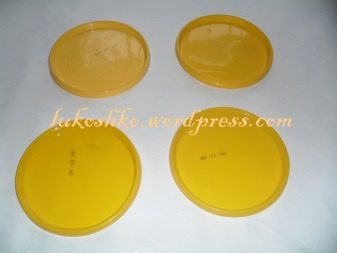
- plastic cover;
- threads;
- paints;
- stack.
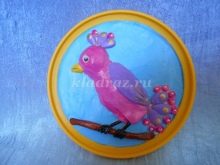
Let's make a bird.
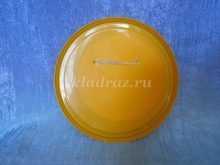
- First, take the plastic cover and punch holes in it.
- Then we thread a thread through it. After we fix it. Fill the inside with a thin layer of background material.
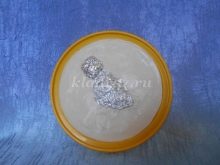
- We make a substrate. We make a head and body from foil. Apply a layer of plasticine to the substrate and make a wing.
- Then we make out the branch and the tail of the bird. Further paws. We add all the missing small elements of the picture.
- We decorate the background and color our bird. The work is ready.
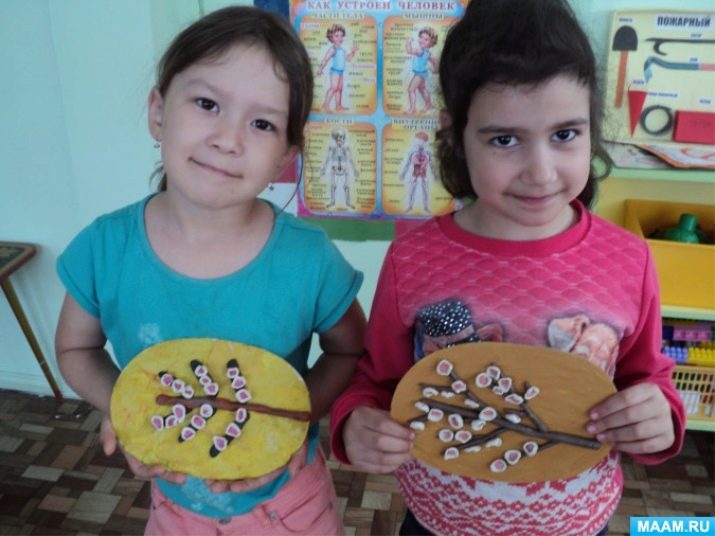
How to make a tree?
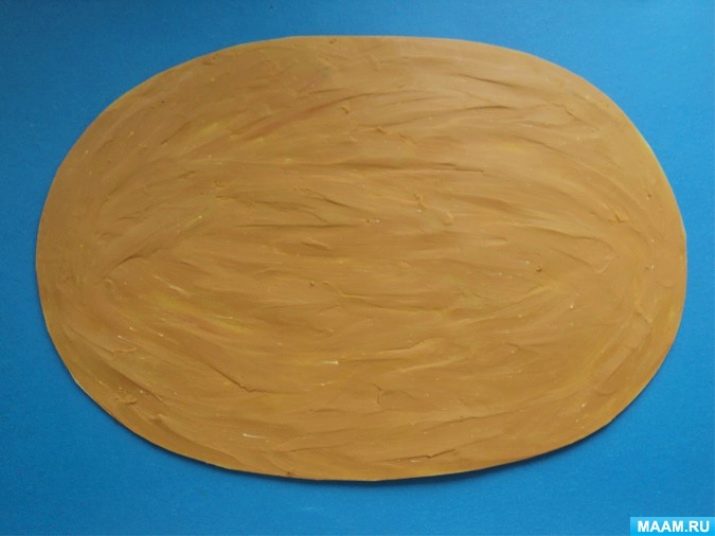
First, let's prepare a background for the tree. Having chosen the desired color, we apply it to our base.
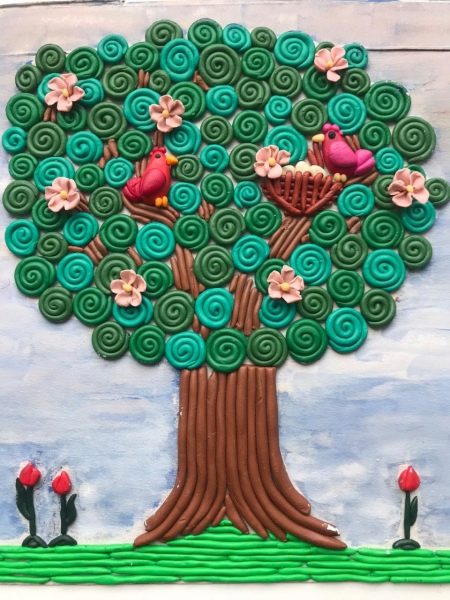
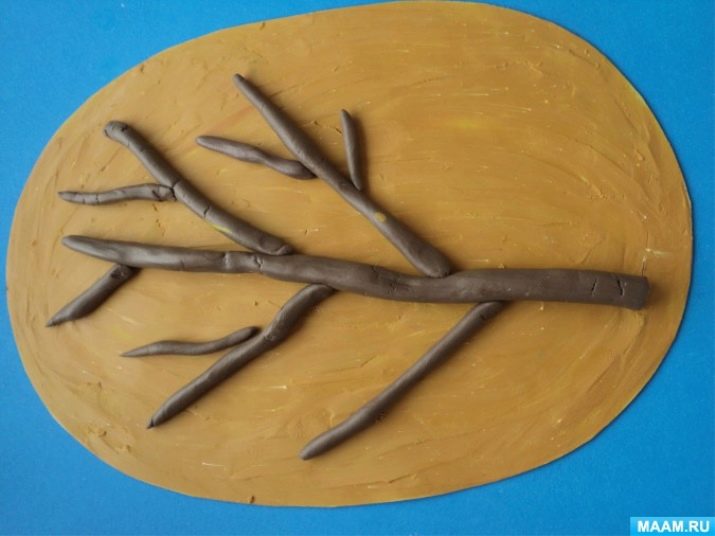
Then we sculpt the trunk and branches. To do this, roll up one large sausage and a slightly smaller brown one. We form a tree.
For flowers, you need white and pink plasticine. We roll up the pink circles and frame them with white plasticine. We place flowers on the branches.
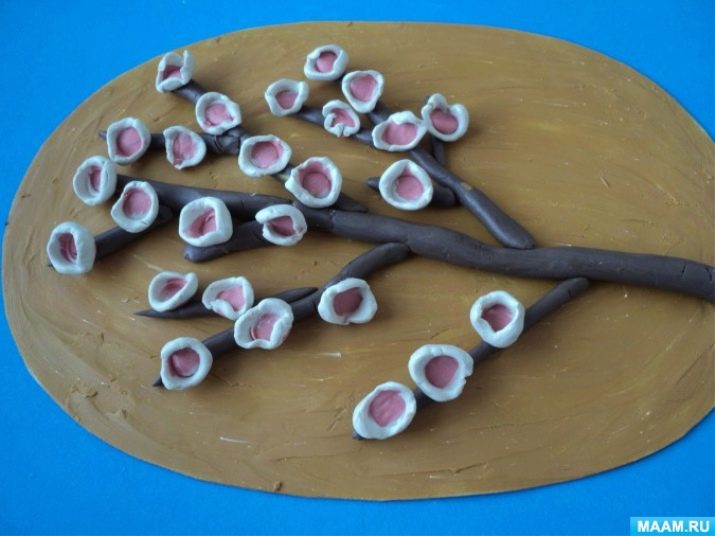
Leaves can be added from green material. The tree is ready.
For information on how to make a bas-relief of a cockerel from plasticine, see the video below.


