How to make a model of the water cycle in nature from plasticine?
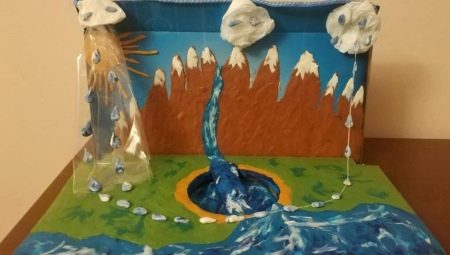
Plasticine models help to more realistically display and visualize various processes and actions. They contribute to the rapid assimilation of information and understand the essence of a certain phenomenon, which is very important when presenting material to preschool children. Therefore, it is necessary to make a model of the water cycle in nature from plasticine only together with the child. If you adhere to all the rules and recommendations, then the work can be done at home.
Tools and materials
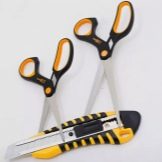
To create a model of the water cycle in nature from plasticine, you will need the following tools:
- scissors;
- stationery knife;
- plastic knife for plasticine or a special stack;
- two plastic boards for modeling plasticine;
- watercolor paints, a set of colored pencils or felt-tip pens;
- pliers.
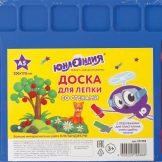
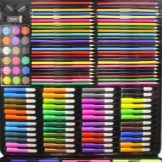
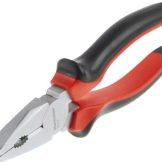
Consumables will require:
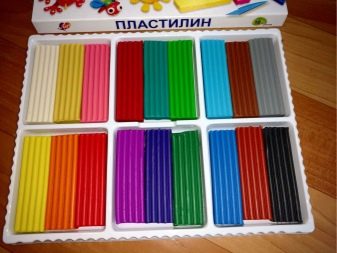
- a set of colored children's plasticine in bars;
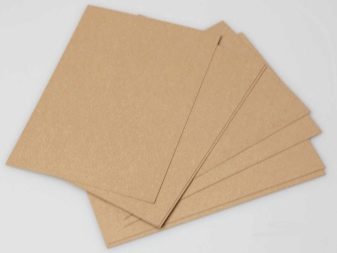
- a sheet of cardboard;
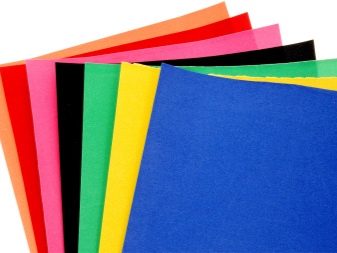
- thick colored paper;
- a piece of thick aluminum wire (from 30 to 50 centimeters);
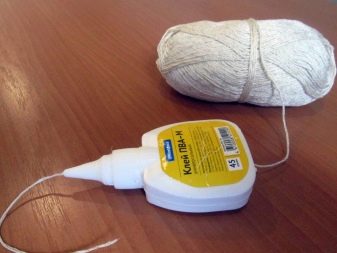
- PVA stationery glue;
- rags;
- container with warm water;
- thick threads.
How to make?
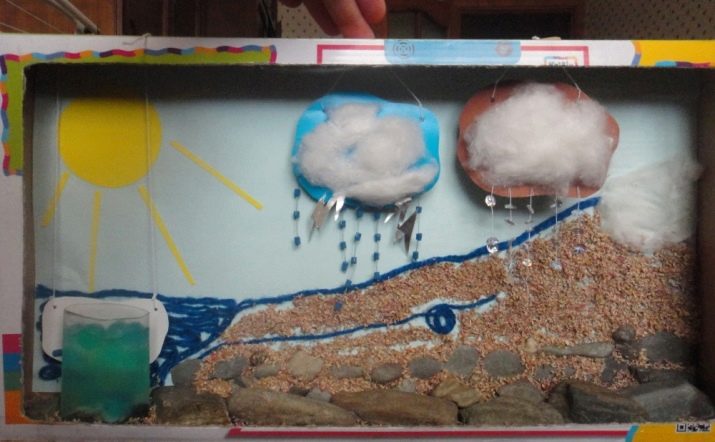
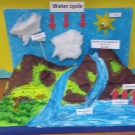
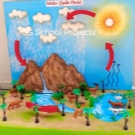
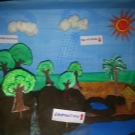
With your own hands at home, you can make two types of models of the water cycle in nature: on a piece of paper or cardboard in the form of an applique, as well as a more serious design like a 3D model.
The choice of a craft option should depend not only on personal preference, but also on the child's age. After all, it is desirable that he does most of the work on his own: this will be useful both for the purpose of learning about the world on a specific model, and for general development: modeling from plasticine perfectly develops hand motor skills.
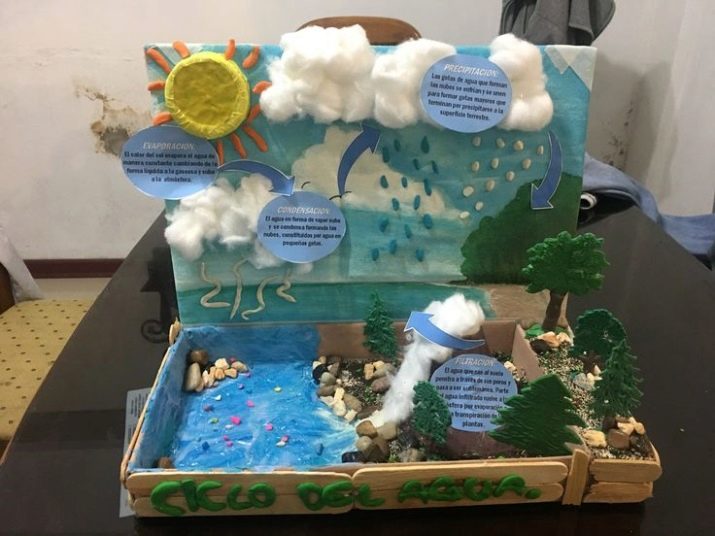
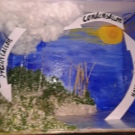
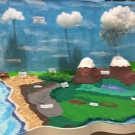
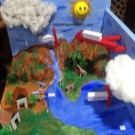
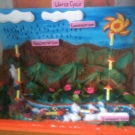
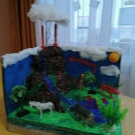
For preschool kids, an applique craft is more suitable, since it requires less effort and the necessary materials. Primary and secondary school children can, with little or no help from adults, mold and build a model of a three-dimensional 3D model with their own hands.
Before making any model, it is recommended that you first make a sketch or drawing, and use it to sculpt the craft.
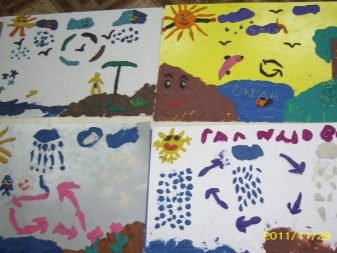
Application
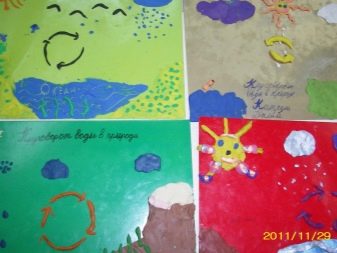
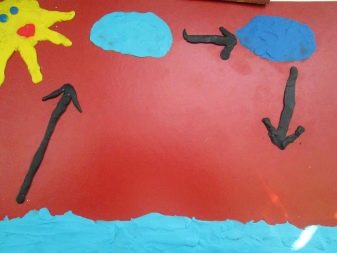
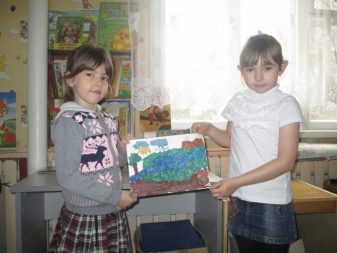
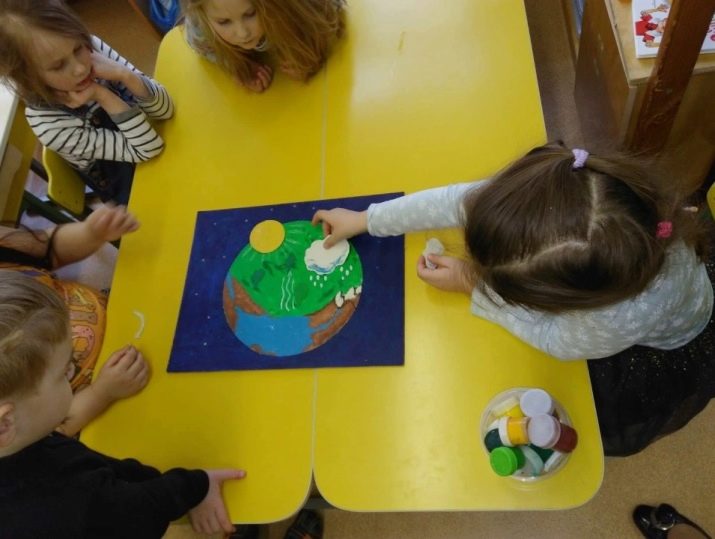
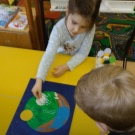
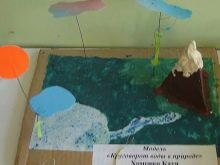
A model of the water cycle in nature from plasticine in the form of an applique is created on thick paper or cardboard. Visually, it looks like a diagram of the displayed natural phenomenon. The manufacturing process of such a model consists in the phased gluing of individual elements of the cycle, molded from plasticine, onto a dense surface.
If you decide to work with thick paper, then it is better to choose white or blue: on a light background, you can create any composition, while blue will help to display the sky and ocean, which are necessary according to the conditions of the model. A better quality model will turn out on cardboard, but it should not be too thick. If you make the base from improvised means, then you can cut it out of a shoe box or packaging from small household appliances. The ideal option would be to purchase a special white cardboard in a specialized stationery store.
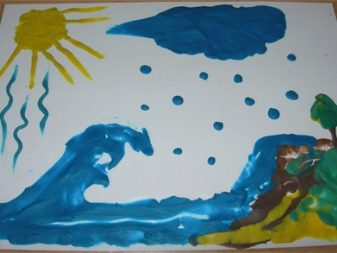
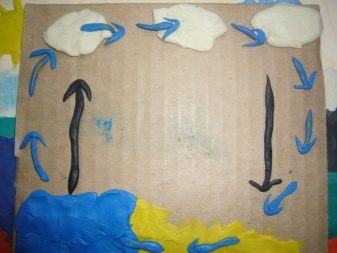
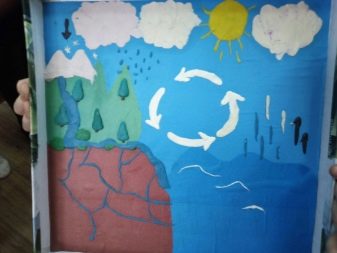
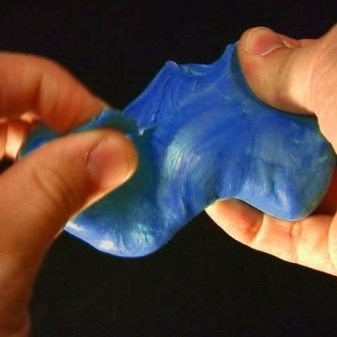
Plasticine for application should be warmed up (kneaded in hands) especially carefully, then it will better adhere to the paper. If it turns out that it is overheated, and the material has become too soft, starting to stick to your hands, you can slightly moisten your palms with warm water. It is important to ensure that at the same time individual pieces of plasticine do not accidentally mix in color: in a softened form, it will be impossible to separate one color from another.
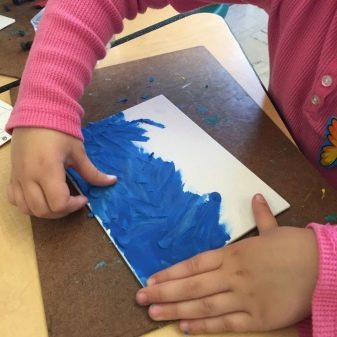
Step-by-step instructions for creating a model of the water cycle in nature from plasticine in the form of an application is as follows.
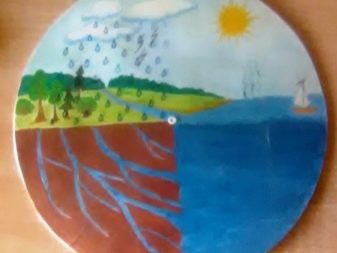
- Cut a circle of 20 by 20 or 30 by 30 centimeters from cardboard or a sheet of thick colored paper. Draw a sketch on it with paints or pencils, depicting a diagram of the future model. It is advisable to draw all the details as clearly as possible: this will help in the future to quickly select and sculpt elements from plasticine of the desired color and size. You can work with a square or rectangular (standard) sheet of cardboard or paper. But on a round basis, thanks to its appropriate shape, the process of a natural phenomenon will visually look more understandable for the child, the baby will quickly understand the essence.
- In addition to the basic elements of the model, on paper you can depict houses, people, animals, whose life depends on the process of the water cycle on the planet. Such work in an educational institution will be rated much higher, it will be especially relevant for school-age children. Some of the additional elements and characters can be sculpted from plasticine, too complex parts can be painted with paints, made from colored paper.
- Based on your sketch, mold and make the appropriate details and elements from plasticine: raindrops, clouds, sun.
- The mountains and the ocean at the bottom of the model will take up a lot of space, so it is better not to sculpt them out of plasticine, so as not to make the craft heavier, but to make them from colored paper. Then, having pasted the paper on the model, stick to it only individual small parts from plasticine: snowy peaks of mountains, lambs on the water surface, fish.
- Rain and flashback can be depicted both as drops and in the form of a kind of "sausage". In the manufacture of such "sausages", so that they are even along the entire length, you need to roll the plasticine between two boards.
- In the same way, you should roll out on a plate and make yellow plasticine rollers, which will display the sun's rays evaporating moisture from the Earth's surface on the model.
- Clouds on the model do not have to be of the same blue color. For example, on the left side of the model, where the precipitation process will be shown, the clouds can be darker, thunderclouds.In the right corner, where the sun promotes the evaporation of water, it is better to make the clouds a little lighter using blue plasticine or mixing pieces of material of blue and white colors.
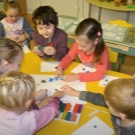
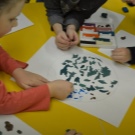
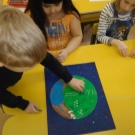
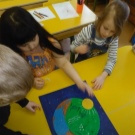
Volumetric
It is much more difficult to make a volumetric model like a 3D model.
You will need to use a special tool here, so this option is only suitable for school-age children.
But even in this case, the help of adults will be needed. You will need to work with pliers to bend the metal wire, the ends of which may be sharp.
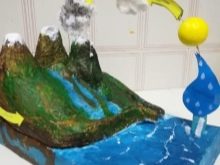
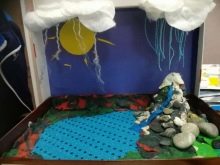
In addition to the materials listed, to create this model, you will need a dense thick base on which all plasticine elements will be installed and fastened. A small piece of thick, thick foam or a short box, such as a box of chocolates, is ideal as a base. When the base is selected, you can start sculpting and creating a layout.
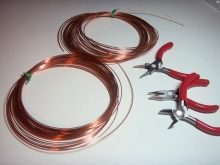
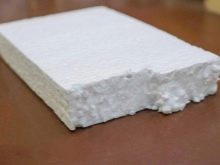
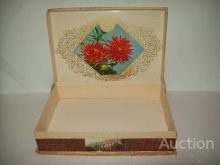
Consider the stages of work on the manufacture of the water cycle in nature from plasticine in the form of a volumetric model.
- Using pliers, bend the piece of wire into an arc, carefully aligning it along its entire length. It is better to take aluminum wire: it is soft and durable, so it will be easier and safer to work with it. A wire made from strong steel that is too tight is difficult to bend, this must be done very carefully, because it can spring back, injuring the hand.
- Insert the ends of the wire arc into the diagonally opposite sides of the foam or cardboard base, thus depicting the firmament, on which the process of liquid circulation in nature will take place. In the future, all the main components made of plasticine will be attached to this wire, so the arc must be securely fixed. You need to make sure that it stands firmly on the foundation.
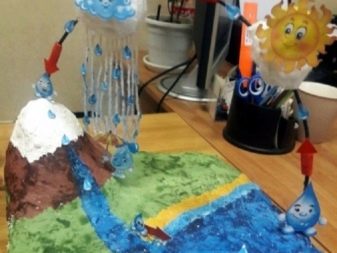
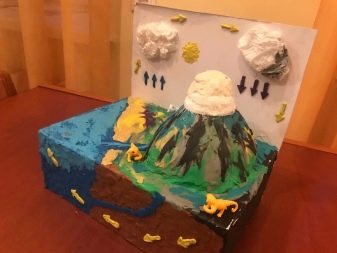
- Taking a few blocks of brown plasticine, knead them well and warm up the material. Then, recreating the shape of a mountain or rock, sculpt the corresponding shape on one edge of the base. This should be done so that part of the wire arc runs along the center along the entire rock: stick plasticine over the wire, depicting a high hill or mountain. Attach the snow-covered tops of white plasticine on top. Several tops can be made to maximize the resemblance to a real mountain.
- Next, attach dark clouds of blue plasticine to the wire (at a short distance from the mountain tops). To make them thunderous, add a little black to the blue material.
- Glue equal pieces of rope or thick thread to the resulting clouds. The length of the segments should be such that they reach from the arc to the surface of the base. This will display rainfall and snowfall. The ropes can be tied in advance to the wire in the appropriate places, and already on them clouds from plasticine can be sculpted.
- Fasten drops of rain or snowflakes on the hanging threads by sculpting them from white, blue and light blue material.
- Break off half a bar of yellow plasticine, heat and soften it in your palms, and then roll a large ball - the future sun.
- Attach the ball in the middle of the wire arch. Attach rays to it, making them from yellow plasticine rollers. The rollers, as in the case of the applique, are best rolled out using two boards. Do not make them too long: the length of the match will be quite enough.
- Stick several matches into the solar ball from different sides, then fix the previously prepared beams-rollers on them.
- On the other side of the sun globe, you can also tie threads on which the water droplets rising up will be placed. Or, immediately make several large drops of plasticine and glue them not to the ropes, but directly to the wire, placing them in such a way that it is clear that the water rises here.If threads are used, then for them you also need to stick drops in such a way that they seem to rise up and not fall.
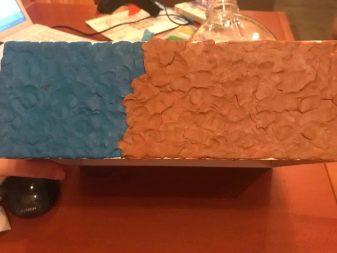
- The surface of the base should be divided into two equal parts diagonally - draw a line.
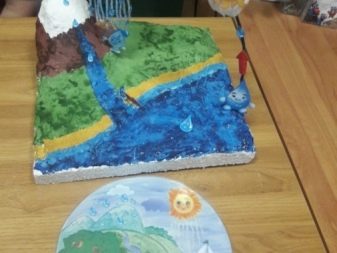
- On the part of the model where the mountains are located, cover up the entire remaining free surface with a layer of green plasticine: it will represent grass. For beauty, on this grass, you can install figures of flowers, people, animals, also sculpted from plasticine.
- The second part of the model should be covered up with blue or light blue plasticine: this will be an image of the ocean, from which moisture evaporates. Here you can also show your imagination and depict plasticine fish, lambs on the waves, a boat or a boat.
- From blue plasticine "sausages" to make streams flowing from the mountains into the ocean: put long rolled pieces of plasticine on the surface of the rocks and among the green grass towards the water surface.
- For clarity of the process and a better understanding of the layout, the direction of the water cycle can be additionally indicated with special arrows: sculpted from plasticine or made of colored paper, then fixed on an aluminum arc in several free places.
Helpful hints
Before making crafts, you should properly prepare the workplace. Modeling will be carried out with the child, and clay that has eaten into the surface of the countertop is very difficult to clean. Sometimes for this you have to use special household chemicals, which can corrode the polish, leaving white spots. Therefore, it is recommended to cover the table with paper or cloth before starting work.
Individual elements of the craft should be rolled out and sculpted only on special plastic boards.
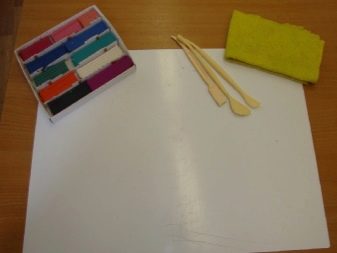
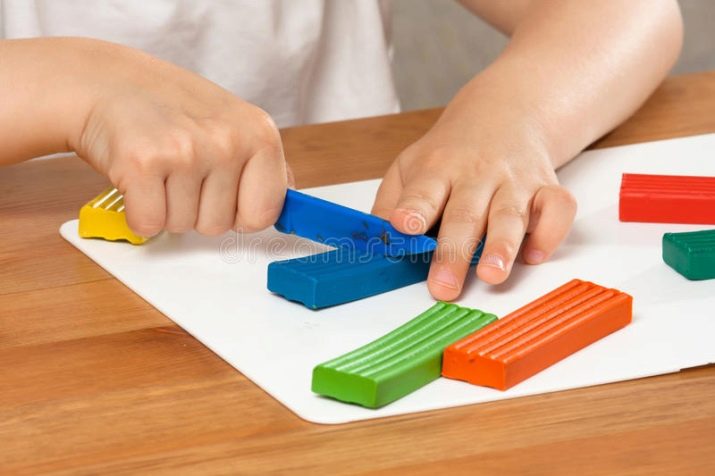
Very often, a special stack for cutting plasticine, which is included in a set with blocks of material and comes with them in the same box, is too small. It is convenient for her to make various cuts or other small work in finished sculptures, but it is better to cut off large, even parts from solid bars with a small metal knife (a small kitchen knife is suitable). You can also use a utility knife with a thick blade. It is recommended to moisten the knife blade with warm water before cutting, then the cut will be smoother.
How to make a layout of the water cycle in nature for a kindergarten, see the video.


