Modeling of faces from plasticine
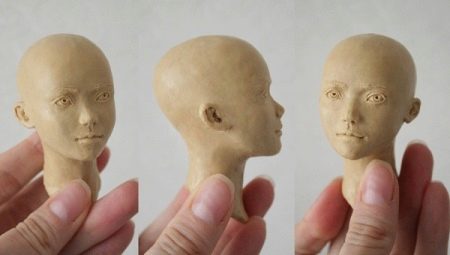
The human face is an interesting and rather difficult topic for modeling from plasticine. But only until the moment you read this article. In it you will learn how to blind yourself or with children step by step a flat or voluminous face.
Useful Tips
Before starting the process of work, it will be useful to know some aspects of sculpting a human head from plasticine. First, the art of portraiture is considered the pinnacle of creativity in both painting and sculpture. Therefore, sculpting a face can cause some difficulties not only for children, but also for adults. It is important to support the child if something went wrong the first time. Ideally, if you are sculpting for the first time, it is better to start with something simple, more flat and understandable, for example, an applique. In this article, we will analyze it too.
Children get acquainted with the basic forms (let's call them forms, although it is more correct to say “figures”) in childhood and, if you help them, they can easily list them: circle, oval, triangle, square, ball, cube and the like. Facial sculpting is based on the same principles as conventional sculpting. By highlighting and changing the basic forms, you can easily cope with a particular task.
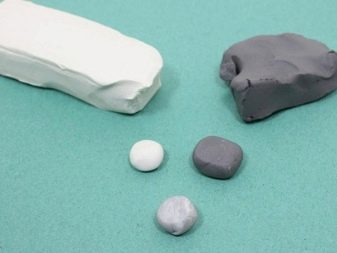
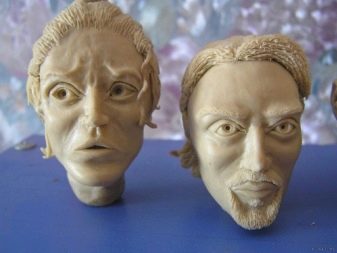
The current plasticine, familiar to everyone from childhood, is produced in different quantities per package, which greatly facilitates the task. However, if the child does not like this or that color or he considers it unsuitable, you can easily mix your own. For example, to create a skin color, you mix white with a little orange, for a blush color, white and pink, and so on.
If the child you are sculpting with is nervous or unsure of his job, do not take it as something out of the ordinary.... The face is a complex shape, consisting of many smaller ones. You can use soothing music or soft, fun music to calm your baby. She will not distract the child, but will make the whole process enjoyable and memorable.
It is important in the process of work to ask the child what color a person (for example, a mother's) eyes are, what clothes she wears, where she is, and so on. So it will be more interesting for the child to study.
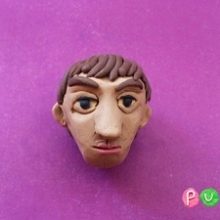

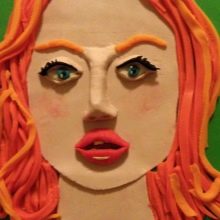
How to make an applique?
Let's start with a simpler option. In sculptural work, appliqué means a planar image. In plasticine, it can consist of several colors - in principle, for children of preschool and primary school age, this is enough to "read" the image.
It is also permissible to use processed plasticine, which creates additional volume: for example, these are "sausages", twisting them, working with plasticine balls, working with a stack. Usually the applique is done on cardboard or any other suitable solid base. The advantage of cardboard is that, being colored, it already acts as a background. It will be easier for the child to work only on the shape of the head and face, and the study of the background can be left for later.
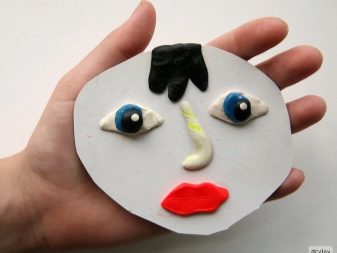
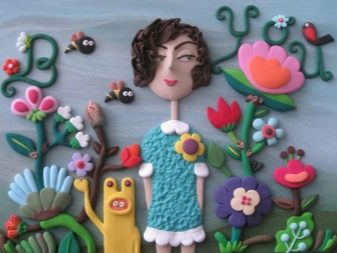
Let's analyze an interesting version of the application. For this we need, in addition to the usual plasticine and stacks, an unnecessary disk. It can be replaced with round or square cardboard. It is recommended to wash your hands before sculpting.
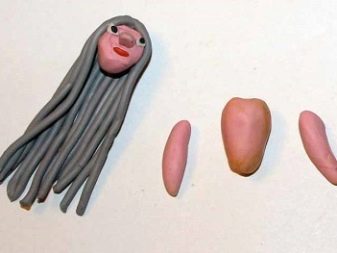
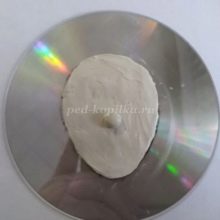
Use a felt-tip pen or pencil to draw an egg. Turn it over - it will be the person's face. You can also depict a face by drawing a regular oval. Take some white plasticine or stir in skin color. Lay it in an even layer within the area you have drawn. Roll a small ball of the same color, about 7-10 mm. Attach it to the plane of the face, just below the middle.
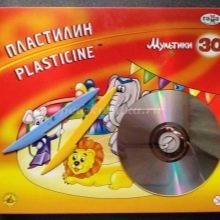


Roll two identical balls of the color you would like to make the eyes. Crush them slightly between your fingers, shape them into an oval shape and place them on the line of the middle of the face. Roll two black and two white balls even smaller (4-5 mm). Flatten and create pupils and highlights.
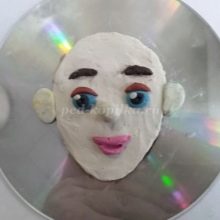
Roll and divide into two even small sausages of brown (or pink) and black (or yellow, brown) colors. It is always better to roll with the palm of your hand so that it turns out smoothly. Attach them like the upper eyelids and eyebrows. On the latter, you can lightly walk with a stack, applying a linear drawing of the eyebrows.
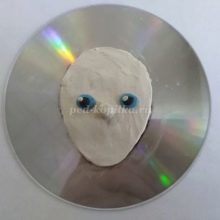
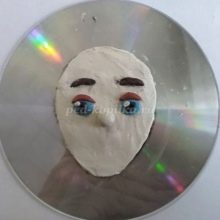
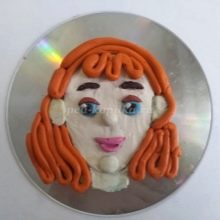
Use pink or red to create the lips. Add ears and chin mass as needed.
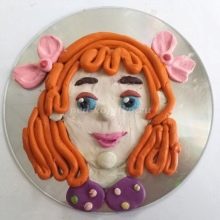
Form a long sausage of equal thickness. Lay it in the same way as shown in the photo. Add items of clothing and accessories. The portrait is ready.
How to dazzle voluminous faces?
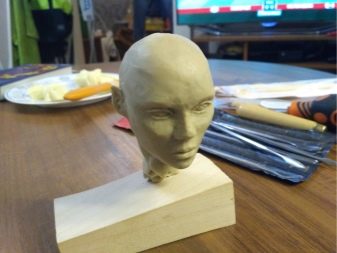
Modeling bulky faces from plasticine requires skill and patience. The technique, which will be described step by step below, is suitable for creating a portrait of a woman, a portrait of a girl or a child. To work on a person's head, we need plasticine and a toothpick. Step-by-step method.
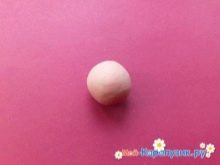
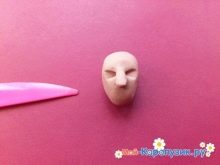
Create a beige color. Leaving a little of the resulting mass so that it is enough for the nose, eyelids and ears, roll the ball and form it into an oval about 4 cm in size. Press with the stack twice at a level just above the middle of the oval - these will be the eye sockets. Attach the spout. Roll up two white identical balls, place them in the eye sockets and use sausages to attach over the eyelid. Make the pupils of the plasticine of the desired color. They can be made from very small flattened balls.
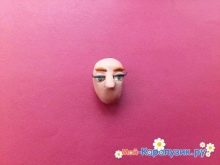
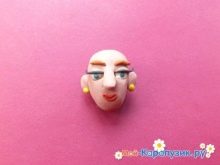
Create black sausages and stick them in place of the lashes. Make eyebrows from plasticine of the desired color (hair shade or other) in the same way. Make lips out of red or pink plasticine. For comfort, gently place your head on a toothpick. We attach two oval ears, possibly with earrings.
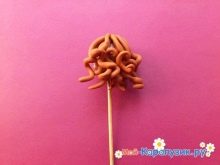
Create many sausages of the same thickness. Twist them if you want curls. Attach the curls. Move from bottom to top so that new ones overlap the lower strands. The volumetric portrait is ready.
If you want to dazzle the face of a boy or a man in the same way, do not make your lips too bright, and also shorten your hair. You can apply them in a single volume (create a "hat" of, for example, brown plasticine, and walk over it with a stack, imitating the surface of the hair).

For information on how to mold a plasticine face, see the next video.


