How to mold Luntik from plasticine?

Luntik is one of the most kind and positive cartoon characters. Such a cartoon can only teach children good manners and correct behavior. Even more benefit from this character will be in the event that you do a developing business - modeling from plasticine. This hand-made craft will give the child extremely positive emotions, make him think about good manners and tone.
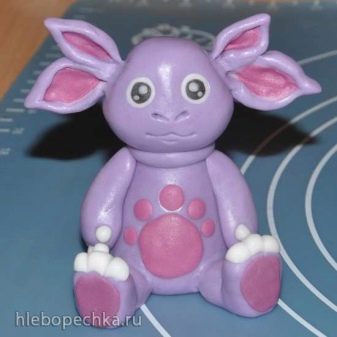
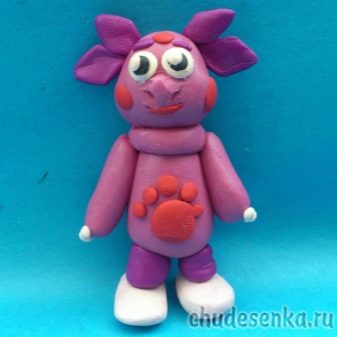
Tools and materials
The process of creating Luntik from plasticine is quite simple, thanks to which any person can cope with it. In addition, this task will require the minimum amount of tools and materials that can be found in almost any office supply store.
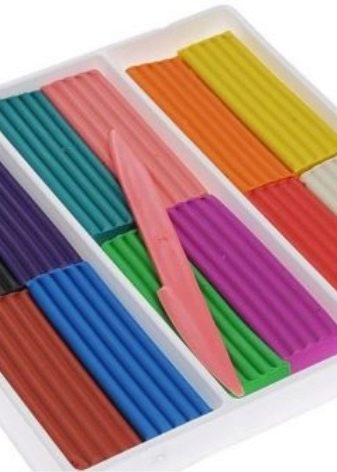
First of all, you will need several pieces of plasticine, among which there must be a pink material.
It is he who will be the basis in the process of creating this cartoon character. You will also need matches and stacks.
Step-by-step instruction
You can mold Luntik from plasticine in just a few steps, if you follow these instructions correctly.
- We take a block of pink plasticine. This color is required if you want to get the most identical copy of the toy. In addition, purple, red and white colors will be used in the process, but to a much lesser extent.
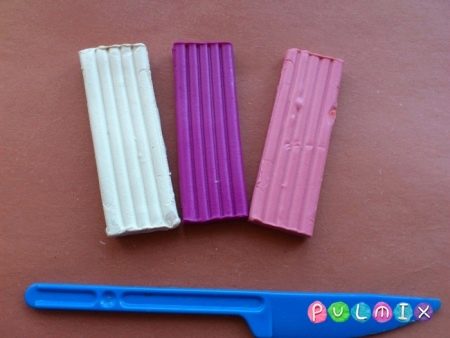
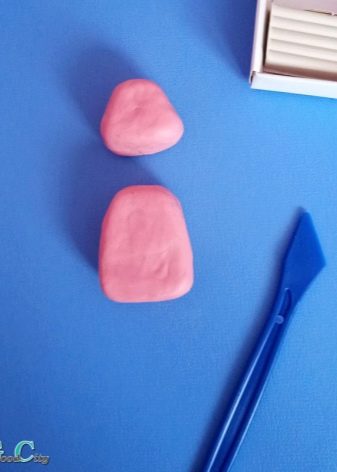
- To create a torso, you need about 2 cm of pink plasticine, for the head - a little over a centimeter, and the rest of the parts will need to be cut into equal pieces to create arms and a neck out of them.
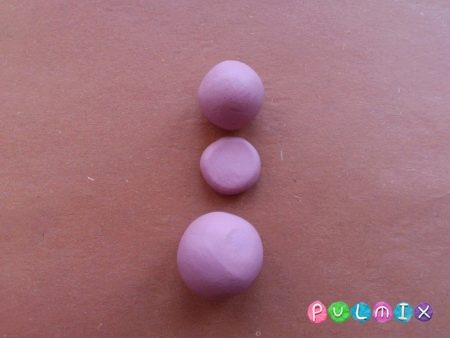
- The largest part of the plasticine must be softened in the hands and made into a ball.... After that, you should give the resulting ball the shape of a cone so that it turns out to be as truncated as possible. It is this detail that will have to be used in the future to create the body of the cartoon hero. Pieces intended for other parts of the body are processed in the same way. When creating hands, you can simply draw out small tubes, the length of which is about a centimeter.
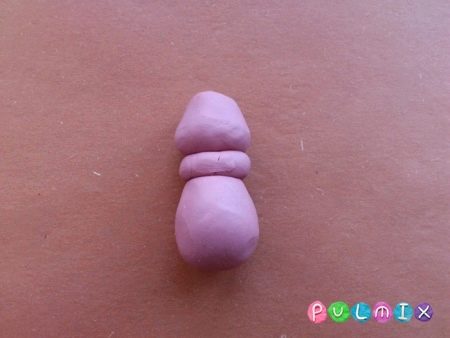
- A pink ring is attached to the upper body, in the center of which there will be a match for setting the head.
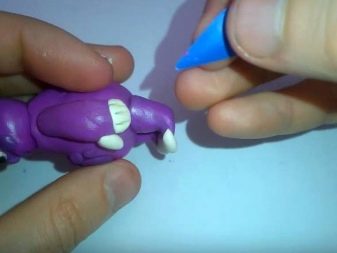
- Now it's time to create on your fingertips, which are made of white plasticine.
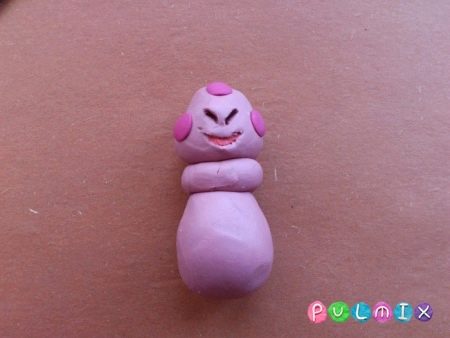
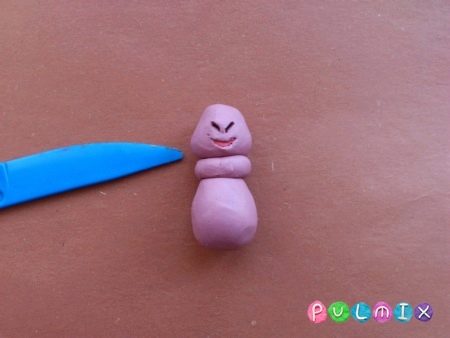
- After all the details of the future Luntik are ready, you can start assembling it. You can draw facial features and other necessary elements using a stack.
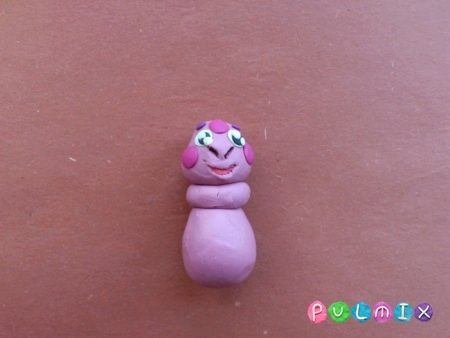
- The final step is creation of the mouth, eyes and nose.
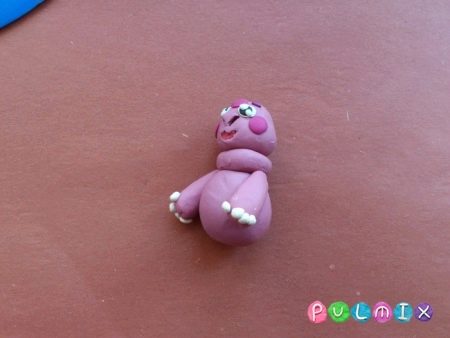
Useful Tips
It is quite simple to make Luntik in stages, but for this it is necessary to use the highest quality materials. It is best to purchase plasticine from well-known manufacturers who have established themselves in the market. The fact is that some products may contain substances that can harm the health of a child.
Modeling will be much more interesting if you preview several cartoons with this character in advance. Thanks to this, it will be possible to force the child to use his imagination, visual memory and, on its basis, create a cartoon character.
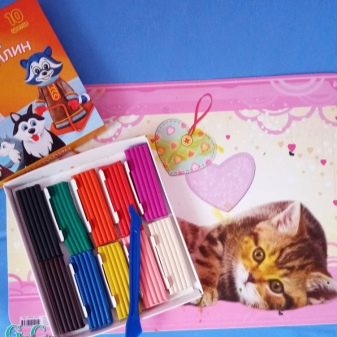

If the plasticine is too hard and you cannot soften it, then you can use a warm surface or a special board for rolling. The latter option is preferable for young children, who usually do not have enough of their own strength to cope with such hard material.
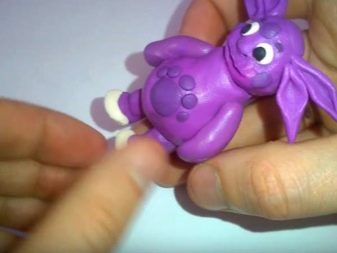
The resulting figure of Luntik will look great on a bookshelf, desk or TV stand... This will also make the child happy, because his work has become an interior decoration, and therefore appreciated.
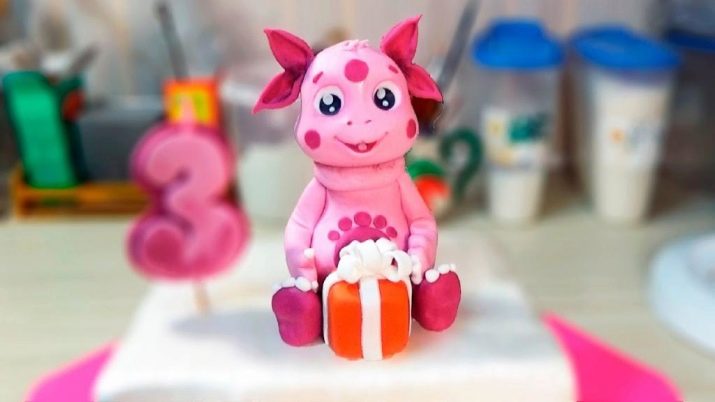
Thus, Luntik is an excellent character for modeling from plasticine. It is quite simple, so the child will be able to make it on their own using the minimum amount of materials.
To learn how to mold Luntik from plasticine, see the video.


