Rowan modeling from plasticine
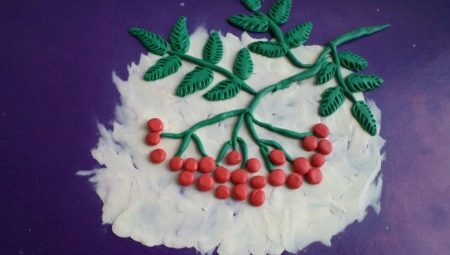
Often, school or kindergarten needs to make an autumn-themed craft. It is not difficult to make it. To do this, you can use ordinary plasticine. In the article we will tell you in detail how to do an autumn craft in the form of a red rowan bunch with your own hands.
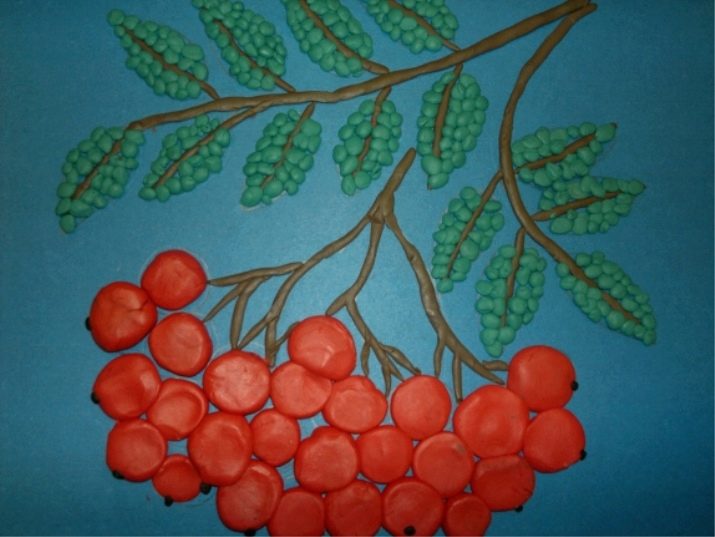
How to make on cardboard?
Modeling rowan from plasticine on cardboard is an easy task. Even kids can create such a craft, without resorting to the help of adults. As a result of this work, you should get a beautiful picture.
To create a craft, you will need the following materials: yellow, orange, red and brown plasticine, a sheet of blue cardboard, a plastic stack, a modeling board, as well as napkins so that you can wipe your hands off the plasticine in the process.
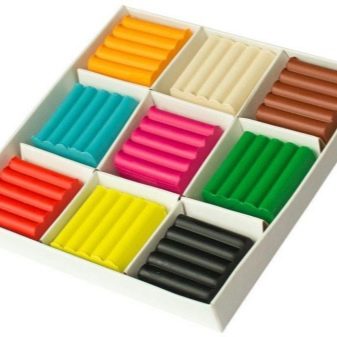

Having prepared all the necessary materials, you can get to work. Everything needs to be done in stages.
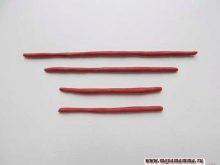
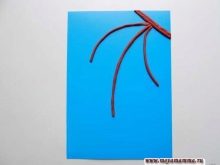
First of all, we take a brown plasticine block and, cutting off several pieces from it with a stack, roll thin tubes - these will be the twigs. We fasten the two together, thereby forming a thick twig, attach them to cardboard. After that, add the remaining three tubes, which will serve as twigs. We roll a few more thin, but already shorter tubes, attach them to one of the branches - this is the basis for the future rowan bunch.
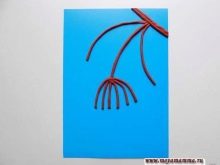
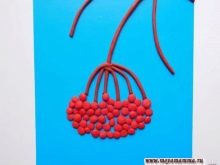
Having formed the branches, you can start sculpting rowan berries. To do this, you need to take a red block of plasticine, cut small pieces of plasticine from it using a stack and form small balls. After that, the resulting balls need to be slightly flattened, thereby forming the berries, and fix them on the branch.Thus, we make a lot of berries, so that in the end you get a lush rowan bunch, while the balls need to be positioned so that they are close to each other.
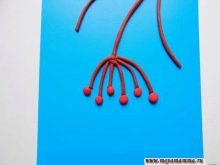
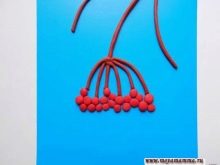
Having finished with the rowan bunch, you can start working on rowan leaves. To do this, you need yellow and orange plasticine. So, from small plasticine pieces you need to form small flattened droplets, and place them on the branches opposite each other.
Having thus formed two branches with leaves, we take a stack and use it to draw veins on the leaves.
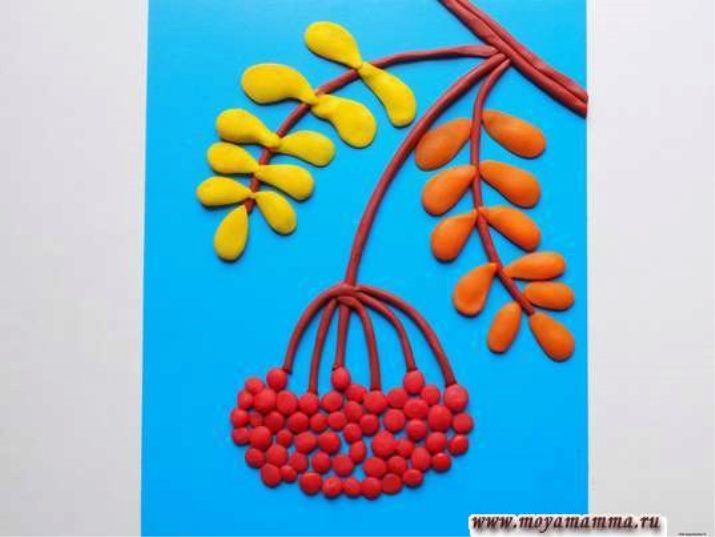
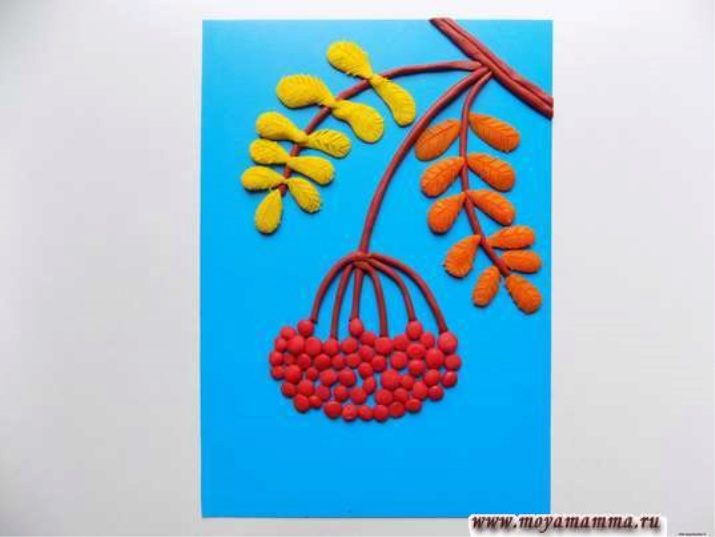
The autumn craft in the form of a rowan tassel is ready! It remains only to decorate it with a beautiful frame so that it looks like a real painting.
Do-it-yourself volumetric branch
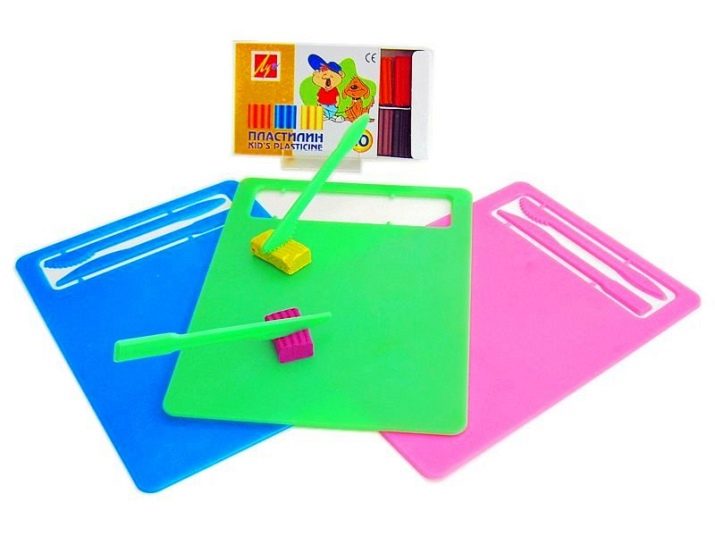
Making a voluminous branch of red rowan from plasticine with your own hands is also not difficult. For this craft, you will need plasticine in red, green and brown colors, a plastic stack, a sculpting board, and napkins to wipe your hands during the work. In addition, if you want to make your craft more sturdy, then for this you can use a wire that will serve as a frame for mountain ash branches.
Having prepared everything you need, you can start the workflow.
First of all, it is necessary to roll a large number of small red balls from red plasticine, which should be approximately the same size. The more such balls there are, the more magnificent your bunch will turn out.
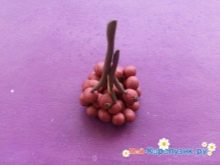
Having finished rolling the balls, we make real berries out of them. This stage in the work is quite long and time consuming. From brown plasticine, you need to roll small dots that will serve as a core for the berries. With the help of a stack, we make them a little rough and fasten them to the red balls. As a result, each of your berries should have such a core.
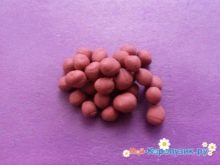
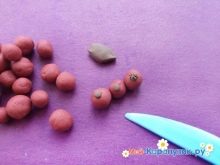
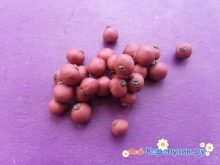
After that, it is necessary to form a bunch from the berries, while the brown centers should be lowered down. Having finished working on the berries, you can start forming the branches. To do this, glue the wire over with brown plasticine. Thus, you need to make several short branches, to which you need to attach a ready-made bunch of berries.
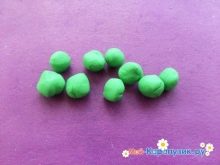
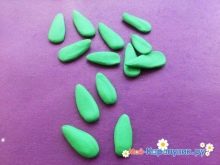
We make leaves from green plasticine. To do this, we roll green balls from plasticine blocks and make flattened droplets out of them, thereby forming leaves. We draw veins on them in a stack to make the foliage look more realistic.
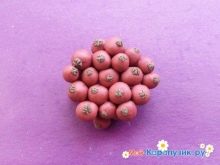
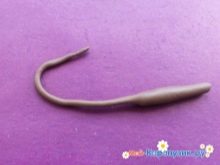
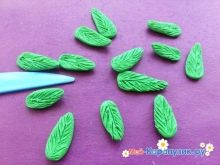
We roll short sausages from the same green plasticine, and attach rowan leaves to them. After that, we combine all this with rowan branches.
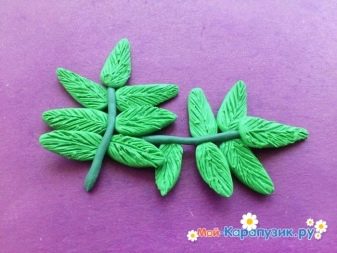
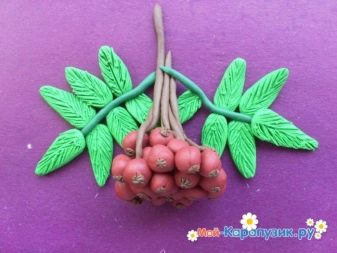
The autumn plasticine craft is ready!
How to mold brushes with berries in a vase?
It will not be difficult to make a plasticine craft in the form of a mountain ash in a vase. Even children can cope with this task without the help of their parents.
To work on such a craft, you will need the following materials: plasticine of red and any other color, scissors, a simple pencil, markers, PVA glue, green paper, white paper, as well as a modeling board and napkins.
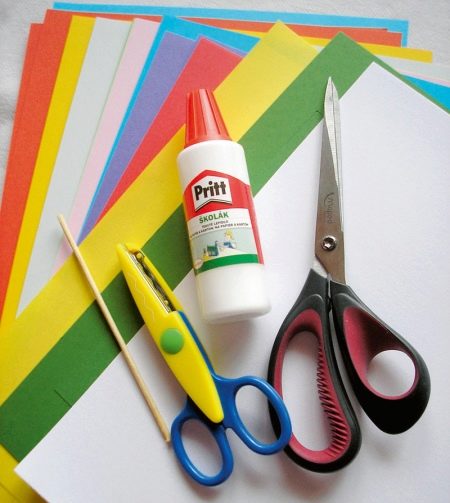
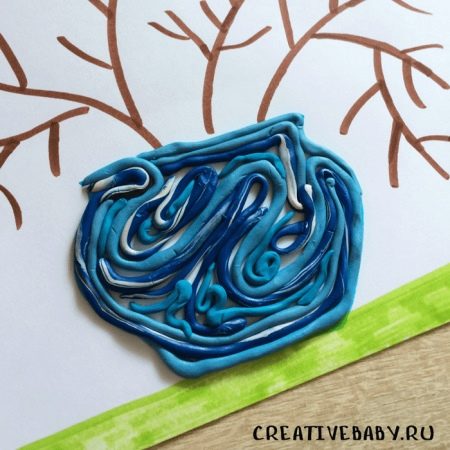
Everything must be done in stages. First of all, you need to start making a vase. To do this, with a simple pencil, you need to mark its contours, and with a brown marker - the contours of rowan branches. After that, you can start working with plasticine.
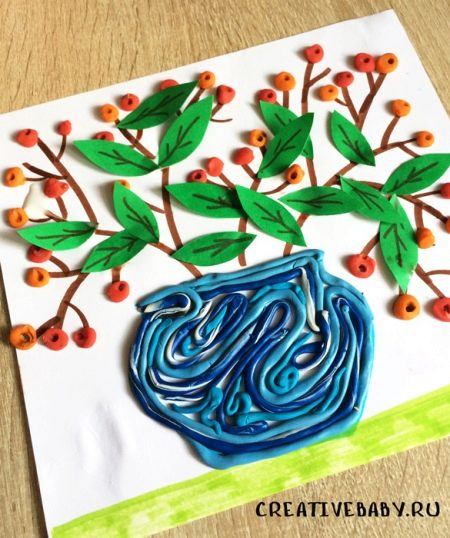
To make a vase, you need plasticine of any color. It needs to be divided into pieces and shaped into sausages of different lengths and widths. We fill the vase with them.
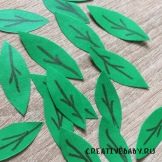
Now we cut out the foliage from green paper and draw veins on it using a black marker.
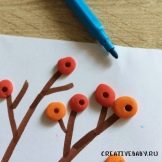
After that, you can start forming mountain ash berries. To do this, we roll small, slightly flattened balls from red plasticine. Put dots on them with a black or brown felt-tip pen.
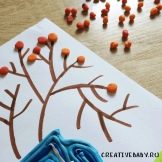
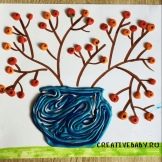
Almost ready! It remains only to glue the berries and foliage to the cardboard.We glue the leaves with PVA glue, smearing only their base with it, so that the leaves come out slightly curved and more realistic. The craft is ready!
How to make a rowan brush from plasticine, see the video.


