What can be molded from light plasticine?
Plasticine is a popular material, ideal for modeling various crafts. There are several varieties of plasticine. These include the light type of material. In this article, we will learn what can be molded from light plasticine.
Modeling clothes for dolls
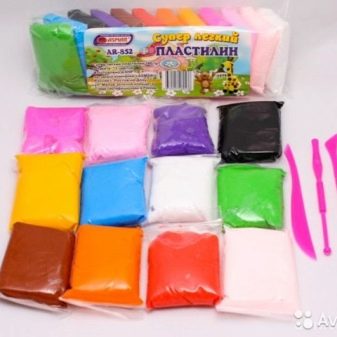
Light plasticine is also called airy. This material is ideal for children of all age groups. The fact is that a light plastic mass is a very malleable material that can be painted in a variety of shades. High-quality air plasticine is sold in hermetically sealed packages, since at room temperature and open air the material hardens very quickly and ceases to be the same plastic.
Light plasticine is an excellent solution for a young master. This is due to the fact that this plastic material is very easy to knead with children's hands, does not emit harsh chemical odors. In addition, the mass in question does not stick to hands, clothing, or work surfaces. The same cannot be said about the standard version of plasticine.
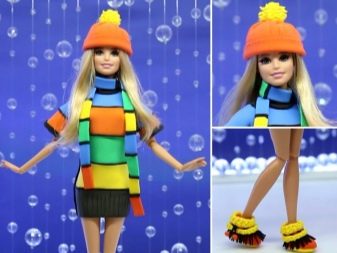
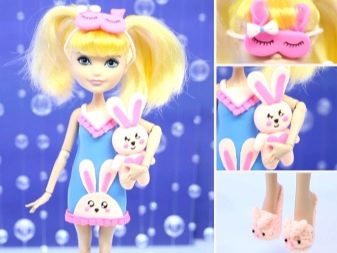
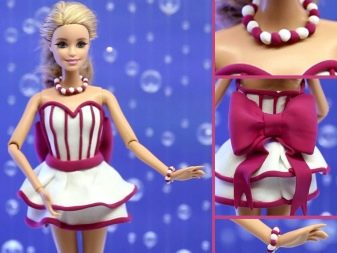
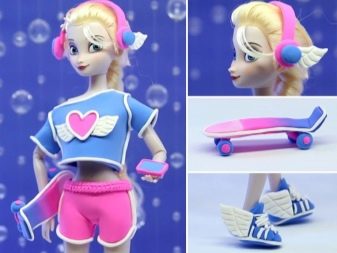
From their airy material, a child can easily fashion not only various birds and animals, but also more original things, for example, clothes for dolls. Such interesting crafts will turn out to be durable and very attractive.
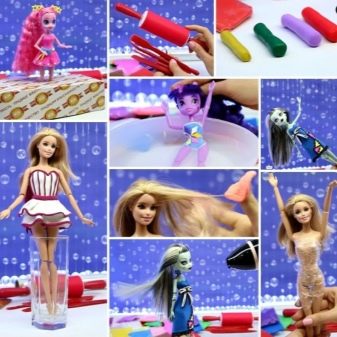
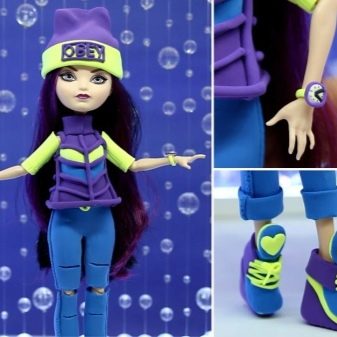
In order for a child to be able to mold beautiful clothes for dolls with his own hands, the following components will be needed:
- box with light plasticine (such products can be found in many creative stores, but it is advisable to buy soft plasticine from a well-known manufacturer);
- small scissors;
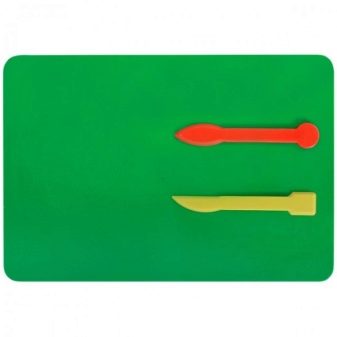
- special sculpting board (in order not to stain the work surfaces, you can use such a board, or you can simply cover the table with oilcloth or old newspaper sheets);
- stack, plastic knife (usually these components come with plasticine, but if there are no such components in the set, they must be purchased separately).
When all the necessary components are ready, you can start modeling the original doll clothes. Let's consider step by step how it should be done correctly.
- To sculpt tights with your own hands, you will need to take a piece of softened purple plasticine. From it you will need to form 2 rectangular parts, the length of which will start from the doll's hips and reach the midpoint of its calves. The obtained blanks are wrapped around the doll's legs one by one. In this case, unnecessary pieces and excess residues are removed.
- Next, a coral shade of plasticine is taken. It will be necessary to sculpt narrow stripes from it. They are applied to previously formed tights to create a striped effect. Next, the doll must be wrapped in a transparent film surrounded by the waist so that the clothes do not start to stick together.
- The next step is to make a skirt. For this, turquoise plasticine is taken. The workpiece will need to be cut with a plastic knife. The cut-out component is used to wrap the doll on the waist line over the film. Ruffles are made from miniature plastic circles of a white shade. They are fixed on the hem of the skirt on the reverse side. This must be done so that only their halves remain visible.
- Now you will need to collect the upper part of the future outfit for the doll. The prepared parts of the back and front part must be attached to the body of the doll in the appropriate areas. These components will need to be sized accordingly. All unnecessary areas should be removed.
- Next, the sleeves of the outfit are formed.... The blanks of the sleeves will also need to be fixed on the doll, and then shaped as needed. The ruffles on the considered elements of the dress can be modeled from halves of snow-white circles. Attach them over the bottom of both elements. The collar of the outfit can also be sculpted from white plastic mass. The workpiece is fastened in the neck area.
- The interesting creative procedures are completed by decorating the front bodice of the dress.... For this, a miniature octopus is formed from a pink plastic mass. The original composition, if desired, can be supplemented with a yellow star, and then stick it on the side of the skirt.
- From the mass of purple, you can also make a rim for a doll.... To do this, you need to take a piece of material, roll it into a thin cylindrical blank, flatten it a little with your fingers and bend it in the shape of the doll's head. From a pair of small pieces of crimson color, miniature horns are made, which are fixed on the rim.
- To make shoes for the doll, they again take purple plasticine. It is rolled out, and then a couple of rectangles are cut out of the workpiece. Next, these components are used to wrap the doll's legs along the line from the end of the tights to the feet.
- Wedges for shoes are sculpted from white material. The finished components are attached to the feet.
You can clearly see how to make such an outfit for a doll in the video below.
How to make sweets?
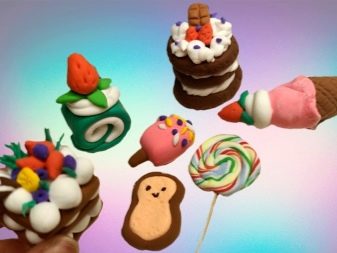
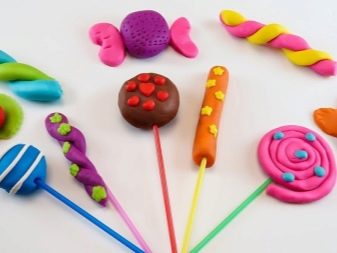
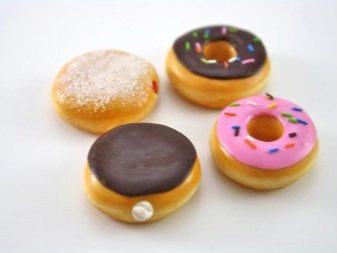
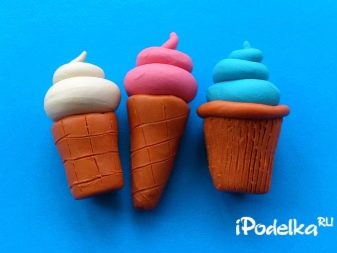
Light plasticine is a versatile material from which a child can easily make not only outfits for dolls, but also other interesting gizmos. For example, it can be delicious and bright sweets: lollipops, donuts, ice cream, and so on. Let's consider several master classes in detail.
Lollipop
To model the original figure in the form of a lollipop, you will need to prepare:
- a toothpick of sufficient length;
- airy white plasticine;
- additional 7 pieces of multi-colored airy plasticine.
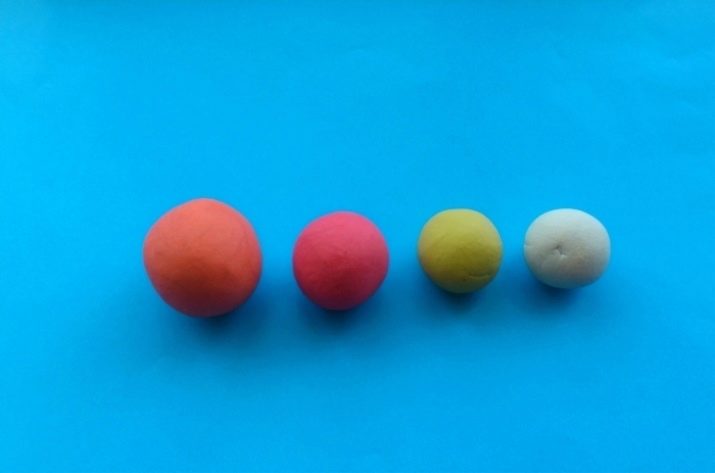
Consider how from the listed components it is necessary to correctly craft a plasticine candy.
- From the mass of white, you will first need to mold a plump "sausage". The length of this piece should be approximately 15 cm.
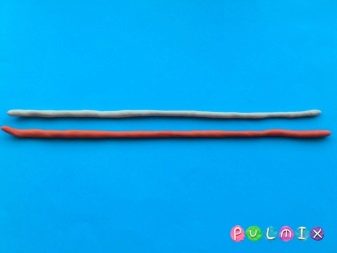
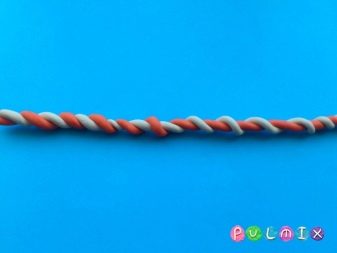
- Thin strips of a cylindrical structure are formed from multi-colored plastic pieces. Their length should be the same.
- Further, the colored components are alternately stuck to the snow-white workpiece. After that, the resulting colored part is very carefully rolled out on the working surface.
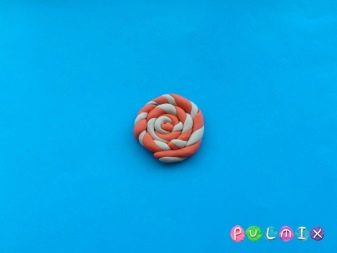
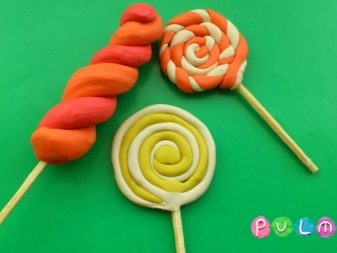
- At the next stage, a long strip is twisted in the form of a spiral, and then in a circle. At the end of all procedures, you should get a very bright and delicious candy. It must be strung on a long toothpick.
Ice cream
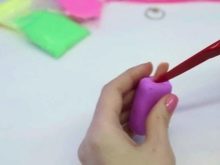
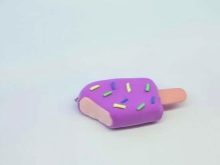
A young sculptor can easily mold popsicle ice cream from airy plasticine with his own hands. For such creative operations, you will need:
- rolling pin for rolling out plastic mass;
- stack (preferably wooden, but you can also use plastic);
- plastic straw for drinks;
- light plasticine of different colors;
- cardboard blank, made in the form of a popsicle.
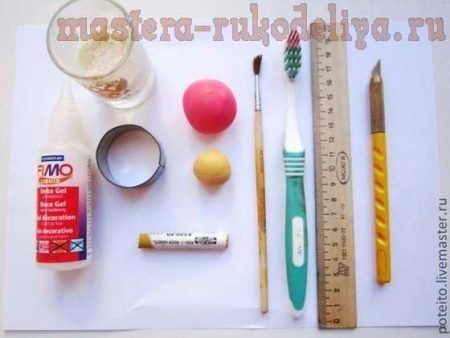
Let's consider the scheme of work on modeling plasticine ice cream.
- At the first stage, you will need to take a well-mashed plasticine piece of raspberry hue. It should be rolled out into a cake about 5 cm wide.
- Further, the first action is duplicated in order to build one more detail of the future ice cream.
- A similar part is cut out of the white plastic mass.
- The result should be 3 pieces of ice cream. They are blinded together by placing the lighter part between the two crimson details. All the components are well pressed so that in the future the figure does not start to fall apart.
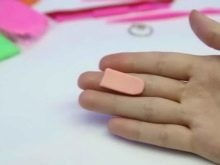
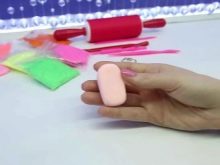
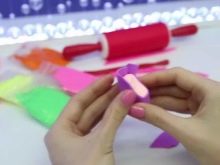
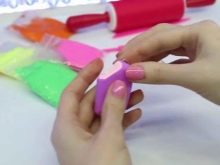
- From the mass of a light pink shade, you need to roll out a thin cake with a thickness of 0.5 to 1 cm.Then cut out a small rectangle. The latter will need to cover the entire popsicle blank, touching all sides.
- A tube is attached to the formed product.
Cake
From airy plasticine, the child will be able to simulate an appetizing and elegant cake without unnecessary problems. To create such a homemade product, you will need:
- special molds for sculpting decorative details;
- high quality multi-colored air plasticine;
- stack and rolling pin.
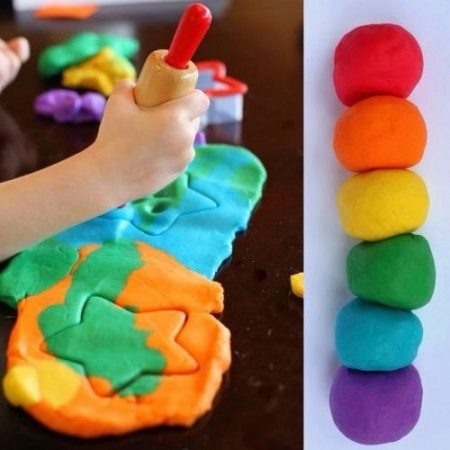
To make a creative plasticine dessert, you need to carry out the following procedures.
- To make the bottom cake of the cake, you need to take a piece of plasticine yellow. The material must be rolled out well, and then a triangle must be cut out of the resulting cake. Its corners should be made slightly rounded.
- Next, red plasticine is taken. A similar part with the same dimensions and shape is made from it.
- The layer of plasticine cake will need to be cut from a thinner plastic cake of light green color.
- All formed layers of crafts combine into one structure, and then gently press down.
- The red top of the figurine, as it were glaze over formed from a very thin pink layer.
- From rolled blanks of orange and red cut through the scenery in the form of berries and tangerine slices. It will be possible to make the listed details using special molds.
- Formed plasticine the figurines are attached to the surface of the made cake with icing.
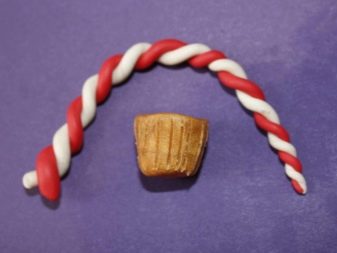

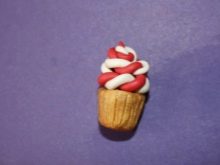
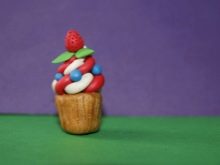
Crafts in the form of animals
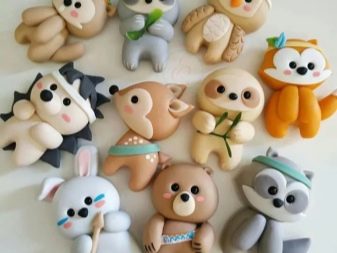
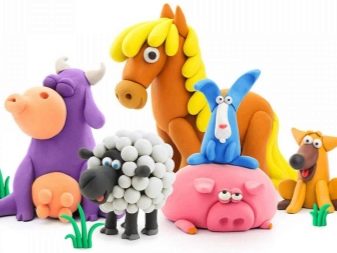
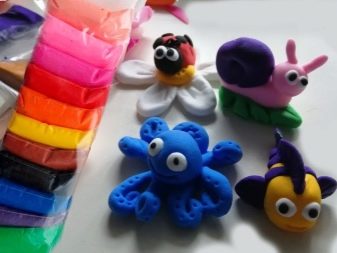
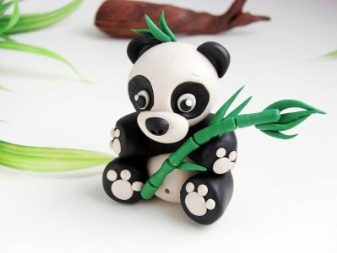
From the considered pliable material, very cute toy animals are obtained. So, a child aged 7 to 11 years and older can independently make such figures as a panda, dragon, dinosaur, cat, dog, fox, snail, mouse, and so on.
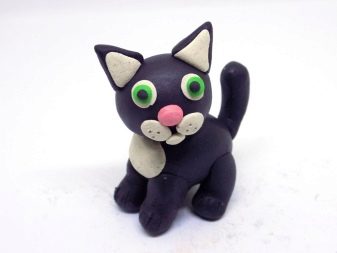
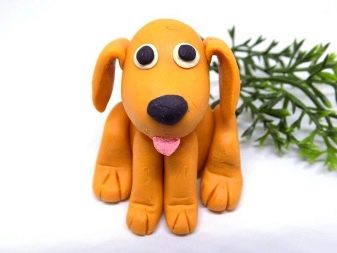
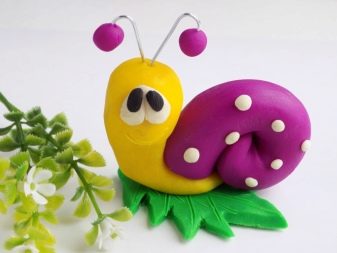
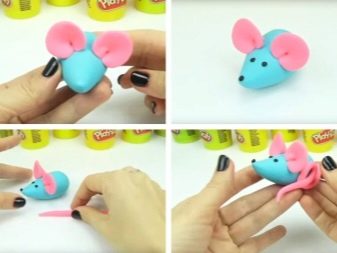
For example, consider a master class on making a plasticine mouse for beginners.
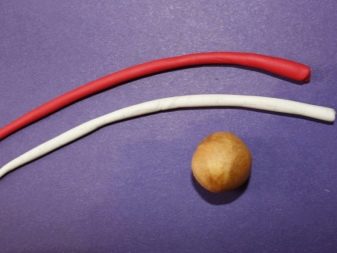
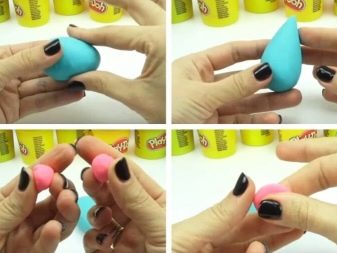
- First, you will need to tear off a large piece of plasticine. It is rolled into a ball.
- One of the sides of the spherical blank should have a pointed structure like a droplet. The tip should be slightly bent upward.
- Next, a little pink plasticine is taken. From it you will need to twist a pair of identical balls. By means of a clamp, it is necessary to form cakes. On one side, the edge of the cakes will need to be folded. As a result, you get mouse ears that you need to stick on the mouse's head.
- The eyes and nose of the mouse are rolled up from small black components. Finally, the tail is formed from the pink material. They attach it to the back of the figurine, folding it beautifully.
Building a house
Lightweight and flexible material is also suitable for modeling an original craft in the shape of a house. For all procedures, you will need:
- air plasticine of different colors;
- special board for modeling;
- stack;
- ruler.
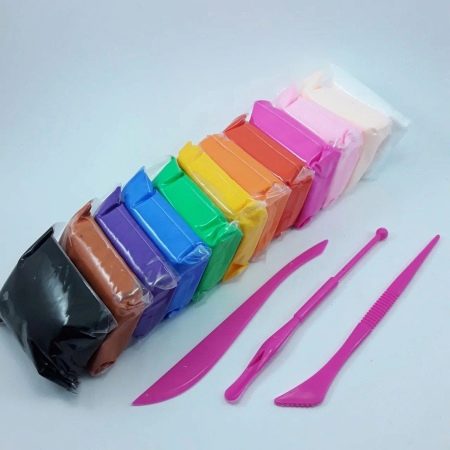
We will figure out step by step how to make a figurine of a plasticine house with our own hands.
- An elongated cylindrical part is rolled from the green mass. From it it will be necessary to cut off pieces of equal size with a stack. There should be only 20 of them.
- The resulting green logs for wall parts must be connected 5 pieces each, and then press tightly together.
- From yellow plasticine, rolled into a "sausage", cut off 3 pairs of elements for the top of the roof. There should be 2 long, 2 medium and 2 small parts. They are then stacked in 3 pieces and pressed well.
- For a roof from a mass of red, you need to roll a thin cake. An even rectangle must be cut out of it.
- After that, you can proceed to the assembly of the house.... First, the green walls are connected. For safety, you can put an empty jar inside. Roofing elements are laid on top, which are covered with red material.
- Now they take burgundy plates, make a cake out of them. A rectangular piece is cut out of it - the front door.
- A chimney is formed from a yellow plastic massas well as a handle for the entrance door.
- The terminal components must be secured in place. The assembled house will turn out to be beautiful and very original.
You can clearly see the sculpting process in the video below.
More ideas
A lot of other things can be molded from lightweight material.
It will be interesting for a child to model various paintings, vegetables, fruits, flowers, as well as creative gifts for friends, relatives, for mom and dad with their own hands.
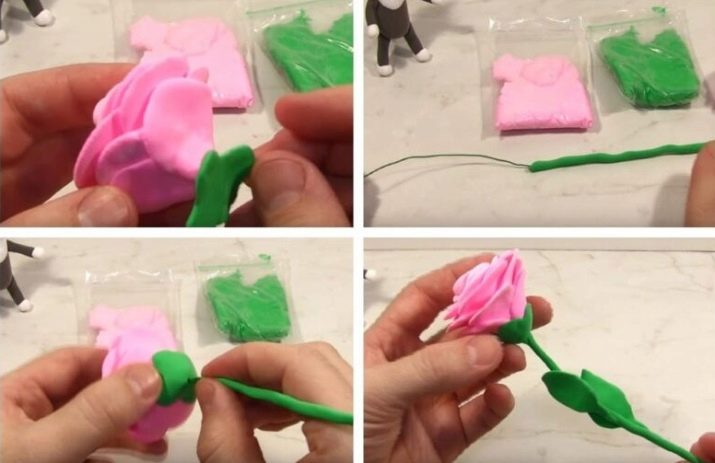
For example, a child can sculpt a beautiful rose from a plastic mass of suitable colors.
- First, the center of the rose is prepared. Small pieces are taken from light and pink materials.
- The pieces are shaped like cakes, after which they are connected. The workpiece is rolled up like a tube.
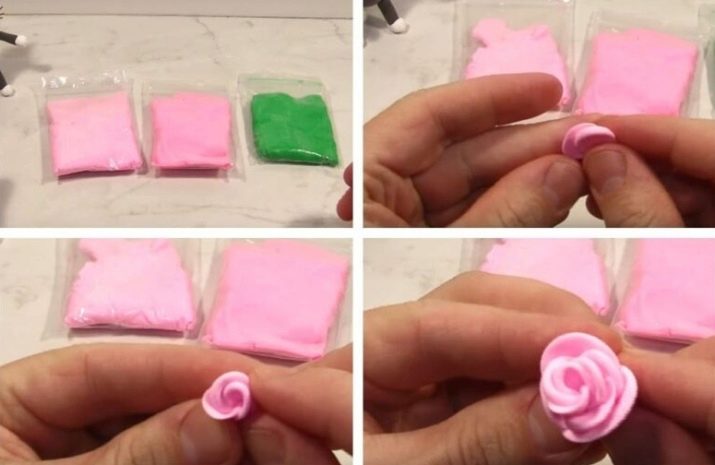
- The upper petals are added to the first blank, gluing them with an overlap. The dimensions of the parts are gradually increasing.
- The shade of the outer petals should be darker... These elements make the biggest ones. Fix the petals with an overlap.
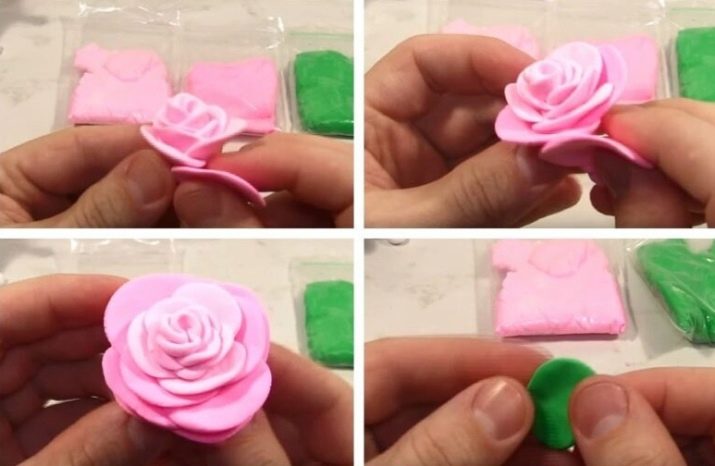
- Further, the stem and foliage are formed. For this, green plasticine is taken. Need a small cake. Bends are made on its 4 sides. Next, the green parts are attached to the bud.
- You will need a wire or a toothpick to stabilize the stem.... A small "sausage" is rolled up, a wire base is placed in it and covered with plasticine. At the end, the leaves are attached, the detail is attached to the flower.
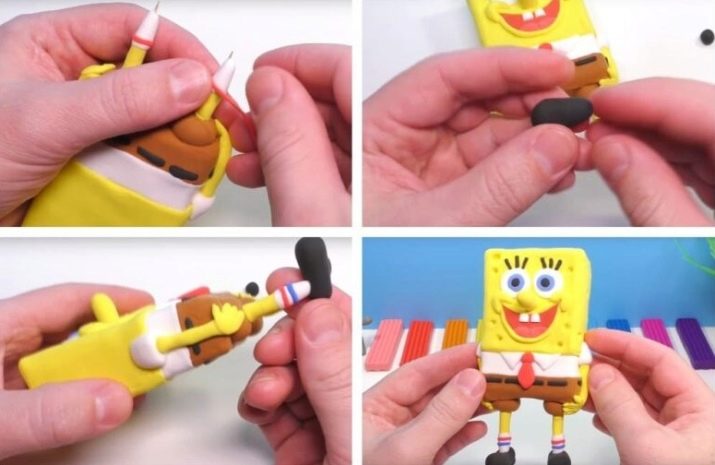
The plastic material is suitable for modeling anti-stress toys. They can be performed like the original monsters or cartoon characters. Let's learn how to make such a toy in the shape of a SpongeBob.
- First, an ordinary yellow sponge is taken, its hard half is removed... To make the shorts, use a brown paste. It is rolled into a "sausage" and then rolled out to a flat shape.
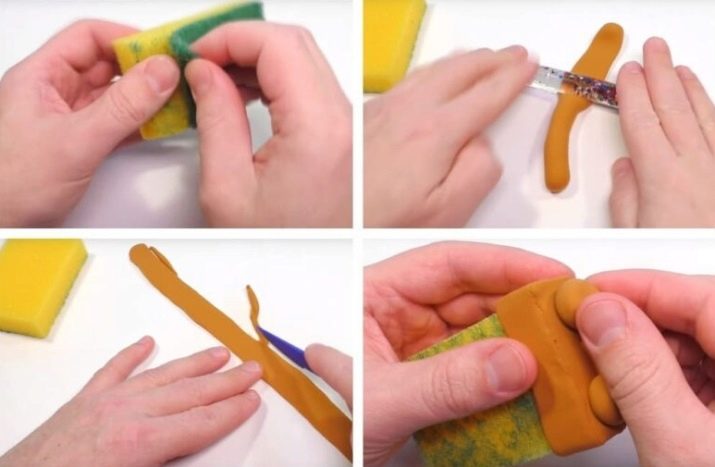
- The formed flat workpiece is wrapped around the bottom of the sponge... And then they roll up a couple more brown balls, attach them to the bottom. This will make shorts.
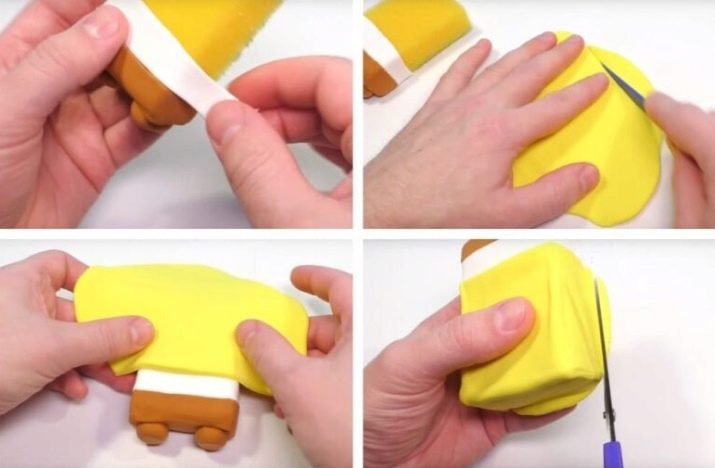
- The character's white shirt is formed in the same way. It is pasted over the shorts line.
- The rest of the yellow sponge must be pasted over with yellow plasticine mass. It will be necessary to roll a large ball, and then give it the structure of a cake. The base is wrapped with a blank.
All protruding areas should be cut with scissors.
- Now we need to style the face of the anti-stress character. Eyes are formed from white rounds, blue and black circles stick inside them. The final details should be smaller than the white circles. To make cilia, thin flagella are rolled out. They are molded over the eyes.
- Combine red and brown colors, form a cake, cut through the mouth. The tongue can be made from a white-red mass. This detail and white teeth elements are attached to the mouth. The contours of the mouth are made with a yellow tourniquet, and the cheeks and nose are also isolated.
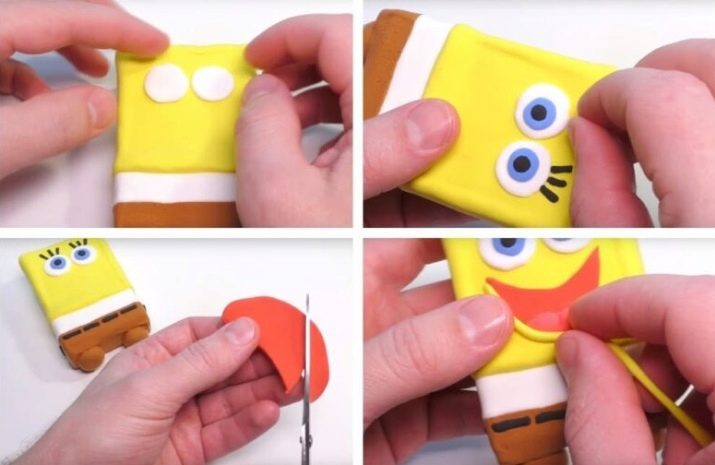
- Form 2 white circles, fix them at the places of the hands. Prepare 2 triangles and attach them to the shirt. A tie is molded from red plasticine.
- It remains to mold the legs and arms... The flagella are rolled up, divided into 2 parts, and attached to the sleeves.
- The ends of the limbs are supplemented with sliced-toe cakes... Toothpicks wrapped in yellow plasticine are fixed in the leg area. Socks and black plasticine boots are also added at the bottom. At this stage, a fun and relaxing plasticine and sponge toy will be ready!
