Making a plasticine cake
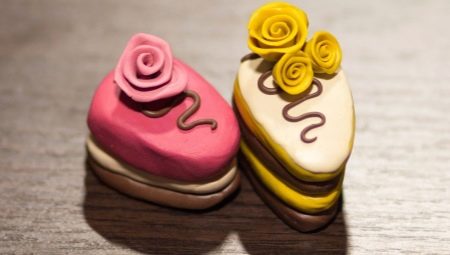
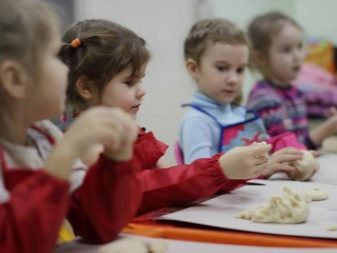
Plasticine modeling is not only a creative activity that develops fine motor skills in children, but also a pleasant hobby for adults. Confectionery made from plasticine is a separate item in the list of sculpting objects. There are bright colors and charming miniature sizes. Today we will talk specifically about these cute and inedible crafts, and more specifically, about plasticine cakes.
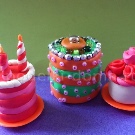
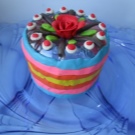
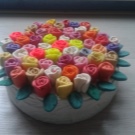
What is required?
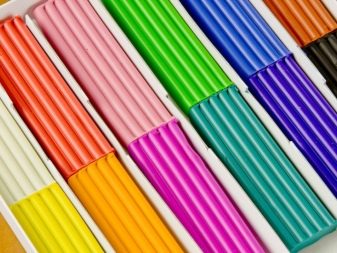
Before we get started, we need to select materials. And the main one, of course, is plasticine.
The criteria that it must meet are as follows.
- Security. This item is important for children's creativity. Babies pull things into their mouths that are not as attractive as bright pieces of plasticine. Children's plasticine should have a repulsive taste, it should not contain toxic components. Fortunately, most brands meet this requirement. In any case, do not leave children under 3 years old with plasticine alone! Small parts carry other hazards in addition to toxicity, including the risk of inhalation. To work with crumbs, you can replace plasticine with salted dough or special masses for children's creativity (available in Hasbro's assortment).
- Plasticine should not require a long and laborious kneading before starting work.
- It should not stick tightly to clothes and hands, leaving greasy marks behind.
- Plasticine should not be too soft - the benefits for motor skills are minimized. Soft options are suitable only for applications, or for very little ones who are just beginning to learn the charms of sculpting, creating the simplest forms and simply crumpling the material in the handles.
- Parts made of plasticine must adhere well to each other. Problems with this arise if the top layer of plasticine hardens too quickly. To improve the fastening of parts, you can hold them in water or use a frame made of toothpicks, for example.
- For adult creativity or large projects with older children, it is better to use sculptural plasticine. It is much tougher, you can work with it by cutting out details with a knife, which allows you to create small, precisely worked out details. Minus - a narrow range of colors, usually brown or black plasticine. But he does not lose shape in the heat.
- Plasticine should be stored in closed containers so that it does not dry out. And to extend the life of the finished product, cover it with varnish.
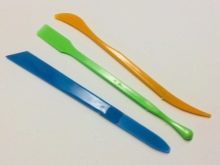
We also need tools to work with the material. The simplest plastic knives and stacks that are safe for children are most often sold complete with plasticine. For adult creativity, the choice of tools is much wider. Such stacks are made of wood or metal and have a wide variety of shapes. Metal stacks can be heated and are also used to cut off excess plasticine.
Even for children's creativity, it is better to have several stacks and knives - this will help to avoid spots of plasticine of one color on the details of another.
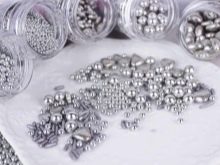
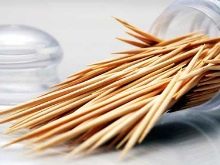
Of the materials at hand, a rolling pin will come in handy for creating flat "pancakes", plastic lids or unused baking tins - with their help you will give the product the desired shape, toothpicks - for attaching elements to each other. If you are working with a child from 7 years old or sculpt a torus from plasticine yourself, various beads will also come in handy - they will suit us well as decorative elements.
A simple option for the little ones
Let's start with the option for children 3-4 years old. First, let your toddler know how to study the material. Show him how to shape the clay. Talk about colors. After that, you can proceed to sculpting. Try to do everything with your child.
Start sculpting with basic shapes.
- A ball - a piece of plasticine is simply molded with palms.
- Snake (worm, sausage) - roll a piece on the board. Let the kid see that, depending on the number of rentals, you can change the length and thickness of the element.
- Pancake (flatbread) - obtained by squeezing a piece with your fingers.
After working with basic shapes, try moving on to more complex ones. Make an egg, blob, or cylinder out of the ball. Blind the simplest cube. When the material becomes more familiar, go to work.
Let the child blinds several colored balls. Then they need to be rolled out, flattened: with a rolling pin, between palms or pressed to the table. Try all the options. Place the resulting cakes on top of each other. Make another one out of white plasticine. This cake should have uneven edges - it will act as a cream.
The top can be decorated with plasticine balls or sausages. Ready!
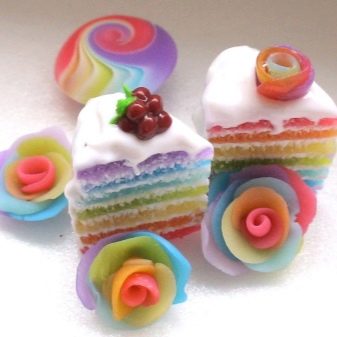

How to make a beautiful rainbow cake?
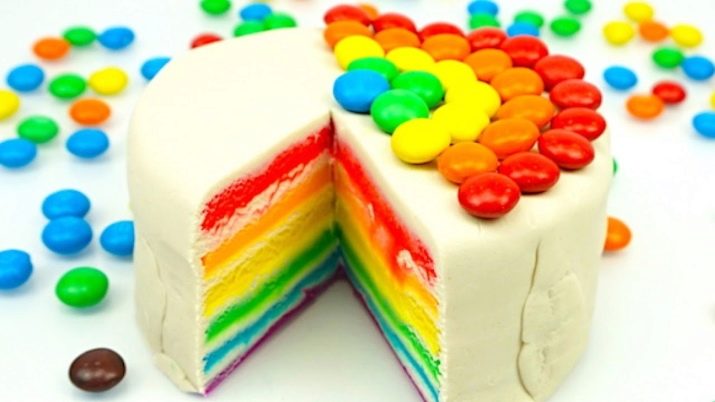
With a child 5-6 years old, you can take on the sculpting of things more difficult. Making a rainbow cake is a good idea. Working with his own hands on this "dessert", the child can also repeat the colors. Here are step-by-step instructions on how to make one of these cakes. Let's start with the cakes.
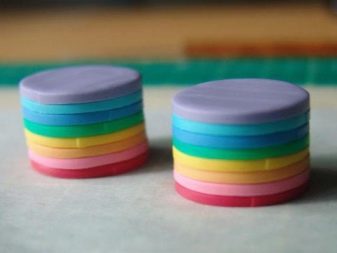
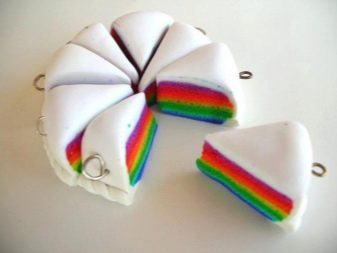
- The foundation. Roll out pancakes from plasticine of 7 colors of the rainbow. Shape the details into a circle. Have your toddler place them on top of each other in the correct order. Alternatively, you can lay these pancakes with thinner white cakes - layers of cream.
- Decoration. Now let's add details. Make a thin pancake out of the white mass. Cut it into equal strips. Weaving the stripes together, lay them on the cake.
Other beautiful cake ideas
Below we will provide a few more step-by-step instructions. With the help of them you can create a wide variety of "treats".
Wedding tiered cake
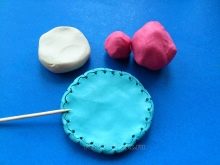
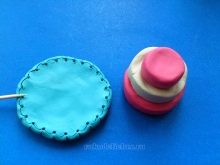
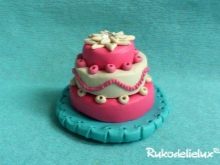
Make several "plump" pancakes of different diameters from plasticine. Adjust the shape of the bottle and stack caps. Lay the pieces on top of each other, from largest to smallest. Wrap the edges of the tiers with white plasticine sausages.
You can decorate the top with a bead or a flower molded from plasticine.
Rose garden
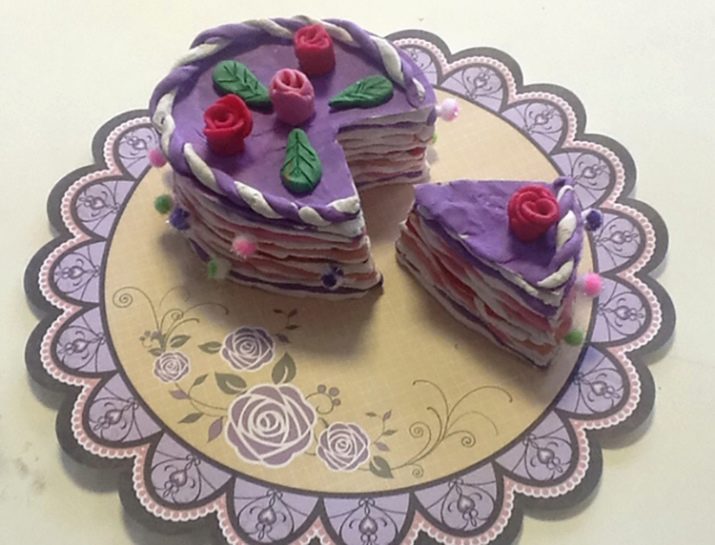
For this master class, purchase rose-shaped beads in advance. Make a base. The "taste" of the cake will depend on its color. Shape the base into a cylinder. The easiest way to do this is by pressing on it from 2 sides.
You can make one base, or you can make 2, and lay a plasticine pancake of a contrasting color between them.
By the way! Another way to diversify the process is not to sculpt the base, but to put plasticine on a small box or matchbox. Do not be afraid to experiment, try different options for working with the material.
From plasticine, which will play the role of a cream, make a couple of worms. Weave them into a braid or just a spiral. Lay this piece along the edge of the cake. Twist the roses from very thin plasticine worms. Arrange the beads and plasticine roses on top of the dessert. The nail of any doll tea party is ready!
Birthday cake with candles
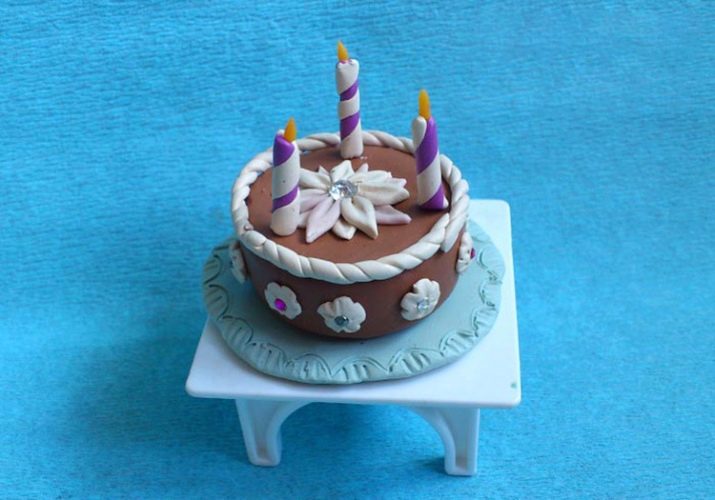
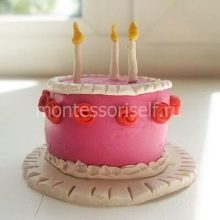
One of the very simple options, suitable for sculpting with children. Make a base. It can be flaky or plain - according to your taste. From a couple of plasticine sausages, mold the edging of your cake. In addition, a mesh can be laid out of thin sausages on its surface.
Mold the candles from the same sausages of different colors. You can simply cut them, you can intertwine white with color. Stick a small piece of orange plasticine on top - a flame. Place the candles on the cake. Voila - done!
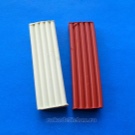
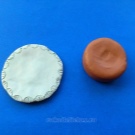
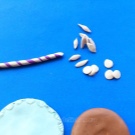
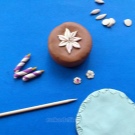
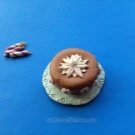
Dessert on a platter
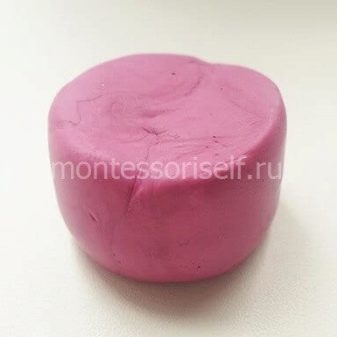
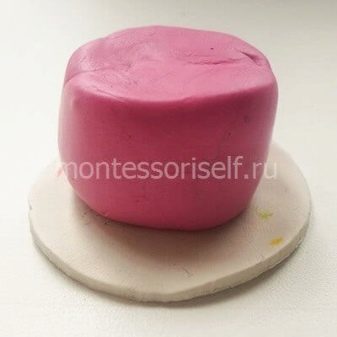
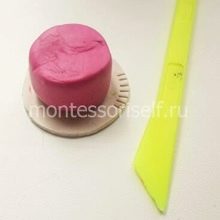
You can't do without dishes at a dinner party with dolls. Blind a solid base of any shape and color. Flatten a pancake of a size suitable for your cake from plasticine, trim its edges with a stack, cutting it evenly in a circle. Place the cake on a plate. Make small cuts around the edges of the plate. Decorate the cake with a plasticine worm edging.
You can add flowers on top, candles - whatever you want. You can use beads, beads.
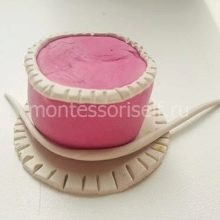
Berry field
- We will need brown, white, red, purple, green and blue plasticine colors. Some of them will be spent on cakes, some on cream and filling. From brown, white, red, green, purple plasticine, mold even, neat cakes-layers. They will play the role of biscuit, cream and fruit layer in our dessert. Align the shape of the "biscuit" parts of the cake, make its sides textured. This can be achieved by pressing a sheet of coarse sandpaper against them.
- Assemble the base by alternating between white and brown pancakes. The number of layers is at your discretion. The main thing here is not to overdo it. White layers should be significantly thinner. Let them go beyond the brown borders in some places, stretch them down the "biscuit", creating the feeling that the cream is leaking.
- The resulting design already looks "appetizing"but the main decorating process is still ahead. Blind berries from red, blue and purple balls of plasticine. Don't limit yourself to simple balls - try giving them a strawberry or raspberry shape.
- Form leaves from the green mass. Glue the berries to the leaves. To attach these small parts, cut the toothpicks, stick them into our "raspberries" and "blueberries". Place decorations on the cake. Here is the case when the more the better. A culinary masterpiece is ready!
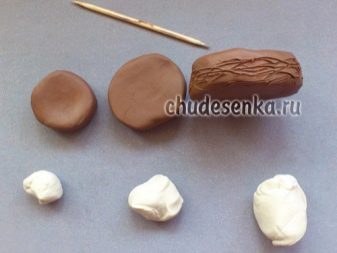
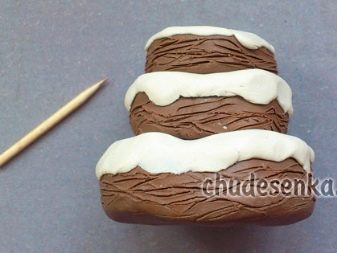
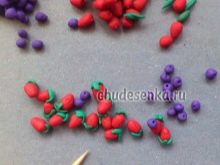
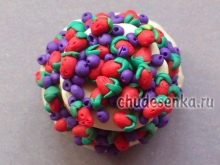
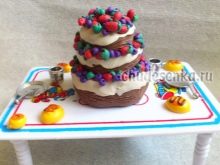
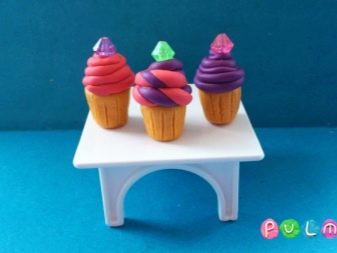
If you want to diversify your plasticine table, add bright cupcakes to the base of the cake, which will be the highlight of the program. You can make them as follows. Take brown plasticine (this will be the “leg” of our cupcakes) and some brightly colored sticks. Also beads, rhinestones will be useful to us.
Tear off small pieces from the bars. Pressing down with your fingers, shape the legs out of brown plasticine. You can make them ribbed using a knife or a stack by making notches.Make a lot of worms from the colored mass. Twist pigtails out of worms, combining different colors. Play around with combinations. Tuck the braids into spiral beanies. Place the filling on the cupcake and add decor, then decorate the cake with them.
Ready. The main thing is that you yourself see how delicious plasticine sweets turn out to be.
Be careful not to be swallowed by the child. Explain to older children that it is inedible, dangerous. And, if possible, prepare something tasty for the baby so that not only dolls have a bright dessert.
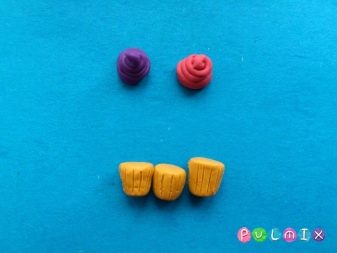
Modeling is a pleasant and useful activity, exciting not only children, but also adults. Just look at what miniature masterpieces can be created from a simple material that we all know well from childhood. If you or your child is really drawn into this process, you can switch to sculptural clay, polymer clay, or even ordinary clay.
The main thing is to start and, observing safety rules, discover this amazing world of creating tiny (and not so) things for yourself and your child.
For information on how to mold a plasticine cake, see the next video.


