Modeling the firebird from plasticine
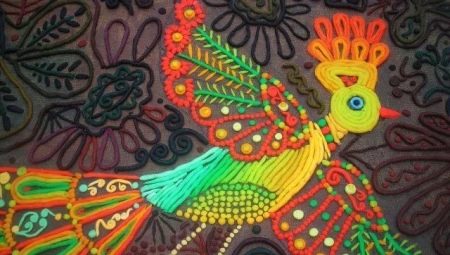
Plasticine sculpting allows you to create beautiful and interesting crafts and whole compositions. From such material, you can make both volumetric figures and flat applications. A plasticine product in the form of a firebird will look unusual. Today we will talk about how to mold it.
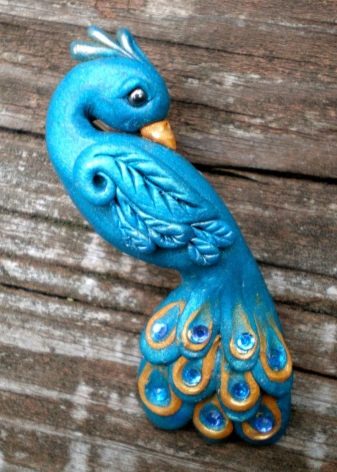
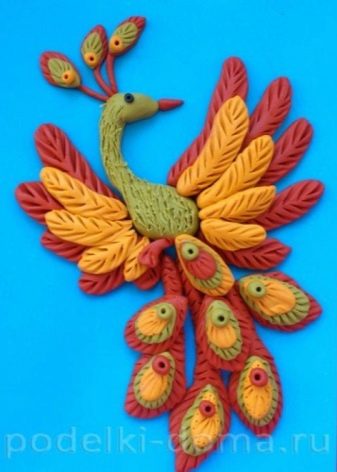
What is required?
First, you should prepare all the materials necessary for sculpting:
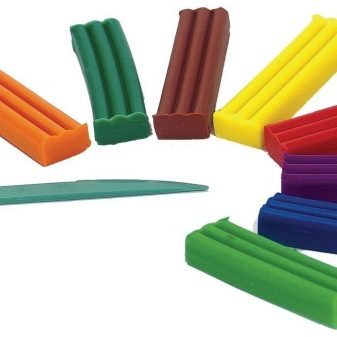
- plasticine (red, yellow, orange);
- thin toothpicks;
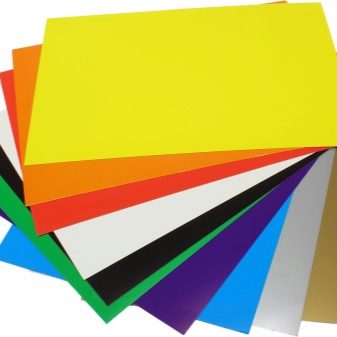
- a sheet of cardboard (when creating applications).
How to blind?
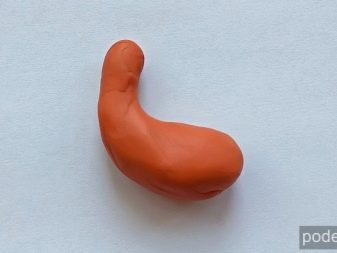
To begin with, let's consider how to correctly mold a volumetric figure in the form of a firebird in stages. First, an orange mass is taken, it is thoroughly kneaded in the hands, and then a small flagellum is rolled out of it. Moreover, one part of it should be slightly thinner.
After that, the finished element is bent at a right angle. This detail will become the body, neck, head of the firebird. For the formation of feathers and a tail, an orange material is also taken, kneaded and divided into several pieces of the same size.
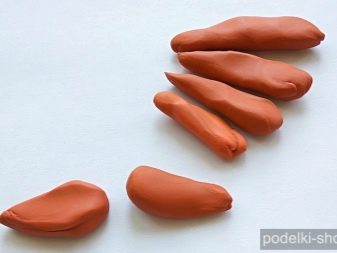
The resulting parts are made slightly pointed, after which it will be necessary to form two wings and voluminous feathers on the tail, also all of them should be slightly reduced in size.
Soft plasticine of red and yellow colors is added to the made wings. The strips should simply be smeared on top. This will make the craft as bright and beautiful as possible. Further, with the help of a toothpick, you should give the details a more magnificent look.
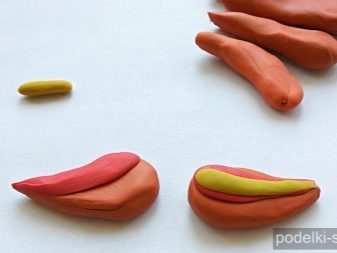
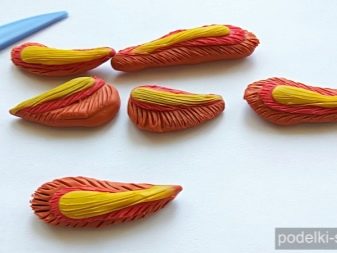
The ends of the toothpick are pressed along the edges and from above. At the same time, the wings and all feathers are prepared for the tail design. All these elements must be large enough.
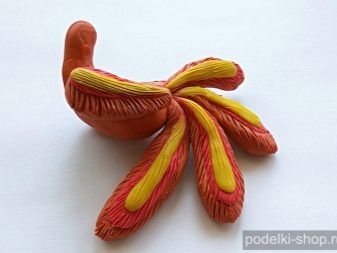
Later you can start forming relief patterns on the details. Wings are attached to the body of the firebird on the sides.The tail is collected in a fan, and then carefully fixed at the back. Next, a small beak made of yellow plasticine mass is attached to the head. The crest is made in the same style as the entire plumage of the bird.
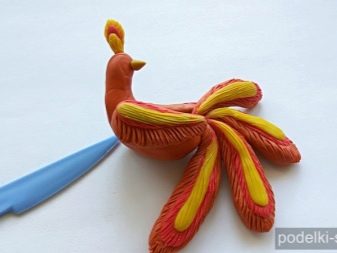
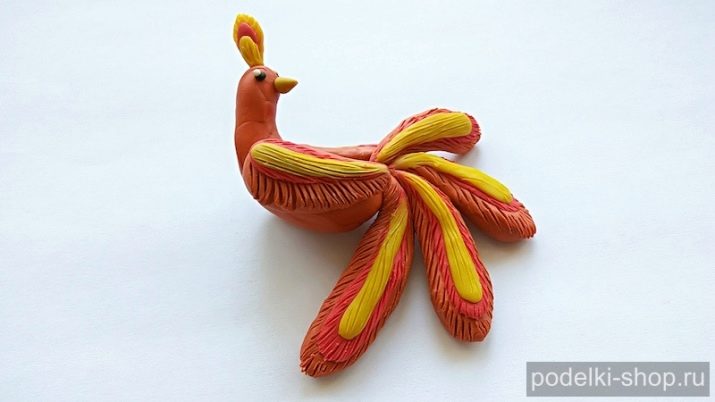
You will need to make the eyes. To do this, small grains are torn from black and white plasticine. They are molded onto each other and slightly flattened, and then attached to the head. The places of all connections of individual parts are carefully ironed with a stack or fingers to make the figure look more realistic.
How to make a feather applique?
To make this applique, you must first prepare a cardboard sheet. It will become the basis for future crafts. It is on it that the plasticine parts will be laid out. You should also prepare several of the brightest colors of plasticine.
First, a long and thin flagellum of red or bright pink color should be rolled. It will become the pivot for the rest of the parts. After that, you need to pinch off a little plasticine mass of a different color and start rolling a little smaller flagella out of it.
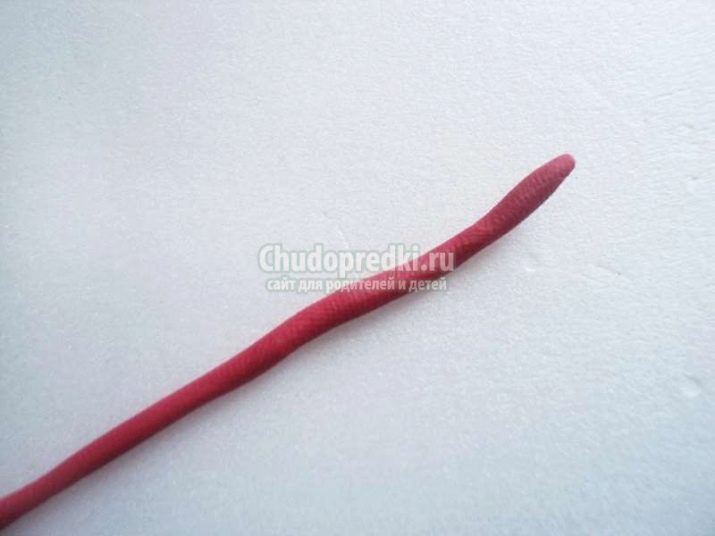
You will need to make several such blanks of 3-4 bright colors. When they are all ready, they begin to neatly attach to the rod. Moreover, they should be placed in small sections on both sides at once.
Then other bright colors of plasticine are taken. Patterns of a different shape begin to roll out of them.
You can make parts in the form of spirals, simple balls of different sizes, wavy lines. All of them are attached to the rod in the intervals between the flagella.
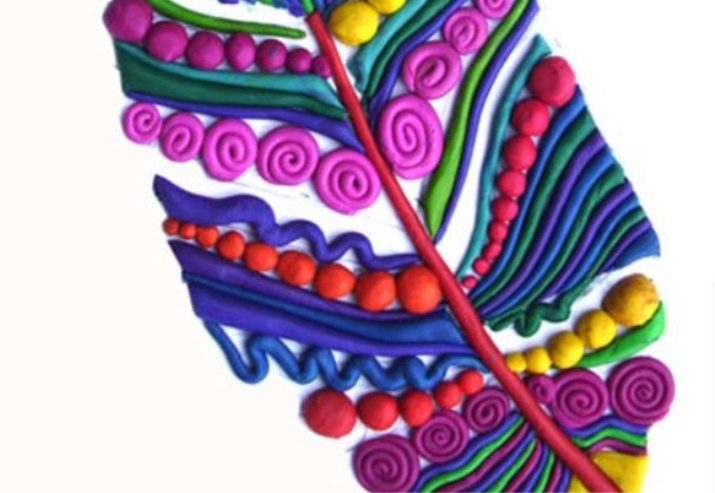
At the final stage, they take blue and green plasticine. They are formed by a large ring, intertwining the material of these colors in turn. Any other pattern made of red or pink material is fixed into the ring.
To make the feather look more elegant and original as a result, flagella with small spirals at the end should be made of purple and blue plasticine material. In this form, they are attached to the upper part of the firebird's feather. You can also attach a small yellow rhombus finishing element to the top.
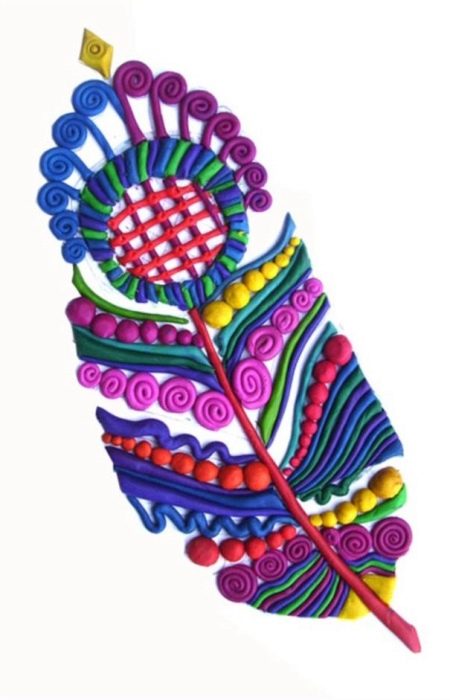
As a result, you should get a volumetric plasticinography on a cardboard sheet. Such a relief composition will be a good option for school exhibitions.
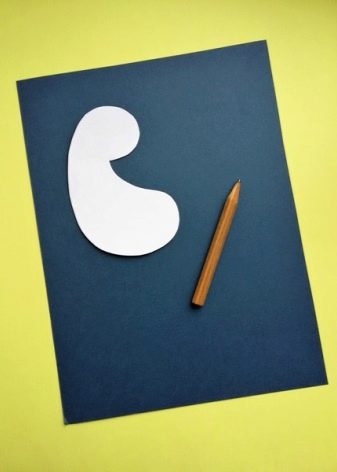
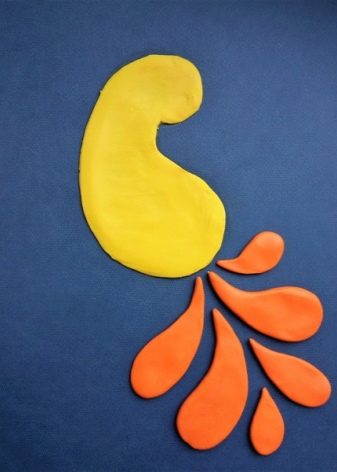
If you wish, you can make an applique in the form of the whole firebird on cardboard. Let's see how to make this product step by step. To do this, you will need to take the yellow mass, roll it out and cut the blank of the body and head with a stack. In this case, it is better to use a ready-made template.
Next, several tail feathers are made from pieces of red and orange plasticine. You should also add some extra small feathers and attach it all to the tail of the firebird.
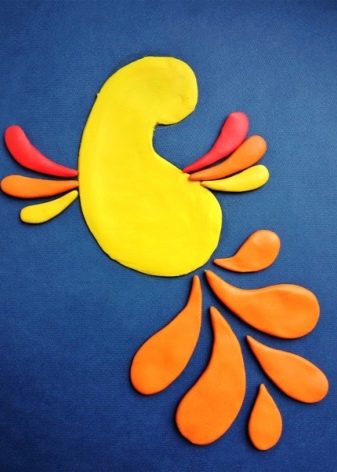
Individual feathers are sculpted from different colors to create bird wings. Each wing will include 3 of these elements. They should be oval in shape and vary in size.
All finished parts are fixed on a cardboard base. Then you should take the material in beige colors. A beak is formed from it. Eyes are cut out of black and white material. If you wish, you can take a red base and mold from it a decoration for the head of the finished firebird.
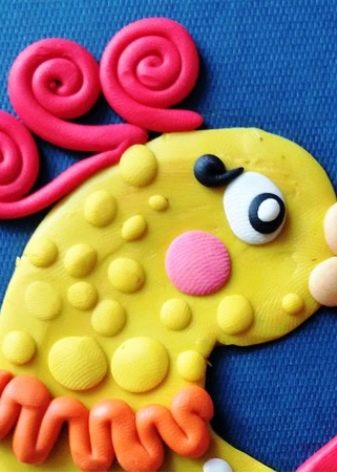
Balls and a flagellum are formed from multi-colored small pieces of plasticine. These details are used to decorate the wings and tail of the figurine. The more such decorative elements, the more beautiful and interesting the whole craft will look.
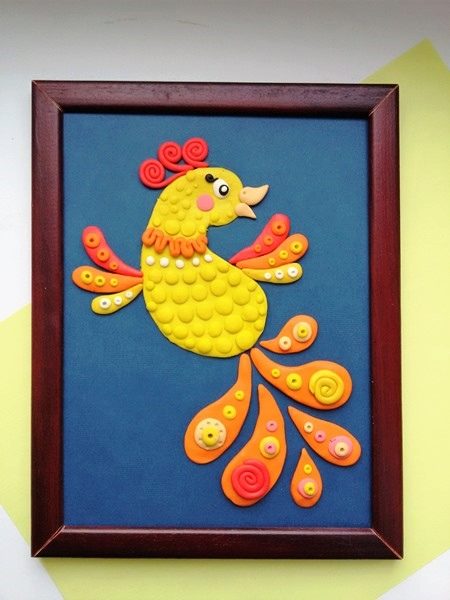
Using the ballpoint pen shaft, you can make small holes in jewelry, which will add volume to the product. If desired, the finished product is decorated with other additional details. The resulting work is inserted into the frame.
How to sculpt a hot pot, see the video.


