Crafts from shells
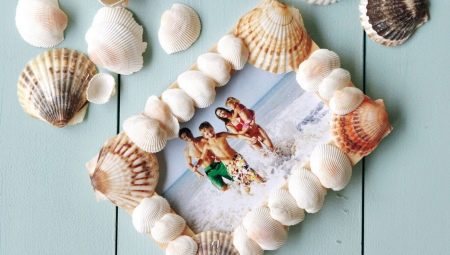
There are always a lot of various shells on the seashore, which is simply impossible to pass by - you want to collect all these beautiful creations of nature and take them home. In such a situation, the problem appears after the end of the holiday - at the resort the shells of marine life are admirable, but upon returning to their own housing, they are usually thrown into the far corner as unnecessary. So that such a sad fate does not befall the sea treasures, many people create wonderful hand-made crafts from them. Shells are great creative material, as you can see by reading a few of the ideas in this article.
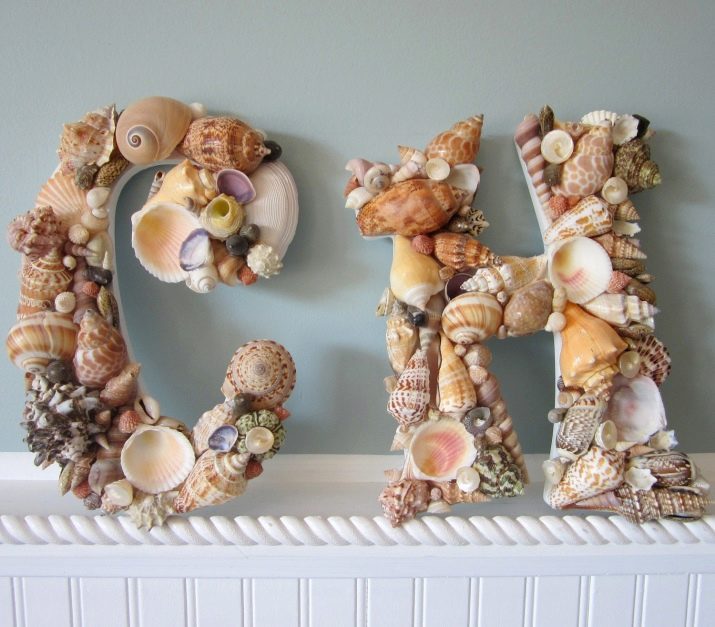


Preparation
On the counters of souvenir shops, shell crafts look very presentable - they are clean, shiny and do not have an unpleasant odor. To achieve the same result at home, the natural material must be carefully prepared for future work. Preparation consists of four simple steps: cleaning, bleaching, sanding and varnishing. Let's take a closer look at each stage.
- Cleaning. The material clean from the remains of shellfish can simply be rinsed with warm water and dried, however, pollution cannot always be seen with the naked eye, which is why crafts in the future begin to exude an unpleasant fishy odor. To precisely prevent this situation, place the shells in a saucepan and cover with water. Place the container on the stove, bring the water to a boil, then boil the shells of marine life for 5-7 minutes. Then drain the water, spread the creative material on a napkin and leave to dry completely.

Boiling will remove all shellfish remains from the shells, thereby preventing the appearance of an unpleasant odor in the future.
- Whitening. Shellfish shells have a dull and slightly dirty surface. To make the material more presentable, it must be bleached - for this, make a 1: 1 solution of water with bleach. Instead of the latter, you can use another chlorine-containing substance. Place the shells in the solution for about 30 minutes, then scrub them with a brush and rinse thoroughly in clean water. The chlorine-containing substance will not only make the surface of nature's creations lighter, but also disinfect them.


- Grinding. Most seashells have sharp edges that can be easily injured during use. To prevent injury, sand similar areas of each "sea treasure" found with fine sandpaper.

- Coating with varnish. So that the treated shells do not lose their color and acquire a beautiful shine, they must be varnished. To do this, you can use a matte or glossy acrylic compound from a jar or a special acrylic spray. You can also use regular clear nail polish.

Options for children
Shells are an excellent material for creating crafts for a kindergarten or school, because they can be used to make products on any topic. Small river shells make beautiful simple applications, and large sea shells make beautiful figurines of animals or birds.

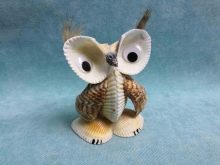

In most cases, children's crafts consist not only of shells - they can partially be made of plasticine, pebbles, leaves and other scrap materials.
It is very easy to make swans from marine natural raw materials; for work you will need a glue gun, shells, as well as black and white plasticine. The shells of the clams should be different: choose two smooth shells (one large and one small) and 3 ribbed ones (two of the same size and one slightly smaller). Consider step by step the instructions for making this beautiful bird.
- Prepare all the necessary tools - first, lay out the shells, then warm up the glue gun and knead the plasticine.

- To the elongated edges of a large smooth shell, which will serve as a body, glue two identical ribbed "sea treasures" so that they are turned in the middle towards each other - these are the wings of a swan.


- Attach the last ribbed shell to a large smooth shell between the wings so that its narrow end slightly extends beyond the edge of the "body".

- Glue the last smooth shell to the protruding part - this is the tail of the bird.
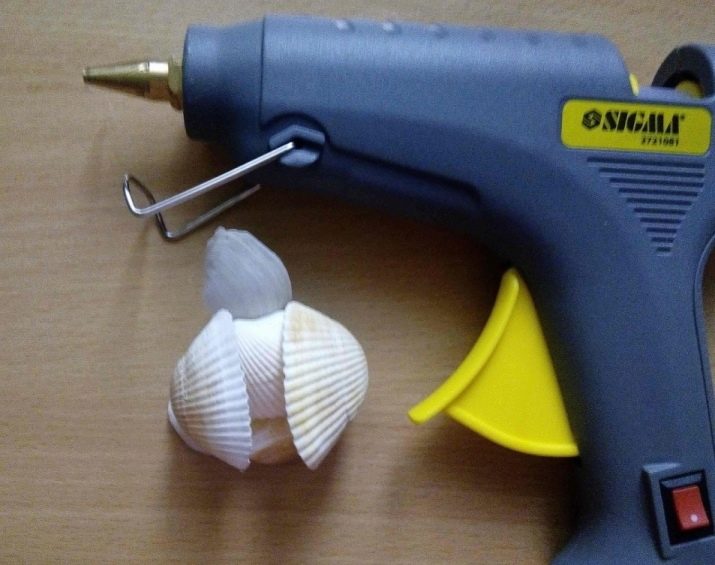
- Form a curved neck from white plasticine, and a triangular beak and beady eyes from black. Attach the eyes and beak to one end of the neck.


- Gently attach the other end of the neck between the wings on the other side of the tail.

The instructions for creating a swan are very simple - children at the age of 7 can make a figurine using it. Such a craft in itself is already a full-fledged product, but if you wish, you can build several more of the same birds of different sizes to create an interesting composition.

We suggest considering some more interesting examples of shell products for children of different ages.
- Application on the theme "Autumn". Despite the fact that shells are associated with summer, they can make a great fall craft. To create it, it is enough to glue the tree trunks made of colored paper to the base and place the shells in the place of the crowns and at the foot of the trees. Next, paint the shells with paints in autumn colors. This application can be created by children aged 3-4 years.

- Sunflower with artificial leaves. Shells make excellent flowers, as some of them resemble their petals in shape. To create a craft, you will need to paint the shells yellow and glue them in a circle in two rows. Place prepared seeds or small shells painted black in the middle of the sunflower.Add some fake leaves and insects to complete the picture. The creation of such an applique is suitable for children aged 6-7 years.

- Marine application. An interesting craft with marine life, the creation of which requires the manifestation of imagination - the needleman will have to figure out how to make different fish or crabs from shells. Also, for work, you will need additional materials in the form of small stones, dried grass and special cardboard. Craft making is suitable for kids as young as 8 years old.


Original ideas for adults
At home, you can make not only crafts from seashells for school or kindergarten, but also full-fledged decorations for the home. There are many different ways to create shellfish shells for both beginners and experienced craftsmen. We propose to consider several master classes on making interior items from shells with your own hands.


Frame
This method involves decorating various interior items with shells: photo frames, picture frames, as well as clock rims and mirrors. For work, prepare "sea treasures" of different shapes and sizes - the more varied the assortment of materials, the more interesting the craft will be. You will also need a glue gun, newspaper, paper tape and additional decorative items (artificial pearls, half beads, twigs, etc.).


Let's consider in stages the method of decorating the frame with sea gifts.
- To protect a mirror, photograph, or painting inside the frame, first cover it with newspaper or other cut-to-shape paper. Attach the newspaper with paper tape (it is better not to use ordinary tape, because it can leave marks). In the event that the frame is empty and without glass, this step can be skipped.
- Distribute large shells around the perimeter of the frame and evaluate the general appearance of the resulting applique. If necessary, rearrange them to make the composition look interesting and beautiful. Then, one by one, glue the decorative natural material to the frame with a glue gun.
- Fill the gaps between the large shells of mollusks with small "sea treasures". This can be done in a chaotic or staggered manner, the main thing is to adhere to the general style.
- Add accents with decorative elements: imitation pearls, translucent beads, starfish and more.
- Remove the paper tape and paper that protects the glass or painting.

Heart
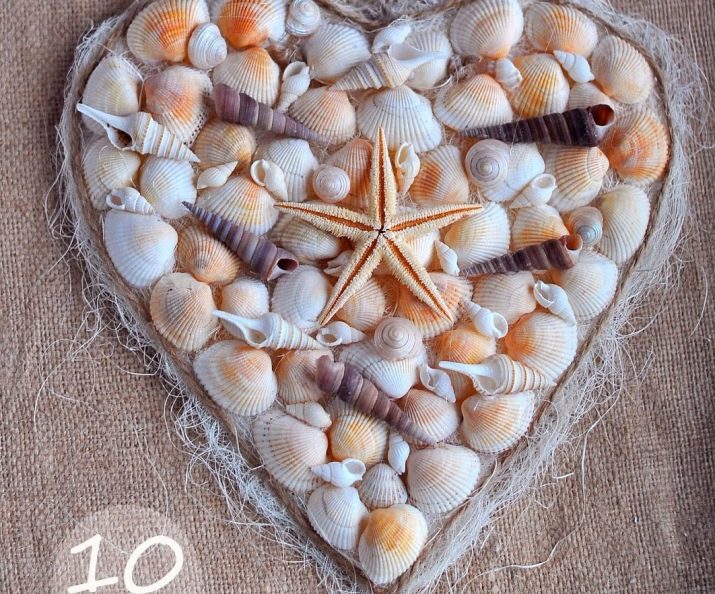
A neat heart lined with shells is an excellent decoration for the kitchen, giving the room warmth and comfort.

Prepare the following tools and materials before starting work:
- shells of different sizes and shapes;
- thick sheet of cardboard;
- scissors;
- pencil;
- awl;
- sisal twine or thread;
- sisal fibers;
- linen or burlap;
- small decorative elements (optional).

After collecting everything you need, follow the step-by-step instructions.
- Draw a heart on a piece of cardboard with a pencil. It is advisable to create a geometrically correct and symmetrical figure so that it is more convenient to lay out the decor. Cut the heart out of a piece of cardboard.

- Use an awl or hole punch to punch two holes in the top of the heart.

- Using a glue gun, glue the sisal fibers to the front of the craft, covering the entire surface tightly.

- Cut out another heart from burlap or linen, which along the contour will be 1 cm larger than the cardboard figure.

- Glue the burlap to the wrong side of the craft.

- Thread the twine or sisal thread through the holes in the cardboard so that the ends come out to the right side. Tie large knots at the ends of the rope, or tie them together.

- Create the base of the composition by laying out identical shells on the sisal fibers, then glue them.

- Add large twisted shells in some places.

- Fill in the gaps with small sea treasures and decorations.

- Glue twine or sisal thread along the contour of the heart.
Painting
To create a painting from natural materials collected from the sea, you will need the following tools and materials:
- various shells;
- glue gun;
- outline of the drawing, printed on paper;
- unprimed canvas;
- white acrylic paint and brush;
- pencil;
- Scotch;
- decorative elements (optional).

Then follow the step by step instructions.
- Cover the canvas with a few coats of acrylic, leaving an uncoated wavy outline around the edges. Apply each new layer only after the previous one has dried.
- On top of the dried acrylic tape, attach the cut-out pattern of the drawing with tape, circle it with a pencil and immediately remove it.
- Fill the inner space of the contour with shells, trying to repeat the shape as much as possible. First, simply lay out the shells of the clams to see the result, and only then glue them in turn.
- Fill the free space between the shells with small “sea treasures” and decorative elements.


To hang the painting on the wall, purchase special mounts or gum for sticking to the wall from an art store.

Instead of a non-primed canvas, you can use an acrylic-covered one, but it will not work on it to make the unusual effect of dilapidation along the edges of the picture.
Ship
To craft a shell ship, you will need the following tools and materials:
- 2 shells of rapana of different sizes;
- 9 ribbed shells to create sails;
- twisted shells for decoration;
- wooden skewers;
- toothpicks;
- glue gun;
- strong sewing thread (no. 10);
- medium-sized sea stone;
- acrylic spray.

Then follow the instructions.
- Glue a large shell of rapana firmly to the stone with the open side up. Insert a wooden skewer inside the small shell of the rapana, having previously greased it with glue. Place the resulting structure on top of a large shell. Glue three more skewers vertically - these are the masts of the ship.

- Adjust their height with scissors. Glue ribbed shells to the skewers and horizontally attach toothpicks next to them - these are sails and craft yards. Pull the "rope" from the thread - start from the front of the ship (the tip of the small rapana) through the tops of the masts to the back.

- On each fastener, glue the thread with the appropriate compound. Then run the thread along the outline of the ship to the bow on one side and back to the back on the other. Glue the end of the string to the side of the ship, then attach it vertically to each yarn and top of the mast, then return it to the other side in the same way. Carry out the procedure for all masts.

- Glue the twisted shells to the ends of the masts and add decorative elements. Spray varnish on the craft and let dry.

Frog
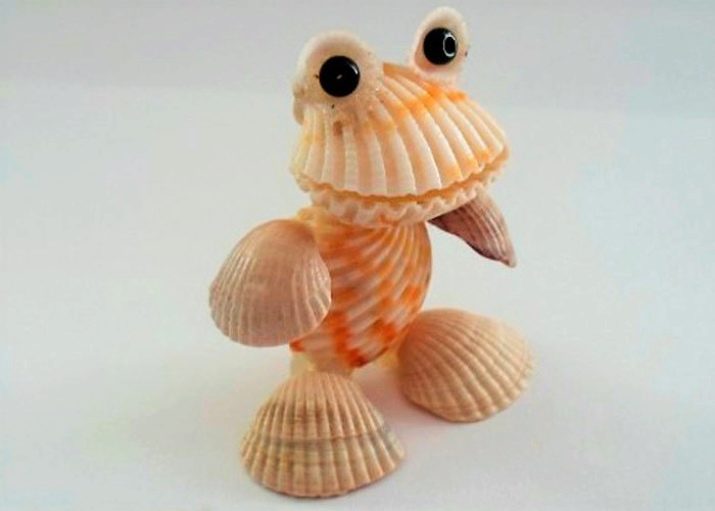
Prepare the following items to create a funny frog:
- ribbed shells of different sizes;
- glue gun;
- black beads or plasticine.


Having prepared everything you need, follow the instructions.
- Glue together two large shells, without tightly connecting the sharp part - this is the frog's head with its mouth slightly open.
- Glue two slightly smaller shells tightly to each other - this is the body of an amphibian.
- Connect the head and body together.
- Attach medium-sized shells to the lower part of the body so that the frog can stand firmly on them. Also glue the Sea Treasure Legs on the sides of the figurine.
- Glue beads or balls of black plasticine inside the smallest shells.
- Attach the prepared eyes to the frog's head.
Earrings
To create homemade jewelry, prepare the following tools and materials:
- two shells of the same size;
- artificial pearls;
- accessories and rings for making earrings;
- glue gun;
- awl;
- pencil or felt-tip pen.


A step-by-step master class will help you create a decoration.
- Use a felt-tip pen to mark points inside the shells of the clams where the holes for the rings will be.
- In the marked places, carefully punch holes with an awl, slowly turning the tool and applying light pressure.
- Clean the hole with an awl on the outside of the shells.
- Glue an imitation pearl in the middle of each shell.
- Pass the ring through the hole and attach earrings (earring fittings) to it.

How can you decorate seashells?
The shells themselves are already a beautiful decor, but in some situations they still need improvement. For example, to create an autumnal mood, they can be painted in warm colors using acrylic paints. You can also do with the shells of clams laid out in the form of flowers.

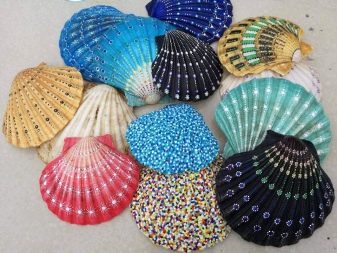
Another interesting way to decorate seashells is to partially cover them with PVA glue and sprinkle with sparkles. Then all excess glitter must be carefully chipped off. As a result, the craft will be partially covered with shiny elements, creating a festive mood.

For more on shell crafts, see the video below.


