Crafts from matchboxes
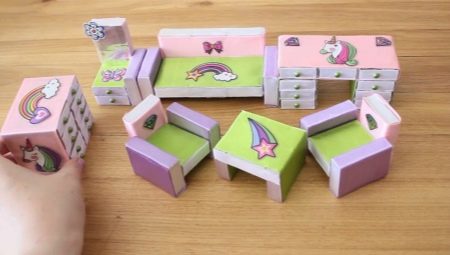
Original and beautiful crafts can be made from a variety of materials. It can be not only twigs, cones, plasticine or colored paper. Cool stuff comes from regular matchboxes.
Manufacturing of machines
A child can make many interesting and attractive objects from matchboxes. For example, these can be original cars. They are made extremely simple, but at the same time the very process of their manufacture can captivate and greatly interest little craftsmen.
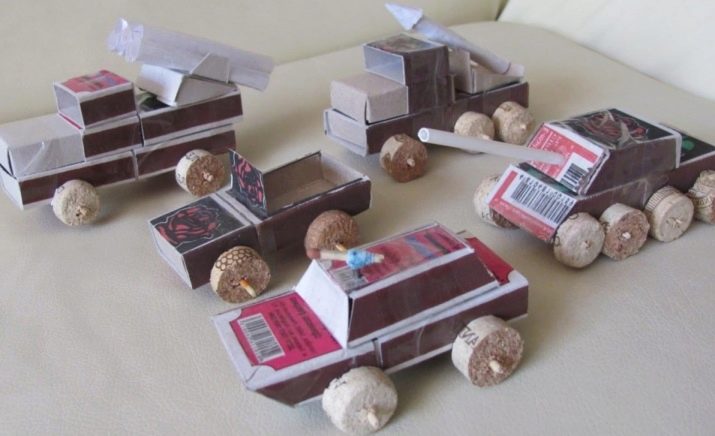
Matchboxes are simple and affordable materials found in almost every home. All kinds of machines can be made from them. These can be trucks, cars, fire-fighting options, and even dump trucks. So, in order to make the simplest passenger car with your own hands, you should stock up on:
-
scissors;
-
colored paper;
-
glue stick;
-
colored cardboard;
-
watercolors and pencils;
-
three matchboxes.
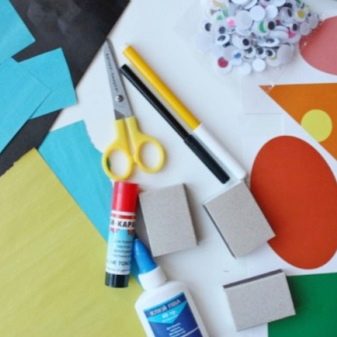

A nice passenger car is made in several stages. Let's take a look at each of them.
-
Each matchbox is taken. It must be pasted over with colored paper. The color should be chosen based on what color the child wants to make the car.
-
Take 2 boxes. They are glued together with short sides. This should be done so that a long base is obtained as a result.
-
The third box will need to be carefully glued on top of the base, exactly in the middle.
-
Next, 8 circles are cut out of colored cardboard. 4 of them should be black and large - these will be the wheels of the car, the remaining 4 circles should be slightly smaller. They can be either white or gray. These will be the inner parts of the wheels.
-
In the next step, small circles are glued over larger circles.
-
The finished wheels are glued to the side bases of the prepared car from the boxes.
-
Cars stick or draw headlights on the bumper. In between, you can draw a radiator grill using a black pencil. The craft is ready!
This is the easiest way to make a matchbox machine. Even preschoolers can make it without problems.
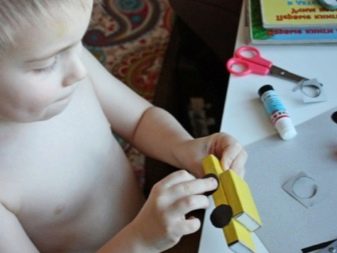
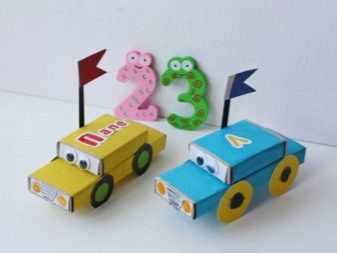
Many more different models of cars and other types of transport can be made from boxes. In this case, the child can use convenient ready-made schemes.
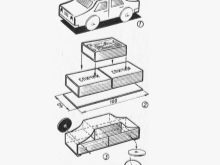
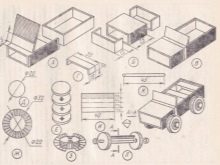
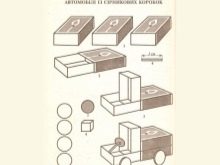
What kind of animals can you make?
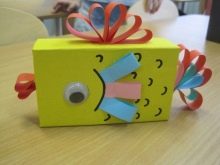
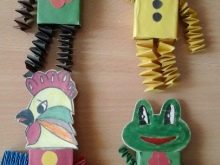
Of the components under consideration, you can make not only cars, military equipment and other similar things. Many children love to make a variety of cute animals with their own hands. You can also make such homemade products from matchboxes. Most of them are very easy to do.
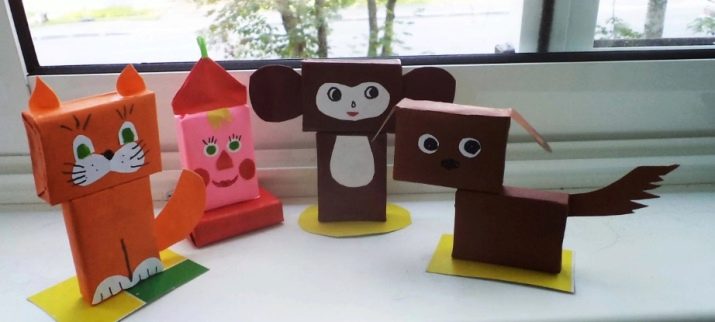
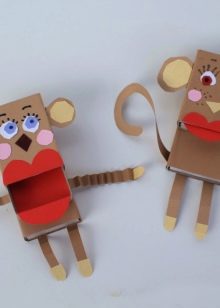
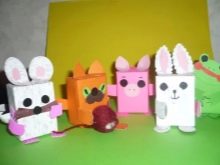
Matchboxes make very cute cats, dogs, horses, monkeys, heroes of famous cartoons. For the manufacture of many variants of figures, it is enough to use just a couple of boxes. They are pasted over with colored paper of a suitable shade, after which they are supplemented with glued ears, tails and pretty faces.
Many things for decorating such crafts are implemented using a marker or felt-tip pen, or a simple pencil.
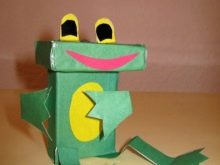
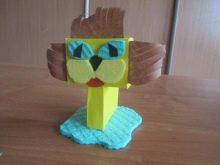
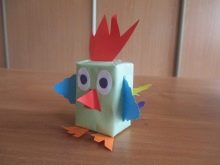
Animals from boxes can be made for kindergarten. Children love to create such crafts, since this does not cause them great difficulties, but it allows them to enjoy beautiful results.
DIY educational games
Parents can show almost unlimited imagination by creating interesting, educational games for their children. Matchboxes make excellent mosaics, abacus, cubes and so on. They are easy to make, so it won't take a lot of time to make them.
How to make puzzles?
From the materials at hand, excellent puzzles are obtained.
To make them, you need to choose an attractive picture that will correspond to the age of the child.
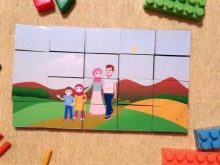
The size of the selected image must be such that it can be divided into several distinct parts. On average, from 5 to 15. The sizes of these parts should correspond to the size of matchboxes.
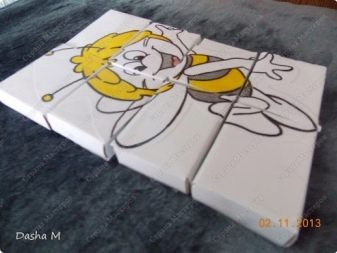
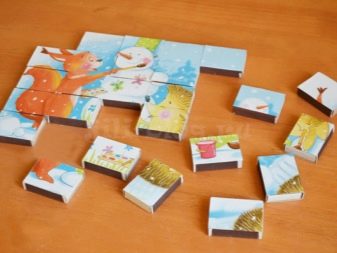
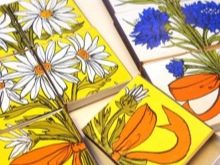
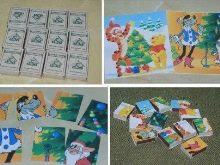
The selected picture must be carefully cut into several parts. When all the elements of the puzzle are cut out, they will need to be glued to the surface of the boxes. This is best done with double-sided tape or glue stick.
It is not recommended to use PVA, because it can quickly spoil the image.
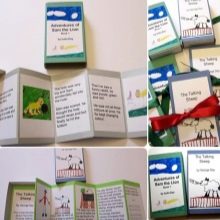
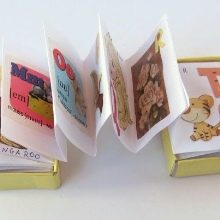
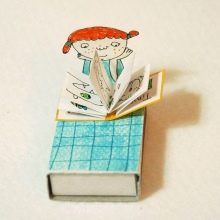
Clamshell book
This is another cognitive craft that can be made in the company of a child. Together with a ready-made clamshell book, you can engage in teaching of various categories. At the same time, the developmental process will be kept in the format of the game, which will definitely captivate the baby.
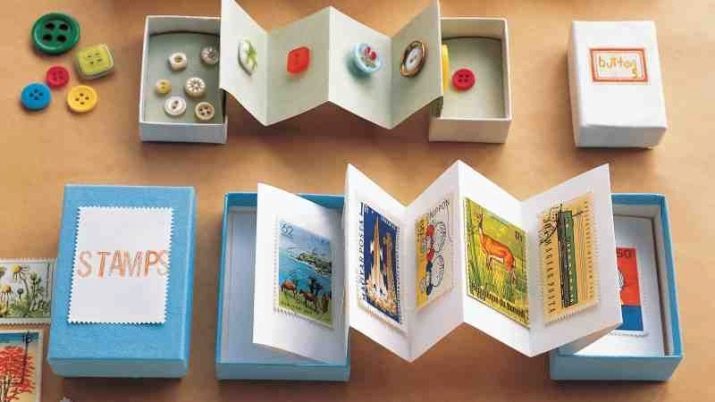
We will find out how you can make a developing clamshell book from matchboxes with your own hands.
-
First, you need to decide on the topic in which such a craft will be sustained.
-
Next, the boxes will need to be painted with gouache in one chosen color. If you don't want to paint, you can paste over the blank with colored paper.
-
A white paper sheet is taken, a rectangular piece is cut out with dimensions corresponding to the dimensions of the box.
-
On a rectangular part, you need to draw an image, the theme of which will correspond to the theme of the developing book, or write its name.
-
A strip is cut from a cardboard sheet with a width of 2-3 mm less than the width of the box itself.
-
The prepared strip should be folded like an accordion. All fold lines will need to be ironed carefully.
-
On each of the pages between the fold lines, you will need to apply images or appropriate inscriptions on the topic.
-
After that, the accordion is folded and the box is removed inside.
Numbers and alphabet
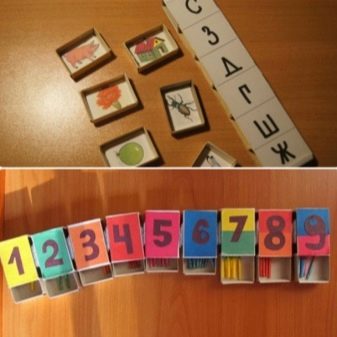
This educational toy is best suited for older preschool and primary school children. Let's find out how you can do it.
-
A white sheet is taken and cut into rectangular pieces. Their size should correspond to the width of the box.
-
On each of the rectangular elements, you will need to write numbers. To do this, you can use a felt-tip pen or marker.
-
Further, numbers will need to be cut out of colored paper. They are glued over the inscriptions.
-
Sticks or matches should be placed in the inside of each box. Their number should correspond to the figure that is pasted on top.
A similar cognitive game can be made not only with numbers, but also with letters. With such elements, the child can be taught to quickly form different words.
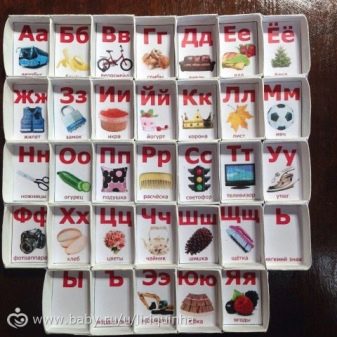
More ideas
There are many other interesting ideas for making crafts from the most common matchboxes. Most of them are easy to do, but at the same time interesting and exciting for the child. Consider several interesting schemes and techniques for making crafts.
Robot
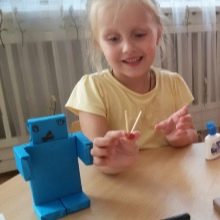
Very interesting robot figurines are made from matchboxes. They can be made as simple as possible or as complex as possible, with many different design details. The child's fantasy in choosing a certain option is absolutely not limited by anything.
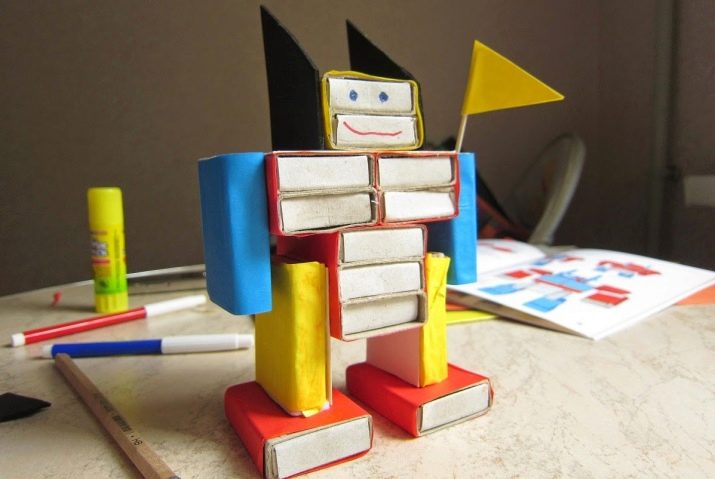
A simple but cute robot can be crafted from:
-
9 empty matchboxes;
-
scotch tape;
-
PVA glue;
-
scissors;
-
colored paper.
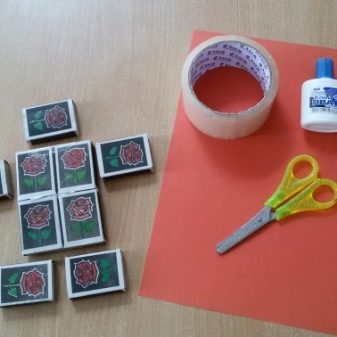
Here's how to assemble a homemade product from the listed components.
-
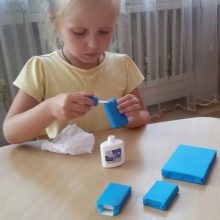
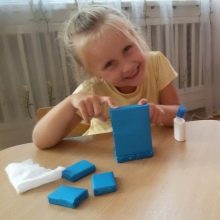
First, 4 boxes are glued together with adhesive tape. The result is the body of a robot.
-
Next, each of the boxes and the body are pasted over with colored paper of any selected shade. You can glue the paper on the PVA composition.
-
When all the other details of the future robot are completed with colored paper, you can start assembling the robot figurine.
-
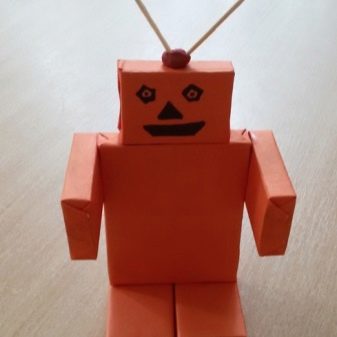
On one small box, you will need to draw the eyes, nose and mouth of the future character. It is better to use a black marker for this. After that, the finished head is attached to the body.
-
The next step is to make an antenna. We need to take a small piece of plasticine mass. A ball is rolled out of it and a pair of matches is inserted into it, after which they are fixed on the robot's head. The original craft is ready!
The robot manufacturing scheme is very simple. A child aged 4-5 years will cope with the manufacture of such a craft without unnecessary problems and difficulties.
Tank
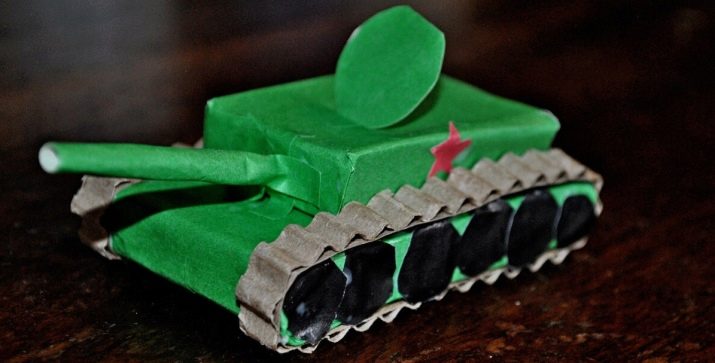
The boxes can make a very beautiful and solid tank.... For this you will need:
-
colored paper;
-
scissors;
-
ruler;
-
adhesive composition;
-
boxes;
-
pencil.
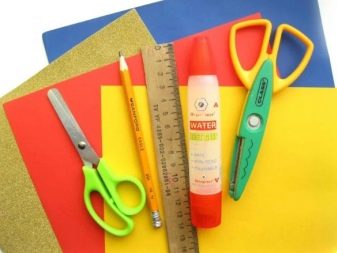
Let's take a look at the step-by-step instructions for making a tank from matchboxes and other components mentioned above.
-
First you will need to glue the 2 box together. Connect them with the sides.
-
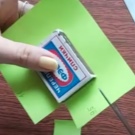
Next, a rectangular piece with dimensions of 11x17 cm is measured on green colored paper. It is outlined and then carefully cut out with scissors.
-
Then you will need to draw another rectangle. Its dimensions should be 9.5x9 cm. This part will also need to be cut.
-
The next step is to glue one of the boxes in the central part of the smaller green rectangle.
-
Small cuts should be made at the edges on each side.
-
After that, you will need to grease each side of green colored paper with an adhesive. Then it is simply neatly glued directly to the box.
-
Do the same for a couple of boxes glued together and a large green rectangle.
-
Take a yellow colored paper. A couple of stripes with a width of 0.5 cm are cut out of it.
-
Cross lines are drawn on the strips using a pencil or felt-tip pen. After that, the tank tracks will be ready.
-
To make a muzzle, you need to use a skewer with a length of 5 cm. It should be painted green.
-
On the side surface of the box, which has remained single, you will need to make a hole with a skewer.
-
It will be necessary to insert the muzzle of the future tank into the hole made.
-
After that, both parts of the military machine will need to be glued to each other. Caterpillar strips are glued on the sides.
-
The flag for the tank can be made from a small skewer and a rectangle of red colored paper pasted on it.
-
A small hole is made in the upper part of the tank to accommodate the flag.
-
Wheels are glued to the side surfaces on each side. They can be made from black paper circles.
-
A red paper star is glued to the upper side surface.
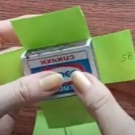
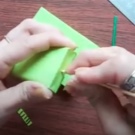
Furniture
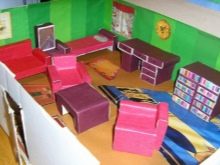
From the considered components, it is possible to assemble a lot of miniature furniture structures.
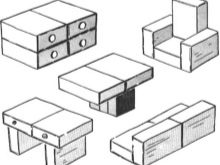
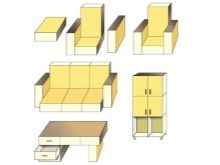
Below we will consider how to make a chest of drawers from matchboxes.
To build such a craft, you will need:
-
colored paper;
-
many empty matchboxes;
-
adhesive composition;
-
scissors.
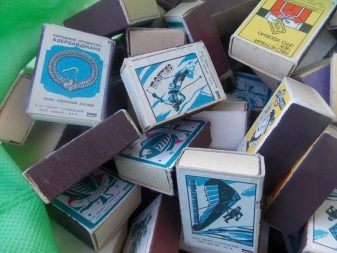

Let's get acquainted with the step-by-step manufacturing instructions.
-
Rectangular parts are cut out of paper of different colors, the dimensions of which correspond to the short side of the box for its further pasting.
-
A colored strip is glued to the end of each box.
-
In the same way, 6 more boxes should be pasted over.
-
All matchboxes must be glued together into a single piece.
-
Next, cut out another strip of colored paper. It should be such that it can be used to glue over all the boxes connected to each other.
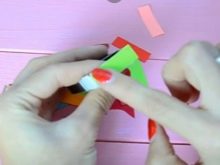
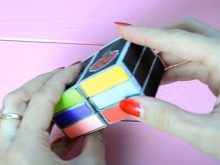
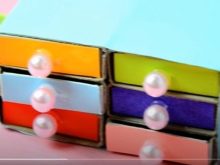
At this stage, the chest of drawers can be considered done.
Beads can be glued to each of the boxes or carefully sewn on.
The child can decorate such a craft in any chosen way.
You can also make a dollhouse from matchboxes. How to do this is detailed in the following video:


