Variety of crafts from matches
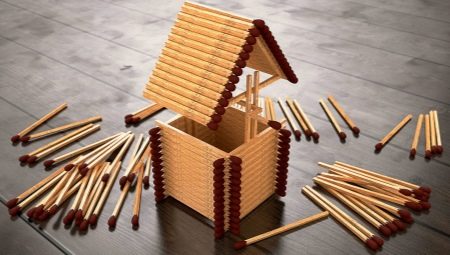
Humanity learned how to make fire many thousands of years ago, today this process is simplified as much as possible - you just need to strike a match on the boxes. Such accessible material as matches did not go unnoticed among needlewomen - they began to use it for various crafts. In this article, we propose to consider the methods of making matchstick figures, as well as other non-standard methods of using matches.
Tools and materials
To make the creative process fun and comfortable, you need to choose a suitable place and prepare tools and materials. The best place to work is at a desk with plenty of room for creativity and good lighting. Let's take a closer look at the list of items that need to be prepared.
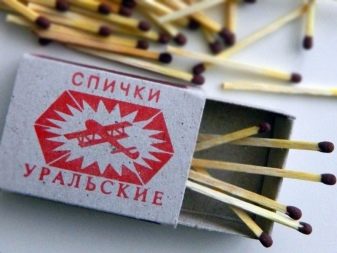
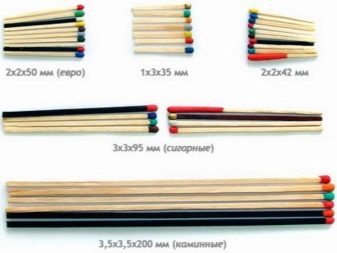
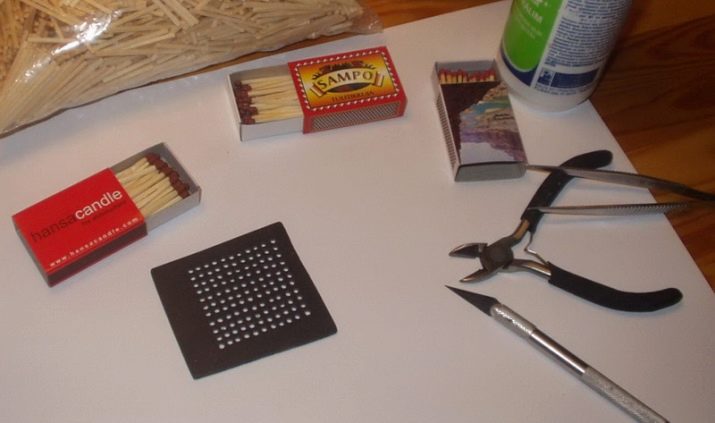
- Matches. There are three types of matches in total: classic, for the oven and for the fireplace. Classic ones are used most often, because they are in every home - both simple and complex crafts can be made from such material. Oven matches are 8.5 cm long - large models are made of them. Match items with a lot of details are most often made from fireplace matches - they are 10 and 20 cm in length.
- Scheme or step by step instructions. The result of the work will delight you much more if you carefully think over all the stages of creating a craft.
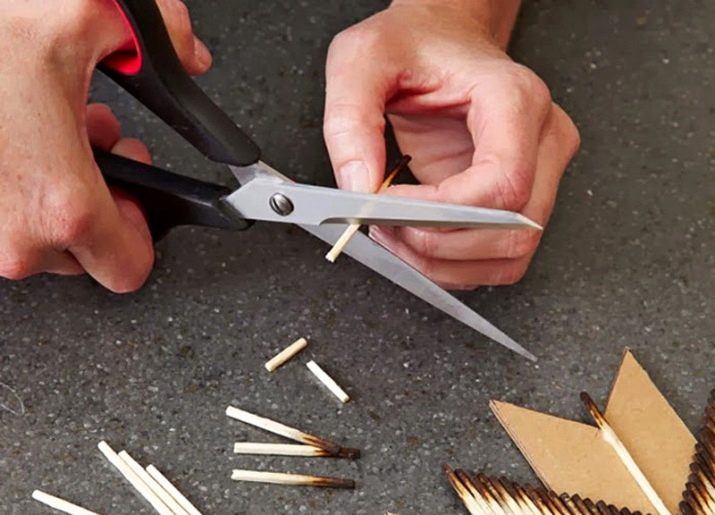
- Scissors or knife. In some crafts, it is necessary to remove sulfur from matches or divide a straw for small parts. For this, scissors or a clerical knife are suitable.
- Nail tweezers. Sometimes the craft requires jewelry precision and care, ordinary tweezers will help you with this.
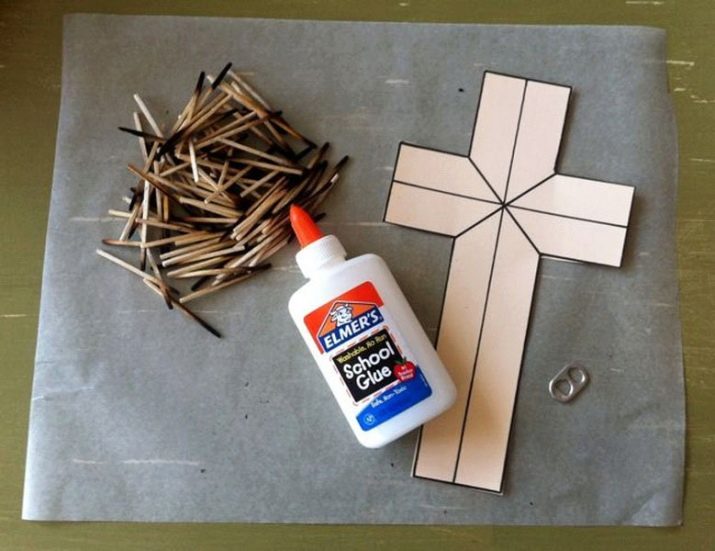
- Glue and stick for applying glue. This material is only needed for complex crafts - many simple designs are created without the use of glue. Moment wood glue is perfect for working with matches, but you can also use regular PVA. If you plan to involve a child from 3 to 5 years old in the creative process, it is better to use plasticine to connect the parts.
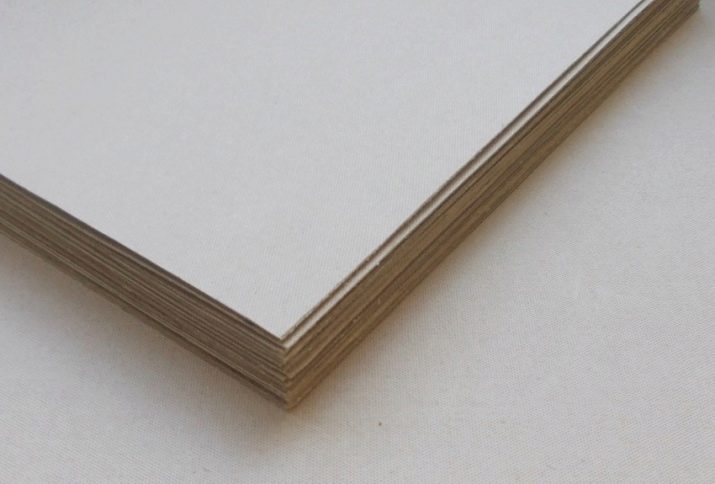
- Cardboard. This material will be used as a basis for crafts, so it is better to choose a thicker cardboard.
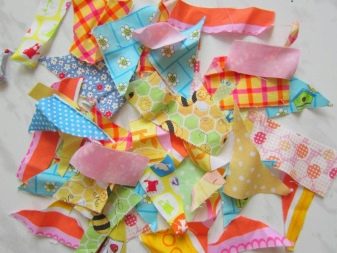
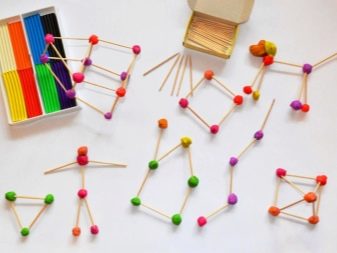
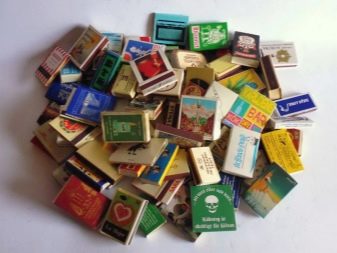
- Additional elements. If the conceived craft is complex and multifaceted, you can use various accessories, for example, pieces of fabric, plasticine, wine corks, matchboxes or toothpicks.

What kind of toys can you make?
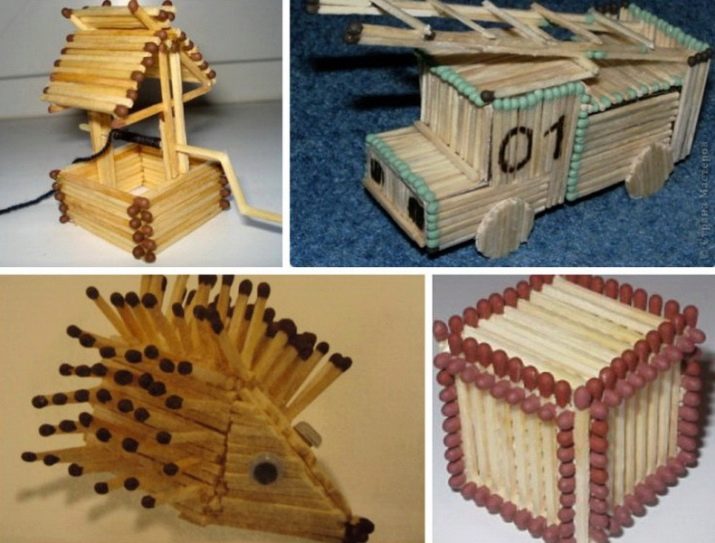
For people who are trying to create crafts from matches for the first time, it is better to start with simple master classes, because volumetric designs take a lot of time and effort - for beginners it is too tedious. Starting from the basics, you can easily and quickly make interesting figures and gradually improve your skills. Let's take a closer look at how to create simple crafts from matches in stages.
Small house
A simple match house without the use of glue is the basis for future complex crafts, such as a Russian hut, a two-story house with a balcony, or other architectural masterpieces. Such a creation is the most popular among novice needlewomen, because the technique is simple, and the result is very interesting and cute. All you need for creativity is a cardboard stand, matches and a five-ruble coin.
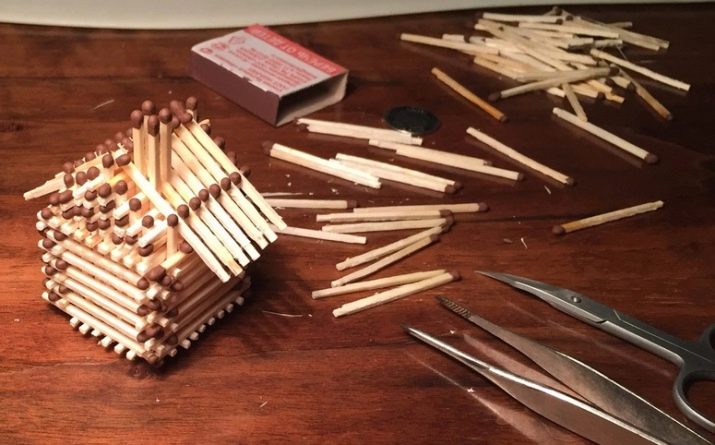
Step-by-step instructions will help you make a house out of matches on your own.
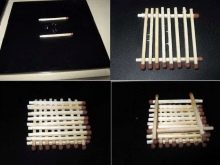
- First, create the foundation for the house. On a cardboard stand, place two matches parallel to each other, then place another 8 pieces perpendicularly on top of them. After that, place 8 more pieces on the resulting "raft" again perpendicular to the upper matches.
- Build a base for the walls. To do this, place two matches parallel to each other along the edges of the foundation, and then on top of them two more sticks along the other two edges. Continue laying out the walls in a circle for a total of 14 layers of matches.
- Make a blank for the roof. Lay out 8 beams on the walls, then on top of them 6 more pieces perpendicular to the previous layer and tightly to each other, and place a coin on top. Insert the matches vertically into the roof so that they surround the coin - you should get a 7 by 7 square. Gently lift the box, press the walls so that the sticks are close to each other, take out the coin.
- Seal the walls. To do this, set the rows of matches, heads up, on each of the 4 sides of the house. Then add another layer of matches in a circle.
- Continue making the roof. Insert the missing matches in the corners and start shaping the walls of the roof. Then place the matches between the side walls, alternating the heads and the lower part of the shaft. Then install the shingles and seal all roof parts.
- Based on the diagram or photo, add a door to the house, windows and chimney with sulfur heads.
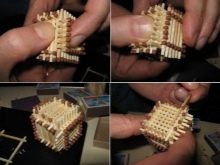
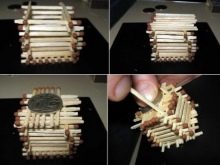
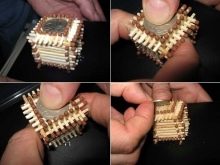
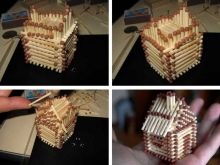
Well
To make a well, you will need matches, a stationery knife and glue. Consider step by step instructions for making a match well.
- Use a knife to remove the sulfur from the matches, then fold the foundation of 4 sticks. Glue their tips to an adjacent match, slightly stepping back from the base.
- Create another row on top of the foundation, overlapping the joints of the matches.
- Continue gluing the sticks in the same way until you have 10 layers.
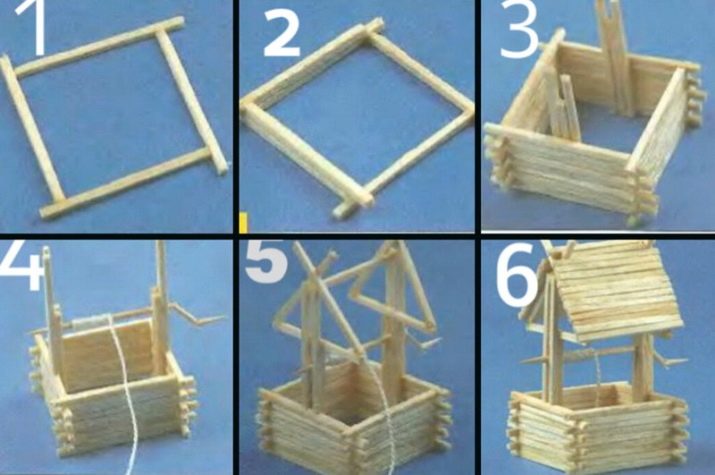
At this stage, the craft already looks like a well and can make a beautiful composition with a house, but if you wish, you can add a roof and a gate from a toothpick to the product.
Hedgehog
To create a hedgehog, in addition to matches, you will also need plasticine to make the animal's body. Let's take a closer look at making crafts with your own hands at home.
- Blind the hedgehog's torso. Roll an oval out of brown or beige plasticine, elongated on one side.
- Create needles. Insert matches into the back so that they occupy all the space except for the elongated side of the oval. To make the matches look like needles, remove the wax from them.
- Make a hedgehog face. Cut off the sulfur from 3 matches with scissors, leaving a small part of the stick. Insert the resulting parts into the place of the eyes and nose of the animal.
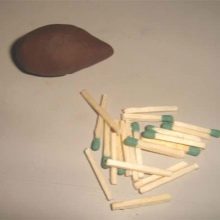
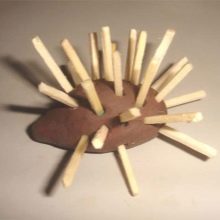
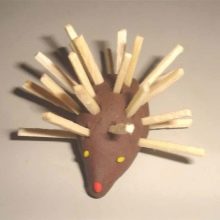
Instead of plasticine, you can use half a potato, apple or chestnut to create a body.
Bridge
Making a bridge from matches is not an easy task, for this you will need experience in making crafts. To make the bridge strong, you need to use glue to connect the parts, as well as cardboard to create the base and parts of the structure. Consider a few examples of handmade matchstick bridges.
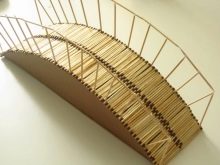
- Simple bridge. A small bridge with a railing, an arc thrown over a ravine, will perfectly complement a match composition with a house and a well. To create such a craft, you will first need to make a flat base with crossbeams. Then evenly distribute the railing supports and connect them with an arc of matches. On these arcs, attach the transverse sticks along which the inhabitant of the match house will walk, and install railings on the upper edges of the beams.
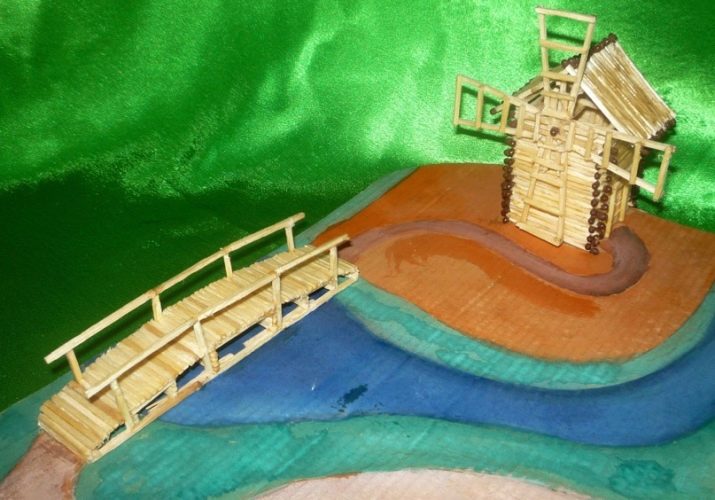
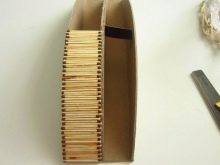
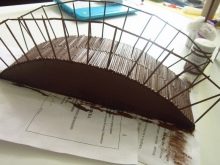
- Wide bridge. To create such a creation, you need matches, cardboard and glue. Three supporting arches are created from cardboard - two side and one middle, the distance between them should be equal to the length of the matches. The arches are interconnected with cardboard beams, and the structure is glued to the cardboard base. Then glue the matches to the arches in two rows, alternating the direction of the head. After that, from matches, glue the railing along the edges of the wide bridge and install the product in the planned place.
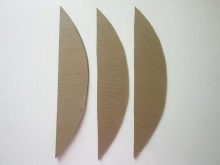
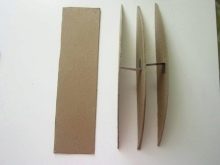
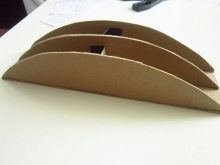
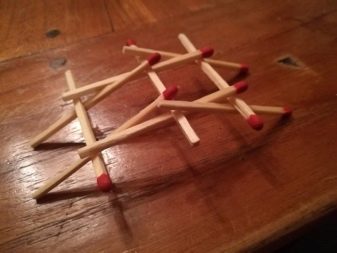
- Leonardo da Vinci Bridge. This is a very unusual structure that will be interesting for any person to build. No glue or other bonding materials are needed for such a bridge - 24 matches and a cardboard base are enough for you. Insert two matches into the cardboard on both edges so that the distance between the matches is slightly narrower than the length of the match. The segment between the beginning and the end of the structure should be almost equal to the length of two matches. On the outside of the inserted beams, place one piece at a time. Further, it is necessary to create an interlacing of two longitudinal and one transverse beams from one edge of the bridge to the other. When the weave reaches the other end, it becomes stable and can hold large loads.
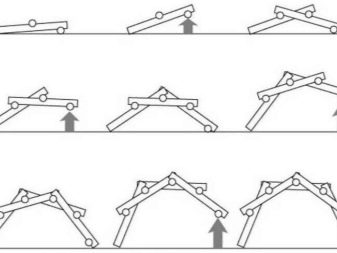
Wood
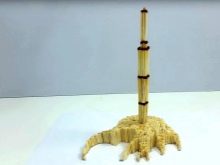
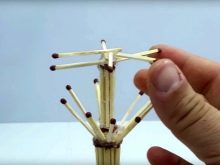
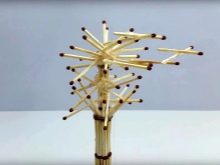
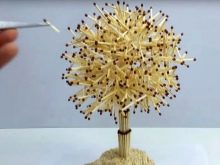
A match tree will perfectly complement the composition of a house, a well and a bridge, but in order to make it yourself, you need to be ready for long and painstaking work. We propose to consider options for trees that can be made from matches.
- Simple tree. The beauty of such a creation is that you can independently choose the shape of the crown - it can be triangular, tear-shaped, round or elongated.
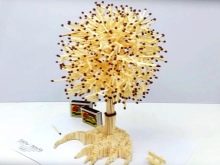

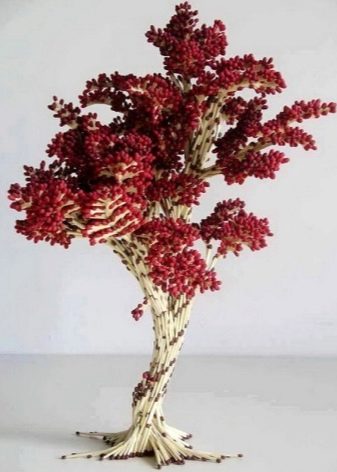
- Sakura. If you use matches with pink or red gray to make your craft, you can create a pretty Japanese tree with bright flowers.
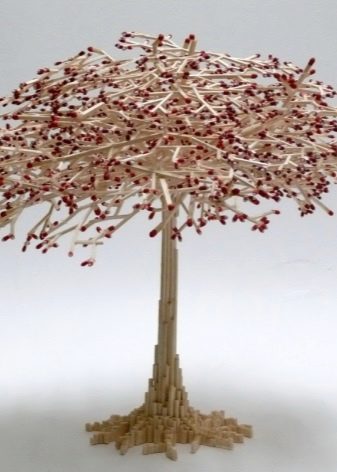
- Christmas tree. Matches are shaped like Christmas tree needles, so they are great for creating a fluffy Christmas tree.
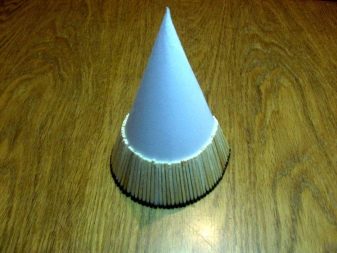
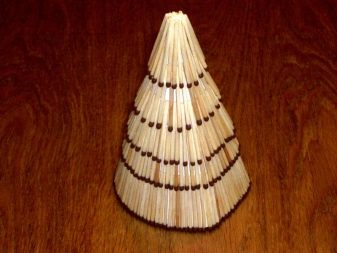
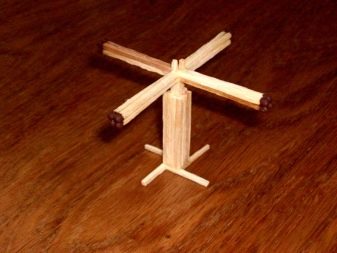
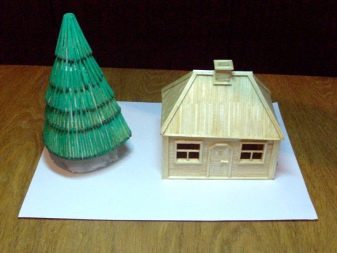
Match trees are very unusual crafts that require a lot of time and materials, each type of plant will take at least two days. It is better to start making such a creation when you have experience in creating match products.
Diy table and chairs
All small children love to play with miniature dishes and probably dream of a small model of a table with chairs for tea drinking. You can create such toy furniture with your own hands from matches, glue and cardboard. Let's take a closer look at the manufacture of such crafts.
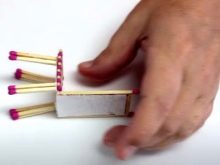
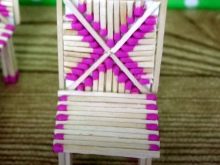
- Chairs. First, cut out the back and seat of the chair from cardboard, then glue the matches on it, alternating the direction of the heads. Then cut off the excess ends of the matches and glue the boundary matches on all 4 sides of the pieces.Glue the backrest to the seat at a right angle. Glue four chair legs from sticks (3-4 matches for each leg) and glue them in the corners of the underside of the seat.
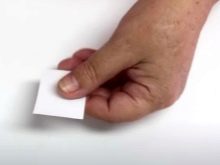
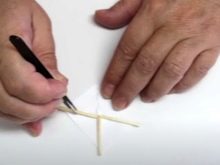
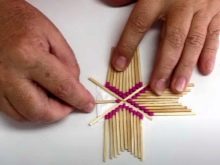
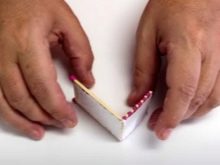
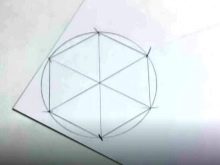
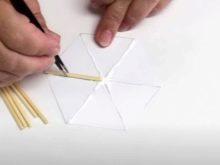
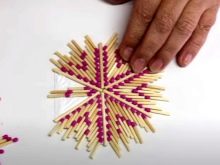
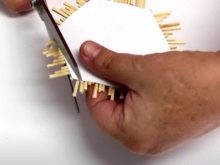
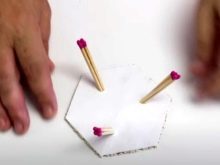
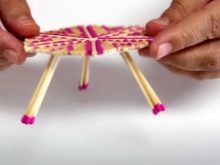
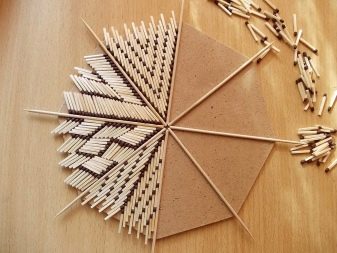
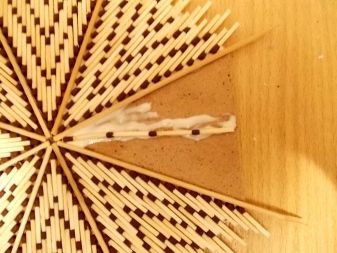
- Table. Cut a hexagon out of cardboard and divide it into segments - glue matches extending from the center of the figure to its corners. Then fill the free space with chopsticks, alternating the position of the heads. When the workpiece is dry, cut off the excess edges of the matches, restoring the shape of the hexagon, and glue the tabletop around the perimeter with chopsticks. Make the legs for the table from longer matches so that the table is higher than the chairs.
Interesting puzzles
For interesting and fun time, try to solve unusual matchbox puzzles. Riddles with sticks are both simple for children and complex, over which you have to think for a long time. Here are some interesting puzzles that you can solve with your friends or children.
- "Squares". From the matches, lay out three squares touching the corners. These shapes should make two squares after you move the 5 matches.
- "Key". The puzzle consists of 10 parts, which are laid out in the shape of a key. To solve the puzzle, you need to shift only four sticks and get three squares.
- "House". Another simple task that needs to be solved by moving only two matches. Change the position of 2 matches so that the house turns to the other side.
- "Scoop". For the puzzle, you will need another item, such as a leaf or a coin. To solve the problem, free the scoop from the leaf by moving only two matches.
- "A fish". An unusual riddle that will make you think outside the box. You need to turn the fish to the other side by moving 3 sticks.
- "Spiral". To solve the problem, you need to make two squares from a zigzag by moving 5 parts.
- "Cow". For the task you will need 15 matches, from which the animal is laid out. The essence of this task is for the cow to start looking in the other direction, but only two matches can be moved.
- "Lattice". Lay out a grid out of 12 sticks and move 3 of them so that you get three squares.
- "Big Square". From this figure, you need to remove six matches to get three squares.
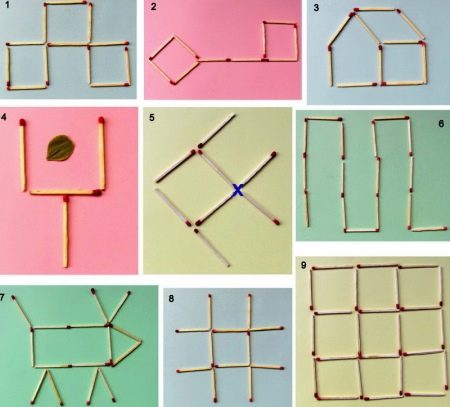
All the presented puzzles are simple enough to be solved with children. Nevertheless, this activity will be exciting not only for kids, but also for adults.
Drawings on cardboard
Making a picture of matches at home with your own hands is a very simple task that will surely interest every child. With the help of such available material, you can create beautiful landscapes according to the season, various animals, or just cute figures. To make the process even more interesting for children, you can add paints or plasticine to the materials.
Consider several options for creating a pattern from matches on cardboard.
- Autumn landscape. A picture of matches is an interesting solution for creating crafts for school. To work, you need to create a colorful background on cardboard - a clearing with yellow and green grass, a sky with clouds and a river. Then, using glue and sticks, depict a house, trees with branches and a bridge.
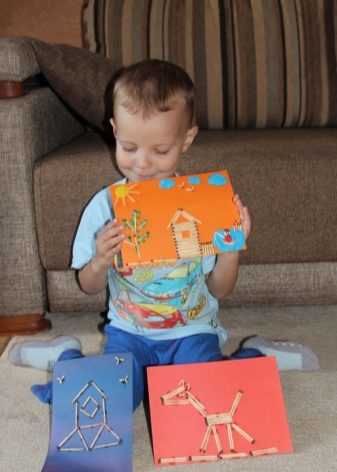
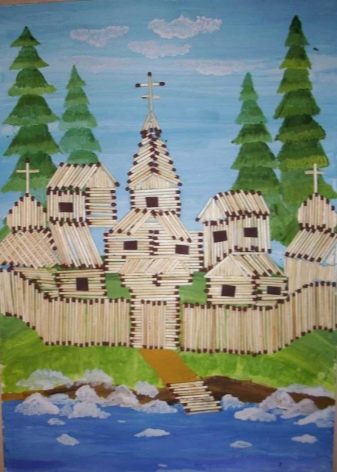
To make the picture look like autumn, it is enough to draw yellow, orange and red leaves around the match tree.
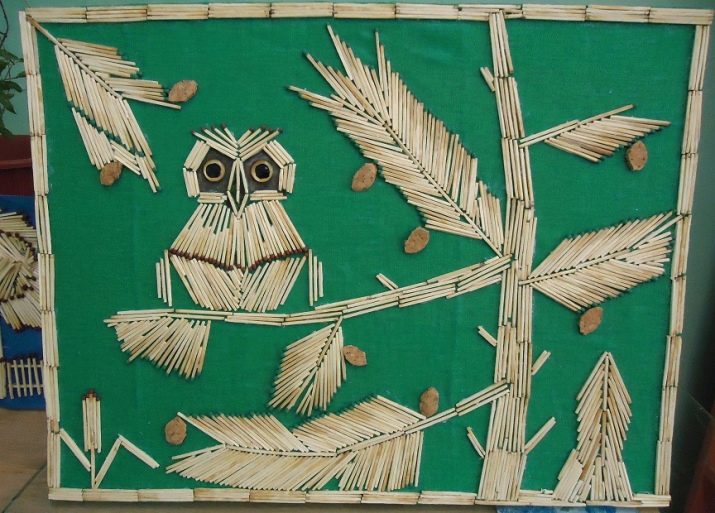
- Owl on a branch. For this craft, you will need colored cardboard, the whole image will be made up of matches. Draw the outlines of the future picture on cardboard with a pencil, and then fill in the space with matches. To make the craft interesting, depict on it a trunk of matches, a branch on which an owl will sit, and a few leaves, then use pieces of matches to repeat the shapes of all objects. Glue the owl last so that it sits neatly on a tree branch.
- Snowflake. An interesting idea for a New Year's craft.Cut an octagon out of cardboard, then use matches to divide it into eight faces with lines extending from the center to the corners. To make the creation look more interesting, the matches should extend slightly beyond the edge of the cardboard. Then fill in the edges with matches, alternating the position of the heads and ends.

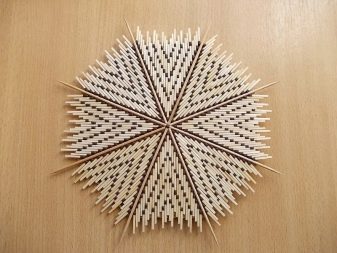
On top of the finished snowflake, you can make 1-2 more layers of a smaller size to make the craft look more voluminous.
For information on how to make a table and chairs from matches with your own hands, see the next video.


