How and from what to make a spider and a web for Halloween?
The spider and the cobweb are integral parts of the Halloween celebration. Creating such a decor with your own hands usually brings a lot of pleasant emotions to both adults and children.
How to make a spider?
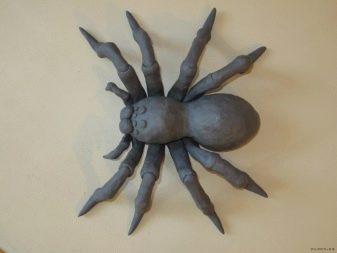
At home, it is possible to make a Halloween spider out of almost anything.... For example, it can be a three-dimensional product made of plasticine, polymer clay or salt dough, or a flat figure made of thick cardboard.
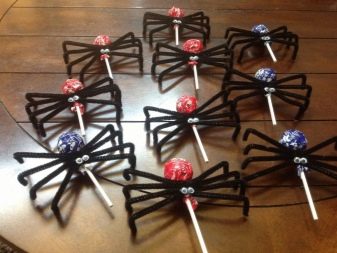
A cute souvenir is made from a lollipop in a black wrapper and fluffy wire.
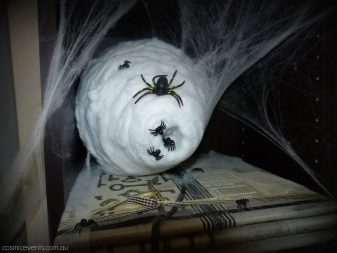
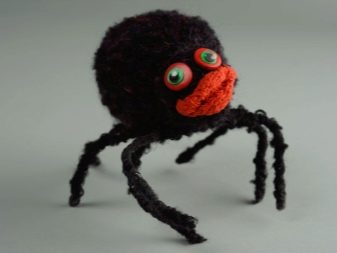
The design with a foam ball wrapped in woolen threads and equipped with wire legs looks curious. Small spiders are often made from cones tinted with black paint: their legs are formed from bending sticks, and their eyes are made from miniature pompons with plastic pupils.
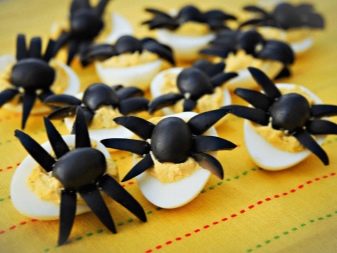
Insects made from olives or Oreo cookies and salted pretzels are often featured on the themed holiday table. Of course, you can simply bake a large chocolate cake or muffin for each guest and decorate it with chocolate-glazed straws symbolizing the spider's legs.
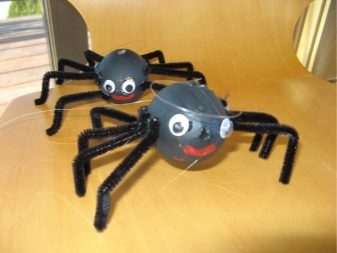
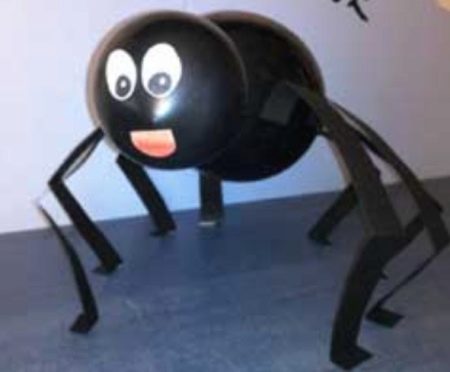
A spider made of a pair of black balloons can become a memorable part of the party. Of the materials and tools, in this case, you will have to use sheets of cardboard in black and white colors, sharp scissors, PVA glue and a rope.
- First of all, the balloons are inflated to different sizes: one should form a body and the other a head. They are fixed between themselves with a string.
- Black cardboard is used to cut eight strips of the same length and thickness - insect legs... They are immediately folded in half and fixed with PVA glue on the sides of the large ball.
- The eyes and nose of the spider are cut out made of white cardboard and glued to the "head" of the creature.
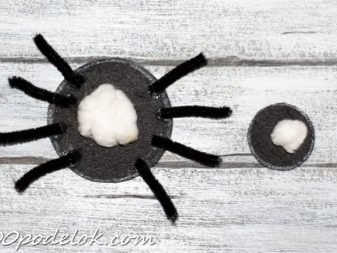
A felt spider looks very cute. It only takes a small amount of black material to appear, one stick of black chenille, a glue gun, cotton wool, scissors and toy eyes.
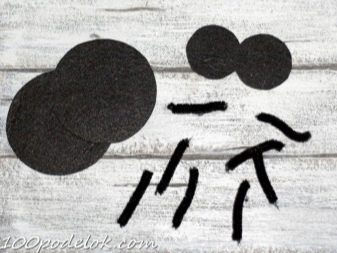
- To begin with, a couple of large and a couple of small circles are cut out of felt.
- Chenille stick is divided into 8 equal parts. Instead, by the way, it is not forbidden to use two thin strips of felt, between which the wire is inserted, and which are then glued together.
- Pieces of chenille are glued to a large circle, and a small amount of cotton wool is placed in the center of it. The workpiece is covered with a second large circle, and the parts are connected to each other.
- A cotton swab is also placed in the center of the small circle, and it is closed with a second small circle.
- Identical parts are best secured with a hot glue gun, although sewing threads are also suitable for this purpose.
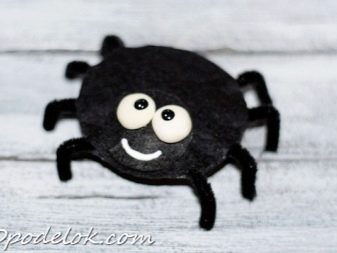
- The voluminous head of the animal is glued to the body, and plastic eyes are fixed on it.
- If desired, the smile of the spider is drawn with a white pencil or acrylic.
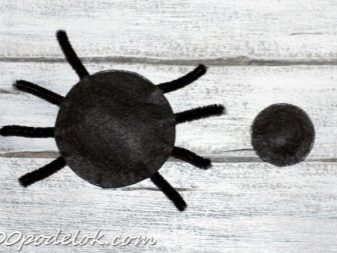
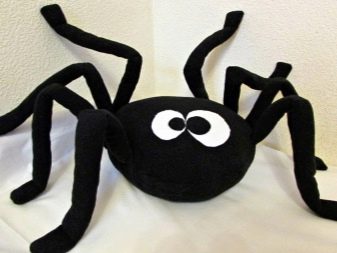
In a similar way, an insect can be sewn with your own hands from fabric.
The felting technique is also suitable for creating a Halloween creature. First, his little body is lying in the form of an even black ball, then eyes are formed from light yarn, and a smile is formed from red. Spider legs are formed from black chenille wire.
Cobweb Making Ideas
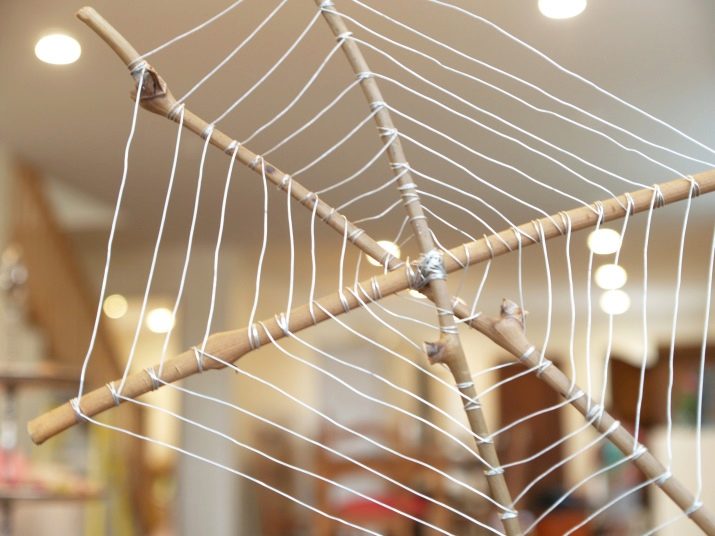
The spider web is easy to craft from any materials at hand. For example, the creation of a spider web from wire and sticks is quite popular.
- First of all, three branches of the same length and thickness are connected in the center with a thin wire.
- Further, each stick is alternately braided with a long piece of wire, thereby forming circles of a cobweb. Lead the metal thread up to the ends of the branches.
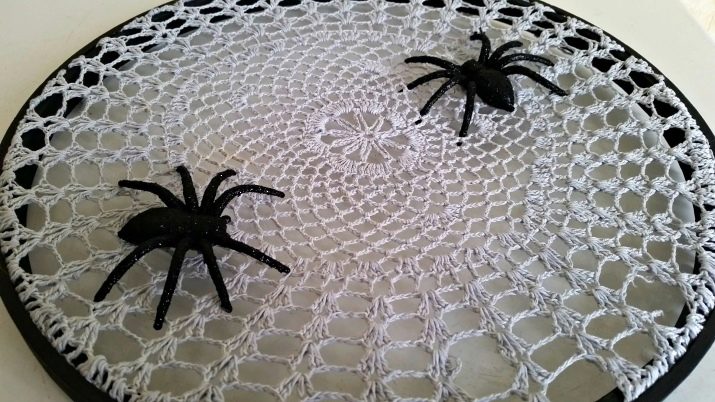
A decorative element from old knitted napkins is also quite simple to form.
In such products, it remains only to make a few additional holes and hem the threads so that they do not unravel.
From paper
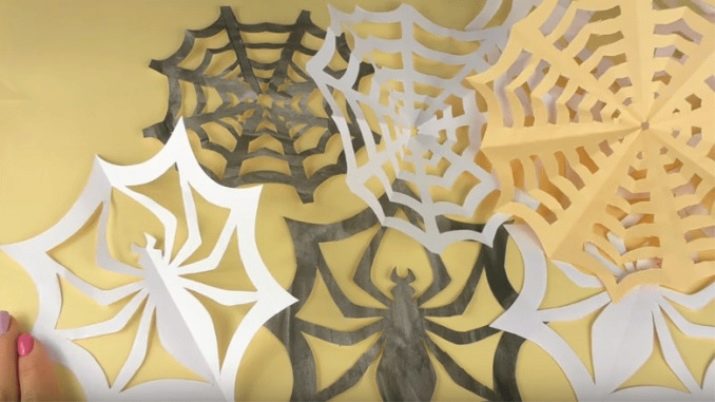
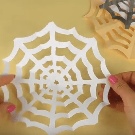
Even a child can cope with a paper cobweb on his own, since it is created by analogy with all the familiar snowflakes. You can work with both white paper and colored paper, and the second one at home is obtained by ordinary staining with gouache.
- A4 sheet, taken as a basis, is folded with a corner, after which the excess is cut off to form a square. The larger the blank is, the larger the cobweb itself will be. The resulting square folds in half diagonally three times.
- Blank takes the base, and the tail of the future cobweb is neatly cut off.
- The foldable design pivots so that so that the gap is on the left side, after which the image of a Christmas tree is applied to it.
- Cut out unnecessary elements more convenient with nail scissors or other tools with thin blades. It is better to leave thin parts uncut, and remove thicker parts, on the contrary. The "trunk" should also be intact, and it is better to carefully shorten the corner at the bottom.
- The unfolded workpiece is immediately a necessary accessory for Halloween and does not require additional transformations.
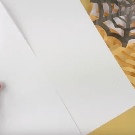
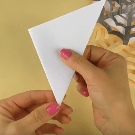
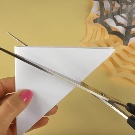
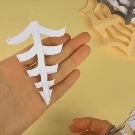
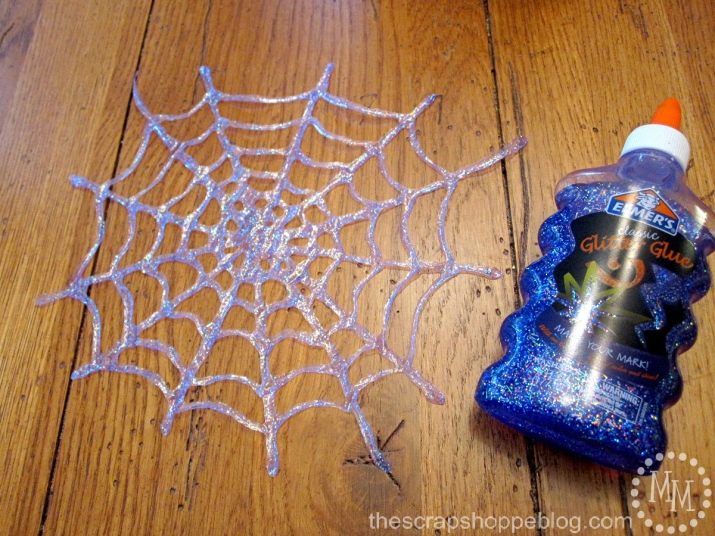
A spider web made of PVA glue, depicted on a sheet of thick paper, looks very beautiful.
- First, the outlines of the figure are drawn on the cardboard, and then they are duplicated with glue. In some places it can be tinted with a dye diluted in water.
- The finished spider web is abundantly sprinkled with sparkles, and after drying is placed in a photo frame.
It is worth mentioning that the glue web can be initially formed on a stationery file, and after 24 hours of drying, separate from the backing and secured to any other flat surface, for example, window glass.
From gauze
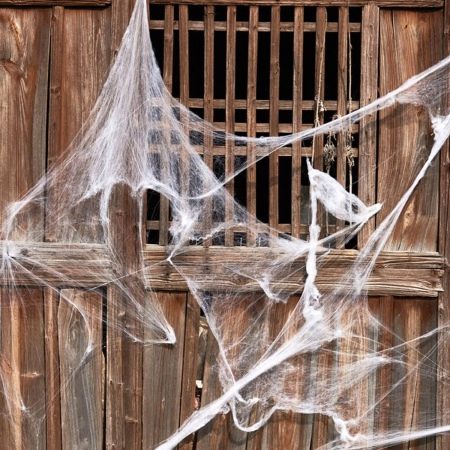
It is very easy to get an artificial web from gauze or a wide medical bandage. A piece of suitable size is stretched until you get hanging "rags". Holes are even punctured in the fabric if necessary.
The spider web, which looks extremely realistic, can be used for interior decoration or as part of a festive costume.
It is worth mentioning that it makes sense to soak the gauze beforehand in warm water, in which black paint is dissolved - this way a beautiful gray color will be obtained.
From threads
To create a filamentous spider web, material of any thickness is suitable, including woolen yarn of any color. In addition, you will need a hoop or the remains of a thin pipe, scissors and tape.
- The workflow starts with 6 pieces of yarn are fixed on the frame so that 12 radial segments are obtained... To prevent the threads from slipping, they can be secured with tape. The middle of the web is tied with a piece of yarn.
- The next step is the direct weaving a web. A large piece of thread is folded in half and attached to any of the beams. Further, it is carried out in a circle with wrapping around each ray. Returning to the beginning, the thread will need to be fastened and cut.
- The same way the rest of the web is woven... Each intersection can be additionally bandaged.
- To remove the finished product from the hoop, it will be enough to cut the warp threads, after which the decorative element is fixed under the ceiling, on furniture or curtains.
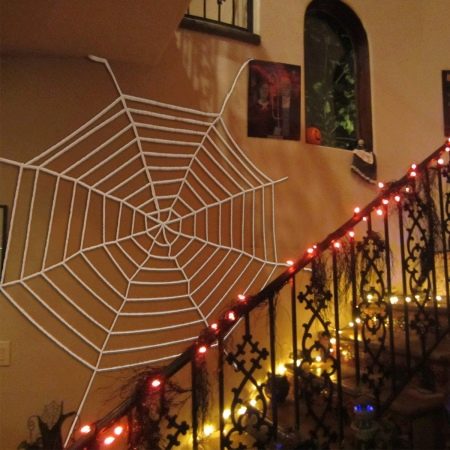
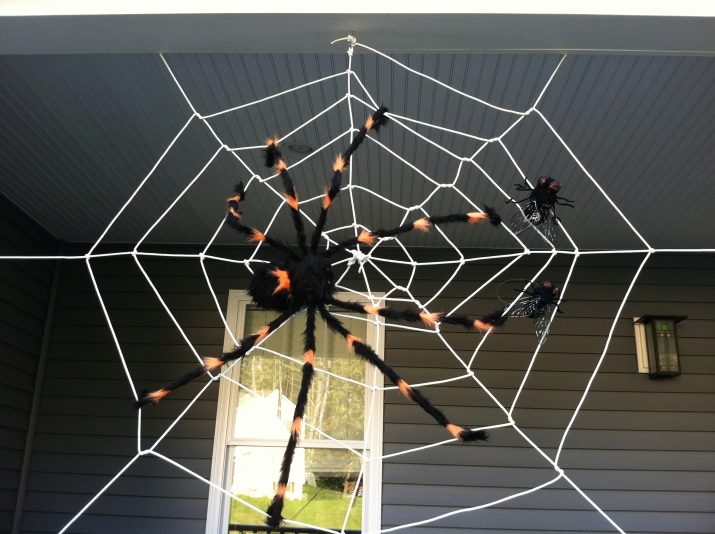
Another master class allows you to get a large spider web without the participation of the skeleton. To create it, you will need threads from any material, scissors and masking tape.
- First of all, 3-4 long threads are fixed on the wall with paper tape or even nailed with small carnations. They should be pulled in such a way that they all converge in the middle. The intersection point is best tied with a small piece of yarn.
- Taking a new piece of yarn of sufficient length, it will need to be used to obtain a web. To do this, one end of the yarn is tied one by one to fixed long lengths of thread. It is convenient to do this with a simple knot, as well as by twisting and tying. This sequence is repeated to obtain larger rings on the web.
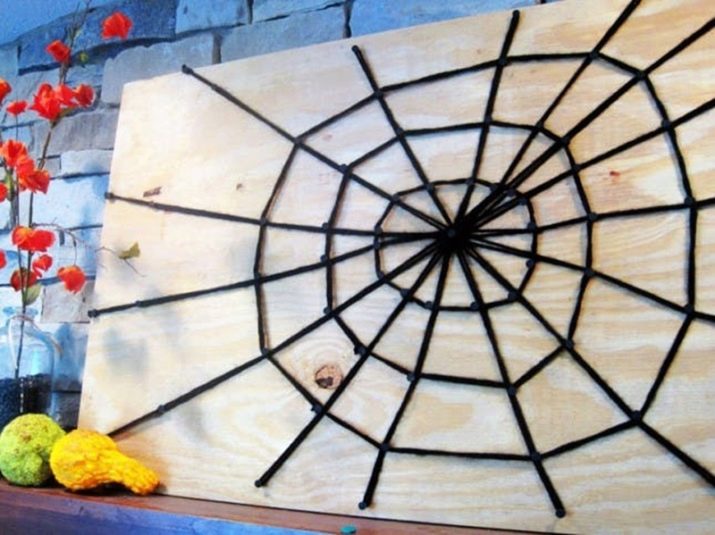
The thread spider web on a wooden base also looks great. Making it requires a piece of plywood, a hammer, wide-headed nails, black yarn, and paint of the same color.
- The center of the alleged cobweb is visually determined on the plate, and one nail is driven into it... The rest are located in a circle almost along the very edge - the axes of the network will be attached to them.
- Double strands are pulled between the center and the rest of the nails. Further, with a retreat of 10 centimeters from the center, another carnation is driven in next to each received ray. A thread is pulled along the formed small circle.
- Similarly, two more circles are formed round, although if the size of the plywood allows, the circles may be larger.
- At the end of the nail head painted over with black paint.
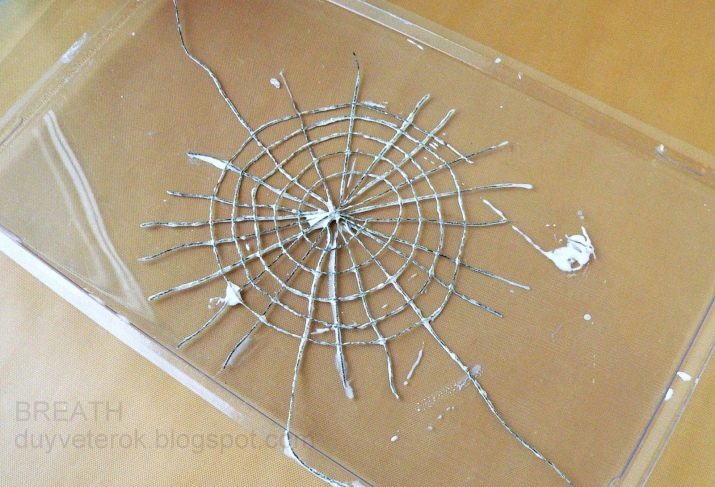
Another interesting option involves the use of PVA glue. In addition to it, you will have to prepare white yarn for knitting, scissors, a spacious container and a piece of film, which can be replaced by a plastic board.
- The woolen threads are cut into pieces of the required length.
- In a separate container, the glue is diluted with a small amount of water.
- Fragments of threads are soaked for several seconds in an adhesive substance, after which they are laid out on a film or board. First, a snowflake is formed from thread pieces, and then circles are laid out on top of it.
- Having formed neat curves with your fingers, the composition will need to be set aside until it dries completely. The finished work is carefully separated from the board or film.
From padding polyester or cotton wool
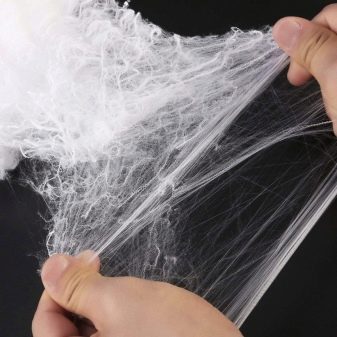
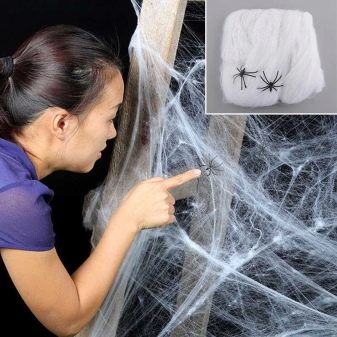
A high-quality web from synthetic winterizer can be obtained only with a sufficient length of fibers. The same can be said about cotton wool. In both cases, the material is simply stretched over the surface.
From the package
A spider web from a garbage bag is formed in just a couple of minutes.
- After cutting off the bottom, the material is cut along the walls into a pair of identical rectangles. Each transforms into a square that folds in half diagonally.
- The workpiece is folded two more times in a triangle, and cutting lines are applied on top of it with white chalk. It remains only to make cuts along them, and the decorative element will be ready.
- To prevent the bag from slipping during direct cutting, it is better to fix its sides with tape.
- Ready product mounted on the wall with masking tape.
A master class on creating a web from a package in the next video.
Placement Tips for Crafts
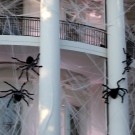
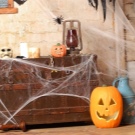
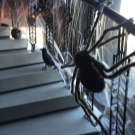
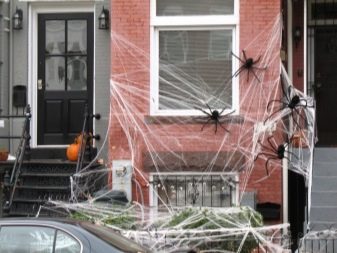
You can decorate an apartment with scary spiders and cobwebs not only for Halloween, but also in honor of a themed birthday or party. In the bedroom, insects can settle on the dressing table, and the net itself can form the curtain of the bed. In the living room, decorative elements are usually placed on curtains, lamps, floor lamps or cabinets. Some of the spiders should be placed on a set table. In a private house, a porch or nearby trees must be decorated with unusual decor.
