Making crafts "Crane"
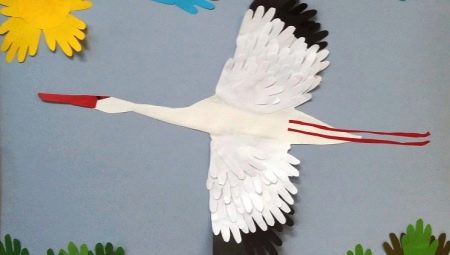
Making a variety of crafts is a favorite pastime of many boys and girls. From plasticine, paper or natural materials, it is possible to simulate a lot of fascinating things, objects, jewelry and animal figurines. So, a child can make an adorable crane with his own hands. In the article we will figure out exactly how to create such a craft.
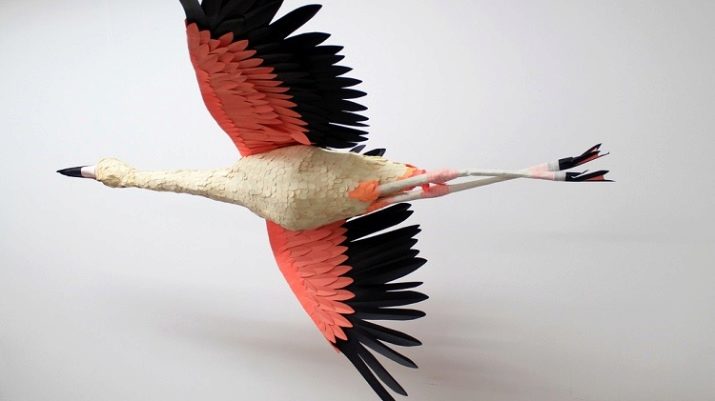
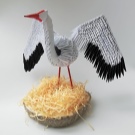
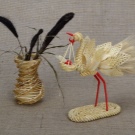
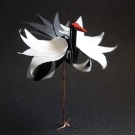
How to make from paper?
To create an attractive crane, it is not at all necessary to prepare a lot of expensive and rare materials. Very good crafts are obtained from ordinary paper. This material is not only the most affordable, but also very malleable. Even the smallest craftsman will find it easy to work with paper parts for beautiful results.
You can make a lot of different crafts depicting a crane from colored or white paper. It can be an original painting, a three-dimensional figure or a homemade product made using the popular origami technique.
A child of any age, with any level of knowledge and skills can choose the most accessible and interesting scheme. As a rule, a minimum amount of time is spent on modeling any paper crafts.
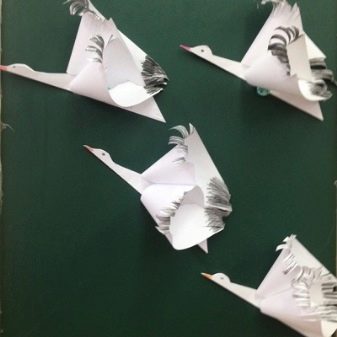
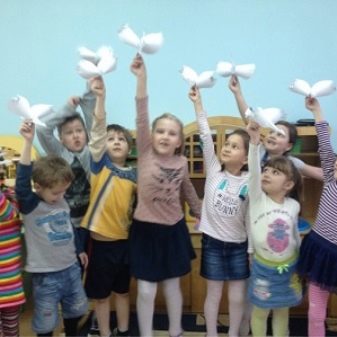
Let's take a look at the easiest way to create an attractive paper crane.
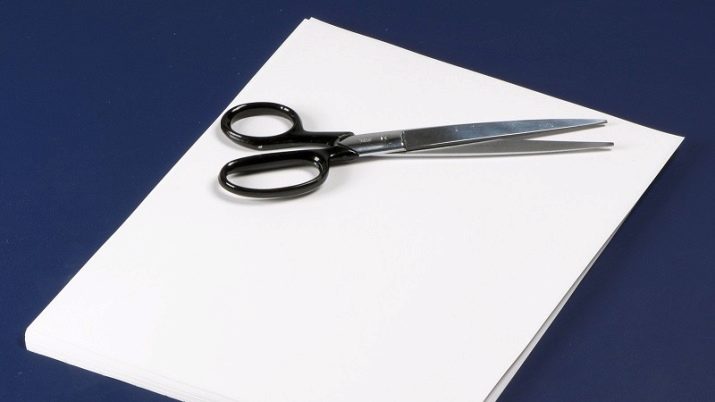
- First of all, the child will need to prepare everything necessary for further creative work. You cannot do without a white piece of paper, a black felt-tip pen or pencil, scissors. When making such a craft, it is recommended that adults be nearby, since the baby will have to use sharp scissors.
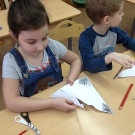
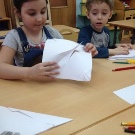
- At the first stage, you will need to cut a small square out of a sheet of white paper.It must be folded very neatly diagonally. It is better to smooth out all the resulting folds so that the workpiece turns out to be more neat.
- Now you need to take a pencil. They should shade the right angles of the resulting triangle. This will have to be done on both sides.
- Next, you need to shade the sharpened corner of the resulting paper blank. This must be done from two sides.
- Along the line of the existing fold, the child will need to draw a bird's head, as well as arrange its body.
- When all the sketches are prepared, you will need to very carefully cut out the head and body of the crane with scissors. However, it must be borne in mind that the specified details should not be cut out to the end of the paper sheet.
- On the other hand, as if extending the line of the bird's body, it will be necessary to make an incision.
- Carefully paint the beak on both sides with a red or bright orange pencil. At the same stage, you should draw the eyes of the bird.
- All previously shaded corners of the paper blank must be cut, and then tightened with scissor blades.
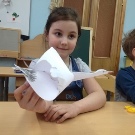
- Now the snow-white square of paper can be safely opened. The workpiece must be expanded. You will need to carefully insert the crane's tail into the cut made earlier. The craft is ready!
Such a paper crane is made very simply and quickly. The child will certainly be carried away by the process of modeling it.
Making from plasticine
Cool crafts are obtained from ordinary plasticine. A plasticine crane can be made for kindergarten or elementary school, where a similar task is often given. For a successful creative process, the child will need to stock up on the following components:
- black, gray, white, red and yellow plasticine;
- matches;
- wire;
- a stack of plastic or wood.
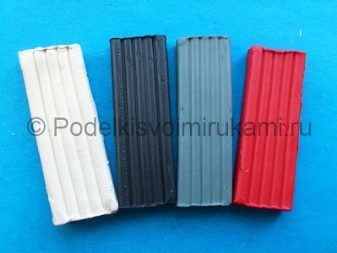
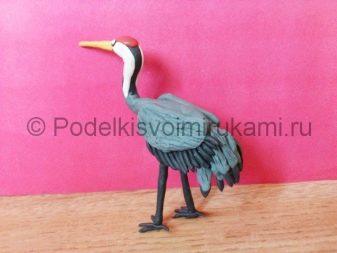
Let's start sculpting a plasticine bird.
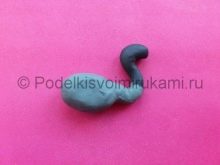
- First, you will need to thoroughly knead the plasticine mass (one third of the bar), which is gray. Next, this piece is rolled into a ball. From all sides it will need to be pressed down with your fingers to form the body of the bird in the form of an oblong and flattened workpiece.
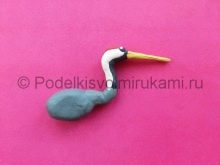
- Next, a black plasticine block is taken. You need to tear off a small part from it, from which to make the head and neck of the crane. A pre-prepared wire will need to be inserted into the inside of the plasticine blanks. It will serve as the most reliable element for connecting the head and neck. This will make the neck quite flexible.
- From a gray blank, intended to create a bird's body, it is worth pulling out a little plasticine. It should be pulled up to a darker neck. Due to such manipulations, it will be possible to combine two parts into one.
- Next, a snow-white plasticine block is taken. From it you need to make a couple of flattened and elongated parts. These elements will need to be glued to the head of the plasticine bird. Then they mold the eyes and beak for the crane.
- To simulate the tail for the bird, it's worth using the stack. It will be necessary to take a plasticine mass of gray and black colors. The tail should be made more fluffy. After that, the finished tail piece is attached to the back of the body. At the joints, plasticine must be very carefully smeared.
- The next step is to make the wings for the bird. For this, a pair of flattened drop-shaped blanks is made from gray plasticine mass. Feathers made of black plasticine in the form of small flagella are attached to the bottom of these parts. By means of a stack, the wings are given a characteristic relief.
- The finished wings are attached to the body of the crane. This should be done on the sides. The wings should be pulled slightly behind the back so that they slightly cover the tail.
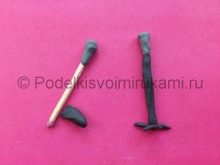
- Next, they make the legs for the bird. To do this, take matches and gray or black plasticine. Matches are covered with plastic material, leaving the tips of the matches open. Then it is with these tips that the parts will need to be inserted into the body.
If you act carefully and strictly in stages, the craft will turn out to be very beautiful and naturalistic. The young sculptor will surely be delighted with the results of his creative work.
Products from natural materials
A beautiful crane can be made not only from paper or plasticine mass, but also from materials of natural origin. Such components make wonderful crafts. A child can make a charming bird sitting in a nest for school, a spectacular natural composition or an original applique.
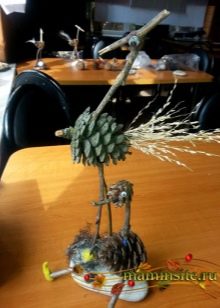
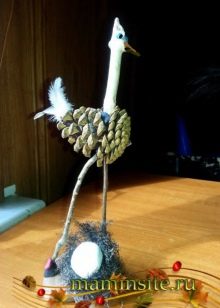
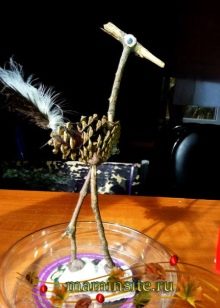
A crane made of natural cones and twigs will turn out to be very beautiful and unusual. To make it, you will need:
- several clean cones without damage;
- 1 twig with a knot and 2 simple twigs without knots;
- a little plasticine mass;
- feathers;
- a shell for a stand for a figurine.
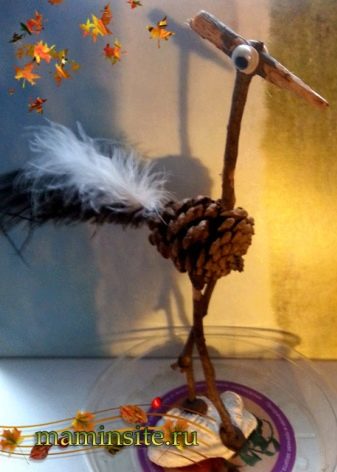
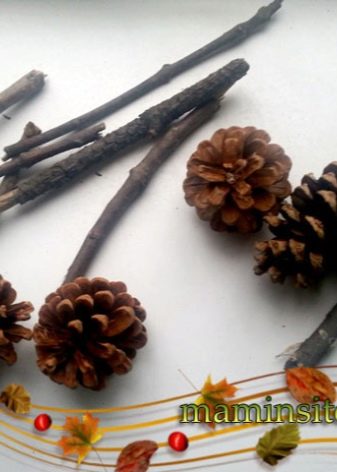
If all the constituent elements are prepared, you can start creating a beautiful bird. First you need to take 1 open cone, a couple of branches for the legs and 1 branch with a knot, which will be used for the head and neck.
The branch for the head is carefully trimmed and sharpened with a knife so that the workpiece to be processed resembles the beak of a crane. The twigs-legs should also be slightly sharpened at the top so that they are easier to insert into the bump.
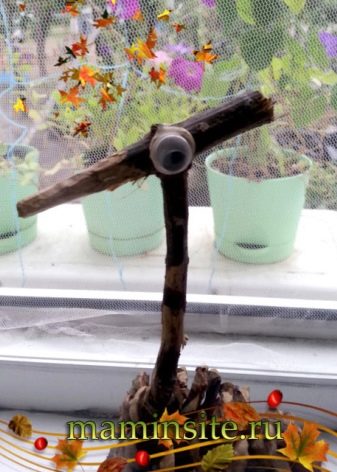
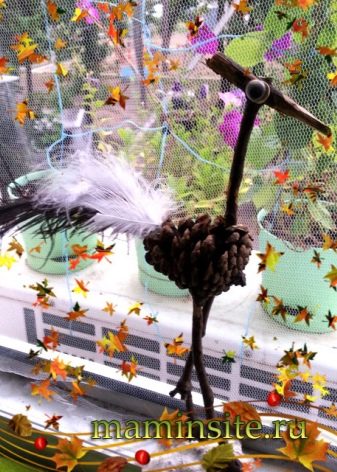
Eyes must be attached to the branch-head of the bird by means of plasticine. You can buy ready-made plastic eyes. Then this twig is inserted into the base cone, additionally fixing it with plasticine mass.
Legs-twigs are inserted into the cone. They are also fixed using plasticine. A ready-made crane made from natural ingredients can be fixed on a shell. Fasteners can be provided by means of plasticine mass. In the place where the tail of the bird should be, feathers are inserted. At this point, the original craft will be completed.
Crafts from improvised means
A beautiful bird is also obtained from other suitable materials. Craftsmen can make very original cranes from foamiran, bags, plastic bottles and much more with their own hands. To make a crane from scrap materials, you will need:
- plastic bags;
- bird sketch;
- scissors;
- thick wire;
- the cloth;
- PVA glue;
- paint and varnish;
- bandages;
- foam sponges;
- thread and needle;
- Styrofoam;
- beads.
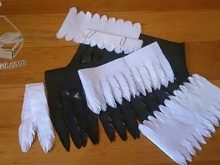
Let's analyze the step-by-step instructions. A bird with the outlines of wings is drawn on paper. You can use a ready-made image from the Internet or books. Take packages of matching colors. Feathers are cut from them. The longest parts should be done for the wings and tail, and the middle ones for the torso and head.
They make the base for the crane from thick metal wire. They take the fabric, cut it into strips, and wrap the frame with them, forming the desired thickness of the paws. The winding is impregnated with PVA glue solution. Poultry legs are made of aluminum wire.
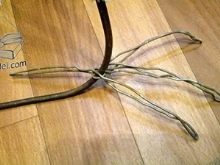
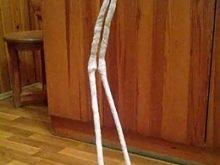
Next, the frame is wrapped again, but with bandages. They, like the fabric, are impregnated with PVA glue before winding. Then the frame is painted in the desired color. You can varnish the base. Then the body of the bird is modeled. There will be sponges and wire inside the crane. For the neck, it is better to use a thick wire piece.
Surrounded by wire, the bird's body is formed from sponges. Excess foam is cut off with scissors. The desired pieces are sewn together. Next, the workpiece is sheathed with fabric. It does not need to be pulled too tight.

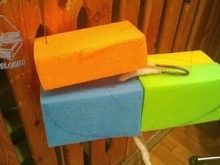

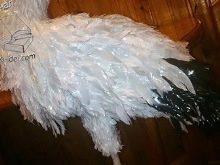
Now you can start attaching the feathers from the bags. They should start sewing from the lower extremities. It is recommended to attach the feathers as symmetrically as possible, without unnecessary tension. The seams must be of high quality, reliable, otherwise the plumage will quickly subside. Next, they make oval-shaped wing blanks. They are also sheathed with feathers from bags. This should be done only on one side.

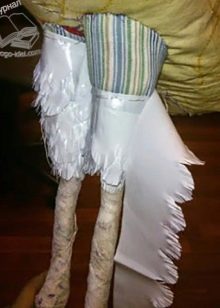

The finished wings are attached to the body of the crane. Then the head is made out with feathers. It remains to make a beak. It is formed from a piece of polystyrene sheathed with fabric or thin leather. The finished part is sewn to the head.
The eyes can be made from beads. They are attached above the beak on the bird's head. A luxurious craft from scrap materials is ready!

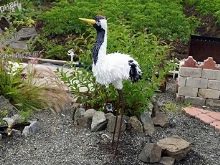
For information on how to make a paper crane using the origami technique, see the next video.


