Making candlesticks from cones
Making a candlestick from cones is an ideal solution for transforming the previously collected gifts of nature. There are several ways to make an unusual decorative element.


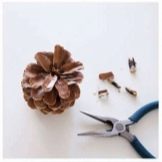
What will it take to work?
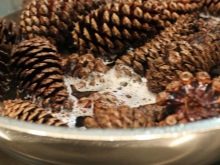
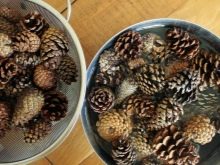
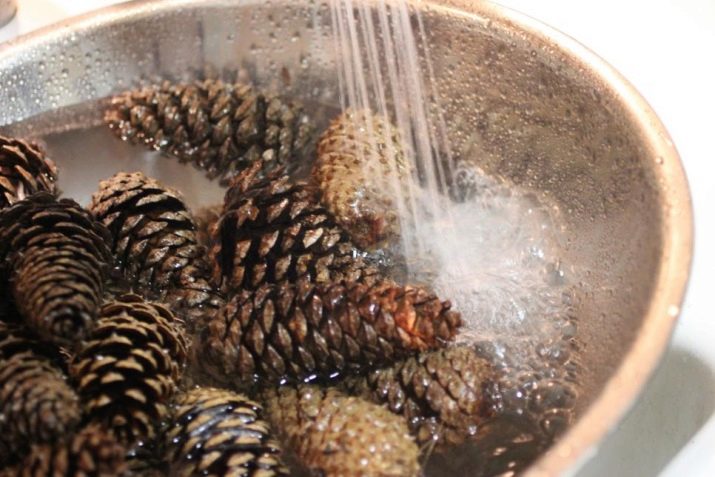
To create crafts from cones, you will need natural material: pine or spruce fruits, properly processed. All samples collected during the walk should be cleaned of dirt and bugs by using a toothbrush or brush. Next, they will need to be rinsed under running water and placed in a solution of 9% vinegar diluted in water for 30 minutes. The ratio of the components should look like 1 to 3.
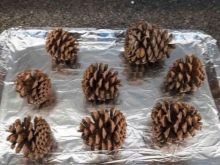
Many craftsmen also prefer to send spruce and pine fruits to dry. Natural material will need to be placed on a baking sheet covered with parchment and left in an oven heated to a temperature of 100 degrees for 30-60 minutes. It is important that the door remains ajar.
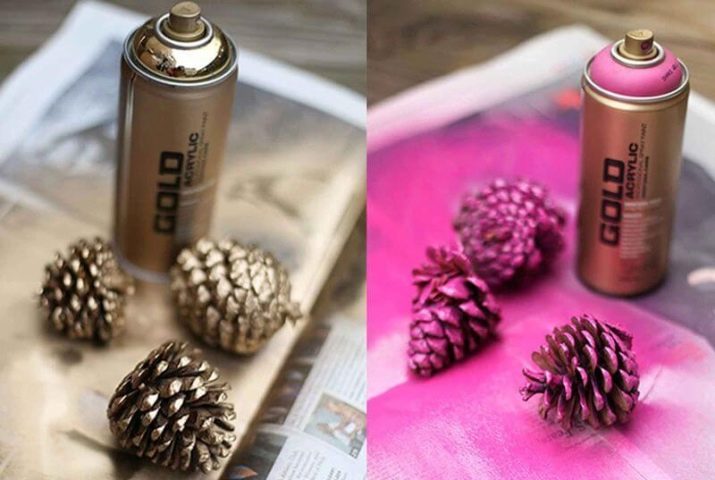
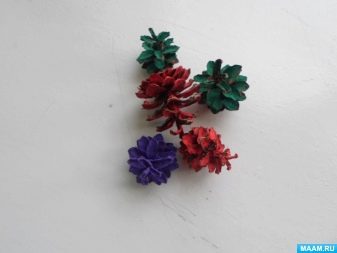
Finished bumps can be spray painted, sprinkled with glitter or whitewashed. To whitewash the material, chlorine bleach, a bucket or can, a load, a plate, gloves and the fruits themselves are used. Instances are placed in a bucket, completely filled with bleach, and covered with a floating plate. As oppression, by the way, you can use a simple jar filled with water. Soaking the cones lasts a day or two. The procedure is completed by rinsing and drying the material.
Spray painting is carried out in the fresh air or in a well-ventilated room, while maintaining a distance of 30 centimeters to the spray can.It is most convenient to apply acrylic paint with a sponge, although a brush may be needed for hard-to-reach areas. Some craftswomen prefer to apply a generous amount of paint to a dishwashing sponge, and then dip the cones in it. Glitters are applied to the surface in two ways. In the first, glitter is scattered over the surface and fixed with hairspray. In the second case, the flakes must first be covered with PVA glue, and then sprinkled with sparkles.
When designing a candlestick, the main "component" will need to be supplemented with a saw cut from a tree, a glass or a beautiful glass jar.
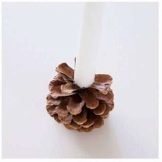
A simple one-bump option
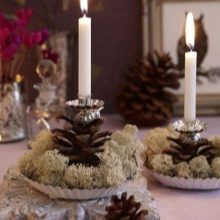
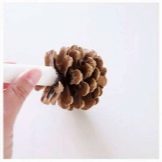
To design the simplest candle holder with your own hands, it will be enough to implement a couple of steps. In the center of the cone, using needle-nosed pliers, it will be necessary to remove such a number of scales so that after alignment a flat "platform" for the candle is formed. After that, it will be necessary to attach a lighting device to it with hot glue. For greater reliability, in the middle of the bump, you can fix a metal pin, wiring or a sewing needle, on which the candle will be put on. Foil spacer is also constructed for safety.

How to make a large candlestick?
A number of different master classes allow you to create step by step large candlesticks that can decorate a house for the holiday.
From the disc and the bumps
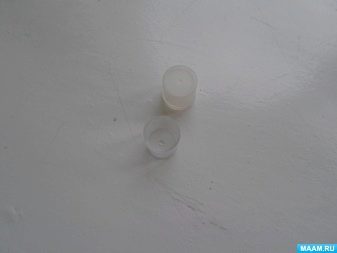
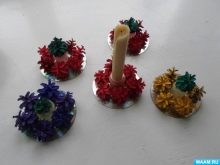
A very nice decorative element comes from old computer disks and a few pine cones. We also use acrylic spray paint of silver and bronze shades or simple gouache, Moment glue and plastic bottle caps. First of all, the fruits of conifers are painted in different colors. Gouache can be applied immediately to the surface, but in the case of an aerosol, it is better to first cover the part with white acrylic, and then silver or decorate it in bronze. In the next step, the plastic cap is fixed in the middle of the disc - a white long candle will be inserted into it. At the end, dried bumps stick around it.


Candlestick-wreath
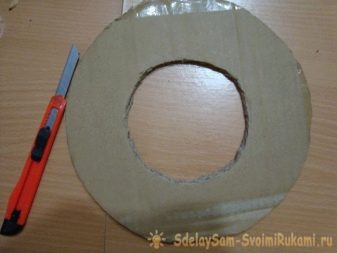
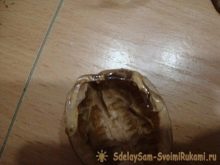
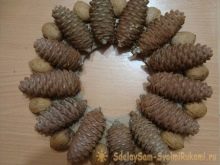
A wreath candlestick can be created in several ways.... For example, you can use not only cones, but also gilded New Year's beads, cardboard, scissors or a stationery knife, compasses, pencils, wire, Moment glue and a glue gun, a can of gold paint and walnut shells. By the way, cardboard can be obtained from an old box. First of all, a circle with a diameter of 20 centimeters is drawn on thick paper using a compass. Inside it is another smaller circle, 10 centimeters in diameter.
The workpiece is cut with scissors or a cutter, after which elongated cones are glued to it with a glue gun - 10-15 pieces, depending on the size.
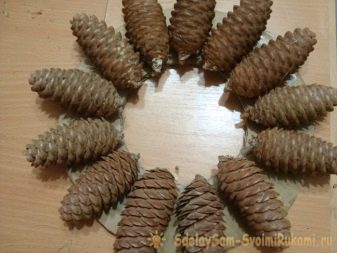
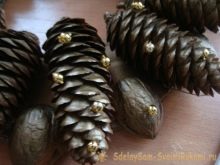
The halves of the walnut shells are processed with glue and neatly fixed between the cones. Their number can be from 10 to 15 pieces. Having placed the future candlestick on an old newspaper, it will need to be covered with spray paint. It will take about 2-3 hours to dry the decorative element. Upon completion, each bump and nut is decorated with glue-set golden beads.
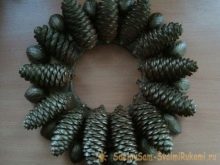

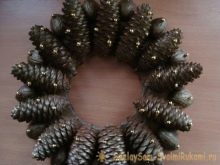
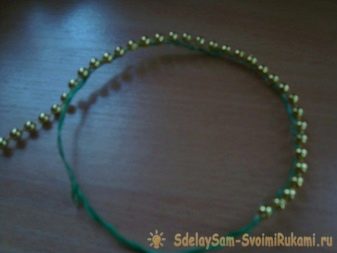
A circle with a diameter of 10 centimeters is formed from the wire. It is wrapped in beads and fixed on the base of the candlestick. It will be necessary to place a tall white candle in the center of the structure.


A similar craft for the New Year can be built in another way. From tools and materials, you will have to prepare a cardboard base with a diameter of 15 centimeters, a foam blank with a notch in the middle, dried flowers, cotton flowers (optionally made of cotton wool), craft paper, a baby food jar, a glue gun and twine.
The creative process begins with the fact that the cardboard and foam bases are connected to each other with glue.Then a square larger than the base is cut out of kraft paper and fixed on the latter. Immediately it is worth cutting off the corners so that the workpiece takes a rounded shape, cut the strips to foam and glue the frame.
A circle made of kraft paper is glued to the center of the base, a jar of baby food is attached on top of it. Around it, large cones and small details are alternately glued to the base. The finished composition is decorated with dried flowers and cotton flowers. The neck of the jar is tied with twine. If desired, its neck and some of the scales of the cones are painted with white acrylic paint.
How to make such a wreath, see below.
More ideas
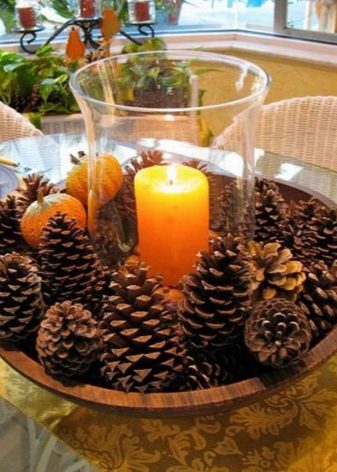
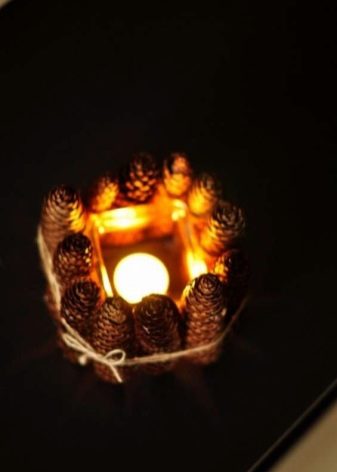
To create a laconic, but beautiful candlestick, you just need to glue several beautiful pine cones in a circle, and place a glass with a candle inside the structure. In the absence of extra time, you can do it even easier - put a candle on a plate, and spread the fruits of conifers, twigs and suitable decor around. Candlesticks based on glass jars are assembled quite quickly: on the outside they are decorated with a pair of cones connected by a satin ribbon or cord, and inside they are complemented by a "tablet" candle and spruce twigs.
The finished composition can be supplemented with artificial snow.
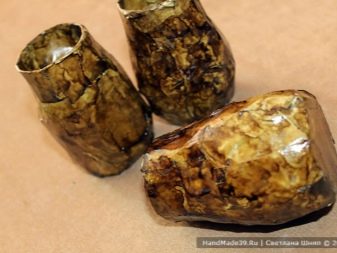
A rather unusual craft is obtained by combining pine cones, toilet paper rolls, plain paper and scotch tape, as well as PVA glue. In addition, you will have to prepare a stain, pruning shears and a glue gun. First of all, the paper is torn into strips of different lengths, which are immediately wrinkled by hands to gain additional volume. The blanks are attached to most of the sleeve with tape or PVA so that the blank takes the shape of a cone or jug. It is necessary to glue the surface with paper both outside and inside, and also do not forget about the thicker bottom.
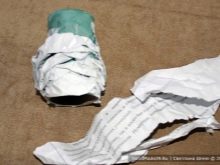
The upper part of the candlestick is glued in such a way that a flat candle can be placed inside.
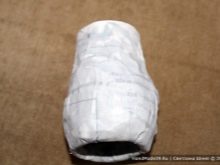
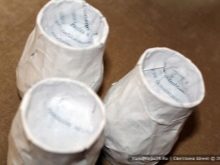
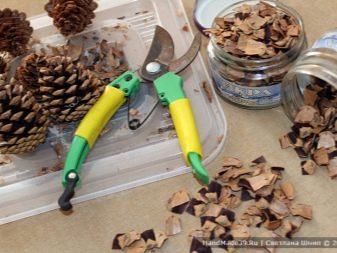
Previously, a weighting agent like rice, sand or small pebbles can be placed in the same place. The surface of the workpiece is stained until all white is hidden. Meanwhile, scales bite off the cones with pruners. With a glue gun, they will need to be glued to the workpiece in stages, with a small protrusion above the upper edge. Upon completion, a round "tablet" candle is placed in the center of the candlestick.


What can you decorate with?
Any natural elements are suitable for decorating a candlestick made of cones: walnuts, acorns and chestnuts, needles, dried flowers and spikelets. For New Year's design, you can also use small plastic balls and Christmas tree decorations, and for an orange composition - mini pumpkins and physalis "boxes". In a small amount, large beads, rhinestones, ribbons and plaits look appropriate.


The decorated product will look especially elegant on a cut of an uncouth log with a layer of bark along the edge, used instead of a cardboard base.
Beautiful examples
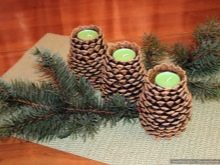
A very beautiful Christmas decorative element is obtained in the event that when three candles are used instead of one, and they are located on a wide cardboard base, wrapped in canvas material. The candles must be white, tall and thick. In addition, some of the cones should be covered with paint of the same shade for greater harmony. As an additional decoration, the composition uses cinnamon sticks tied with a tourniquet, anise stars and flat wooden figurines on clothespins.
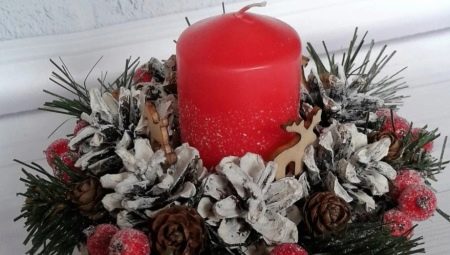
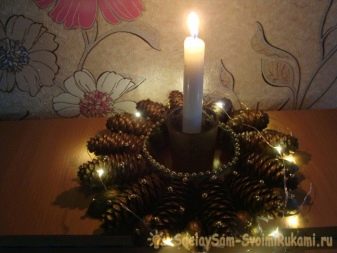
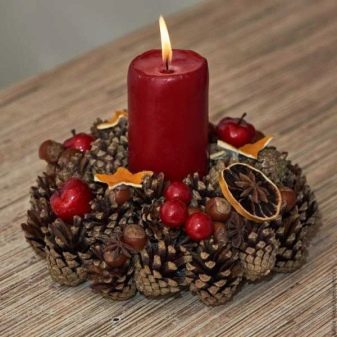
A homemade product with a red thick candle in the middle looks no less impressive. The base of the candlestick is densely covered with cones, after which it is decorated with artificial berries, citruses and nuts.

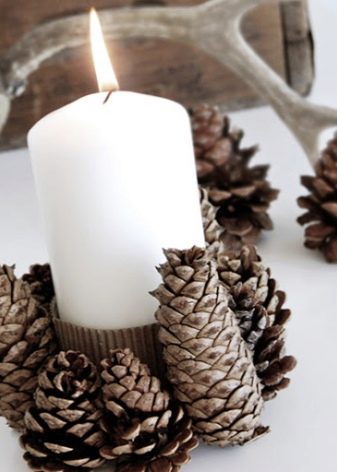
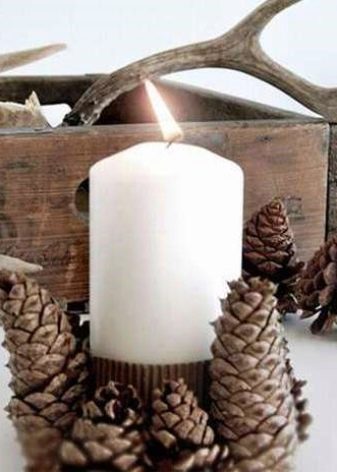
To create a laconic Scandinavian style candlestick you will first need to wrap the bottom of a thick candle with corrugated cardboard, and then decorate it with long cones. Despite the seeming simplicity of such a product, it looks very worthy.
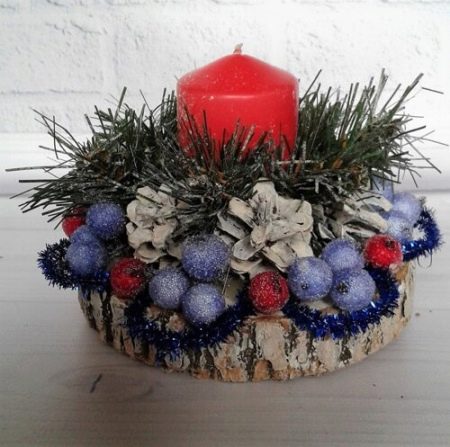
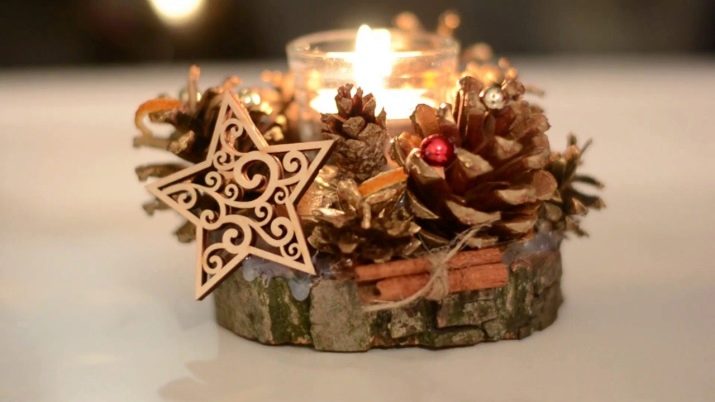
Another candlestick is a thick red candle fixed on a wooden saw cut and decorated with various details. To extend the life of the product, it is decorated with artificial spruce branches, cones covered with white paint, artificial berries or silver-plated plastic balls, as well as tinsel.