House-shaped candlesticks

How cozy evening gatherings by candlelight. The small open fire is mesmerizing. And the original candlestick adds a special zest. It can be a simple candle holder or a cute little house-shaped flashlight.

Peculiarities
The house candlestick serves as a beautiful interior decoration, especially relevant on New Year's Eve... A decorative house for a candle or aroma lamp will be a nice Christmas present for friends or relatives.
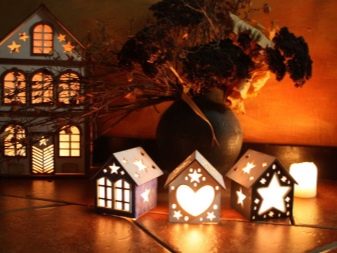
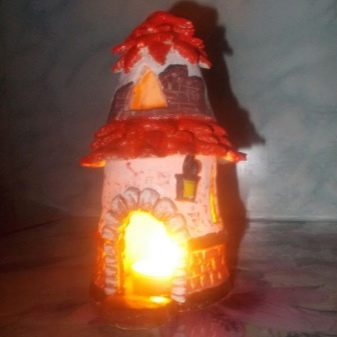
The original house with windows in which a light is visible is considered the defender of the hearth - a symbol of family well-being, creates comfort and confidence in the future.
What are they?
Various materials are used to make a candlestick house.
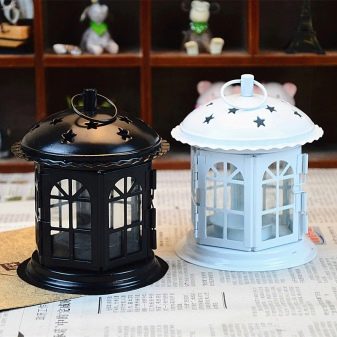
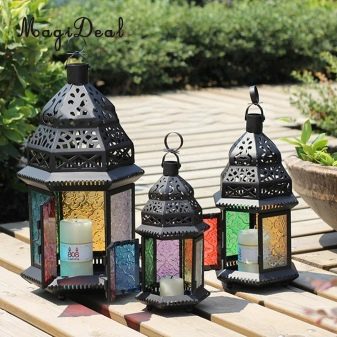
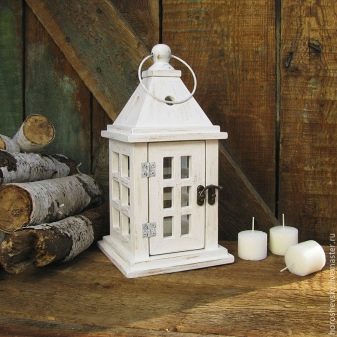
Those who know how to work with iron can create a metal flashlight in the form of an openwork house. The white metal house or candlestick made in oriental style, using colored glass.
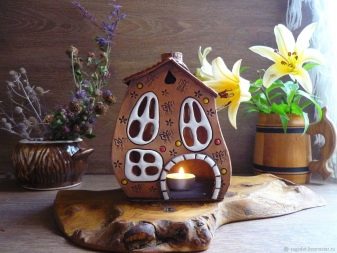
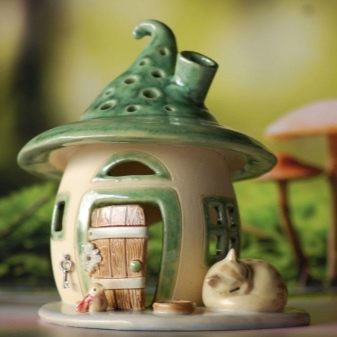
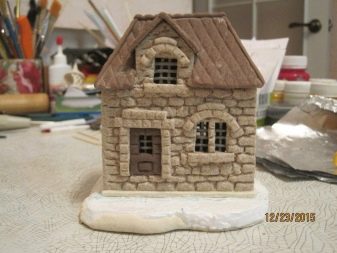
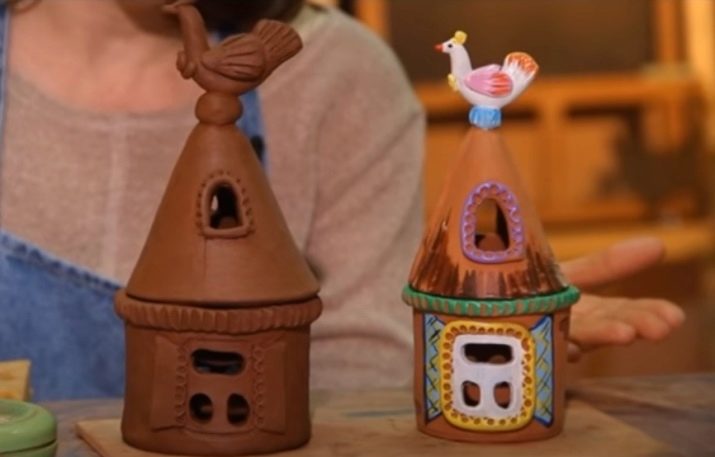
Most often you can find ceramic houses... Pottery allows you to create fantasy houses for fairies or gnomes. Covered with gloss, fabulous buildings will adorn the nursery.
To create a candlestick from salted dough you can attract children. Their imagination, not limited by the experience of past years, will make it possible to make a unique craft that will last for several years.
Look interesting wooden houses for candles. In stores you can find ready-made kits for creating such crafts with your own hands. Having assembled the structure according to the attached scheme, the master only has to think over the decoration method. You can decorate the house by painting the surface, or apply a pattern using burnout.The main thing is to remember that wood is a combustible material, so it is imperative to follow safety precautions.

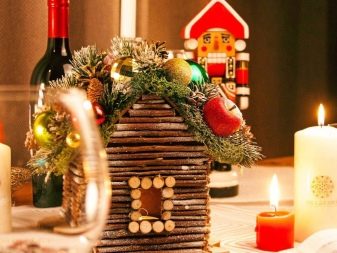
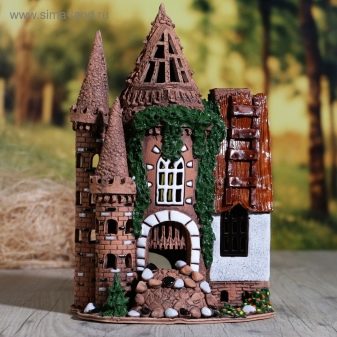
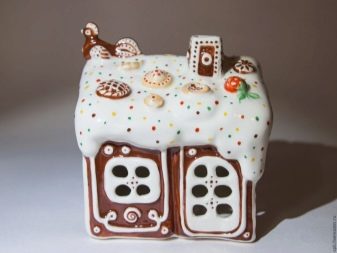
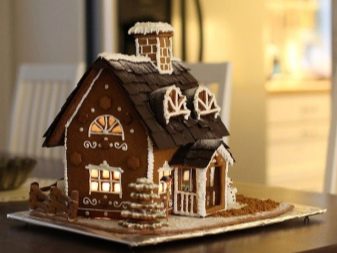
Gingerbread house - one of the traditional decorations for the Christmas holidays. A cozy house, the roof of which is hidden under the snow, can be made of polymer clay or baked from gingerbread dough. In the first case, the craft will serve as a candlestick for many years, while the edible version is stored for only a few months.
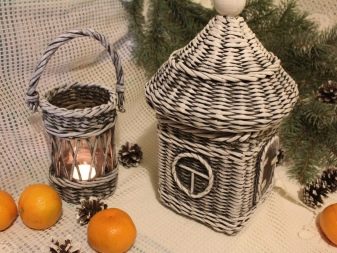
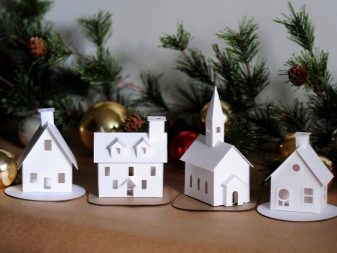
Handicraft lovers make houses out of cardboard or weave from newspaper tubes... The shape and size of the building depends on the idea of the author. But it should be remembered that paper products are flammable. Therefore, you should be careful when handling fire.
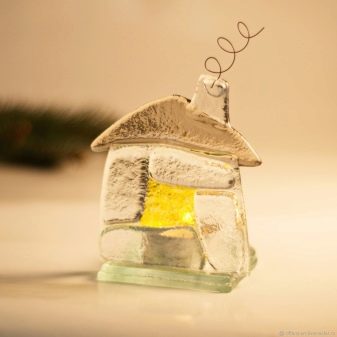
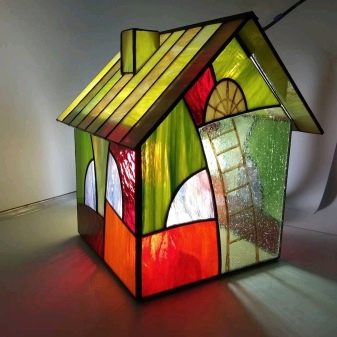
Delicate glass products give a special holiday feeling. Houses made using the fusing technique look elegant. Specially sintered stained glass allows you to create unique candlesticks in different styles.
Master class on creating crafts
Despite the fact that you can buy ready-made candlesticks in the store, many people prefer to create candle houses on their own. In this case, there is an opportunity to create a unique product that best meets the wishes of the master. The most durable will be a ceramic candlestick made with your own hands from clay.
To make it you will need:
- clay;
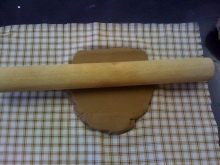
- rolling pin;
- sponge;
- knife with a sharp tip for cutting blanks;
- a piece of dry dense cloth for rolling out clay layers;
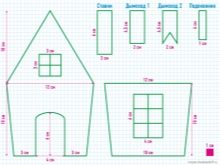
- templates for the house (you can draw it yourself or find and download from the Internet);
- water;
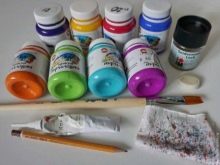
- brush;
- paints;
- clay glue or slip (clay diluted with water to thicken sour cream).
The order of work.
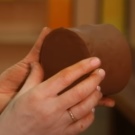
- Roll out a small piece of clay into a layer with a thickness of at least 7 mm. You need to roll evenly in all directions.
- Cut the bottom from the prepared layer according to the template (in this case, round, with a diameter of about 75 mm).
- Next, roll out the clay layer so that a 260 × 75 mm rectangle can be cut out of it. This is the future wall of the house.
- Moisten the finished rectangle with a damp sponge.
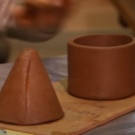
- Smear the edge of the bottom with a slip and glue the wall around the circumference.
- Wipe the seams with damp fingers from the outside and with a brush from the inside.
- Next, cut out a roof blank with a height of 90-100 mm from the rolled layer and roll up the cone, not forgetting to wet the surface.
- Form a clay ring around the top of the house blank and decorate it with teeth by making cuts with a knife.
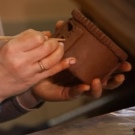
- Cut windows and doors in the wall using templates.
- Glue the platbands and decorate them by drawing.
- Using a damp sponge, wash off all excess roughness inside and outside the building.
- Cut out windows in the roof and decorate them.
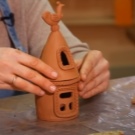
- Blind a decoration on the top of the roof, for example, a bird.
- Check again and smooth out any roughness.
- Dry the finished workpieces naturally for at least two days, in an electric oven at a temperature of about 300? C - 2-3 hours.
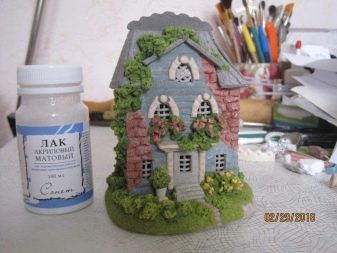
- The final stage of work is painting the finished house. You can take acrylic paints.
A child can be involved in making a ceramic house. His ideas will create a unique product.
It's a little easier to make a candle house out of salted dough. Children are familiar with such material from kindergarten age, so they will be happy to accompany their parents in creating a masterpiece. To do this, you need to prepare the following:
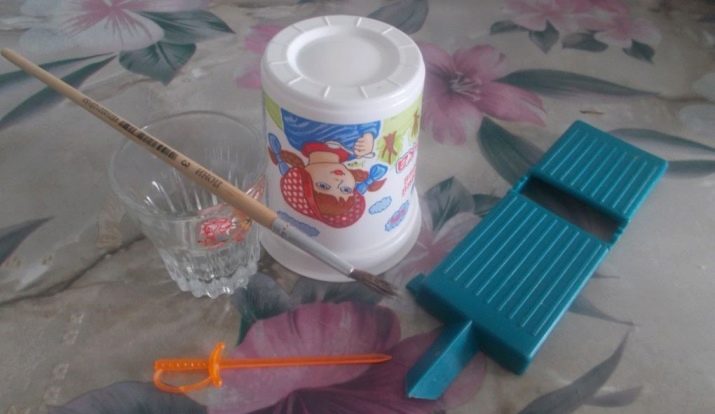
- dough for modeling;
- a glass for water and a plastic glass;
- carving knife with an angled blade;
- brush;
- knives, cookie cutters, skewers and other tools as needed;
- PVA glue and second;
- cardboard;
- foil;
- gouache and spray varnish.
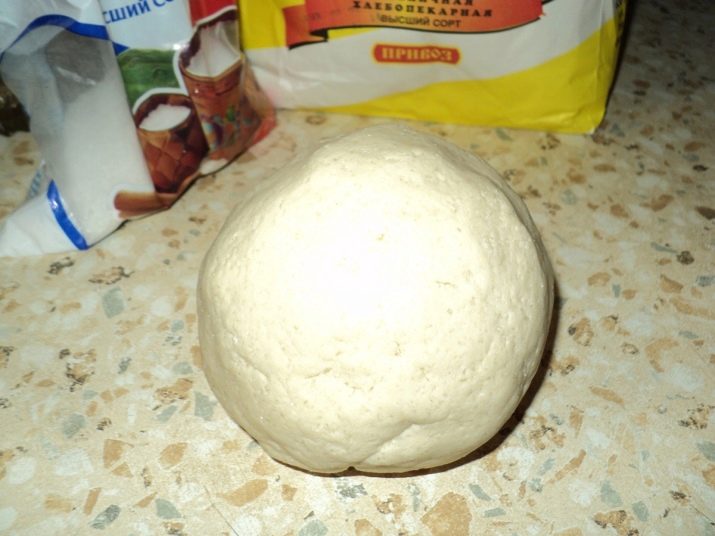
The first step is to prepare the dough. For this:
- mix 1 glass of flour and salt;
- add half a glass of water and 1 tablespoon of vegetable oil to the mixture;
- knead the mass until smooth;
- if in doubt about the reliability of the finished product, add 1 tablespoon of PVA glue to the dough.
The resulting mass should be elastic, not stick to your hands and not crumble.
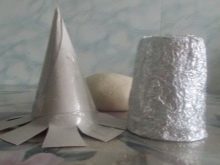
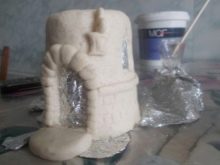
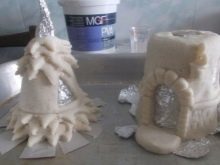
Next, you should prepare the basis for sculpting. To do this, wrap a plastic cup with foil - this will be the body of the house. Roll the roof cone out of cardboard. Cut the edges of the cone to a depth of 1 cm and also wrap the future roof with foil.
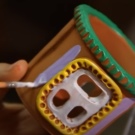
Next, wrap the prepared glass with a layer of dough about 1 cm thick, leaving a hole at the top. Cut out the area of windows and doors, apply drawings using the punching method. Glue additional decorations in the form of lanterns, shutters, sills or other details that match your intention.
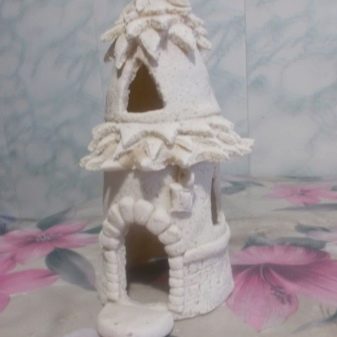
Run the roof in the same way, remembering to cut out the windows. Decorate it with several layers of dough ribbons, the edges of which are cut out with triangles.
Dry the workpieces in the air for 2-3 days or in the oven for 5-6 hours at 40-50⁰С. Remove the base for modeling from the finished craft. Glue the roof to the body of the house using Moment glue.
Paint the house with paint, adding PVA glue to it. Dry and cover with spray varnish. The craft is ready.
Everyone can come up with their own way of creating a candlestick house. The main thing is that there is a desire to create and remember about safety when handling fire.
Next, see a master class on making a paper candlestick house for an LED candle.


