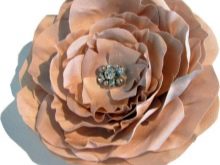
How to make a flower on a dress made of fabric with your own hands
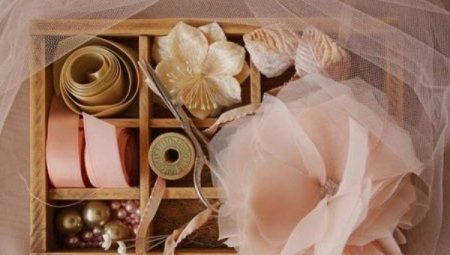
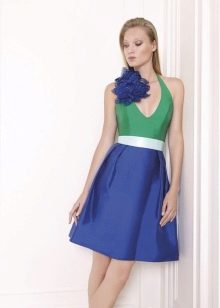
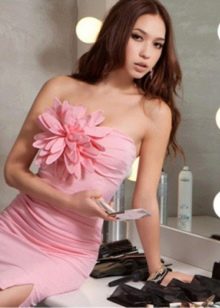
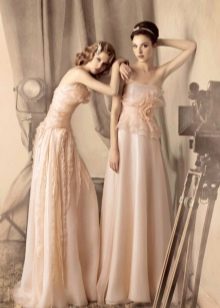
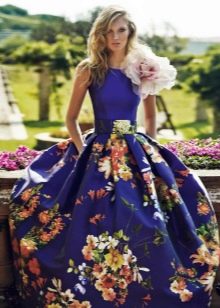
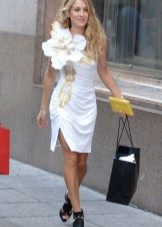
Too strict a sheath dress for a party - complement it with a handmade fabric rose. Too boring for everyday life - decorate it with an original contrasting flower. If you want to stand out from the crowd of brides - add a bright flower made of ribbons to the dress.
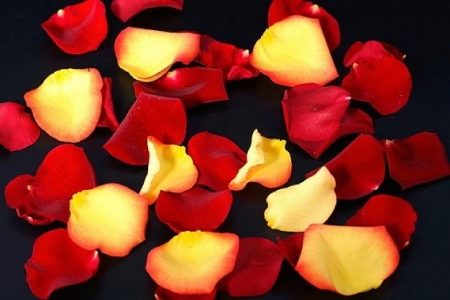
Small or voluminous, simple or multi-layered flowers become an extraordinary highlight of the outfit, attract attention and add a considerable amount of romanticism and charm to the image.


The most important thing is that such a decorative work can be made independently from scrap materials.
A drop of imagination, knowledge of little tricks that we will tell you about, and the step-by-step creation of simple fabric flowers will help you create your own unique masterpiece.


Stages of creation
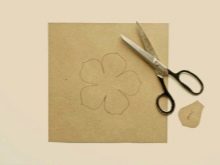
Pattern
If you did not find ready-made petal templates, then you can draw them yourself using a ruler and a pencil.
A regular circle can also serve as a pattern. It is done with a compass or by tracing a glass, cup or any round object.
There is another unusual and therefore little-known method - taking "measurements" from a living flower.
- Take the most beautiful flower and carefully disassemble it into petals.
- Circle each of them on cardboard, then cut along the contours. Difficulties may arise with very convex petals. In this case, circle them with a slight indent.
- In this way, the leaves are also circled, only at the base of the leaf blade you need to make a small protrusion if you attach it to the stem.
- The cut-out elements are cut on the fabric. A ballpoint pen is recommended for tracing patterns, as pencils often leave a dirty mark. When cutting, the trace from the handle remains behind the contour.
Choice of fabric
Almost any fabric of any density is suitable for a flower (organza, silk, satin, chiffon, crepe de chine, velvet, linen).
It is advisable to choose a natural material, since it will stretch well and corrugate with ease.
You can't say the same about synthetics. It undergoes rapid overheating, which leads to deformation of the flower element. In a word, it requires more experience, strength and patience.


Color of petals
They resort to coloring when it is necessary to achieve the maximum naturalness of the flower. Aniline and confectionery dyes, Rainbow ink, gouache and photo paints are suitable.
A piece of fabric can be completely dyed, or the petals can be individually dyed.
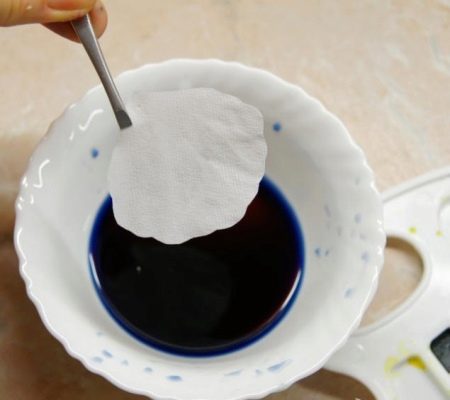
The petals are moistened with water and laid out on glass. Apply the desired shade with a brush. To make the shade bright, the paint is diluted with cologne. The alcohol base also allows the product to dry faster.
Material preparation
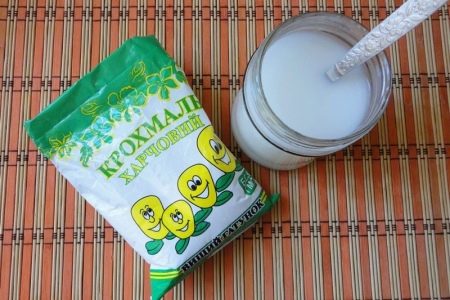
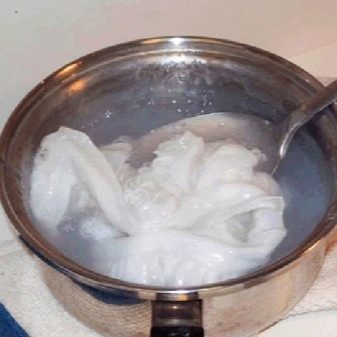
To keep the flower in shape, the fabric can be starchy or treated with a gelatinous solution, which is very simple. In a glass of cold water, dilute 2 tbsp. tablespoons of gelatin and let it swell, and then heat in a water bath.
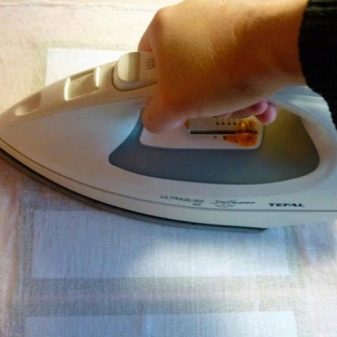
Dip the cloth into the prepared hot solution and wring it out. Dry on a fishing line. When dry, iron with a warm iron.
It is important to note:
- starching is done after dyeing the fabric;
- thin matter starch is strong, dense starch is weaker. Velvet is smeared with a solution only from the seamy side;
- if the material rustles, then it is ready to go. Otherwise, it will be difficult to form petals due to the weak solution or sticking of instruments if the solution was too saturated. It is easy to fix. Dampen the fabric, let it dry and repeat the process from the beginning.
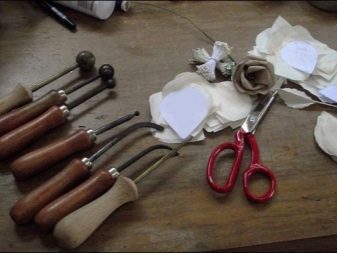
Shaping
The petals are curved in different ways, depending on the fabric:
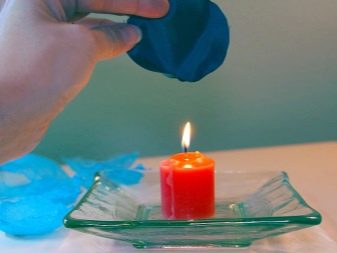
- The contours of elements made of lightweight material are fired with candles or a lighter. Only during operation there should be no drafts.
- You can use the gurgle tool. The petal from the heated tool will round out. Curl the edges with a curling knife, a special crochet. The heel will give the petal a bulge.
Making stamens and pistils
The similarity with a real flower is achieved precisely due to the stamens.
They are made of threads, which are impregnated with a solution of starch or gelatin, and a paint color in the amount of about 30-40 pieces. The latter can be replaced with melted wax.
The pestle requires wire wrapped in paper and colored cotton balls.
Flower core
The very heart of the flower is decorated with buttons, cotton wool, beads and everything that may be at hand.
It is recommended to use PVA glue, which does not leave marks on the fabric.
Making flowers with your own hands
Now let's move on from theory to practice.
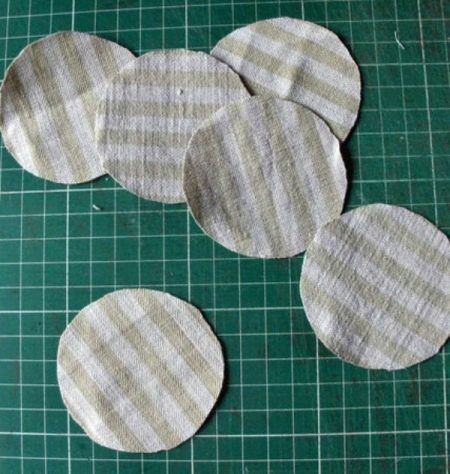
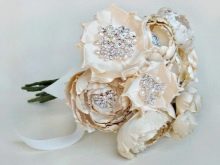
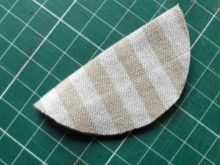
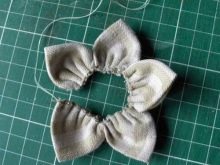
Flower with lace middle
The presence of a small piece of dense fabric of interesting colors can be the beginning for creating such a pretty flower.

- Cut the circles to the desired diameter.
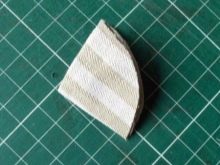
- Fold each element in half several times.
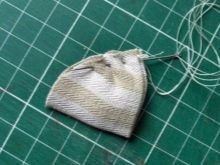
- Stitch the bottom edge of the resulting petals.
- Collect all the elements into one flower.
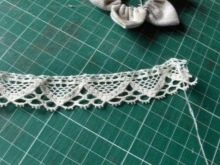
- Attach a piece of lace or knitted border in the center of the flower.
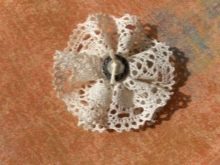
- Attach a button to hide the seams.
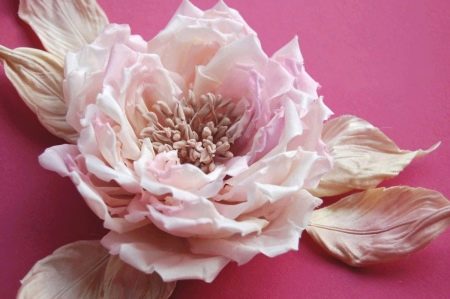
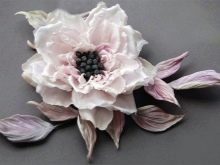
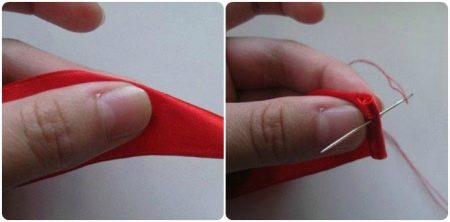
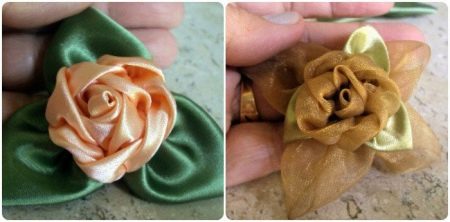
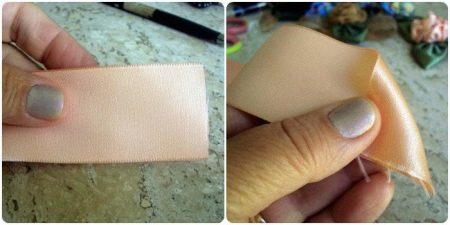
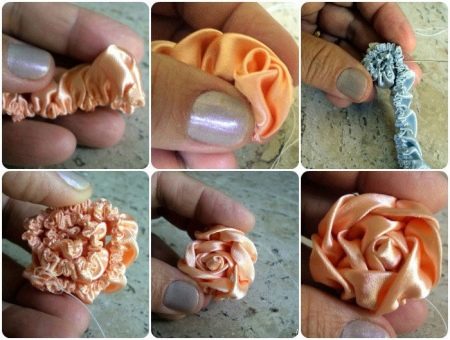
the Rose
It is not for nothing that the rose is considered the queen of flowers - a symbol of beauty and love. It is simply a sin not to decorate your dress with such charm.
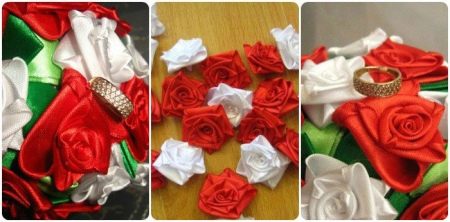
We will need a red or pink ribbon 35 cm long.
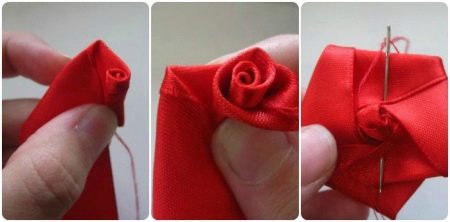
Fold the edge away from you and start wrapping the rose. Secure the base with a thread, not reaching the fold line.
Sew the end of the tape from the wrong side, securing all layers.
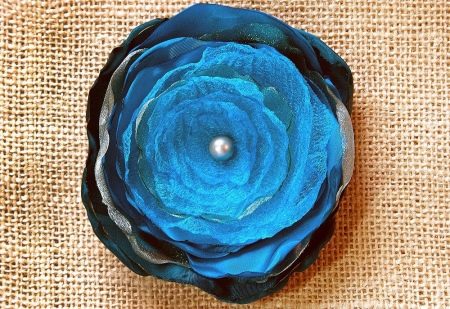
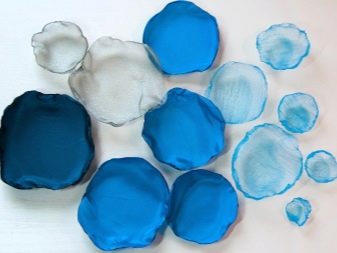
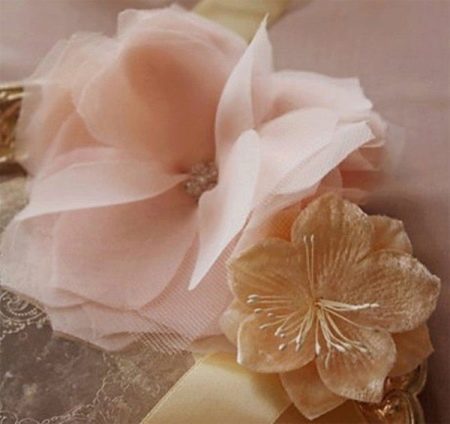
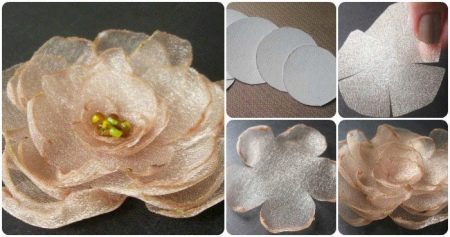
Satin and chiffon
This lovely flower is the easiest way to create flowers from circles.In this case, it is desirable to use different material.
- Cut into circles of different diameters, at least 5 pieces.
- Burn the edges.
- Collect the petals into a flower, starting with the largest one.
- Pin off all the layers carefully with a pin.
- Sew on the decor, holding the petals together.
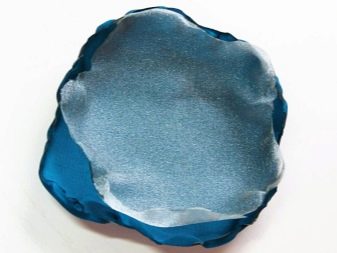
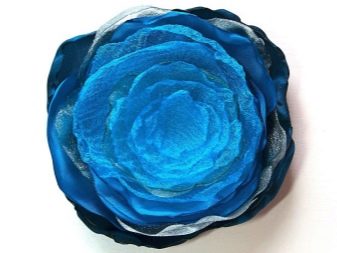

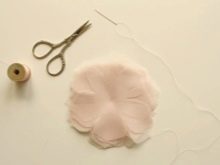
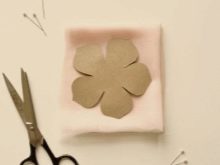
Organza
A stencil in the form of divided petals will serve as a pattern for a lush organza flower. The fabric can be chosen in different tones and textures.
- Fold the fabric in several layers to make a square. It should be larger than the template in size.
- Trace its outlines and cut out carefully. The number of petals depends on the size of the flower and the thickness of the fabric.
- After placing the cut shapes on top of each other and aligning the layers, use a thread to fasten all the petals in the center with a thread.
- You can decorate the middle with beads and beads.
From ribbons
We would like to share one more option for creating a flower from ribbons.
Of the necessary material, you only need ribbons of different colors, which can be pieces of any fabric, a thread with a needle and beads for decoration.
Note that the wider the ribbon, the larger and more luxuriant the flower will be.
Take a tape 50 cm long and fold one edge to form a triangle.
Tuck the resulting sharp corner and fasten it with a thread.

Next, we collect the ribbon in the form of an accordion.

From the gathered ribbon, collect the flower and secure with thread.
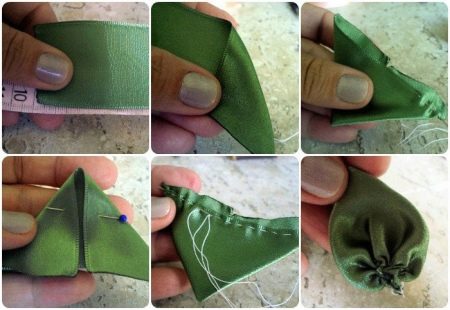
It remains to make the leaves.
- Fold a green ribbon 10 cm long in a triangle.
- Sweep and pull off its base.
- Thus, make the second leaf.
- Gather the flower arrangement together and decorate with beads.
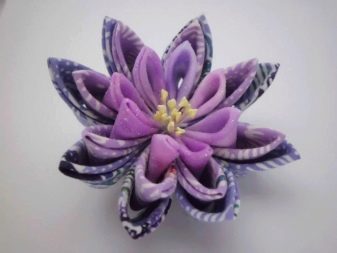
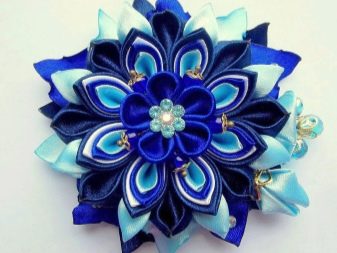
Flower in kanzanshi technique
This technique requires perseverance, but the originality of the fabric colors compensates for this disadvantage. The sizes and colors can be very different, as well as the methods of their application, while the material costs are minimal.
Flowers are created from a satin ribbon using Moment-Kristall glue, decorative elements, cardboard, scissors and thread with a needle.
There are different ways to create flowers using the kanzashi technique. We'll cover a few.

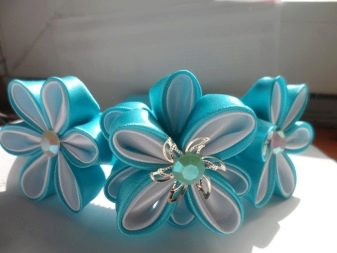
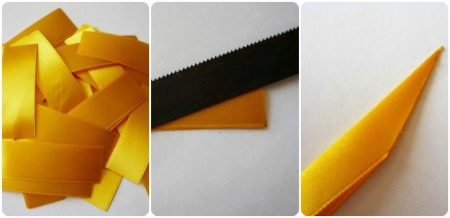
Aster
To make a beautiful aster, cut the ribbon into 7 cm lengths. The number of future petals is optional.
Fold each section in half and cut at an angle with a soldering iron to form the tip of the petal.
Wrap the bottom of the petals in the opposite direction and singe the edges, so the ends of the tape will connect.
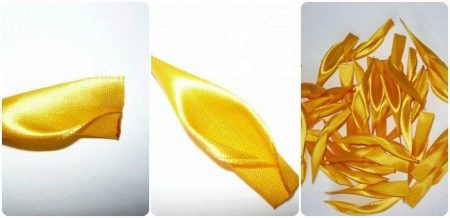
Cut a circle out of thick paper that corresponds to the diameter of the flower. Glue the petals, starting from the edge of the circle, gradually filling the entire space.
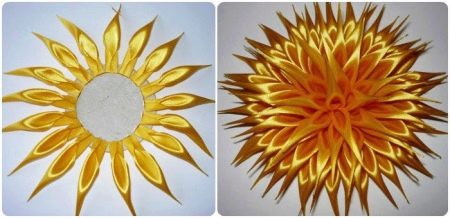
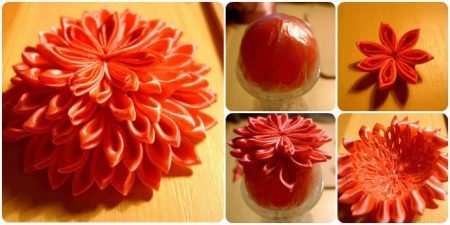
Convex flower
A large convex flower is made as follows:
- Cover the balloon with a plastic bag. The size of the finished product depends on the diameter of the ball.
- Make petals.
- Connect 7 petals in a circle with thread and secure. A small flower will come out that needs to be attached in the center of the ball.
- Glue the second row of petals between the details of the first row.
- Glue the petals in rows, forming a flower of the desired volume.
- When the glue has set, carefully remove the ball and plastic bag.


Everything is so beautiful! And it seems simple)) but in fact ... it's scary to start)
What's the beautiful! Just super flowers!