How to sew a dress for a girl with your own hands?

Without complicated drawings and intricate calculations, you can sew simple everyday or elegant dresses for special occasions for your daughter even every day. If you did not know about this yet, then simple sewing options have been collected for you. Experienced craftswomen will also like them.
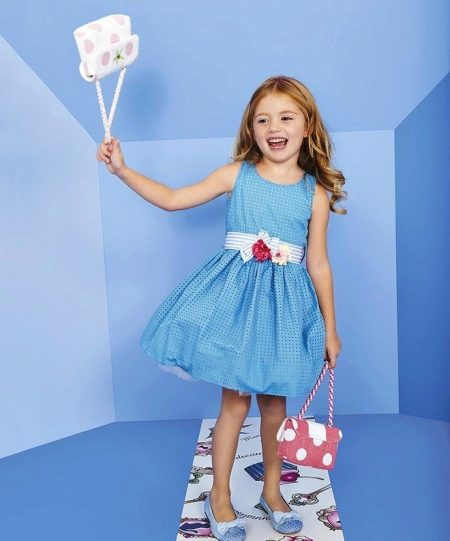
Simple for girls for 1-3 years
With just one girl's one-piece dress pattern, you can make many different designs.
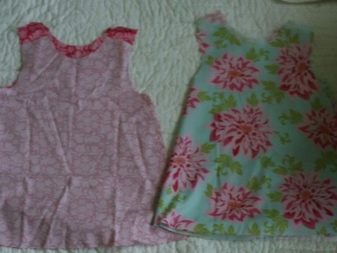
The model below is lined and fastens at the shoulders with buttons. You can sew it from any thin or dense fabric.
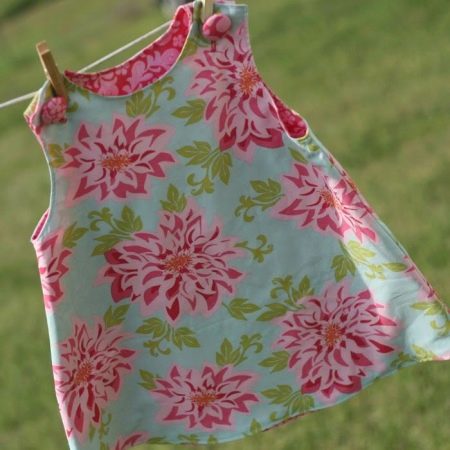
Pattern
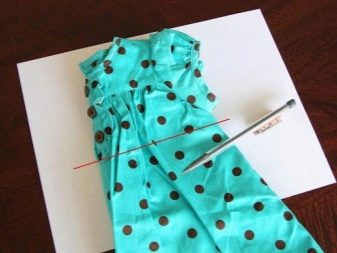
You can find a suitable pattern for a one-cut dress in magazines, or you can make it yourself, taking a T-shirt or blouse that fits the girl well as a template.
How does this happen?
- Get a large sheet of paper or a roll of wallpaper.
- After spreading the paper, lay out the T-shirt and circle the neck and armhole. Then make a trapezoid flare and round the bottom. It's okay if the item you choose has a high waist or a strong flare. Outline the model, and then remove the unnecessary and finish the necessary, adjust the depth of the armhole and neckline. The main thing is that the shoulder bevels, the width of the chest and the height of the armhole are already there.
- When outlining, the pattern may turn out to be asymmetrical. This is not scary, since one half is taken for cutting, naturally the best.
- If you are tracing a blouse with sleeves, then use a needle to go over the armhole of the product. The marks will remain on the paper and you can connect them beautifully with a pencil. In the same way, you can make a separate sleeve pattern.
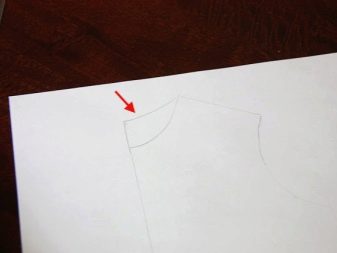
Cutting and sewing
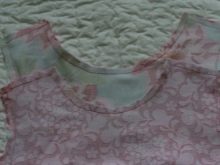
- Open the front and back of the lining fabric.
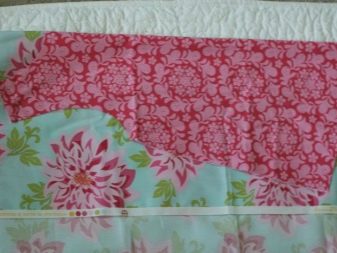
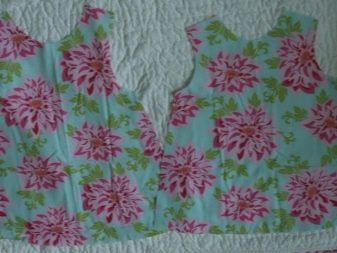
- Circle the cut out parts on the main fabric and cut out.
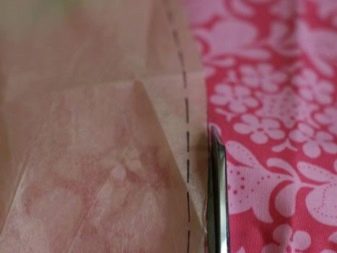
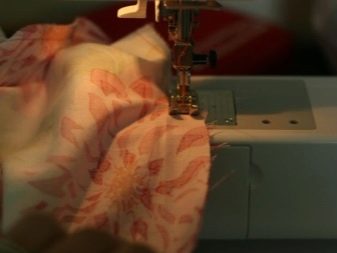
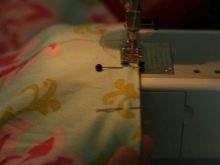
- Sew along side seams in front and back from lining and main fabric.
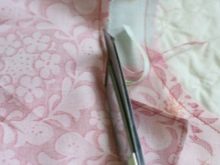
- Match the tops of the two fabrics and secure with pins.
- Sew and trim the edges.
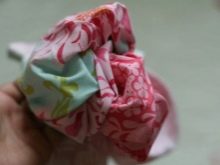
- Turn out and smooth out the seams.

Hem
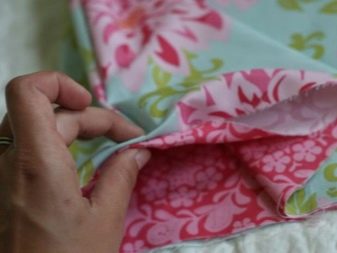
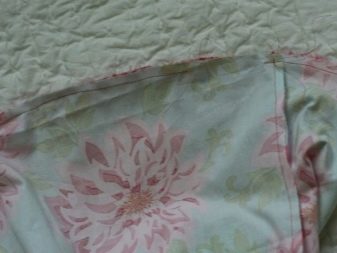
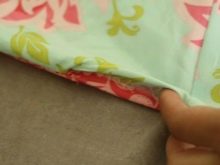
- Wrap the hem of the dress inward, turn the dress inside out and sew, leaving about 5 cm to turn it out again.
- After turning the dress inside out, fold the edges inward in the unsewn hole, smooth them and stitch them.
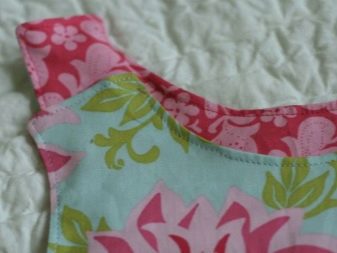
- Also stitch along the tops of the dress.
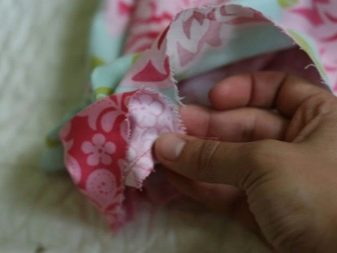
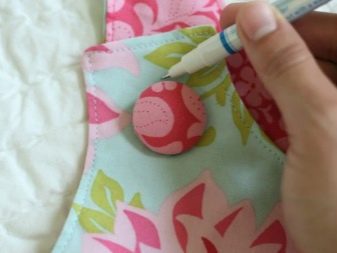
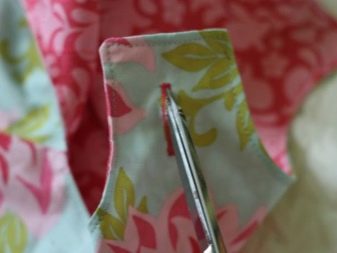
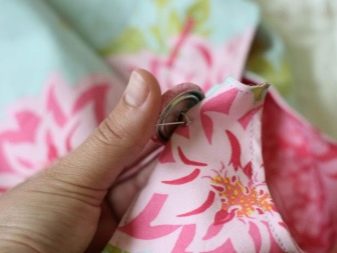
On the front shoulders, mark where the buttons and buttonhole holes will be sewn. Then make eyelets and sew on the buttons covered with the main fabric.
Summer dress-sundress without a pattern
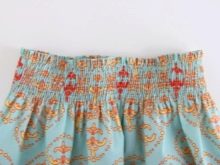
To sew such a cute sundress, you don't need a pattern at all and you don't need to outline anything either, so a beginner in sewing will cope with the dress. This model is suitable for a girl of any age and physique, since the width and length are at your discretion.
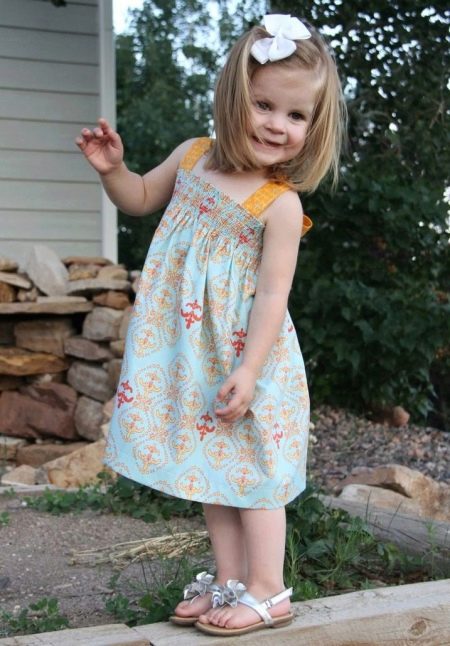
- First, we need to measure the volume of the girl's chest and decide on the length of the sundress. Multiply the volume by 1.5 or 2 to create beautiful folds and not press on the chest area. The length is measured from the armhole, plus 1.5 cm is added to it for the top hem and 4 cm for the hem.
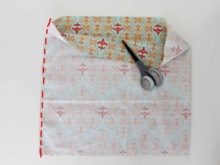
- Cut out a rectangle, fold it in half, face inward, and sew along the side.
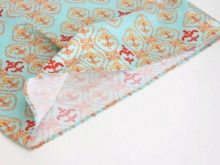
- Fold the top and hem. The edges can be sewn with a zigzag stitch.
- Stitch 5-10 rows onto the dress with elastic with a zigzag stitch, or by winding the elastic around the bobbin.
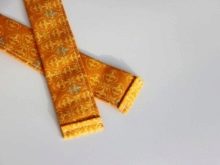
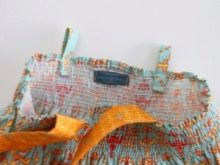
- Make 2 shoulder straps out of the contrasting fabric, 90 cm long and sew to the front.
- From the fabric as the sundress, make 2 strips of loops 5x25 cm and stitch to the back.
- Pull the straps into the loops and tie them over the bow.

Baptismal
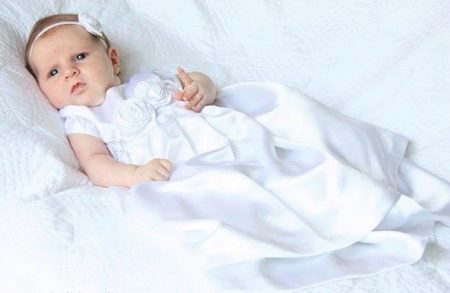
While still very young, children are pure and innocent, and very much like angels, especially during such a solemn ceremony, because white robes maximize this effect.
Christening dresses usually have a simple cut, so they are sewn quickly. So let's get started.
Bodice
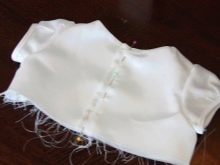
Make a pattern for the top using any method convenient for you. There will be a button closure on the back, so add a few centimeters for the placket.
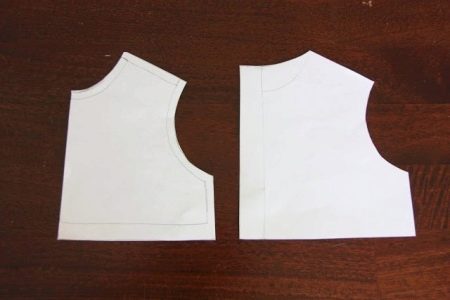
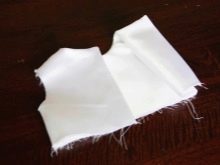
- Cut out the satin and lining, then sew the front and back from each fabric.
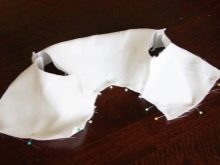
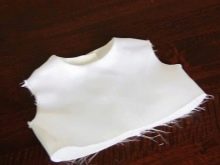
- Sew the satin and lining top together at the neckline, folding them face-in. To prevent the edges from fraying, sew them with a zigzag stitch.
- Turn the bodice inside out and iron it.
Sleeves
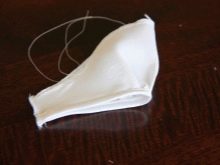
- Make a pattern for the sleeves and cut them out.
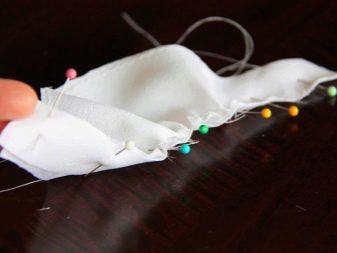
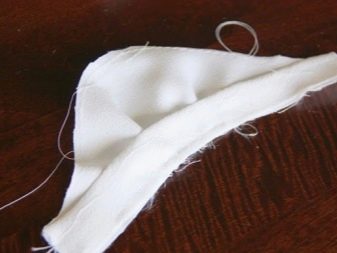
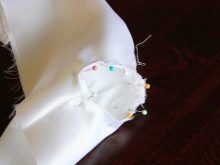
- Gather a little at the bottom and top.
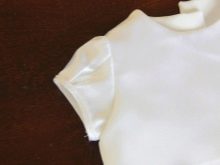
- Cut out 2 stripes for the hem of the sleeves. Their length is equal to the length of the bottom of the sleeve, and make the width arbitrary, given that it will fold in half.
- Sew on the strips on one side, then fold and sew on the other side.
- Sew on the sleeves and press on the seams.
- On the back, make loops or sew on Velcro.
Skirt
The skirt will have 3 layers:
- Lower. From the lining fabric, cut out a rectangle of the same width as the bottom of the bodice, but shorter in length by 5-6 cm from the main length.
- Average. From the satin fabric, cut out a rectangle that is two times the width of the bottom of the bodice. That is, if the bottom of the front and back is 46 cm, then the width of the rectangle will be 92-100 cm. Make the length as you wish.
- Upper. The width of the second rectangle will be 2 times larger, that is, 184-200 cm and make the length a couple of centimeters shorter.
Sew each rectangle along the side seam. Zigzag the top, and then gather to the desired size.
Place all layers together and sew, then sew to the top.
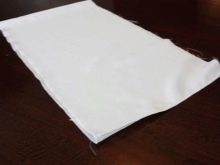
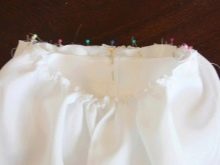
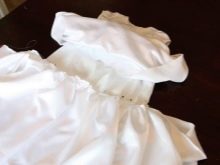
Hem the skirts.
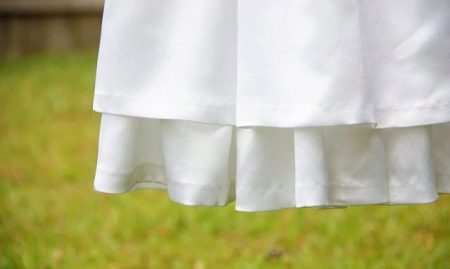
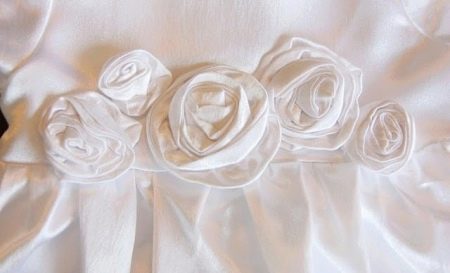
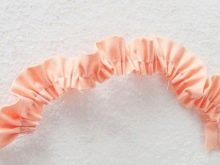
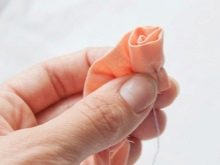
Make flowers from strips of fabric.
Smart
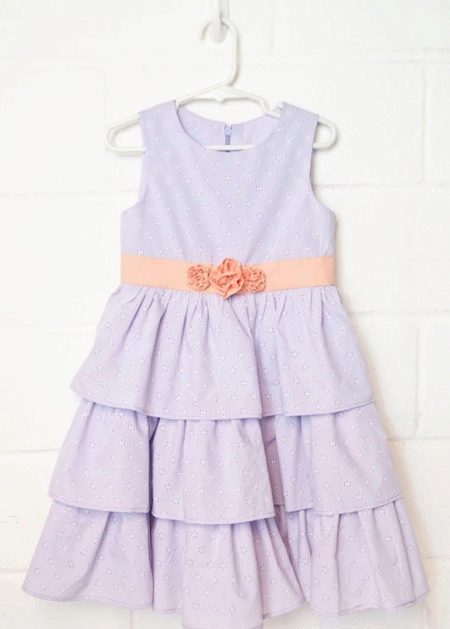
Girls have no less reason than adults to wear an elegant dress. Therefore, we suggest to sew a romantic model with ruffles.
Calculations
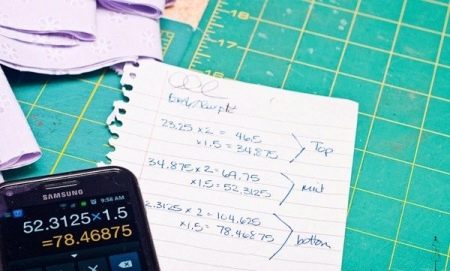
- The top frill should cover the seam of the next tier, so make the lining pieces 2-4 cm less than the pieces from the main fabric.
- To make the skirt bulky and flared, make the lining length 1.5 times longer, and the ruffles 2 times longer.
- If the volume of the top is 60 cm, then the length of the first tier of the lining should be 90 cm, and the ruffles should be 120 cm.
- The second tier and subsequent ones are calculated based on the sizes of the previous ones. That is, the length of the lining of the second tier is 135 cm, and the frills are 240 cm. The third is 202 cm for the lining and 360 cm for the frills.
If the fabric is thick, then the bottom lining is not needed
Sewing
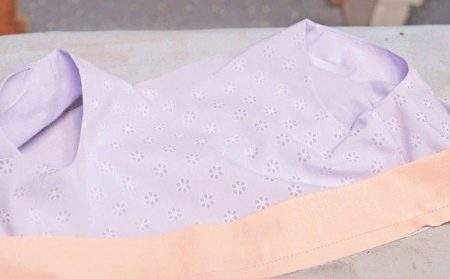
The top in the dress is normal, so after cutting and sewing it, we will make a belt.
You will need a stripe of contrasting color 13 cm wide and equal to the length of the top. Fold the strip in half lengthwise, stitch it to the bottom of the top.
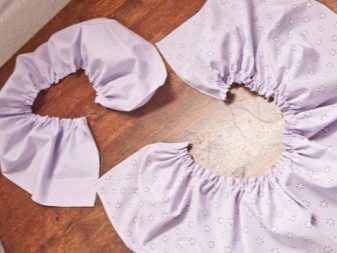
In ruffles, trim the bottom edges with a narrow hem, and gather the top to the desired length.
Gather the top edges of the lining as well. Then arrange all the details in pairs, so it will be more convenient to collect the dress.
Having retreated 1.5 cm from the edge of the back, since a secret zipper will be sewn in there, pin the frill with pins.
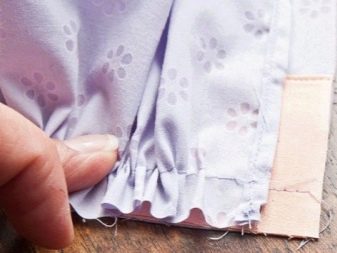
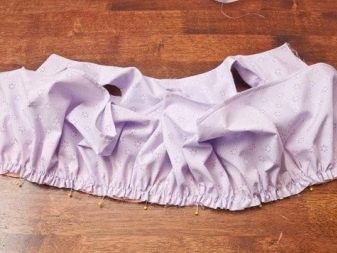
Place the first tier of the lining with the right side on the frill and pin it off with pins, while making sure that its sides coincide with the edges of the back, that is, there should be no indents. Sew all layers.
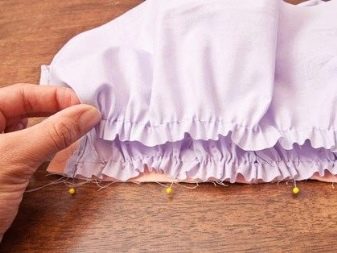

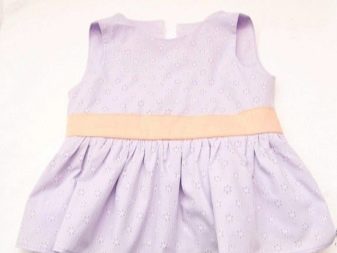
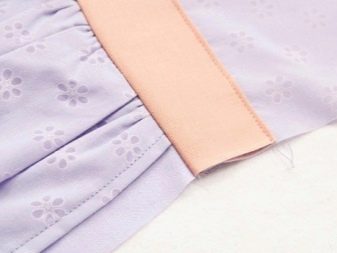
Sew in the zipper, pinning it to the top and lining, without the frill being sewn.
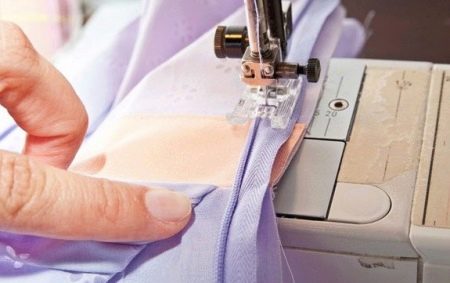
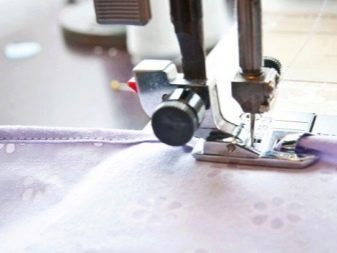
For a nice looking lining, turn it inside out and stitch it very close to the zipper using the matching foot.


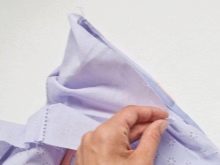
Sew on the second tier. Close rectangles from both fabrics into circles. Then pin the frill to the lining from the 1st tier, and on top of it place the second lining and sew together.
Sew the third in the same way.
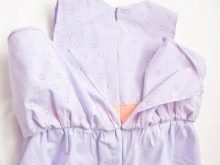

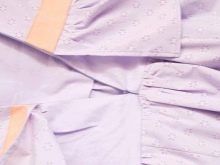
If you want to hide the raw edges of the lining on the bodice, turn the dress to the wrong side and fold the hem. After securing it with pins, sew from the front side.
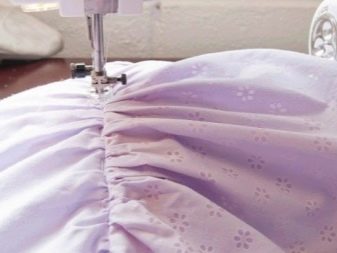
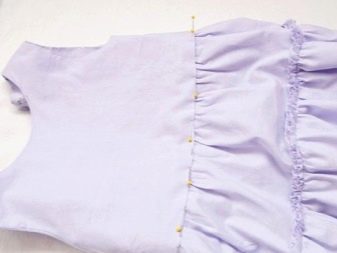
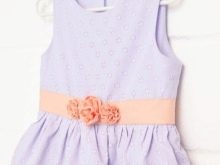
The dress can be decorated with fabric flowers as the belt.
Gather small strips and form flowers, then sew to the belt.
Graduation
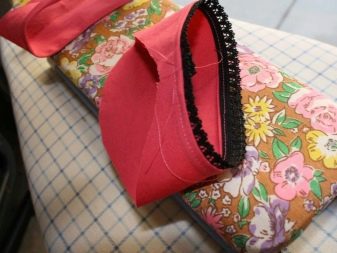
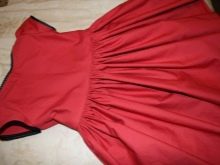
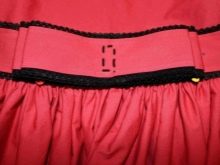
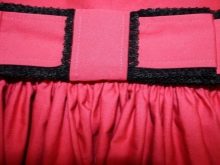
A coral dress with a bow and lace trim is perfect for prom. The advantage is that it can be further worn at various events.
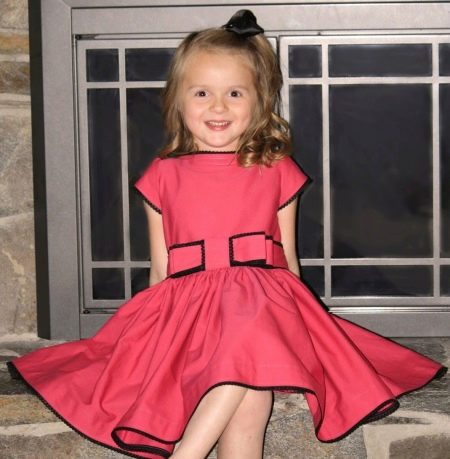
The top of the dress is made in a classic style, so make a pattern from the existing patterns or create a new one. If you don't have time to create a pattern, then try to circle your daughter's T-shirt or top, just don't forget to make the back closure.
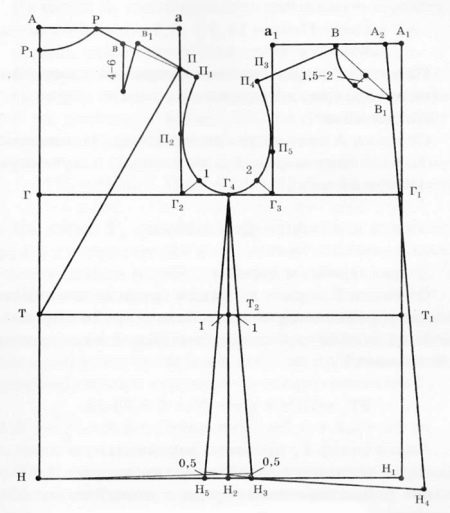
- After cutting out the details, sew the shoulder and side seams on the bodice.
- Sew on the sleeves and sew on lace.
- Gather the top of the sleeves and sew them in.
- Trim the neckline and then sew on the lace strip.
- Cut out a rectangle for the skirt. The width depends on the desired splendor, as well as the height, on the desired length.
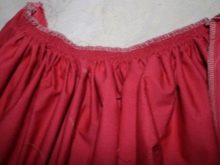
- Gather up the skirt and sew to the top. Sew in the zipper and seam on the skirt.
- Make a hem at the hem.

Belt with bow
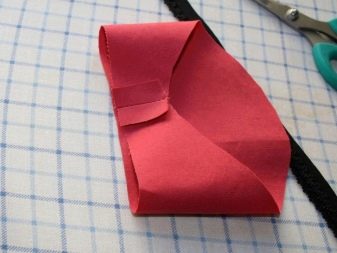
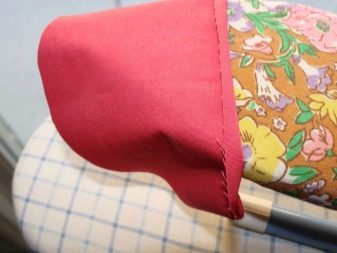
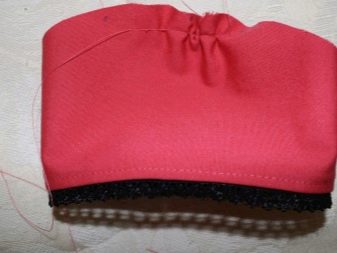
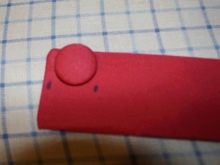
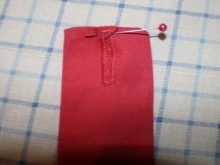
The belt can be sewn on or removable. In any case, take measurements of the girl's waist and cut out the belt. Sew a button on one end of it, and make a loop on the other, sew lace.
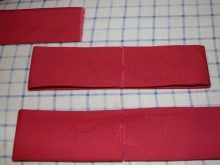
For the bow, cut out 3 stripes and sew the lace as well. Putting two strips together, sew a third to them.

And so, for you we have prepared several options for sewing children's dresses. You just have to play with fabrics, decoration and please your daughters with new things.


