How to cut a sleeve to a dress and sew it on a sleeveless dress?

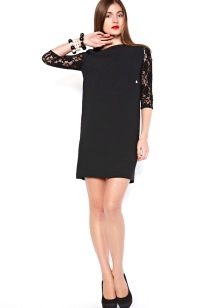
Not often, but a situation arises when a beloved or a sleeveless dress lying around in the closet wants to give a new life by sewing on a fashionable lace or leather sleeve. Perhaps you liked the same dress as yours, only with the original sleeve. Or maybe you need to hide skin imperfections on the shoulder, but bolero and stole cannot completely solve this problem. Questions immediately arise: what should be the sleeve, how to cut it out and how to sew it into the finished dress. Let's figure it out.


We take into account the nuances
- If you are lost in the variety of sleeves and have not decided which one will best suit your dress, decide on its purpose: arm correction, decorative element, etc.
- Decide for yourself which image you want to create: classic, romantic, extravagant. Please note that no one forbids experimenting with sleeves and combining fabrics.
- When choosing fabric for future sleeves, consider the colors and features of the materials, their quality, how easy it is to work with them. It will be a shame if the fabric sheds or shrinks. In this case, be sure to decorate before opening.


Sleeve options
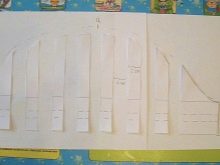
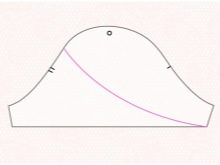
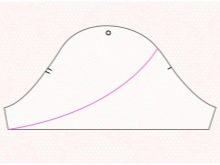
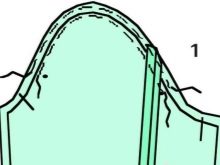
When we take any pattern of a dress with a single-seam sleeve from a magazine, then in it the ratio of the length and depth of the armhole and the ridge of the sleeve is adjusted to the millimeter. After all, the quality of tailoring depends on an important condition - the set-in sleeve is sewn in without creases, if it does not require fitting, the sleeve should fit perfectly into the armhole.
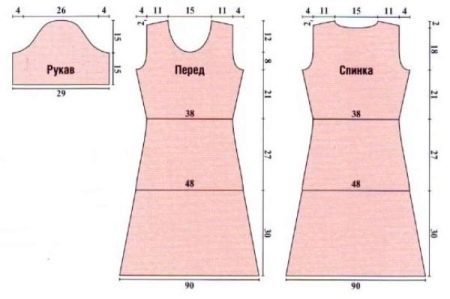
In our case, you can look for patterns of similar dress models in sewing magazines and, applying a shelf, choose the most suitable size of the armhole.Then cut out the sleeve from the rough fabric, sweep it into the armhole, correct the imperfections and only then cut the correct sleeve out of the selected fabric.
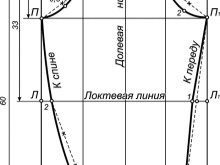
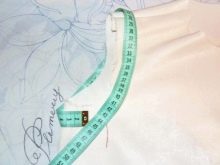
You can build a pattern for the selected sleeve yourself, if there is nowhere to take it, and make changes by substituting your own measurements, for example, shoulder girth, chest and wrist half girth, sleeve length and armholes along the stitching line.
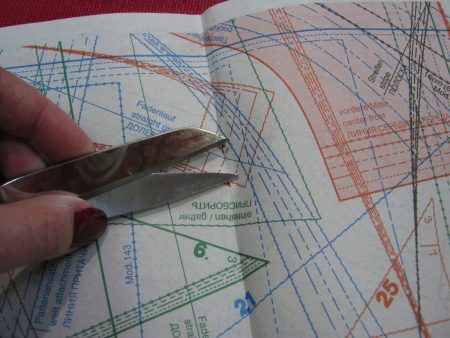
To expand an existing pattern by a few centimeters, circle its outlines on one side, then move the pattern and circle the other side. Be sure to add seam allowances along the stroke line.
The pattern is built according to a new drawing, if it needs to be increased by more than 4 cm.

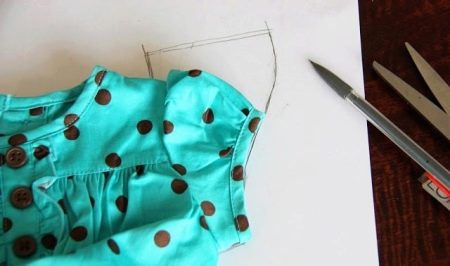
If you have a blouse or T-shirt with the same armhole in your wardrobe, you can circle the sleeve and then model the desired shape and length.
It is circled in this way:
- lay the T-shirt flat on the paper, put pins along the line of the sleeve cuts;
- circle the marks on the paper with a pencil, just do not forget about the seam allowances.
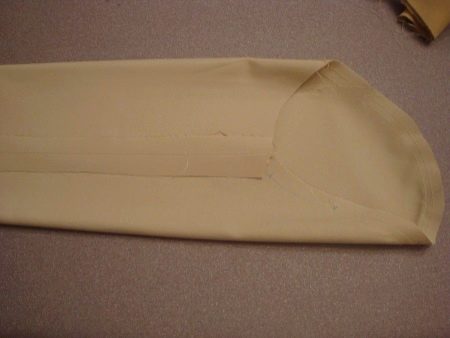
Whichever method you choose, do not rush to cut out a part from the main fabric, train on the rough one.
Modeling
With the basis of the sleeve pattern, you can model any sleeve.
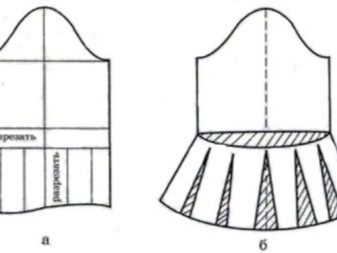
Flashlight sleeve


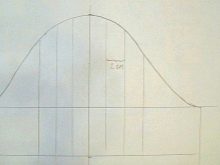
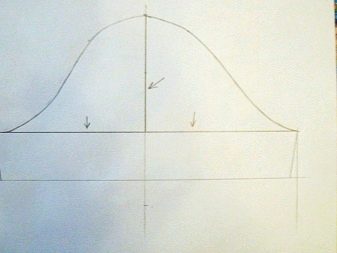
Modeling the sleeve-flashlight consists in drawing the pattern-base with parallel lines.
To make the assembly uniform, the divorce lines are placed evenly, if you spread the central part of the sleeve, then it will be lush only on the outer part. The top does not have to be pleated; you can create folds.
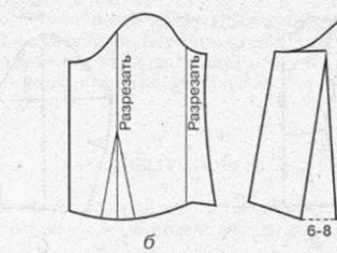
Raised Sleeve

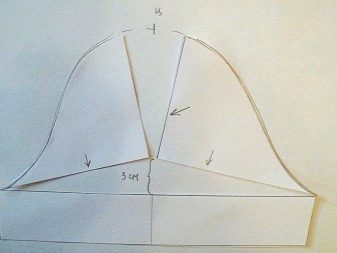
This sleeve is modeled simply - cut the pattern in the center, push it apart and draw a new line.
Tulip sleeve
Here you need to draw a curved line of the bottom of the sleeve, cut out a detail, then draw the same in a mirror image.
Glue both halves.
Process the cuts and sweep at the top.
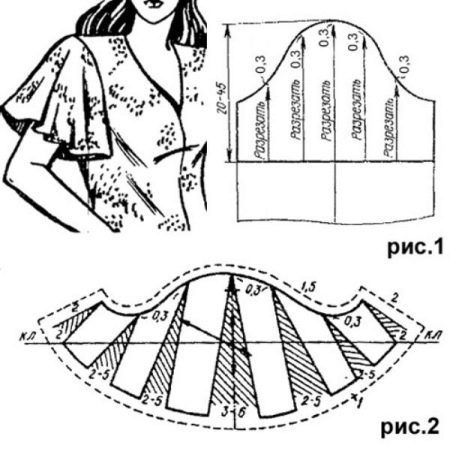
Flounce sleeve
- Draw a horizontal line along the bottom of the sleeve if it is above the elbow. If the sleeve is lower, then draw a curved line.
- Divide the part into the desired number of parts.
- Cut the pattern along the lines you have drawn, leaving 0.3 cm undercut.
- Spread the parts evenly 3-6cm apart.
And a few more options for modeling sleeves.
How to sew
In addition to the shape, the sleeves differ in how they are sewn in. Some require planting, since the length of the edging is 3 - 7 cm longer than the armhole. Others do not require a fit, while others are modeled with ruffles or folds.


With a sleeve without a fit, there are practically no difficulties when stitching, but with a sleeve with a fit, mistakes are made. Often the fit is distributed incorrectly or the sleeves are connected to the armhole incorrectly.
- You can distribute the fit by aligning the shoulder seam with the center of the roll and distributing the fit.
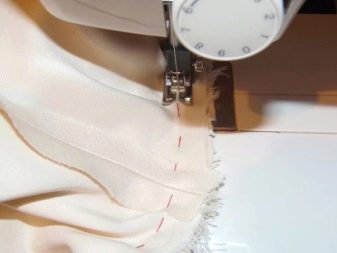
- Then a basting line is laid.
- If you are satisfied with the result, lay another line, covering the shortcomings of the first, so that the fit does not shift when stitching.
- Sewing in the sleeve, sew a stitch, only step back from the basting seams by 1-2 mm. The seam should be stretched slightly so that it does not crack while wearing the dress.
When the length of the ridge turned out to be longer than necessary, then the armhole should be slightly deepened. To do this, a piece of the lower ridge is inserted just below the cut of the armhole.
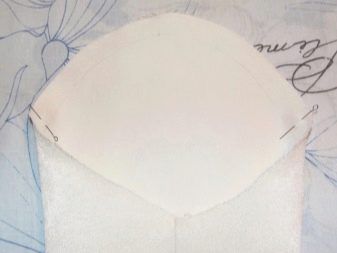
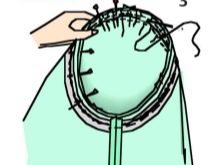
A simpler option is a circular assembly:
- Having expanded the part so that the line of the middle of the sleeve is exactly in the middle, mark on the allowance of the upper part of the bend the point of intersection with the allowance of the lower bend.
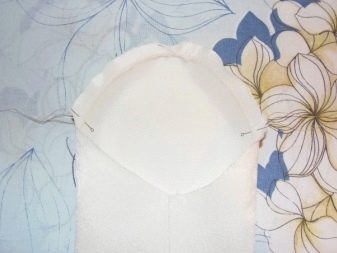
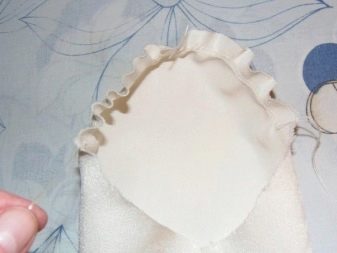
- Place two basting stitches all over the perimeter.
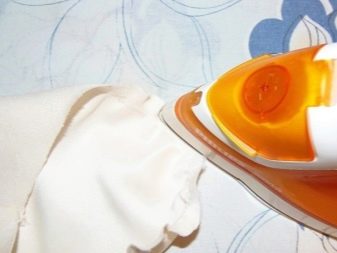
- Pull the top, press the folds, without ironing the sleeve.
- Sew in the sleeve starting in the center in a circle.
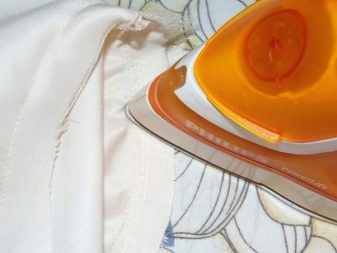
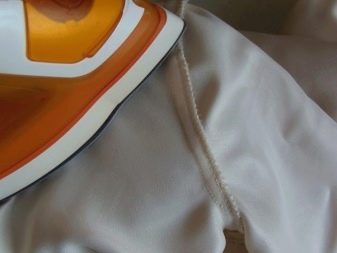
At the last stage, fitting is done. Errors are corrected and the sleeve is stitched to the dress. The seams are closed.
There is a third option, in which the lower stitch is pulled together after inserting the sleeve into the armhole, aligning the seams and securing the lower cuts of the armhole. When the ridge fits exactly into the armhole, the excess width is evenly distributed.

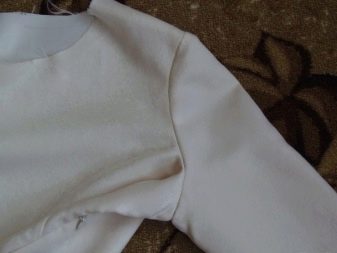
Be sure to try on when the sleeves are sewn in, the peculiarity of the posture sometimes requires adjusting the most accurate sewing patterns.


