How to sew a do-it-yourself shopping bag?

A shopping bag is an indispensable attribute in everyday life. Often, the products bought in the store are not satisfied with their quality, spaciousness or colors. I would like the accessory to be functional, look appropriate and fashionable. Sewing a shopping bag with your own hands so that you like it, be practical and look beautiful is not difficult if you are familiar with the intricacies of tailoring.
Peculiarities
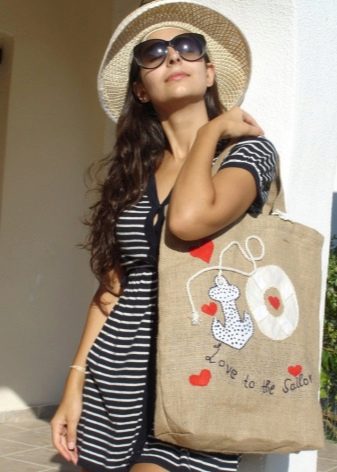
The shopping bag must be strong and reliable. This accessory is indispensable for shopping and is made taking into account all requirements: such a bag is always reliable, comfortable, roomy, easy to wear, beautiful and often stylish. With a skillful approach to design, you can create a product in the best Italian traditions, when at least the decor and unusual texture will create the desired effect.
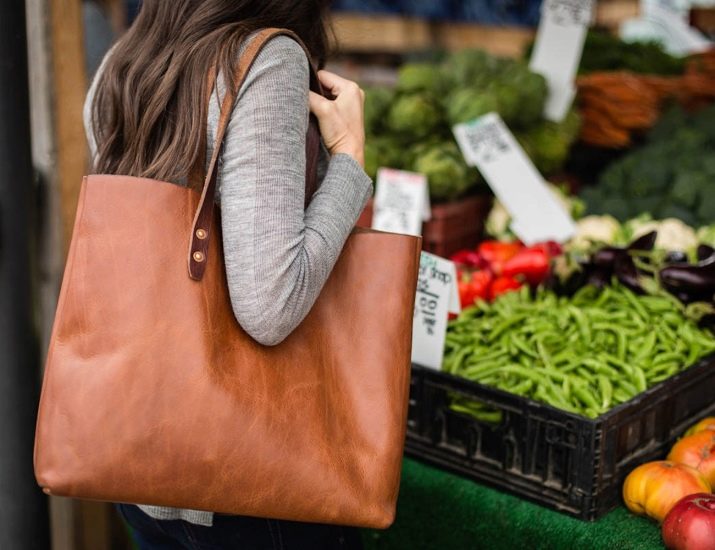
When choosing a material for such an accessory, one should give preference to dense, reliable fabrics.
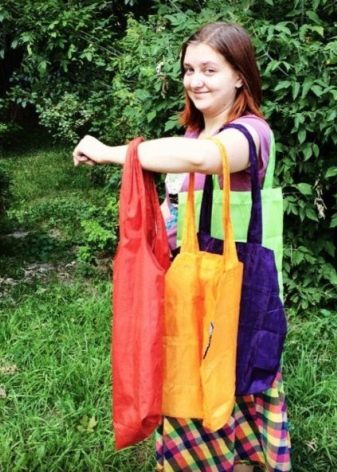
In some models, if a special cut is provided, it is even better for the textiles to be thin or soft (transformer model). Such a product does not take up much space, so it can be placed in an ordinary handbag, returned to a roll or folded several times.
The proposed master classes will help you understand the technique of sewing a simple but stylish bag and understand that it is much easier than it seems at first glance.
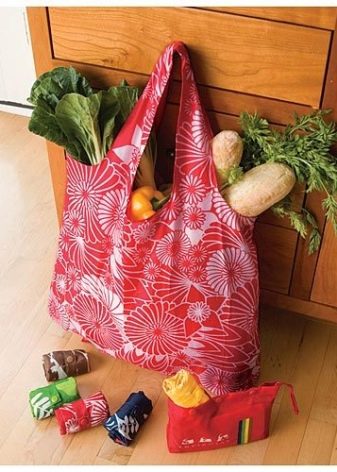
How to sew from a raincoat fabric?
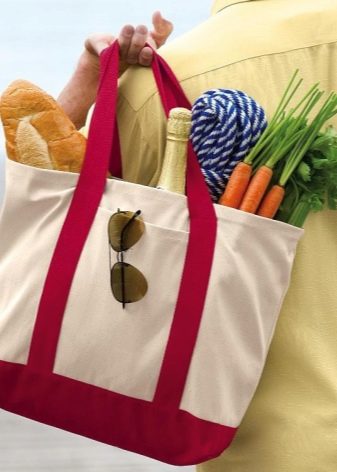
Raincoat fabric - thin textile with water-repellent impregnation A bag made of such material will be practical, reliable and mobile.
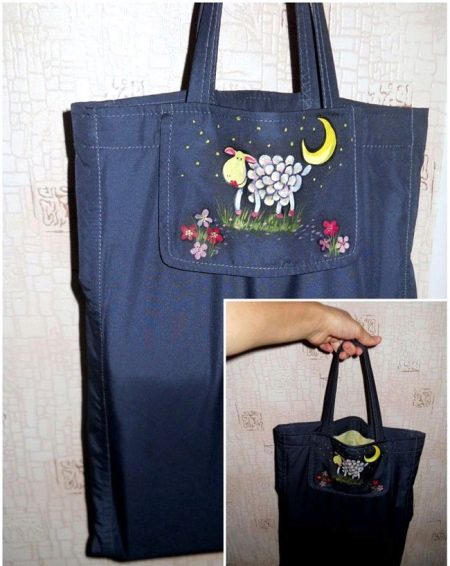
To make it you need:
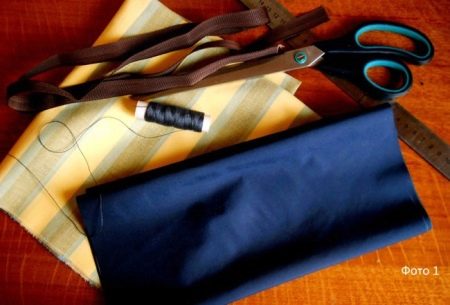
- the fabric itself and the material for the lining;
- acrylic paints;
- paint brush;
- sewing accessories.
If you don't want to paint, you can decorate the product with contrasting tape or a ready-made thermal adhesive made of thin textiles. There can be no beads, crystals and other tinsel here: this textile loves minimalism. For reliability, you can reinforce the fabric with a lining.
To make a bag, you need to prepare the details:
- base blanks (30 x 46 cm);
- 2 sides (8 x 46 cm), pocket (18 x 16 cm);
- 2 handles (7 x 50) cm, remembering to add small seam allowances.
You can focus on a ready-made template by printing it in full size or gluing it from several A4 sheets.
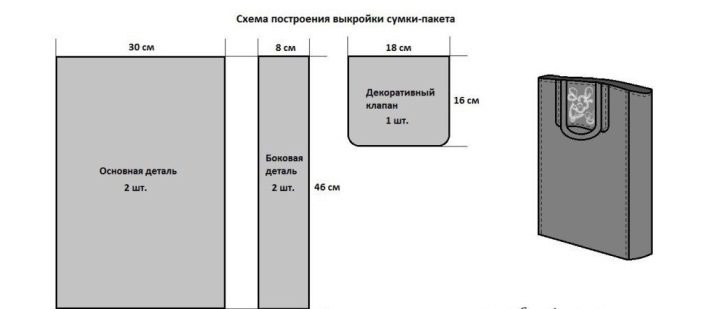
The sewing stages are as follows:
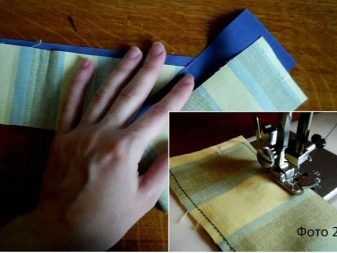
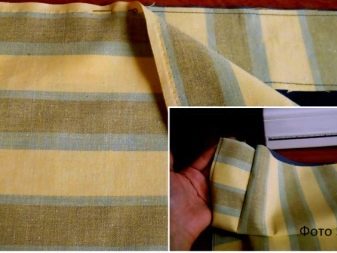
- Cutting out all the blanks, collect the base: 2 front parts and 2 side panels. It turns out a rectangle connected into a ring. Do the same with the lining. To increase strength, you can lay finishing stitches along the seams of the base.
- If a drawing is available for your pocket, it is advisable to circle the pattern area and draw it before cutting (so as not to expose unnecessary deformation). After the paints are dry, the pocket is cut to size, the allowances are tucked in and sharpened to the base part in the desired place.
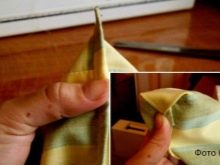
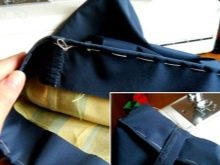
- The base is folded face inward, the bottom is combined and stitched on a typewriter. The seam is ironed out, folded at the corners on the sides and volume is created: a line is laid from one sidewall to the other at an angle of 45 degrees perpendicular to the ironed seam. Excess fabric is cut off. Do the same with the lining. Then it is connected to the base (along the upper edge), aligning the seams with sewing pins, and the cut is sewn on a typewriter.
- It remains to turn out the product, process the top, bending the allowance inward, and sew on the handles. To ease the problem of stitching, you can use the marks on the metal plate to the right of the presser foot to align the textiles.
Bogolan style shopper bag
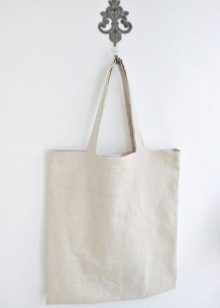
The shopper is a fairly fashionable and simple to carry bag with pictures or inscriptions, which any girl can do, even without special sewing skills. The model is based on simplicity and style. It is practical, comfortable, roomy, mobile and easy to clean. With her, you are not ashamed to show up on the beach or go shopping.
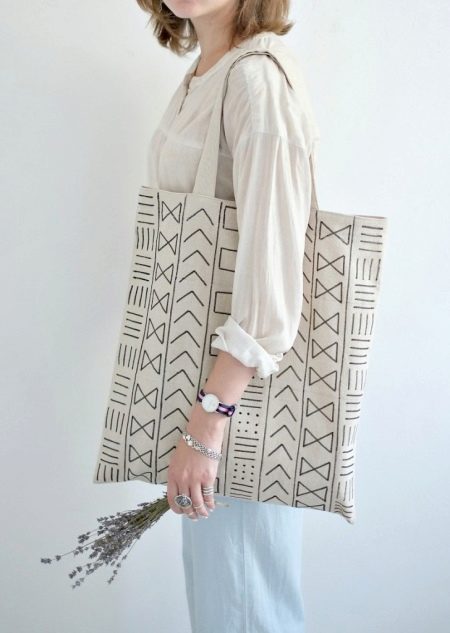
To create a stylish accessory you will need:
- coarse linen (cotton);
- sewing pins;
- pencil;
- iron;
- scissors;
- strong threads;
- ruler;
- markers or special paints for fabric;
- sewing machine.
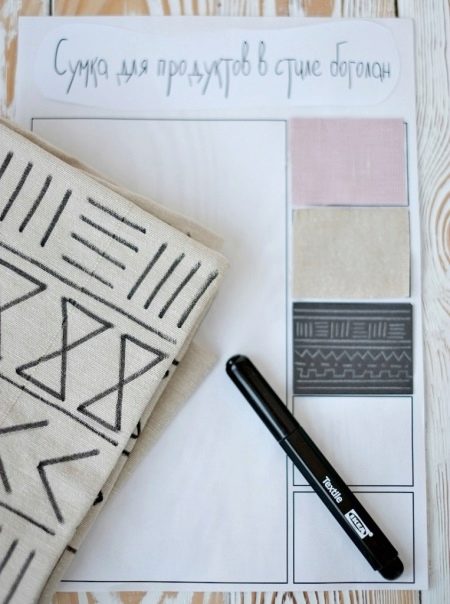
The next steps:
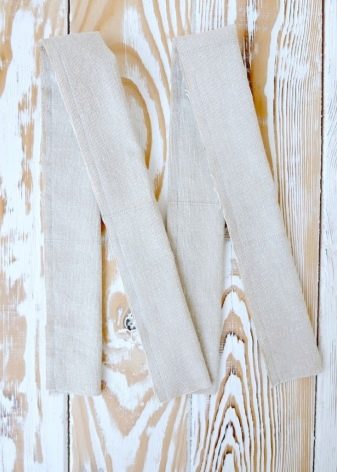
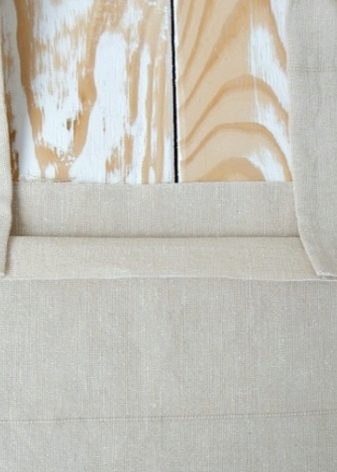
- A pattern is not needed for sewing, all blanks are cut immediately from the fabric: base (94 x 44 cm), top piping (86 x 5 cm), two handle blanks (52 x 8 cm). The base is folded in half, combining the edges, and the side cuts are grinded, retreating from the edge 1 cm. To prevent the textiles from crumbling, the edges are overcast on a typewriter.
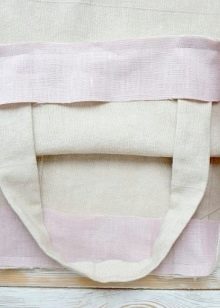
- The blanks of the handles are folded with the front sides inward in width and stitched on a typewriter, then turned out, straightened and ironed.
- Finished handles are applied to the top of the bag at a distance of 10 cm from the side borders. At the same time, the base is folded face to face, and the handles themselves are put inside the product so that their edge coincides with the upper border of the bag. The distance between the handles should be approximately 15 cm.
- A strip 85 x 5 cm is pinned to the front side of the top of the base pins and grind, at the same time securing the handles with double stitches. Having wrapped the remaining edge of the finishing strip by 1 cm, it is sewn on a typewriter, thereby closing the processing of the top of the bag.
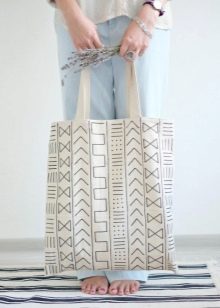
- The model, ready for decoration, will remain to be decorated with a special marker for the fabric. Before using acrylic paint, you need to draw a sketch with an ordinary simple pencil. When drawing a picture, you need to put a sheet of paper or oilcloth under the layer of fabric so that the paint does not print on the second side of the bag. To keep the lines straight, you can use a ruler or draw them quickly: any braking of the hand will be reflected in the thickness of the line.
- If it's scary to draw by hand, you can use a ready-made stencilcut out of paper. A4 sheet may not be enough, but the dimensions of the newspaper are fine.You cannot draw on the fabric with ordinary felt-tip pens: after washing, the product will become unusable.
A bag with a monochrome pattern will always be relevant, since white and black shades have long gone down in fashion history and are classics.
Laminated food fabric model
This accessory is versatile, indispensable for shopping and grocery shopping. It will eliminate the need to constantly buy disposable bags, becoming a constant companion of shopping. The only difficult nuance can be the problem of straight lines: repeated punctures of such material can affect the appearance.
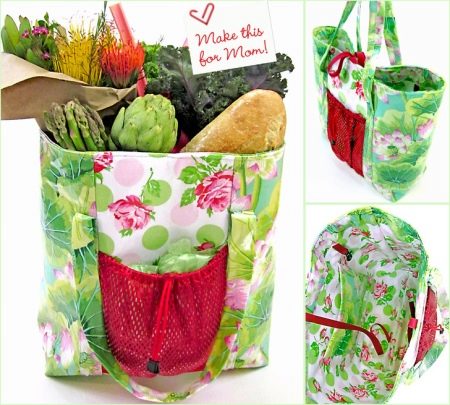
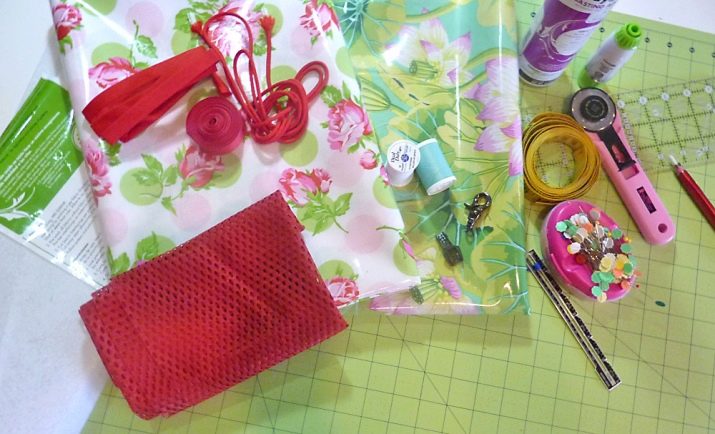
To create a fashionable bag you will need:
- laminated cotton in two colors;
- nylon mesh;
- lining;
- elastic cord;
- braid;
- ruler;
- tape measure;
- strong threads;
- special glue;
- scissors;
- sewing machine.
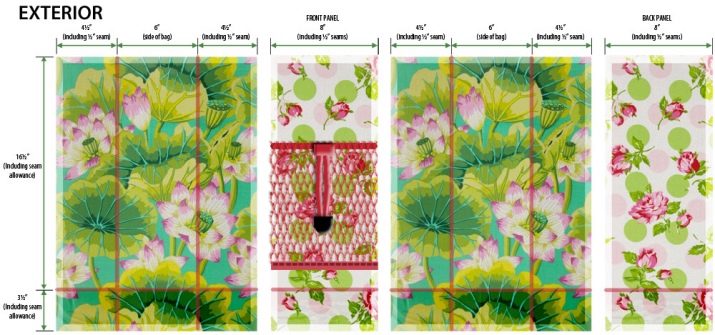
Focusing on the template details offered in color, you need to cut out:
- from the base: 2 large parts (50 x 38), 2 inner pockets (35 x 25 cm), edging of the inner part (110 x 8 cm), handles (143 x 8 cm);
- from the lining: inner part (47 x 110 cm) and 2 front parts (50 x 20 cm);
- mesh: pocket (25.5 x 35.5 cm).
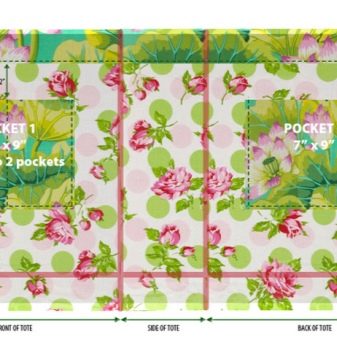
To make it clearer how to sew, you need to use the color scheme. A careful study of the template will make sewing easier:
- blanks 50 x 20 cm are the central fragments of the bag, large parts are sewn to them, which consist of a facade and sidewalls;
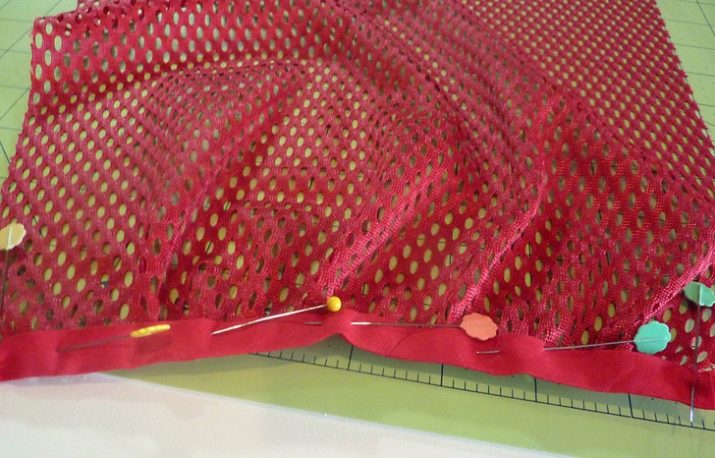
- the bottom of the mesh pocket is sewn to the front finishing fabric and fixed on the sides;
- the lining of the product provides for a side connection: the location of the pockets depends on this;
- handles are sewn on top of the seam connecting two facade parts;
- the top piping is first stitched onto the assembled top and then joined to the lining.
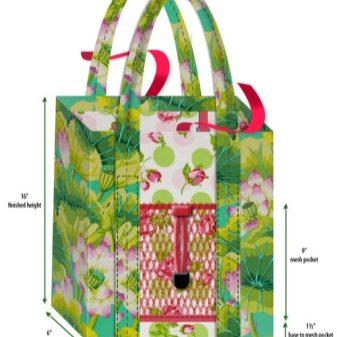
The textiles do not need edging.
- At first pockets are sewn to the lining detail, their allowances will be tucked in. You can sew one of them in the middle, thereby completing the pockets for small items.
- Having collected a pocket from a mesh with the help of a braid and an elastic cord, it is applied to the central blanks, the bottom edge is grinded and the side sections are fixed. Since the fabric can be punctured, it is better to outline the alignment lines using notches (the seams for grinding the finishing parts can be marked with a pencil so that they are barely noticeable).
- After collecting the details of the base and lining, they are connected together, then grind the finished handles... This bag looks beautiful on the outside and inside.
Trolley bag pattern
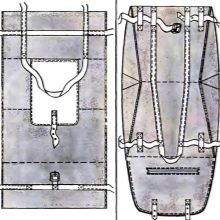
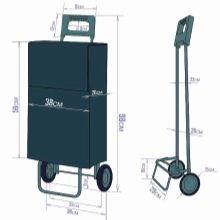
Patterns for shopping bags are simple. Even the trolley model is made using a simple pattern. Its only difference is that the size of the accessory is noticeably larger than other shopping bags. The material for such a bag should be quite dense and rough.
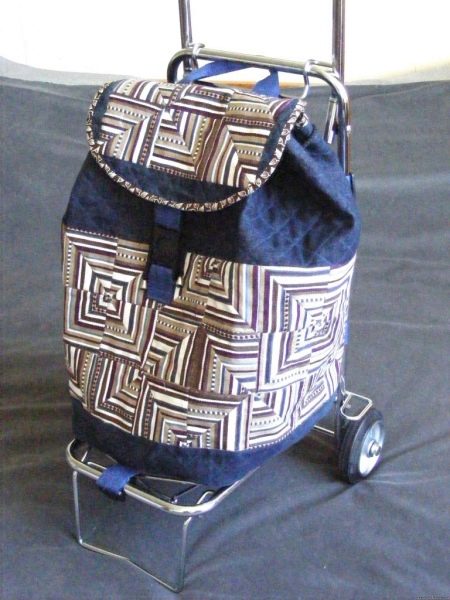
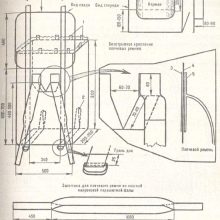
In order not to rack your brains on how to correctly make a pattern, you can use a ready-made sketch, making the necessary measurements directly on the fabric. Usually, the size of each part is indicated on the pattern itself.
The difference between sewing models is small:
- The workpiece is cut in accordance with the template.
- They are folded along the fold and the sidewalls are made from a single piece of fabric.
- For convenience, a valve is added on top.
- If desired, the seams can be edged with a contrasting tape.
In some cases, for such a bag, the pattern of an envelope bag is also suitable, with the only difference that it will be necessary to create volume on the sides so that the product is not flat.
For how to quickly sew a product, see the next video.


Thank you very much! I know how to sew, but you did it so beautifully that I looked from start to finish!