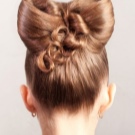
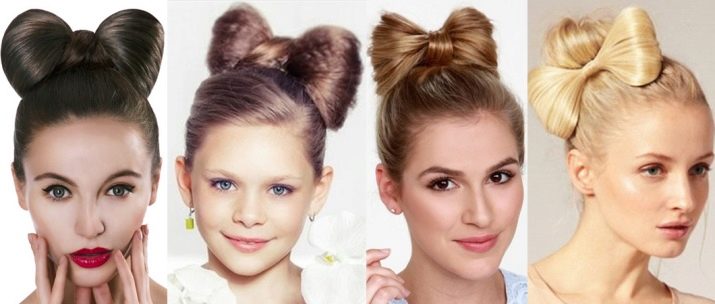
Hair bow - perfect hairstyle for a little princess
Undoubtedly, long hair in itself is an adornment of any girl. But sometimes even the owners of luxurious hair want variety. All that remains is to choose a truly original and beautiful hairstyle, and this is not so easy. One of the winning options for small yokes is a bow-shaped hairstyle. It has a long history: back in the 19th century, young ladies adorned their heads with such hairstyles to shine at balls and dinner parties.
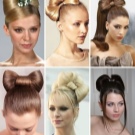
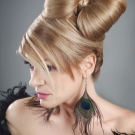
Bows can be large and small, braids, or just hair. They adorn the heads of not only babies, but also adult girls who want to add a twist to their image. Lady Gaga, Paris Hilton and other stars show such hairstyles on TV screens. Why not try to do such a hairstyle for your daughter, especially since it is not so difficult to do this with the help of detailed instructions.
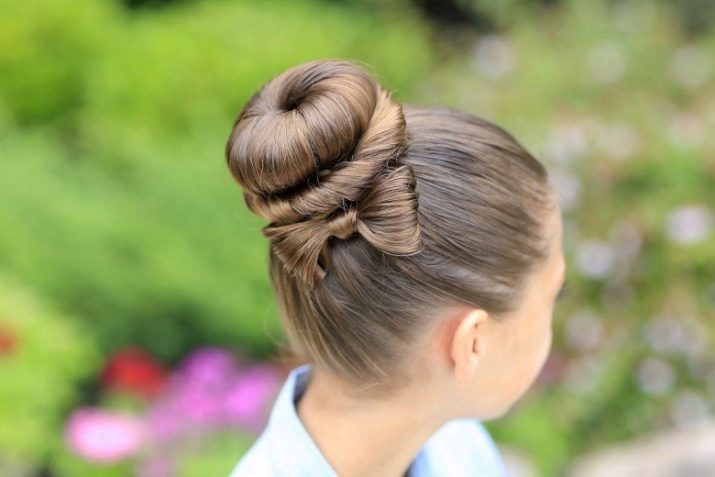
Bow is a universal hairstyle, because it is relevant both in everyday life and at special events. It all depends on how you arrange it. Whether it will be a modest hairstyle for visiting school or kindergarten, or a masterpiece of hairdressing art with luxurious hairpins and ribbons, which will allow the baby to stand out among other girls at a matinee or children's party. The easiest way to do this hairstyle is on smooth, shiny hair, but experimenting with wavy strands can also look quite impressive.
The main thing is that the curls look healthy and well-groomed.
Basic hairstyle
First you need to learn how to make the basis of the hairstyle, which can later be modified to your liking. For example, move the bow down to the back of the head or to the side, add weaving and curls. At first glance, it may seem daunting.In fact, by making a hair bow just a few times, you will learn how to construct it in a couple of minutes. We bring to your attention an instruction that will tell you how to proceed in stages.
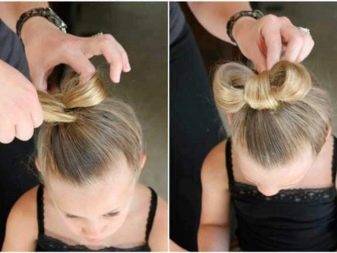
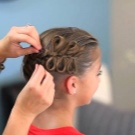
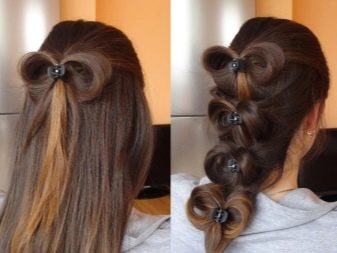
First option
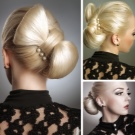
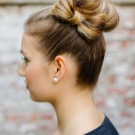
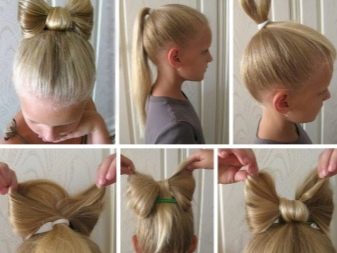
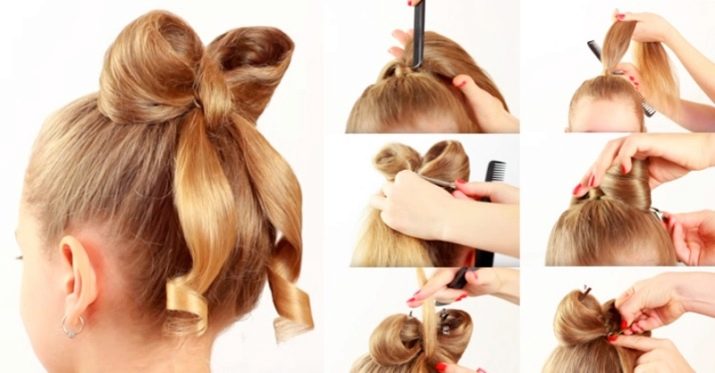
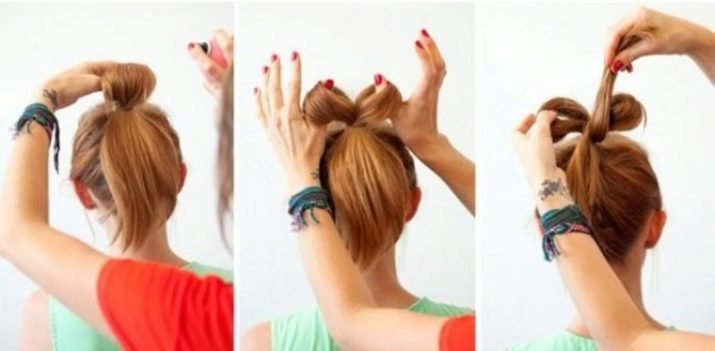
- Make a ponytail at the crown of your head, while not pulling out the end of the hair completely so that a loop forms, and the end of the hair peeks out of the elastic in front of it. She must hold her hair securely.
- Lay the loop at the top of the head in front, divide it in half and fix it by pulling it in the center with the tip of the hair.
- Tuck the tip under the bow at the back and pin with the invisible pin.
- Sprinkle the hair with varnish so that individual strands do not knock out.
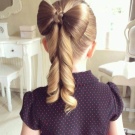
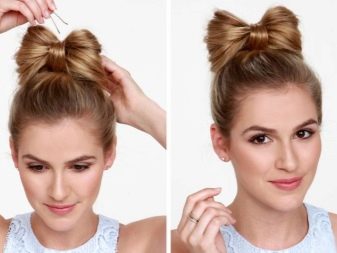
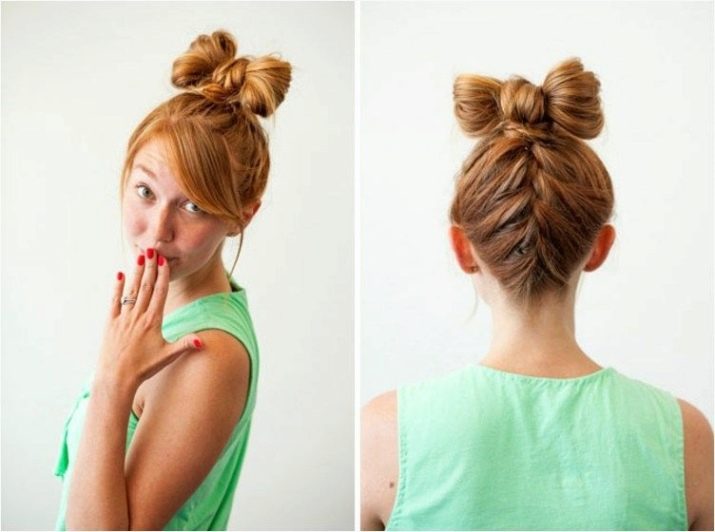
Second option
- A high tail is made and divided into three parts with rubber bands at the base.
- To prevent them from being seen, wrap a strand of hair around the base and hide the tip by pinching it.
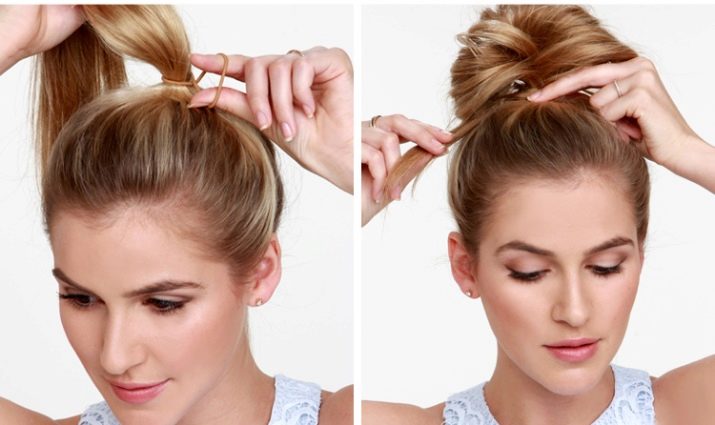
- A bow is made of three strands: from the side strands - its base, and from the middle - the core, the ends are hidden under it.
Some people prefer them to peek out, curl them and additionally fix their hairstyle with varnish.

The third option
- Take two strands from the top of your head that are thick enough to create a bow.
- Make two ponytails out of them, next to each other. They can be located both at the top of the head and at the back of the head.
- Tie an elastic band around each halfway down the length of your hair.
- Bend each of them into a loop and pin at the level of the dressing with an elastic band so that they look in different directions. In this case, the rest of the hair will remain loose.
- Secure the bow with a strand.
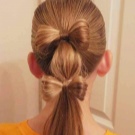
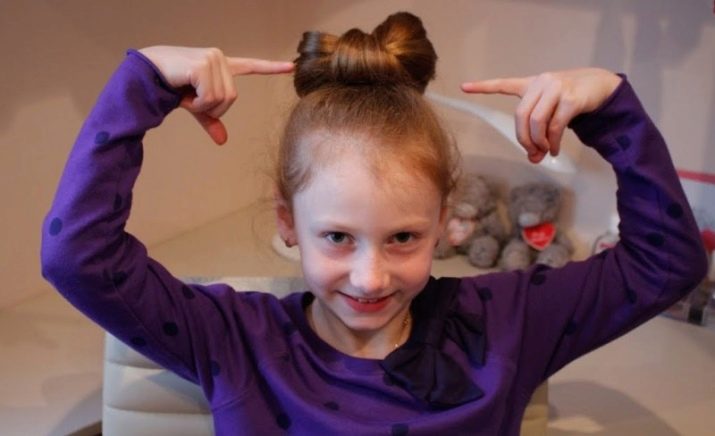
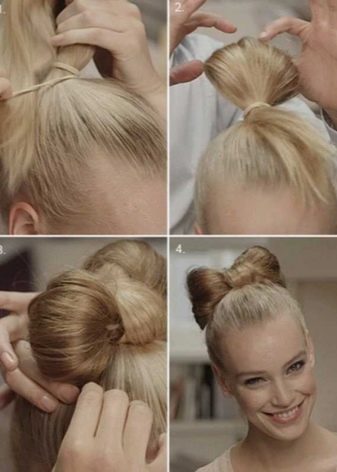
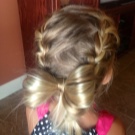
The fourth option (for the smallest)
- Divide your hair in two.
- With the help of elastic bands, first make one loop from the ponytail that has not been stretched to the end, and then next to it - the second one closer to the middle of the head.
- Take another rubber band, pass both halves of the bow through it. Spread it out, and hide the ends of the strand under the elastic.
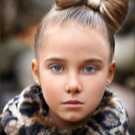
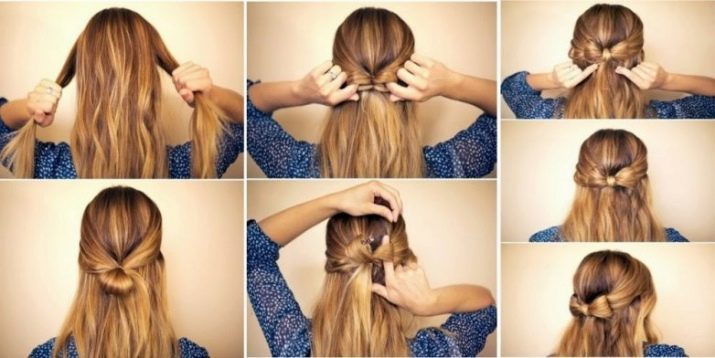
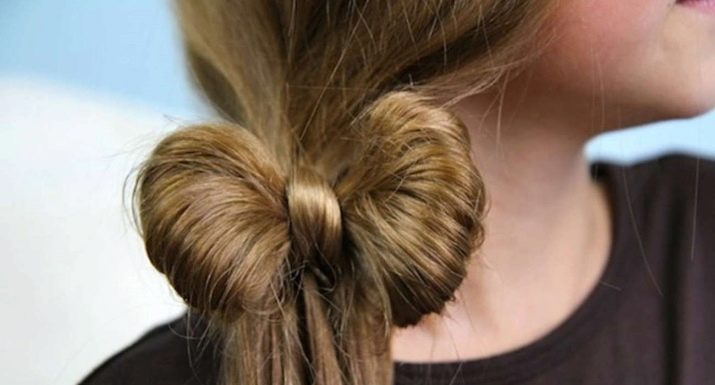
Fifth option (small bow)
- Separate two strands, one at each temple.
- Run the comb over them to make them look neat. Connect at the back of the head.
- Tie a small knot and then a bow.
- Grab it with the "invisible ones" so that the hairpins are not visible.
Holiday options
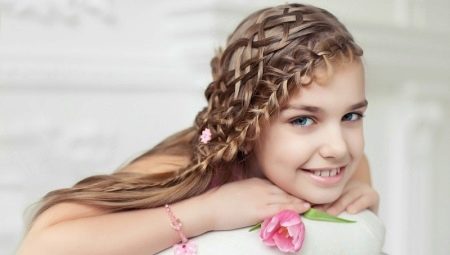
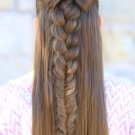
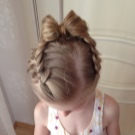
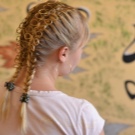
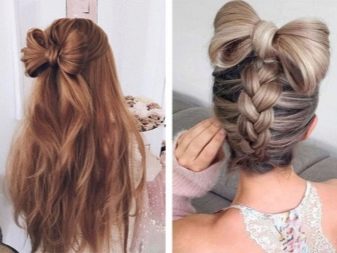
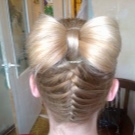
Bow with weaving
To make the bow on the head look even more extravagant, add a spikelet to it. But here it has its own peculiarities: it will not be braided from top to bottom, but from the neck to the crown. Let's talk about this hairstyle step by step:
- the girl needs to bend forward, and you need to carefully comb her hair and, standing in front, weave a French braid;
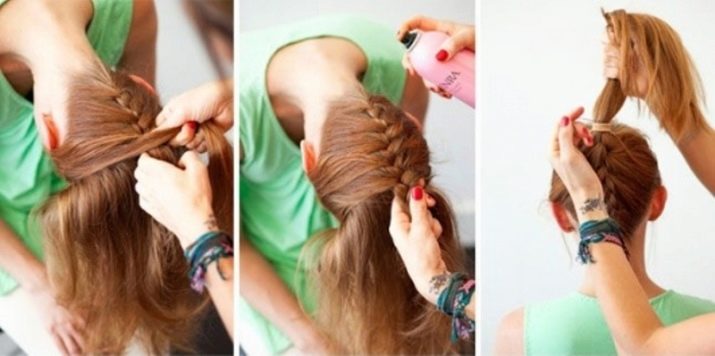
- stop just above the back of the head and make a strong tail so that the spikelet does not fall apart;
- now the child can sit up straight, and you can stand behind his back and start building a bow, as described in the first option.
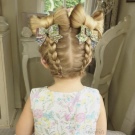
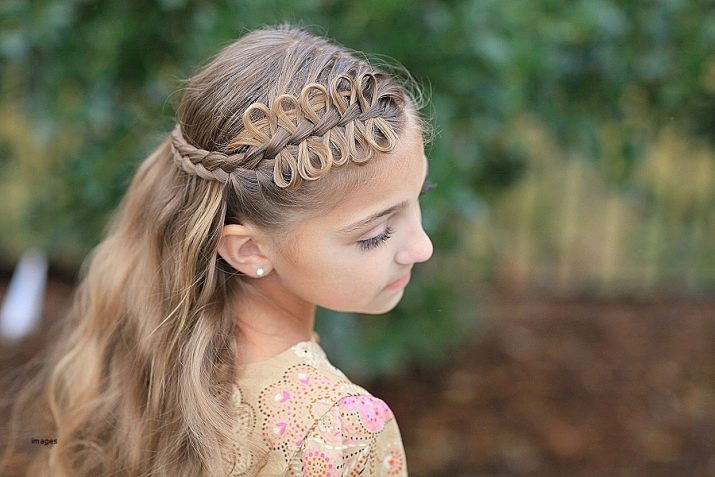
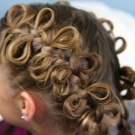
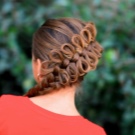
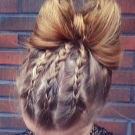
Braid of bows
This is a complex hairstyle, it will suit older girls with fairly thick hair. She presents herself as a modified French braid.
- Take strands along the hairline from the right temple to the left. Leave one strand. Use a barrette to secure the selected hair and move it to the side.
- Take the strand on the right below the pinned hair and start braiding the French braid diagonally from right to left downward, picking up the hair from one side or the other. Secure it at the bottom.
- Go back to the beginning of the resulting spikelet and insert the hairpin into the first knot. Now that bobbed hair will come in handy. Pull one strand out of them, moisten with water and fold into a small loop.
- Thread the loop through the hairpin and hold it in place. Then use a hairpin to tighten the rest of the strand into your spikelet. Lay the remaining ponytail along the braid; during the weaving process, it will hide in the hair. Proceed in the same way for the next knot of the braid. Stick a hairpin into the next knot of a spikelet, thread another strand, folded into a loop, into this hairpin. Hold it with your finger, and tighten the rest of the strand in order to create the other half of the bow.
- Walk in this way along the entire length of the braid, fix with varnish.
Advice
Before proceeding, read the recommendations given by hairdressers for this hairstyle.
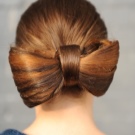
- To make the bow look more luxurious, the strand from which it will be made needs to be combed. The hair will be fluffy and you will get a more voluminous figure on the head.
- For a better bow shaping, lubricate your hands with hairdressing wax or mousse.
- Do not use this hairstyle on hair that is too thin or thin. You will not get a great result, and even without that, weak hair can be damaged once again.
- For a full face, a massive bow is not the best option, as it makes facial features even heavier.
- When the length of your hair does not allow you to wrap the bow in the middle, use a ribbon or a beautiful little hairpin. On the contrary, a tip that is too long can be "shortened" by braiding it into a pigtail.
A hairstyle is one of the elements of an image that, along with clothes, creates the first impression of a person. Having instilled this truth in a girl from childhood, you can instill in her a sense of taste.
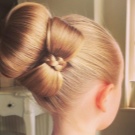
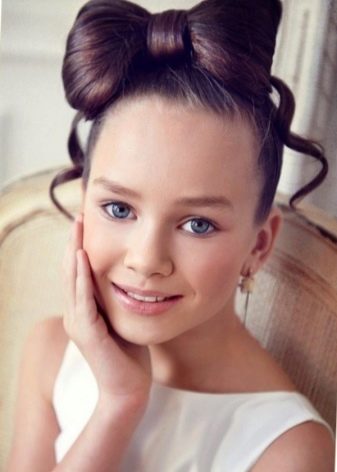
A hair bow is a trendy option that will add charm to any baby. Your daughter will definitely like it, attract the attention of other children and arouse the admiration of her friends.


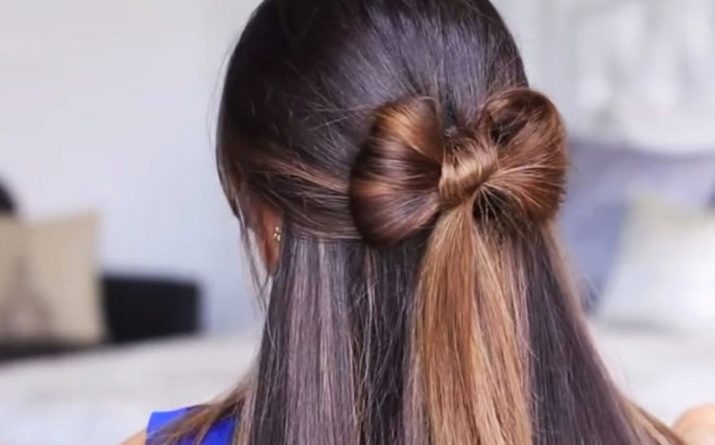
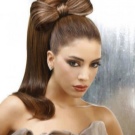
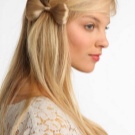
In the classic version, it will help to securely fix the hair so that it does not get into the eyes and does not interfere with the child during the day. Leaving loose curls, and slightly curling them, you will get a "malvinka" that looks especially solemn and will perfectly complement an elegant dress and shoes on a festive day.
In this case, various shiny hairpins, varnishes with sequins and various other jewelry that girls love so much will be useful.
For information on how to make a bow out of hair, see the next video.


