What hairstyles can you make yourself to school in 5 minutes?
Wake up in the morning or greet your parents like "Get up, or you'll be late for school!" does not always cause joy and enthusiasm in children. It is especially difficult for girls in this sense, because in most schools it is not allowed to attend classes with loose hair, and trivial braids and tails quickly lose the effect of novelty.
This article will show you how you can afford to look attractive, stylish and original by spending only 5 minutes before going out.
What should be a school hairstyle?
A hairstyle for a school must meet a number of criteria determined by the regulations of the educational institution on the one hand, and considerations of convenience on the other.
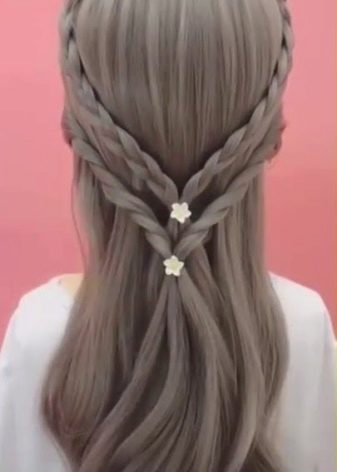
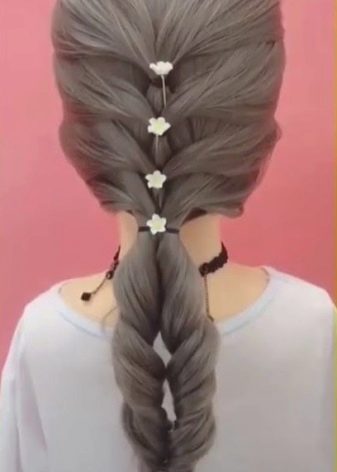
In addition, there are several nuances that will allow a light hairstyle, completed in five minutes, to hold out throughout the school day.
- First of all, the hair must be clean. Messy hair is unruly and unkempt, even with good styling.
- The hair should be combed thoroughly before styling. It is not always possible to do this quickly. In the morning, there is usually not enough time for this, so sometimes it makes sense to use special products (gels, sprays, etc.).
- To keep the hair in shape throughout the day, the styling can be fixed with varnish. And you can also use invisible hairpins - invisible to the prying eye, they will give the hairstyle neatness and strength.

Here are some simple rules to follow when choosing your hairstyle.
- The hairstyle should take into account the clauses of the school regulations governing the appearance.The rules may vary from school to school, but usually it concerns the ban on wearing loose and dyed hair in bright colors, as well as the requirements for accessories.
- So that the hair does not interfere in the classroom, the hairstyle should be practical: the bangs should not fall on the eyes, and the strands should not distract from reading and writing.
- Particular attention should be paid to physical education lessons. In this case, the styling must be especially strong. Requirements for hairstyle when playing sports are primarily due to the possibility of injury by catching hair on equipment.
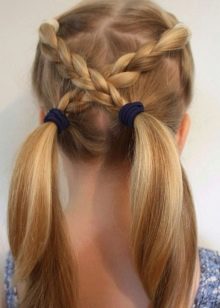
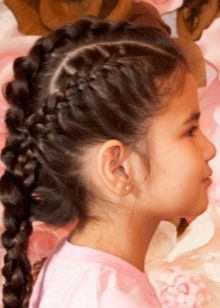
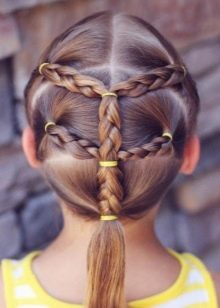
Popular options based on hair length
Below are step by step the options for simple and beautiful hairstyles that girls and girls can do for themselves to school in 5 minutes. Having mastered the basic types of styling, the young lady will have the opportunity, by combining them, to give free rein to imagination and provide herself with new hairstyles for every day until the end of school and even more.
Short
There are a lot of hairstyles for short hair.
For short haircuts, the statutory requirements are usually not so strictly applied, so their owners can afford to wear loose hair from time to time.
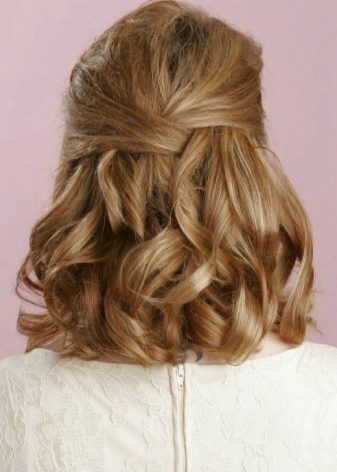
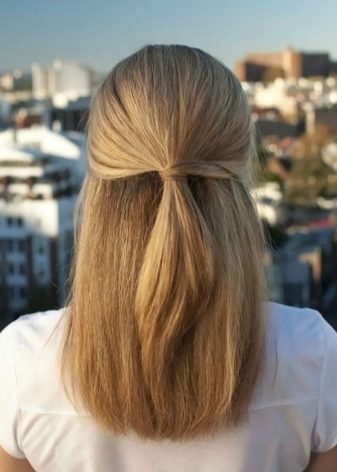
However, this does not mean that original and attractive styling options are not provided for short haircuts.
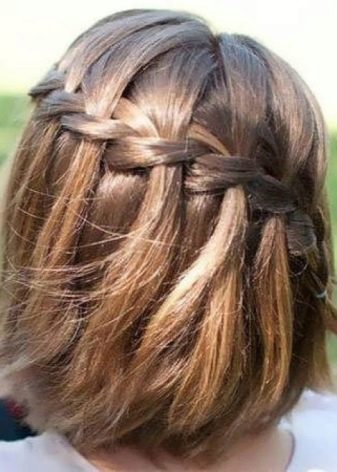
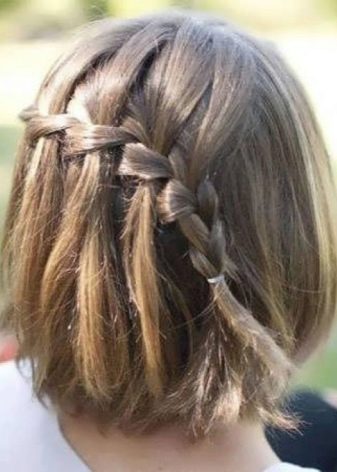
First of all, I would like to note the huge variety of possibilities to lay below average length with the use of gels and varnishes. In this case, the number of variations is limited only by your imagination.
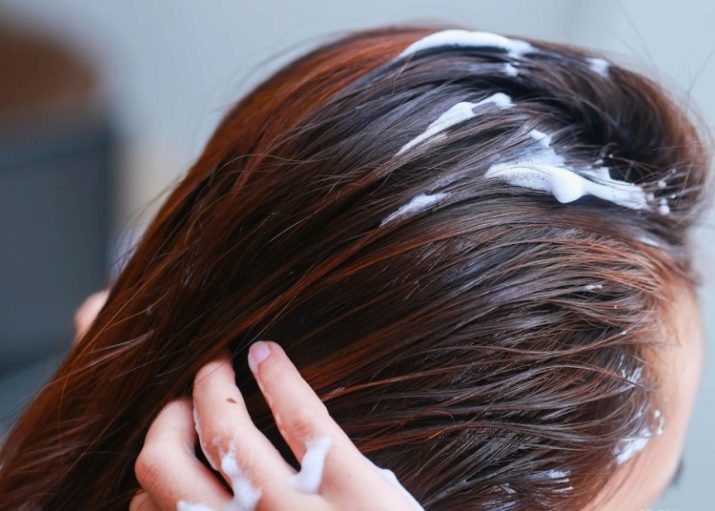
And also wide possibilities are provided by the use of all kinds of hairpins and elastic bands of all sorts when laying.
"Malvina"
An original solution for short hair is the "Malvina" hairstyle.
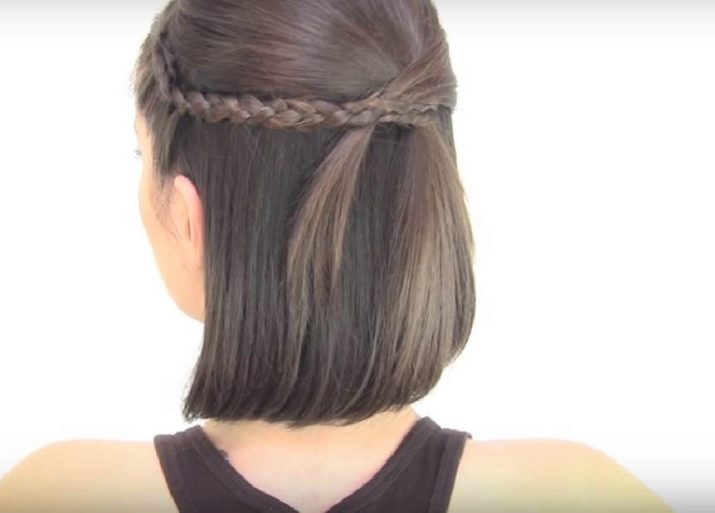
To guide it, select the two extreme strands on both sides of the head, connect at the back of the head into one over the rest of the hair and secure with an elastic band. The resulting strand can be left free or braided into one of the types of braids.
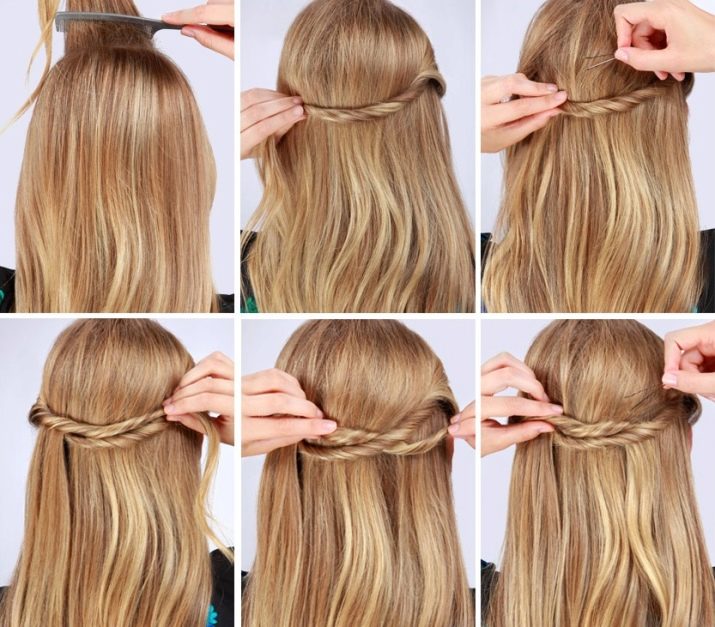
Medium and long
The hairstyles for medium to long hair are often similar but look different.
Ponytail
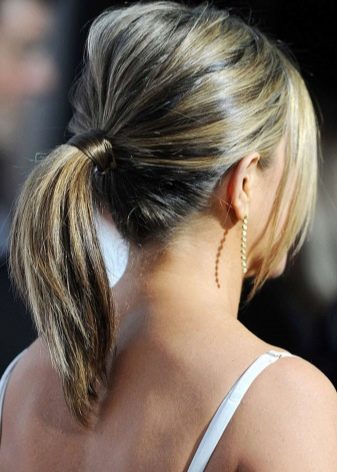
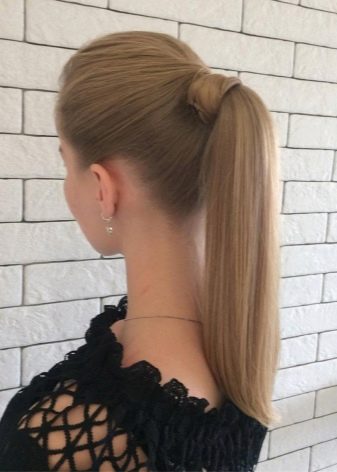
Tie your hair into a ponytail anywhere on your head (depending on the desired result) and secure with a thin elastic band. For more elegance, you can hide the elastic. There are several ways to do this, which are similar in principle. Separate a strand from the tail, wrap it around the elastic and secure with a hair clip.
Before making a turn, you can make a braid or plait from the previously separated strand.
Twisted tail
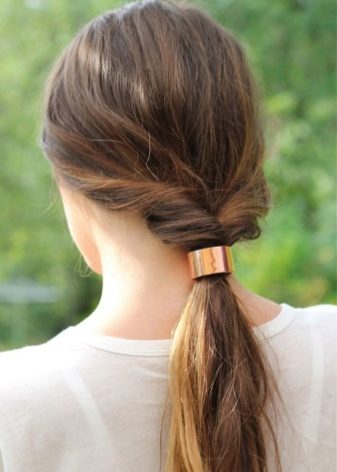
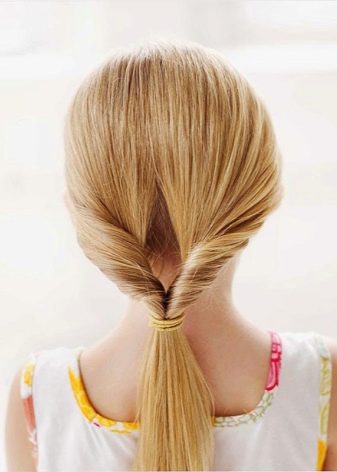
For this simple styling, it is enough to turn a simple ponytail inward.
Double tail
In terms of execution technique, it practically does not differ from a simple tail. The difference is that the hair is parted horizontally into two equal parts before being pulled into a ponytail. After the tails are secured, the upper part can be distributed in such a way that it, mysteriously falling, covers the base of the lower tail.
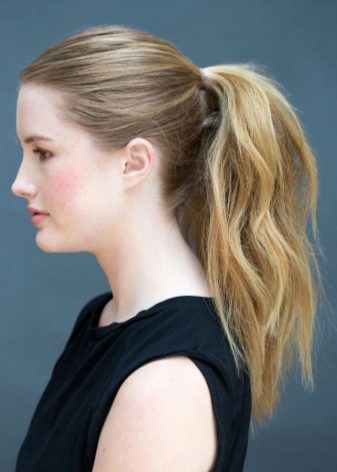
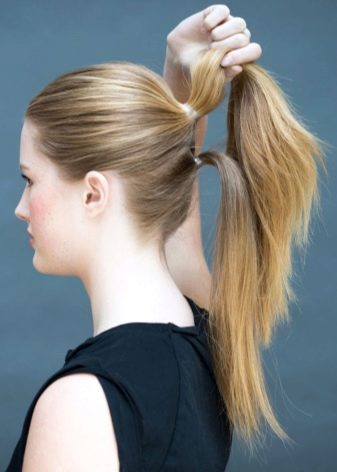
This variation in appearance will lengthen the hair and provide a slight touch of mystery.
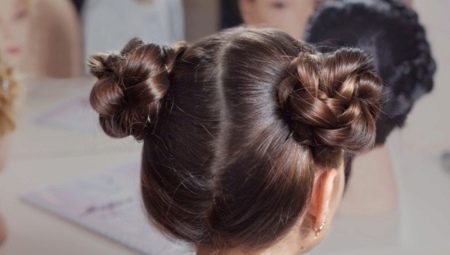
Ponytails on the temples
They are performed in the same way as a simple tail, only before fixing the hair is divided into two armfuls with a straight or side parting.
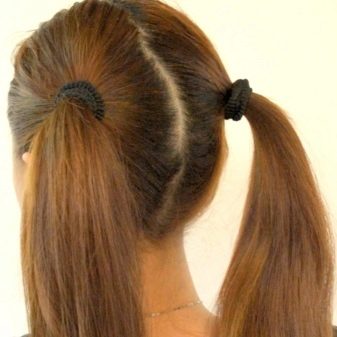

At the same time, you can place the bases of the ponytails both on the temples and closer to the crown.
In addition, when fastening with an elastic band through the last turn, you can leave a loop, not skipping the entire hair. The ponytails will then look like ears.
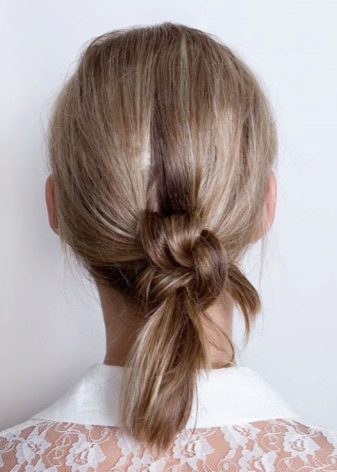
Knotted tail
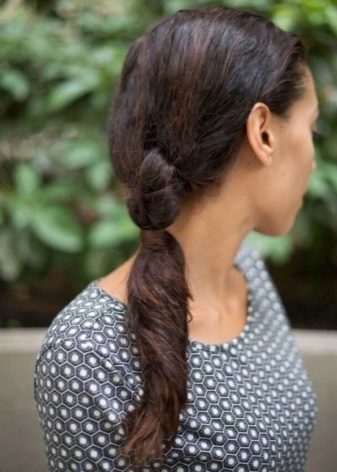
Gather the hair in the place where the tail is planned, and divide it in half. Tie the halves together in a knot, then below again and finally fix with a thin elastic band. On top of it, make a turn with a small strand, previously selected from the tail, and secure it with invisibility.
Ponytail with links
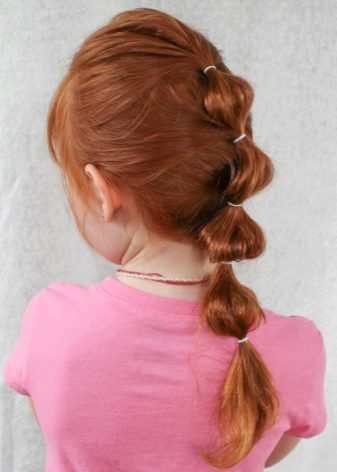
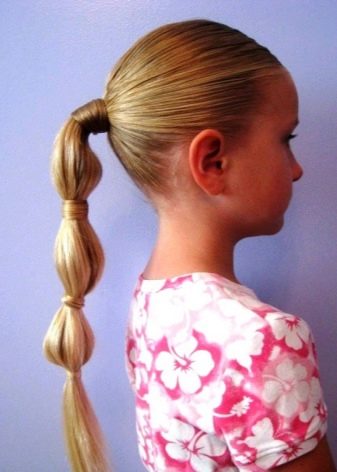
To create this simple hairstyle, you need a hairpin and lots of thin elastic bands (the amount depends on the length of the hair).
First, collect a high ponytail.Then wrap the elastic band with a strand from the tail and secure the resulting structure with an invisibility. Then it remains only to drag the tail with elastic bands at regular intervals. To add volume to the links, you can gently tighten the strands.
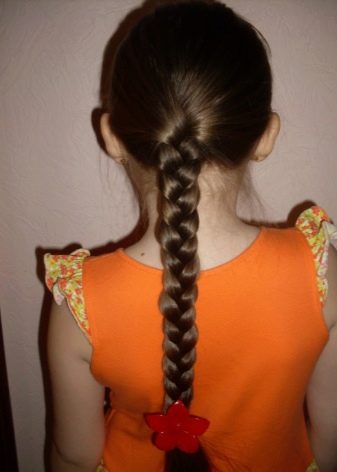
Simple braid
A simple braid in popularity among hairstyles is right after the tail. To do this hairstyle, you need to divide the curls into three equal strands. Fix the strand that will be in the middle, and then shift the right strand to the left side, so that it becomes the central one, and the central one, in turn, move to the place of the right one. Then carry out the same manipulations with the left strand.
Continue to follow the described scheme until you run out of hair.
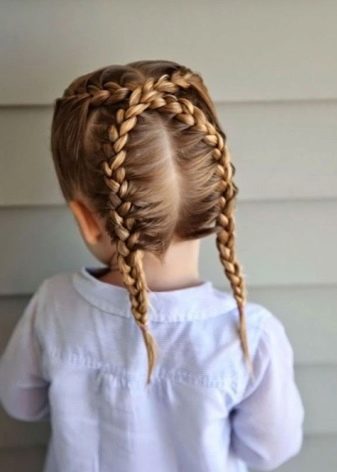
No less common is the version of this hairstyle with two braids.
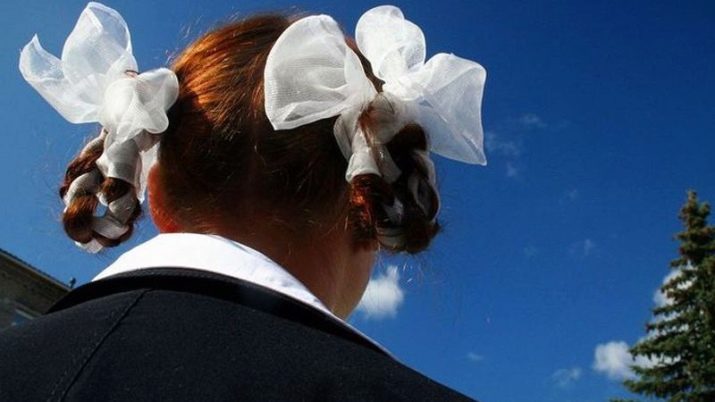
You can stand out among your classmates by simply folding the braided braid in half and fixing it at the base. So you get the Soviet "steering wheel braid".
Harness
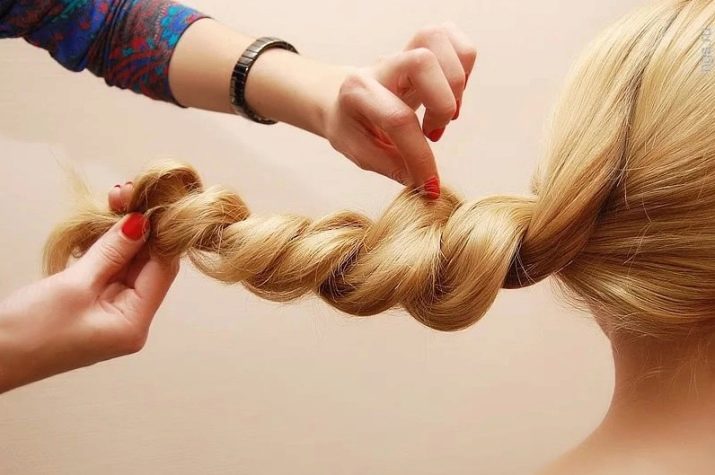
One of the most elegant types of braids is the tourniquet. At the same time, it can be braided quickly and easily.
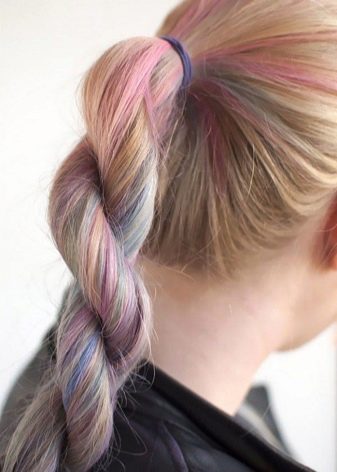
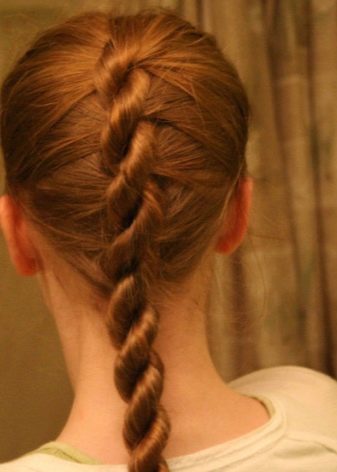
Divide your hair into two heaps and twist each of them in a spiral. Weave the resulting tails, twisting with each other, and secure the end with a thin elastic band.
"Fish tail"
For greater convenience, when weaving a fishtail, it will be appropriate to install two mirrors opposite each other. This will make your hairstyle more symmetrical and neat.
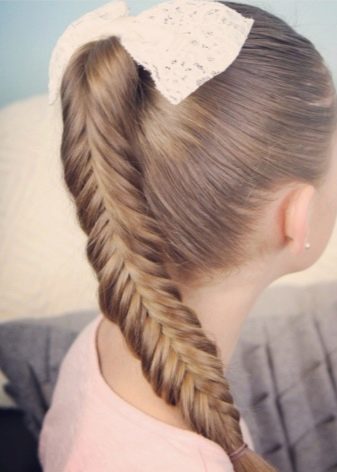
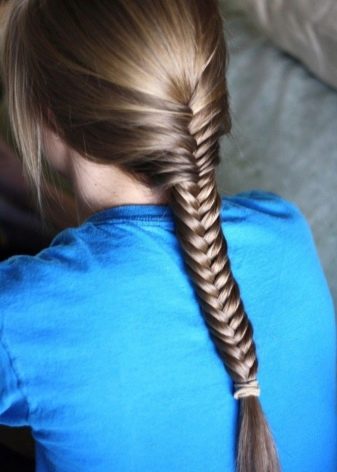
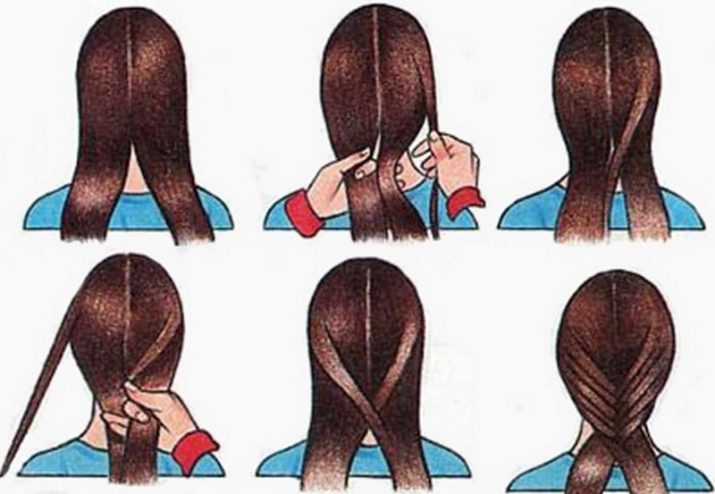
Part your hair in half and fix each section at the base. Separate two small strands on either side and cross them. Then separate another strand and cross with the top. Change your hand, separate the strand again and cross again with the one on top. Continue in this way to move down until the braid reaches the required length, and fix it.
French braid
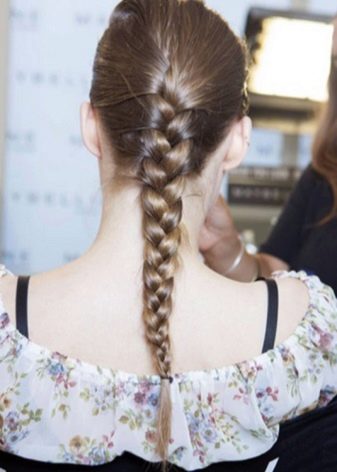
You can braid a la Francais braid straight or sideways. In the second case, the strand is taken not from the forehead, but over one of the temples.
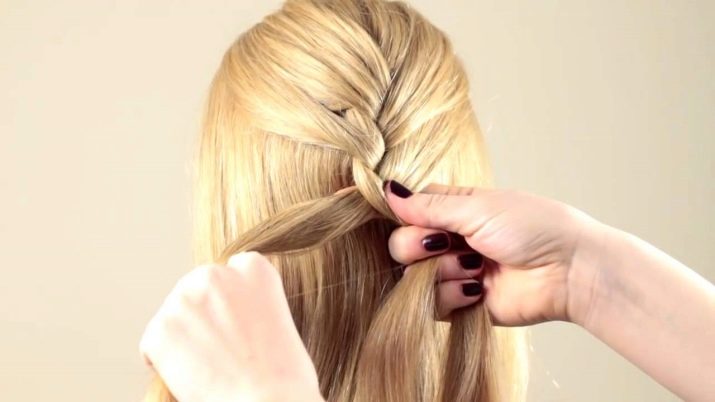
For a French braid, take a heavy section of hair from your forehead and divide it by three. Place the right one between the left and middle, and the left one on top of the one on the right.
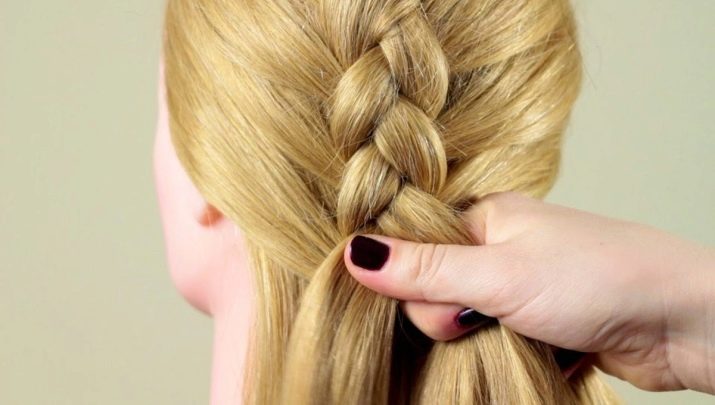
Alternate strands in this way, sequentially picking up loose hair.
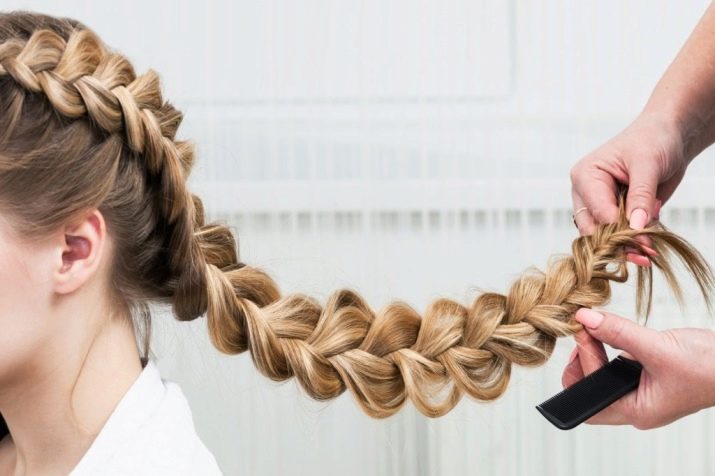
Alternatively, before the first step, you can divide your hair in half with a right part, and follow the instructions for each of the parts obtained. This will give you the original double French braid.
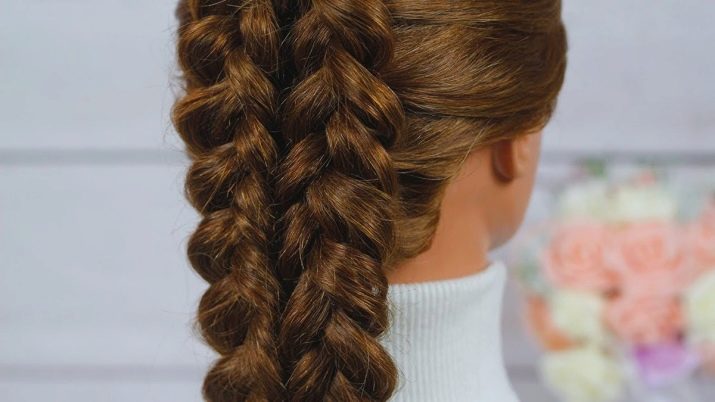
Braid with decoration
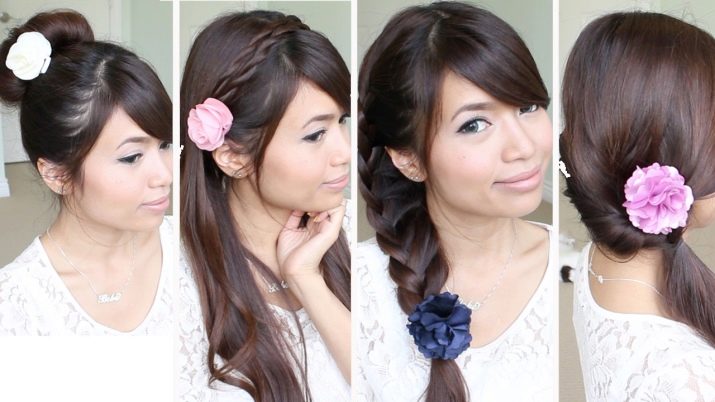
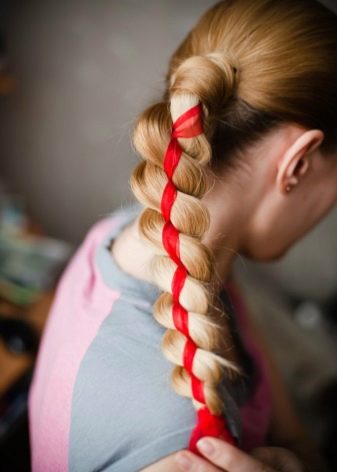
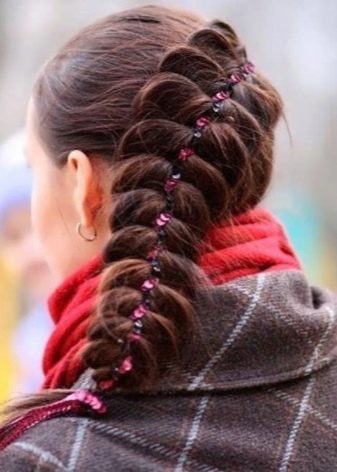
You can show your individuality in the face of formal restrictions by adding accessories to your hairstyle. For example, a ribbon or lace can be woven into any braid to give the hairstyle a touch of elegance or exoticism. At the same time, the colors of the jewelry should be chosen in accordance with the image, without disturbing the overall composition.
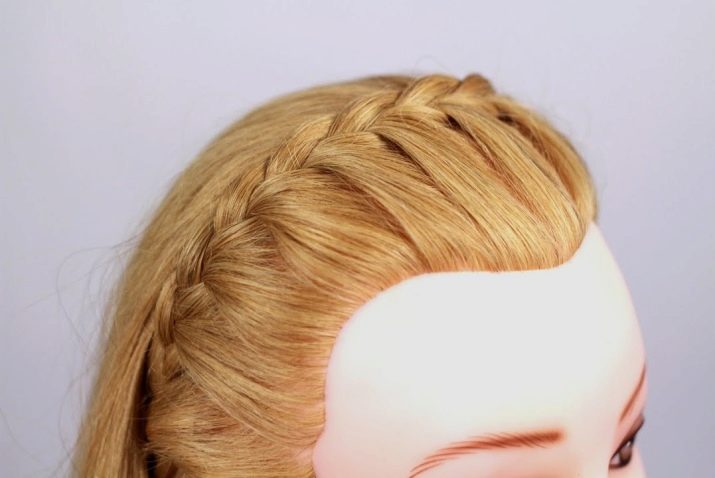
Pigtail headband
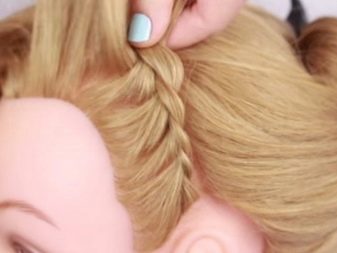
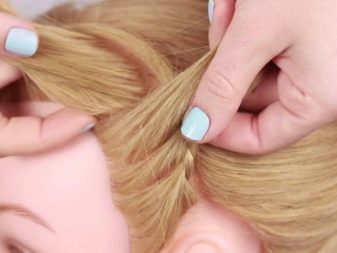
Divide your hair with a horizontal parting into two heaps. The part that is on the back of the head, for convenience, can still be tucked into the tail or collected in a bun.
On one side of the temple, begin to weave a simple three-strand braid. Then gradually work your way up the forehead to the ear on the other side, braiding the remaining hair in fine strands. When you reach your ear, braid the remaining hair in a simple braid and secure the end with invisible ends at the back of your head.
Now the part of the hair left earlier can be loosened.
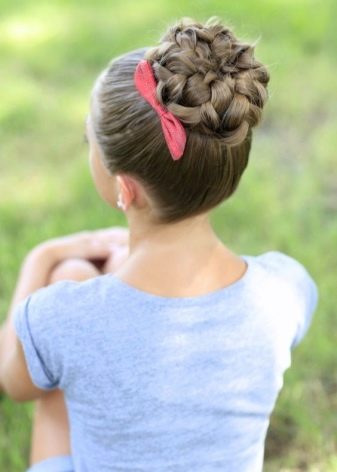
Classic beam
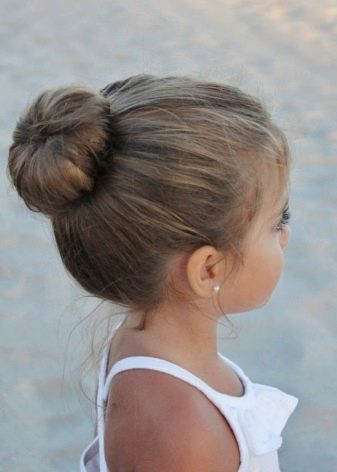
There are many varieties of simple bun-based hairstyles. The classic bun surpasses most popular hairstyles in ease of execution.
Due to the simplicity of execution and the reliability of styling, the hairstyle is ideal for physical education.
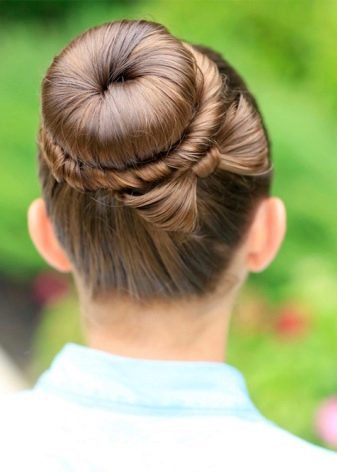
For execution, it is necessary to collect all the hair with a ponytail at the crown of the head, secure with a thin elastic band and, wrapping the resulting tourniquet around its own base, secure it with an invisible one.
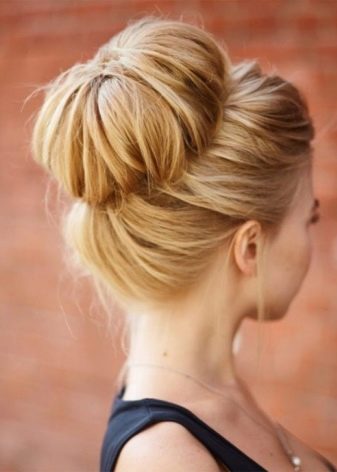
To make the hairstyle more aesthetically pleasing, you can separate a thin strand from the tail before twisting the tourniquet and braid it.Finally, after the bun is twisted, hide the elastic under the braided pigtail and attach the latter to the base of the bundle.
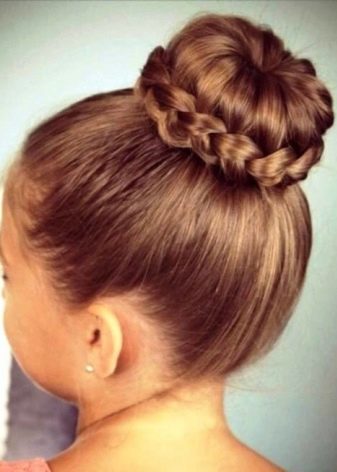
Braid bundle
A popular variation on the classic bun is the braid bun. In order to build such a bun, braid it into a braid before starting to wrap the tail around its own base.
Similarly, you can make two beams at the temples.
Disbanded
Loose hair is not acceptable in most schools, but not all. For the lucky ones who have not been affected by this ban, we can recommend the following options for spectacular styling.
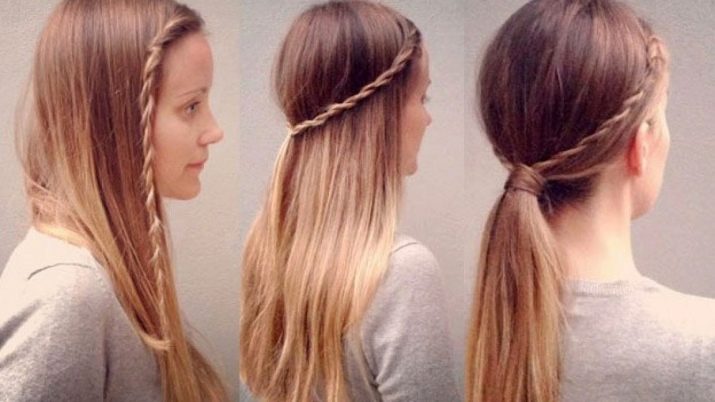
Loose strands
This hairstyle will look most neat and stylish on medium-length hair.
First, dissolve the carefully combed curls over the shoulders. Parting - straight or oblique - at your discretion. To avoid a situation where hair falls on your face, you can use invisibility, and unruly bangs can be pacified by sprinkling a little varnish.
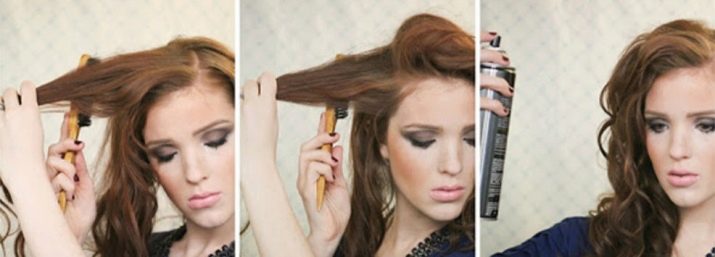
Using a curling iron, the ends of the strands can be curled if they are straight. If the curls are curly, they can be straightened with a special iron. It is worth noting that it is not recommended to get involved in such methods.
Such devices harm hair, and if safety measures are not followed, they can even serve as a source of burns.
Laying on the side
Apply mousse to loose hair (this will keep the styling lasting), and then style it on the right or left side.
Hairstyle with a rim
A laconic headband can serve as an excellent addition to loose hair. An accessory for the school should be chosen to match the school uniform, if possible without rhinestones and trimmings.
If the bangs are not long, you can slightly let the hair down in front of the headband - this will add elegance to the hairstyle. Especially this advice may come to the place of the owners of a low forehead.
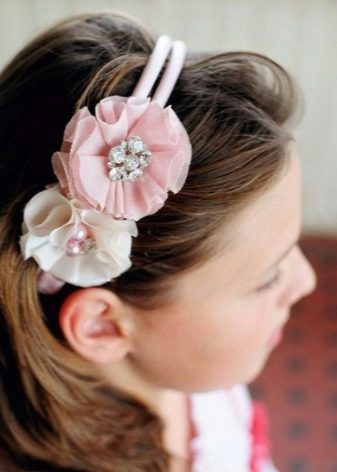
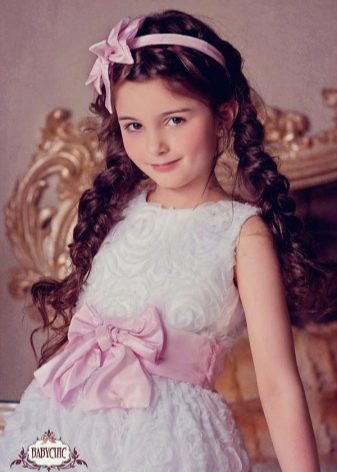
A wide ribbon can serve as a replacement for the headband for such a hairstyle.
Interesting examples
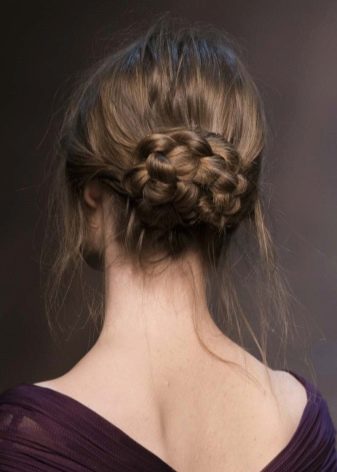
The classic Malvina can be easily varied. Bright hairpins are unacceptable in our case, therefore, for decoration, you can weave braids or give an unusual shape to the hair gathered at the back of the head.
To make a "Malvina" with an elegant bow, you need to pull the strands on the back of the head as follows: the first couple of times we pull the tail completely through the elastic, and the last couple of times we leave the end of the strand so that we get a loop. We divide the resulting loop into two, fasten it with invisible ones and get the bow wings. With the remaining end of the tail, we circle the middle of the bow and also fix it.
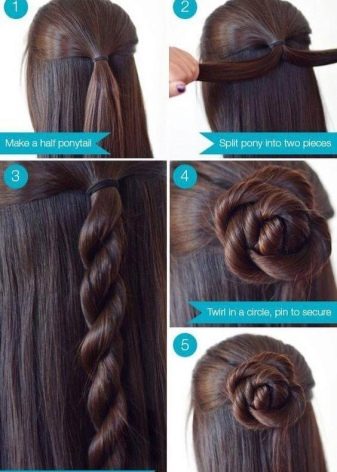
To get, instead of a bow, a flower, turn the Malvina strand so that we get a reverse tail. The tail is either braided into a spikelet, or divided into two parts and folded into a plait. The resulting braid is twisted in a spiral around the base and fixed with invisible ones.
Twisted ponytails
This styling can be considered one of the varieties of "Malvina".
Two small strands of hair from the temples are collected in a ponytail and twisted through an elastic band. Then again, two strands from the temples are collected in a ponytail and also twisted through an elastic band. Now they are also fixed to the strand that was turned earlier. Thus, the described actions are repeated until the hair runs out.
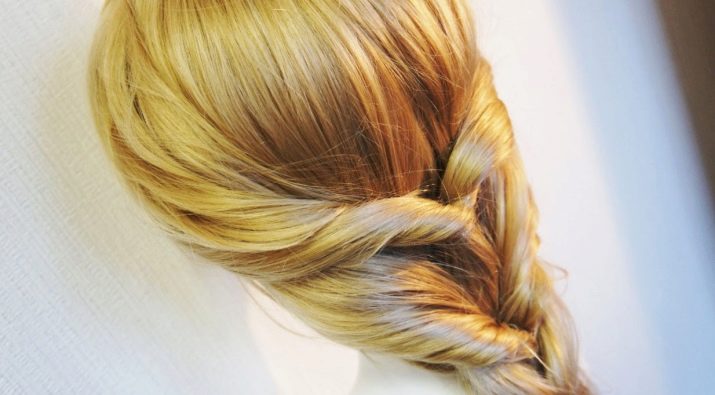
"Waterfall"
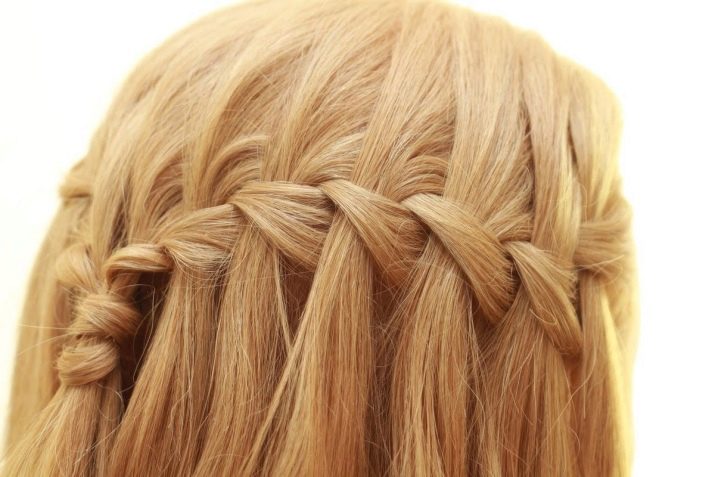
The original styling in the French style will liken curls to graceful water currents. The technique for performing this hairstyle is more complicated than most of the ones given in this article. But with practice, you can braid it without spending more than 5 minutes on it.
Here is the order of execution. The hair is parted in a straight part and comes down behind the shoulders. Then three thin strands are separated from one temple. A simple braid is woven horizontally from them towards the other temple.
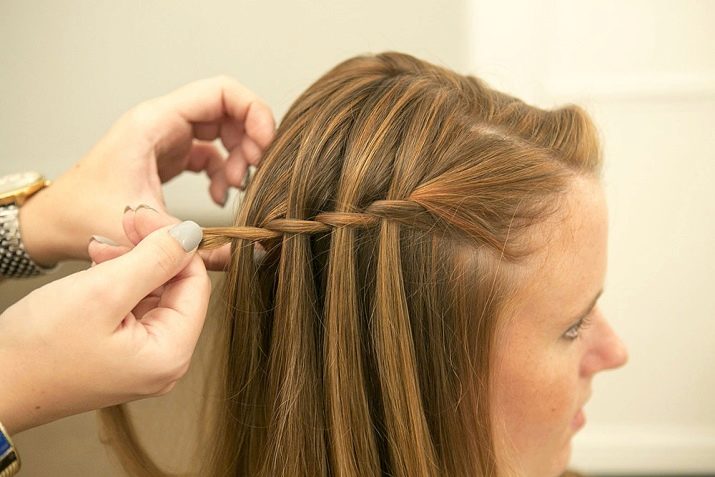
When the braid reaches the ear, you need to start forming the strands of the cascade. To do this, the lower strand of the braid is released, and its place is taken by a strand selected from the free hair on top. Thus, braid the braid to the temple, lowering the strands at regular intervals.
Twisted shell
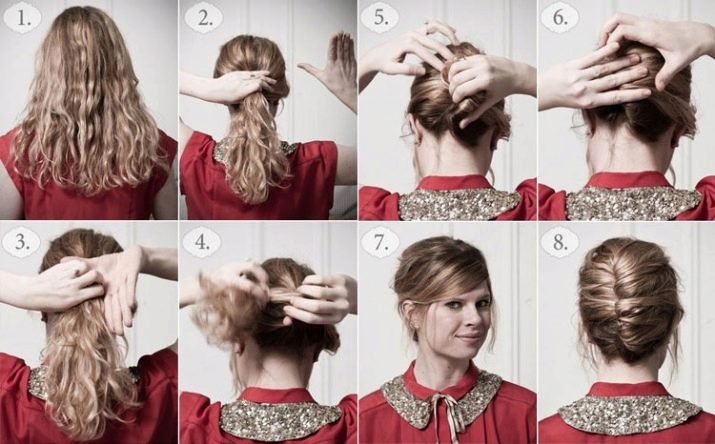
An extremely simple hairstyle that can, despite this, add expressiveness and intrigue to the image.
To create a shell, tie your hair into a ponytail, and secure the end with a thin elastic band. Then just wrap your hair up into the ponytail until the end reaches the back of your head. Secure the structure with pins.
Ponytail with a side braid
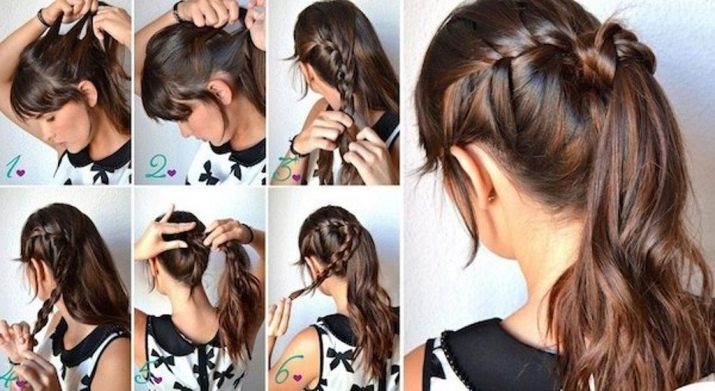
An original asymmetrical variation on the basic styling options, featuring a non-standard combination of elements.
Separate a small section from one side and braid with a simple braid. Gather the remaining hair in a ponytail with an offset towards the pigtails, secure with a thin elastic band and twist. Pass the pigtail through the hole in the tail, and then secure it under the common elastic.
In the video below, you will learn about what hairstyles you can make yourself to school in 5 minutes.


