Hairstyle "bump": features, selection and creation
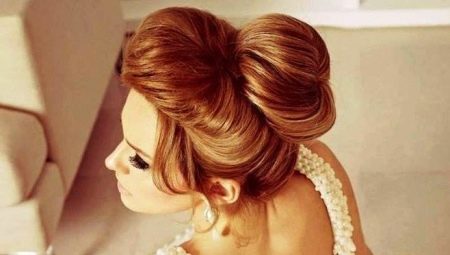
Putting your hair into a “bump” is a great idea for both weekdays and holidays. Plus it's practical. Creating a hairstyle does not take a lot of time, and a large number of styling options allows you to change the look according to your mood.
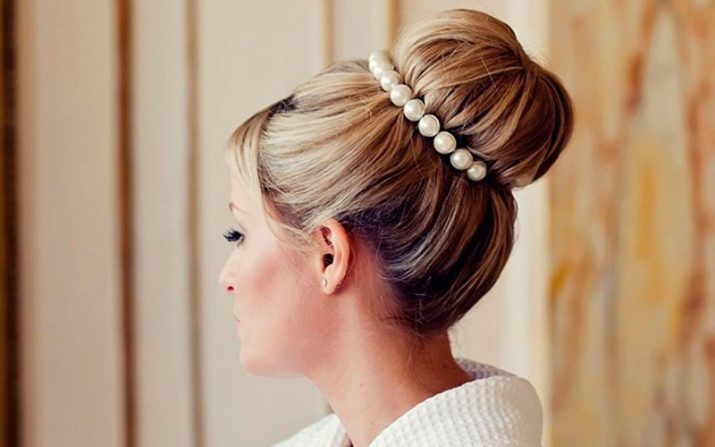
Peculiarities
The "bump" hairstyle has retained its popularity even for decades - since ancient times, women have collected long hair in this manner, removing it from their faces.
With the help of the "bump" you can create a variety of images. A modern hairstyle of this type will emphasize the neatness and severity of a business woman, the strength and energy of a girl who is dancing or running, the elegance and mystery of the one who went on a date.
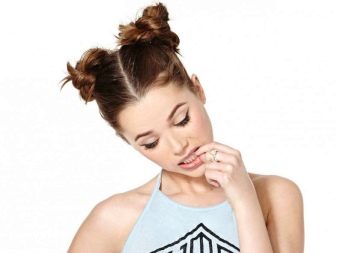
Two "bumps" are good on the head of a little girl, allowing her to move and study without hindrance, sitting over drawings and notebooks, and at the same time, giving her a mischievous and cheerful look.

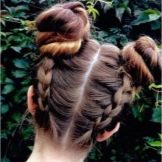
"Bump" is good on hair that is completely different in texture.
- Thick straight lines give a lot of room for different styling options in this way.
- If your hair is straight and thin, you can also make a "bump" out of it. Due to the tricks of the styling, it will be possible to create the impression that the hair is richer than it really is.
- A curly mane makes it possible to make such a style, and wonderful curls will give it a special romance and femininity.
How to choose?
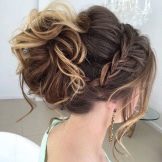
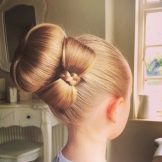
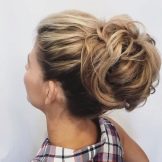
The beauty of this hairstyle is that it can be very different both in the location of the main element and in its configuration. You can roll up your hair into a tight "bump" or make it more voluminous due to the weakened location of the folded hair, and also through the use of various pads that increase the size of such a bundle.
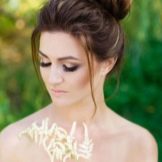
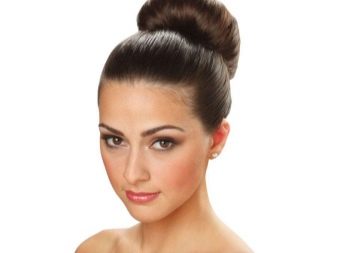
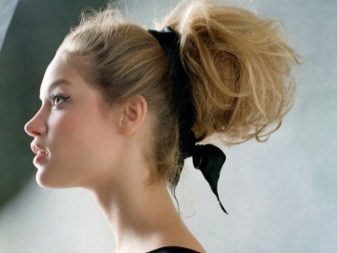
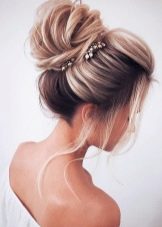
- The tall one should be chosen by girls with a beautiful neck.This hairstyle will accentuate this part of the body. In addition, this styling is a way out for those who have a flat nape.
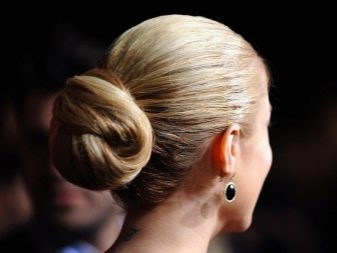
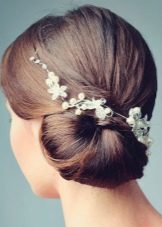
- A low "bump" distracts attention from the angular features of the face, giving the image elegance and languor.
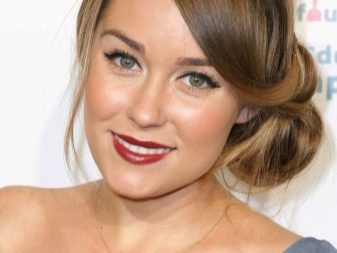
- The location of the "bump" on one side is for bold, ready-to-experiment natures.
- Two "bumps" on the sides are most suitable for young ladies, emphasizing their spontaneity.
Hair length
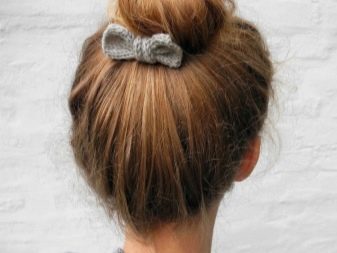
The length of the hair imposes its own characteristics on such a hairstyle. As practice shows, it is most convenient to work with strands of medium length. In addition, they allow you to make "bumps" different in appearance.
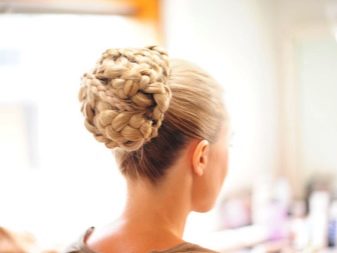
Long hair is more difficult to work with. It will take longer to install. But you can create the most textured options for "bumps", performing them, for example, on the basis of braids.
It is easier to place such a bundle on one side, if there is such an idea.
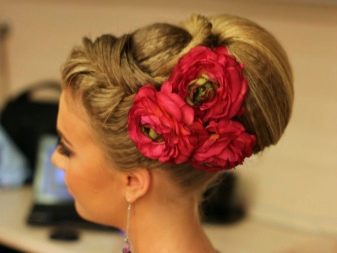
By face shape
The beauty of the bump is that it can be done with any face shape.
- Oval allows all kinds of hair styling methods in such a bun. You just need to take into account that ladies of the age with this type of face add extra years to themselves with a hairstyle with a "bump".
- In combination with a triangular face The bump looks best if the woman has bangs. The combination of bun and hair above the forehead softens the features and brings the shape of the face closer to the oval.
- Have a diamond-shaped face "Bump" focuses on the cheekbones, therefore, if a girl prefers such a hairstyle, it is better for her to make a thick, medium-length bangs.
- For rectangular - this hairstyle is good with the use of various accessories used as decoration, as well as with earrings in the ears.

On the occasion of
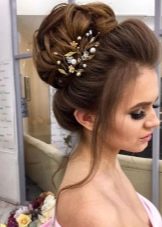
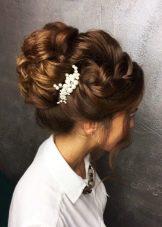
There are many ways to give the "bump" a special, elegant look. It is no coincidence that this styling as an evening one is one of the most common. Also, this styling method is popular when creating images of brides.
A trip to a restaurant, to a school graduation party, to a corporate party on the occasion of the New Year or March 8 - all this is an excuse to create a “bumpy” styling.
How to pack?
You can do this hairstyle using different means. To create a "bump" are used:
- elastic bands - from the thinnest to cloth and large in diameter;
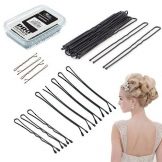
- hairpins and "invisible";
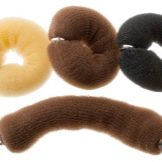
- "Bagels" made of foam rubber (they are also rollers) to create additional volume;
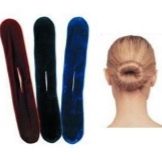
- special hairpins such as a sophist-twist or heagami, which simplify curling the hair into a "bump".
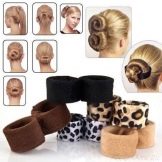
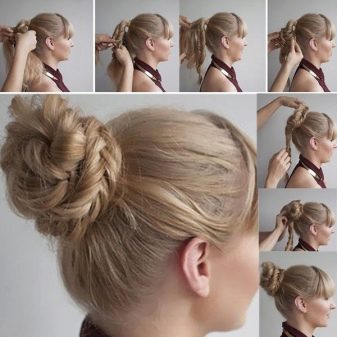
If the strands are long, you can lay them in the traditional way:
- comb well;
- collect in a tail at the desired height (behind, on top of the crown, below at the very neck);
- weave a braid from the tail and secure the end with an elastic band;
- pull strands out of the weaving for greater volume and texture;
- twist the braid around the retainer on the tail and secure with pins;
- remove the tip of the hair under the bun and press it "invisibly".
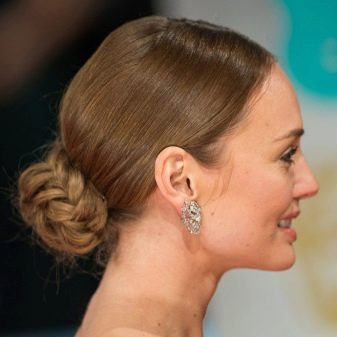
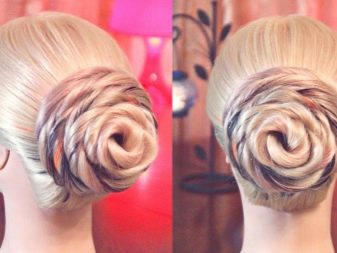
Long hair can be used to make an openwork "bump" on the basis of bundles. The step-by-step process of doing hairstyles looks like this:
- collect clean hair in a ponytail and secure with an elastic band that matches the color of the hair;
- close the base with a thin strand from the tail, securing it with "invisible";
- select a thicker strand and twist into a tourniquet;
- lay in a circle, secure at the base with a hairpin;
- do the same with the rest of the hair - the more flagella, the more magnificent the laid strands look;
- if desired, wrap the "bump" with tape;
- fix with varnish.
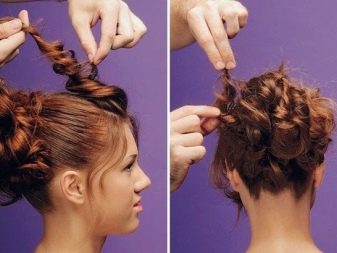
A variation of this styling is when many, many thin braids are braided from the tail instead of flagella and a "bump" is formed from them.
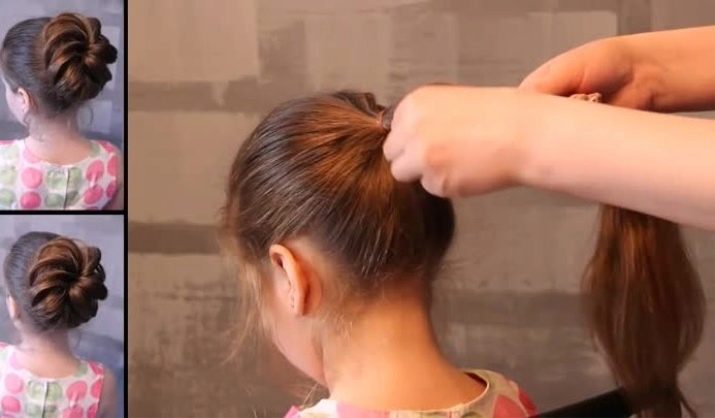
If there is no time, you can do much easier:
- make a tail;
- twist hair into one bundle;
- wrap twisted strands around the base of the elastic;
- secure with pins.
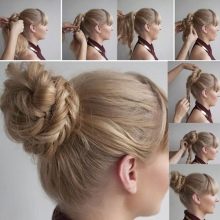
Another interesting option can be done like this:
- collect hair in a ponytail;
- select half of it and make a regular bundle;
- braid the second part of the tail into a braid and wrap it with a smooth "bump";
- securely fasten with pins.
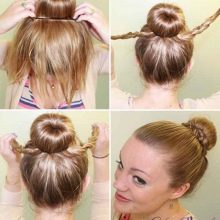
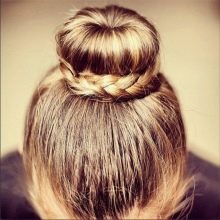
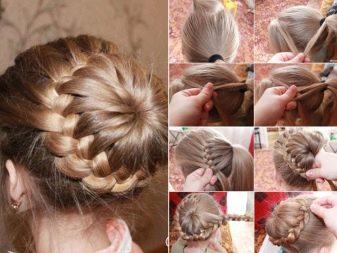
You can make your hairstyle more interesting if you braid some of it with a spikelet before styling your hair into a "bump". The procedure for creating styling is as follows:
- comb your hair;
- tilt your head so that your hair hangs down;
- select three strands at the neck and begin to weave a braid to the crown, weaving hair on both sides of the weaving;
- bring the braid to the place where the bundle should be located;
- fix with an elastic band along with the rest of the head of hair;
- form a "bump";
- secure with pins.
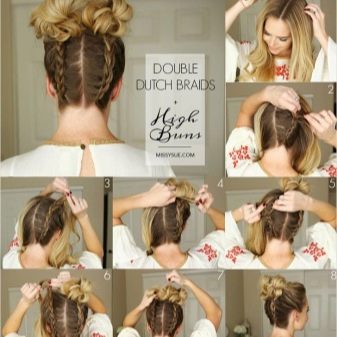
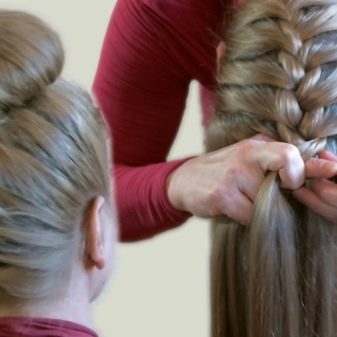
If the strands do not have enough volume to make a decent-sized bundle, you need to put on a "bagel" made of foam rubber at the base of the tail. On it, carefully lay out the strands and put on another elastic band that matches the color of the hair. The ends of the hair will remain to be wrapped around the "bump" on both sides, hidden under it and strengthened so that they do not break out.
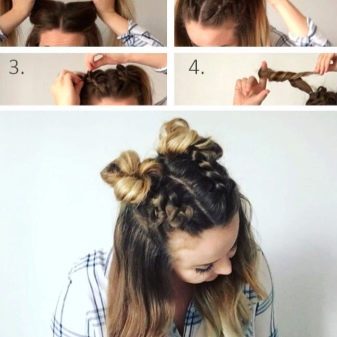
In a matter of minutes, you can make two "bumps" on the sides:
- divide the mane into two halves with a vertical parting;
- collect two tails, securing with elastic bands;
- if the hair is long, wrap the tails around the elastic bands and secure with hairpins, or make "bumps" from flagella or braids;
- if the hair is of medium length and at the same time not very thick, you can use socks with cut off fingers and wrapped in ring rollers;
- reinforce the linings at the base of the tails, mask with hair and secure.
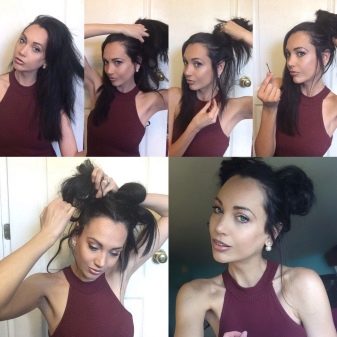
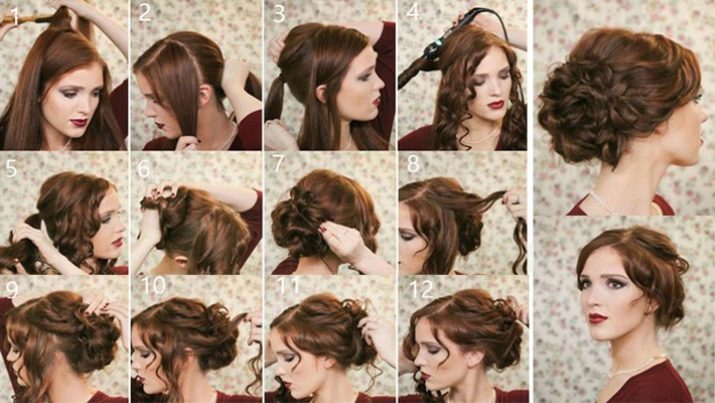
Festive hairstyles with "bumps" look luxurious. Rollers are often used to create them. One of the options for laying in stages can be done in this way:
- comb clean hair;
- select a not particularly voluminous strand on the crown and make a tail out of it;
- install the roller on the base;
- part the tail strands in two, directing one towards the forehead, and the other towards the back of the head;
- secure with "invisible";
- just above the roller, raise a new strand and comb;
- close the roller with a combed strand so as to hide it completely;
- smooth hair with a comb-fork;
- connect the combed strand with the rest of the hair and make a tail over the roller;
- curl the ends;
- lay the curls in a bun, securing with hairpins along the way;
- the hairstyle can be decorated with a beautiful headband;
- if there is a bang, lay it on one side.
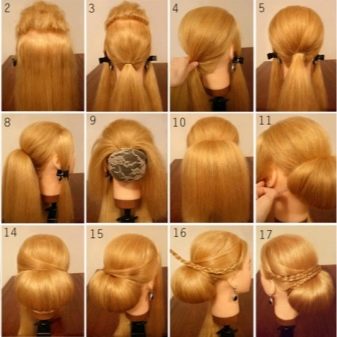
Having made a hairstyle with a voluminous "bump" on the side of long hair, a woman looks elegant. To create an elegant styling, you need a "donut":
- distribute all the hair into two sectors with a horizontal parting;
- temporarily fix the front hair with a clip;
- from the second part of the hair, make a tail at the neck slightly on the side;
- put a "donut" on the tied hair and press it to the head;
- carefully lay the strands from the tail along it;
- fix what happened with an elastic band;
- twist the ends into a tourniquet;
- twist around the "bumps" and stab with hairpins;
- release the upper hair from the clip, comb and wrap it slightly to form a weak tourniquet;
- wrap a "bump" with it;
- hide the tip of the hair inside and strengthen with a hairpin;
- spray with varnish.
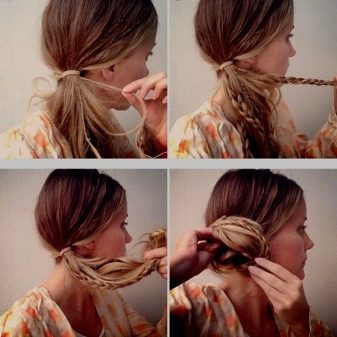
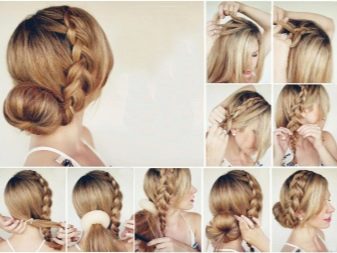
For medium and long hair, you can make a beautiful "bump" by complementing the hairstyle with an inverted oblique. This styling is good for everyday wear and for a holiday. The procedure for creating it is as follows:
- comb the hair and make a side parting;
- separate the strand at the forehead and divide it into three thinner ones, equal in volume;
- braid, including new strands along the way, and at the same time putting the side parts of the braid under the central one;
- fix the end of the braid with an elastic band;
- collect the rest of the hair in a ponytail on the side of the neck;
- install a donut roller on the base;
- close it with hair and put on an elastic band;
- put the ends of the hair in a circle;
- beautifully twist the "bump" obliquely;
- fix with pins.
Beautiful examples
And in the everyday version, and in the festive "bump" looks interesting.
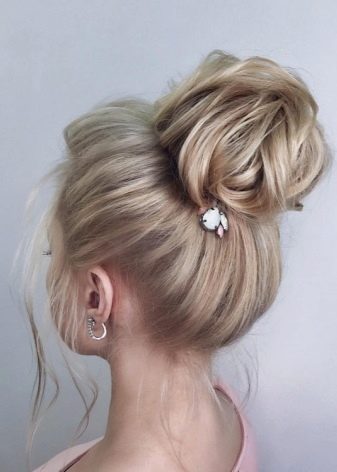
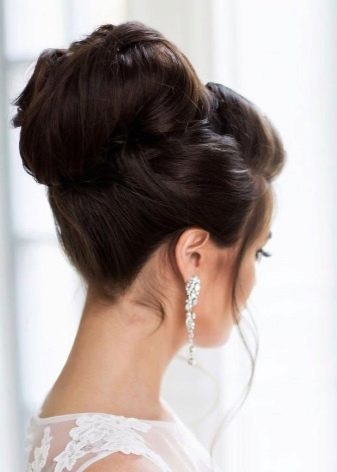
Styling options with pigtails and flowing curls included in the "bump" of the front hair, make the hairstyle more lively and dynamic.
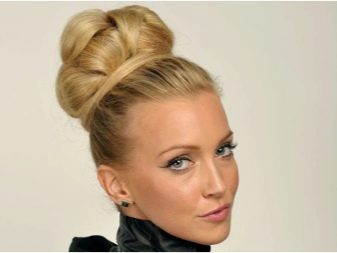
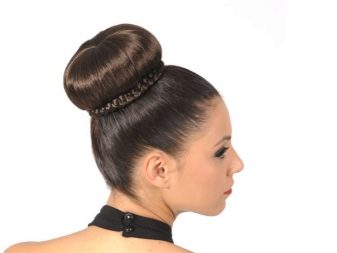
Low bun, decorated with braids - for subtle and mysterious natures.
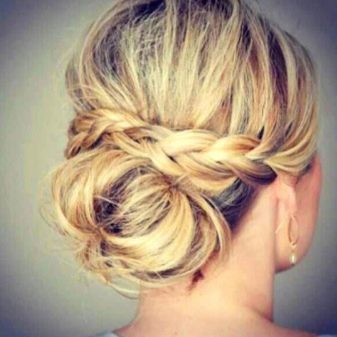
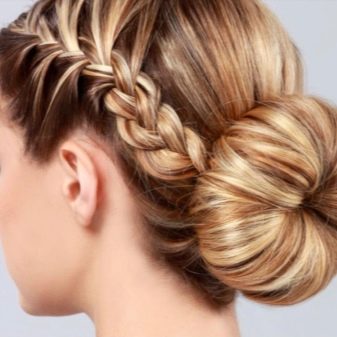
A tall "bump" with an openwork bandage will create an unforgettable, sophisticated image.
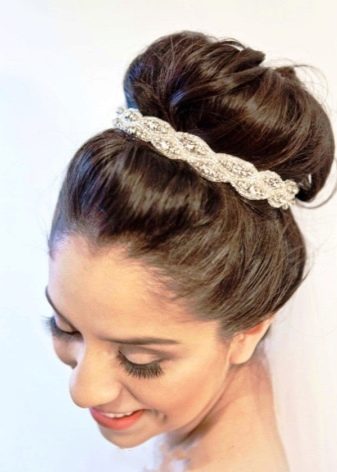
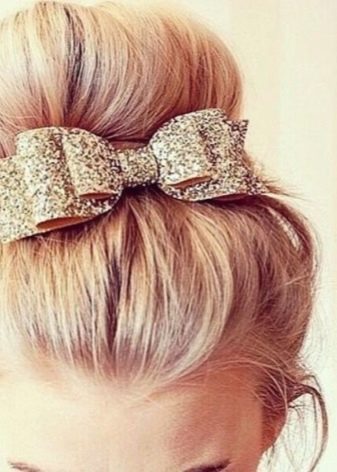
Festive "bumps", decorated with curls, are distinguished by special grace and beauty.
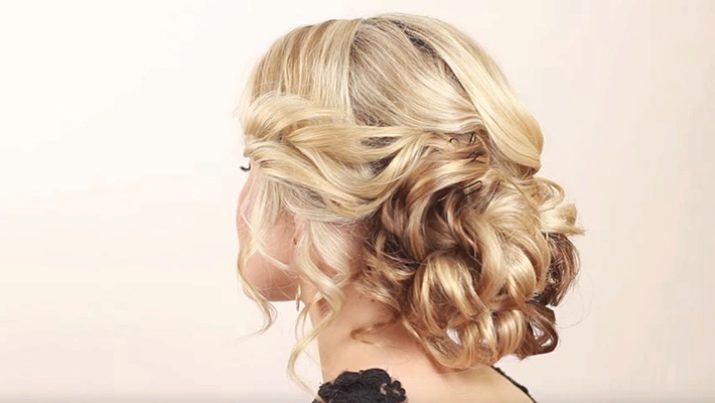
For information on how to make "Babette" or "Donut Cone", see the next video.


