How to fold a sheet with an elastic band?

Surely, with the purchase of a sheet with an elastic band, your life has become much easier - at last you can sleep comfortably and not worry that the bed will slip. A completely new problem arises - after washing, clean linen must be carefully folded to hide in the closet, but because of the elastic band pulling together the edges of the fabric, this is not at all easy. In this article, you will learn several methods for quickly and conveniently folding stretch bedding.

Overview of folding methods
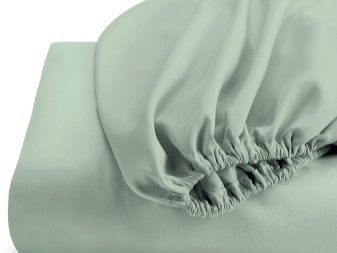
Bedding with an elastic band appeared a long time ago - people managed to appreciate its difference from ordinary bed linen. The stretch sheet is very easy to use - you just need to pull it over the mattress and the linen will immediately take the required position.
Children especially rejoice at this innovation, because when there is no need to look for a misplaced sheet, making the bed in the morning becomes much faster and easier.
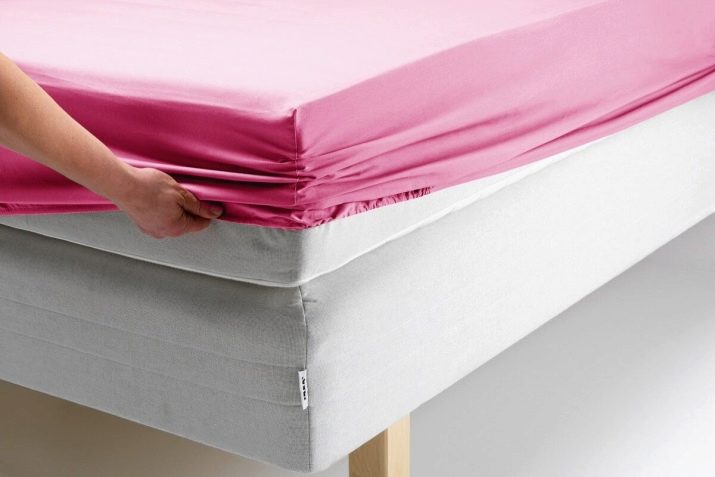
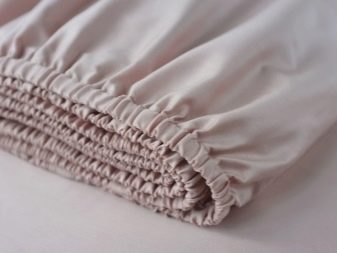
Difficulties with such linen come after washing, when all the bedding needs to fit on a dedicated shelf in the closet. The elastic band tightens the fabric; at first glance, it seems impossible to fold it neatly - you always get a voluminous, shapeless wad of folds.
Do not rush to get upset and refuse such a convenient thing due to lack of space in the closet - there are many ways to make the package compact enough.
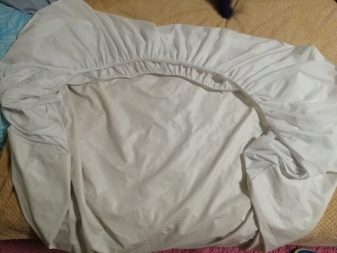
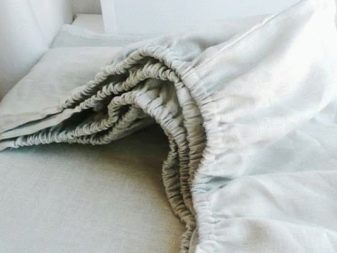
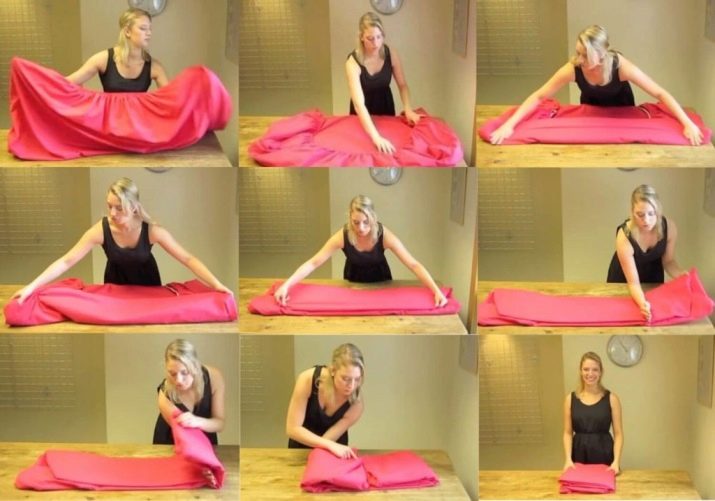
To fold the stretch sheet correctly, just follow the simple instructions step by step. Here are some simple methods for folding bedding.
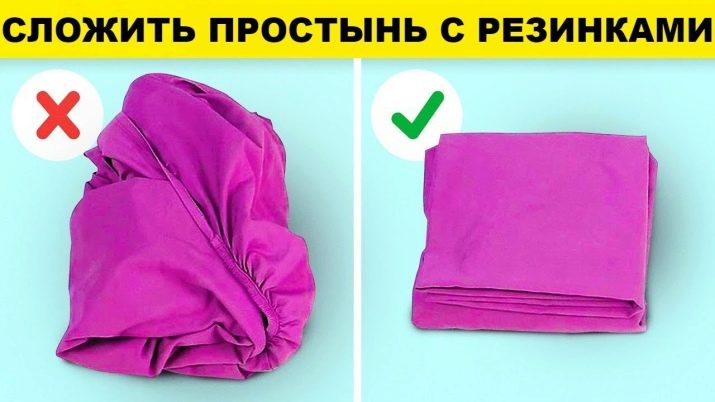
Compact, without creases
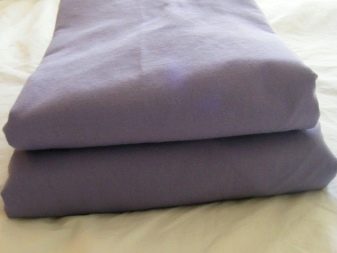
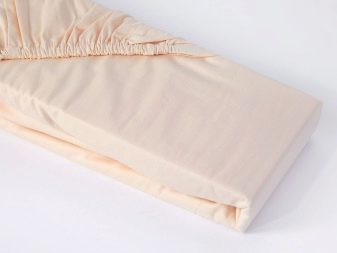
The result of this method is a neatly folded pillow made from an elasticated sheet. When folding, the elastic and the folds that it forms will be laid inside the package and take up very little space.
Also, if the folding procedure is performed correctly, there are no bruises on the main part of the fabric, so the product does not have to be ironed for later use.
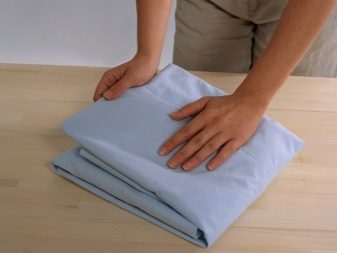
Follow the step-by-step instructions to fold the bedding compactly.
- To avoid contamination with a layer of dust during storage, fold the sheet inside out.
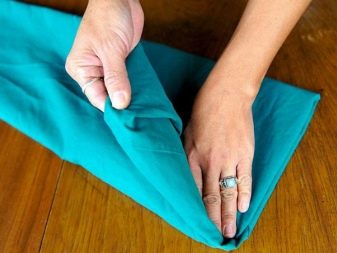
- The first step is to fold the two corners on the long side of the fabric. To do this, grasp not the edge of the fabric where the elastic is located, but the place where the machine stitch ends, which secures the corner.
- Fold the ends of the corners of the long side of the sheet face to face and line the edges with the elastic. Hold the ends of both corners with one hand as if you were putting a sheet over your hand. As a result, you will have two folded face-to-face corners - the inner one on the arm and the outer one at the top.
- Next, you need to fold the remaining two corners, first tackle the corner adjacent to the outer part - put it on your hand over the first two wrong side to the wrong side and also level the edge with an elastic band, putting the sheet on your hand.
- Put the last corner on top of the rest face to face and also level the edge.
- Next, align the folded parts and lay the fabric on a flat surface - the edges with the elastic should remain on top of the material in the form of the letter "L".
- Align the folded edge with elastic to form a rectangle with folded piping. Also distribute the folds evenly to avoid creases and bruises - the outer contour of the rectangle should be even, without gathers.
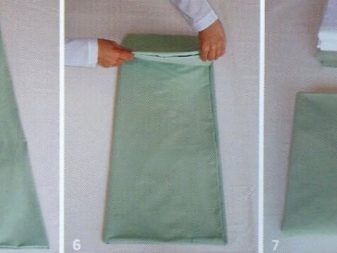
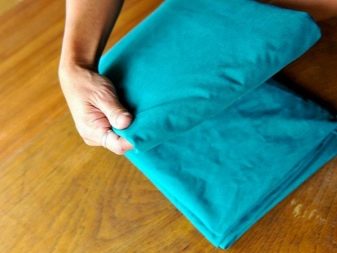
- Visually divide the rectangle into thirds lengthways and fold the side slices in the middle over the elastic.
- Fold the resulting roller across two or three times. You can admire the result.
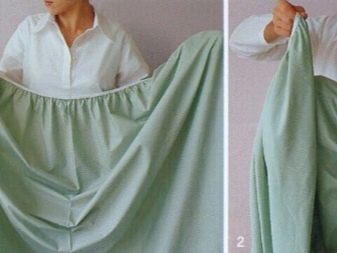
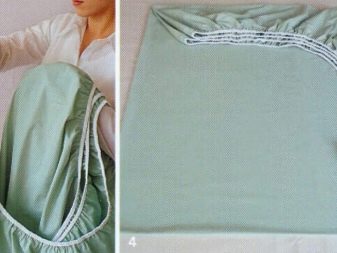
Fast and beautiful
This method looks interesting and spectacular, so parents can involve children and adolescents in the process. The result is also a neat, rectangular roll that looks no different from ordinary folded bedding.
To quickly and beautifully roll up the stretch sheet, follow the instructions in sequence.
- Lay the sheet face up on a flat surface.
- Turn the two adjacent corners on the short side inside out so that the ribbed edge rests on top of the fabric.
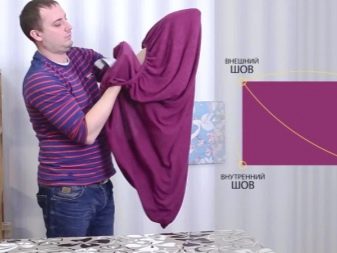
- Put the other two corners, turned out to be present, on your hands and insert the tips of these corners into the turned inside out edges.
- Without pulling out your hands, lift the bedding, touching the ends of the corners with your fingers.
- Bring your arms together, matching the seams at the edges of the garment.
- Connect all the corners together by turning the right side of the product over the left.
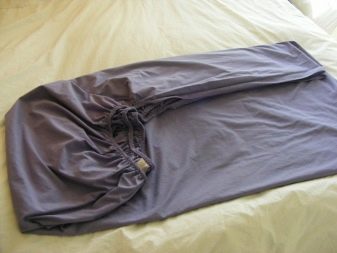
- Next, lay the sheet back on a flat surface and wrap the edges with the elastic so that you get a rectangle. The elastic should form the letter "L" over the fabric.
- Divide the resulting rectangle visually into three parts. You can also drag the edge of your hand over the fabric to leave small indentations - auxiliary marks for even separation.
- Fold the sides of the rectangle in towards the middle, overlapping the L.
- Repeat the same procedure, dividing into thirds and folding, but across the roller. When you wrap the second half, tuck it into the "pocket" of the first, then the bundle will not unfold if it accidentally falls off the shelf.
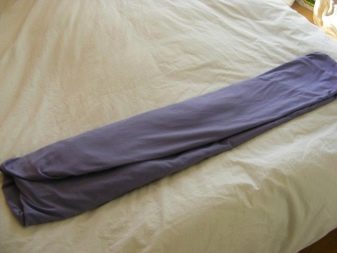
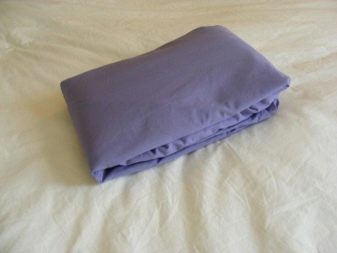
Roller
The rolling method of rolling the bedding will be very useful for those who store bedding in a special drawer.
Also, the method will be a real boon for travelers or when moving - dense rollers are very convenient to put in a suitcase.
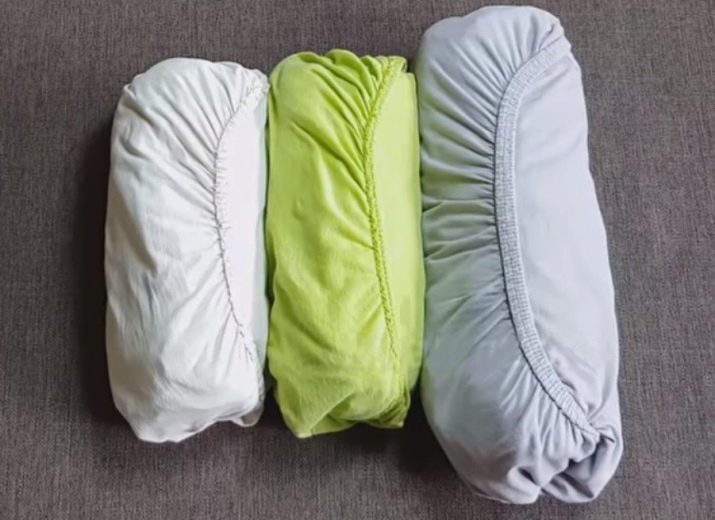
Let's take a closer look at the method of rolling the stretch sheet into a roller.
- Spread the bedding face up on a flat surface.
- Turn the corners inside out on one long side, and on the other.
- Pick up the corners that are turned out in front of you and insert them into the parts turned inside out.
- Along the width of the corner, slightly fold the edges with elastic to the center of the bedding, smoothing the edges from the folds and forming an elongated rectangle out of the fabric.
- Fold the sheet in half lengthwise again, overlapping the elastic so that the roller is not too long. You will end up with a long and narrow strip of several layers of fabric.
- Start rolling the strip into a roller, periodically smoothing out the wrinkles that form.
- Tie the finished roller with a tape or fasten it with an elastic band so that it does not unwind.
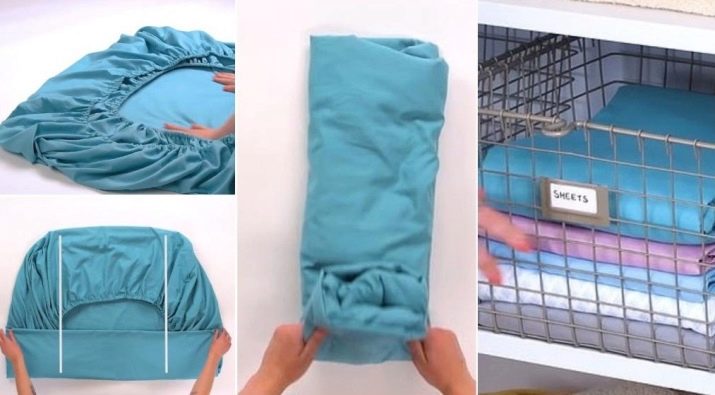
Other
Inventive people do not stop at coming up with new ways to neatly fold the stretch sheet, so there are quite a few different master classes on this topic on the Web. You can experiment by choosing a new life hack for each piece and then choosing the one that works best for you.
For a change, we suggest considering two more simple and quick schemes for folding a stretch sheet. The first method involves folding the product into a neat, tight envelope.
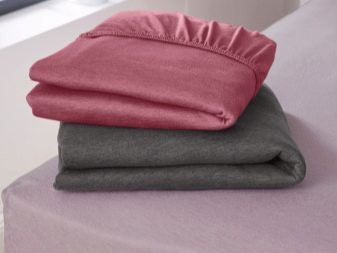

This method is perfect for parents who have small children, because even if the baby takes the packages out of the closet or accidentally dumps them on the floor, they will remain tightly twisted.
Let's consider in more detail the method of folding the "envelope".
- To start, lay the sheet flat on a flat surface and fold it in half face to face, aligning the long sides.
- Next, lift the sheet at the corners and gently shake it to smooth out any wrinkles.
- Lay the folded sheet flat on a flat surface so that the corners with the elastic are on top of the base fabric, but do not wrap the remaining edge with the elastic — as in the methods above, let it remain unfolded as well.
- Now fold the sides of the elongated rectangle towards the center so that you get a narrow band with an elastic band at the edge farthest from you.
- Wrap the elastic a little towards the middle, and then start folding the sheet at the other end two or three times.
- Having wrapped it for the last time, put an even edge inside the slightly curled edge - the elastic will press the fabric tightly, securing a kind of "envelope".
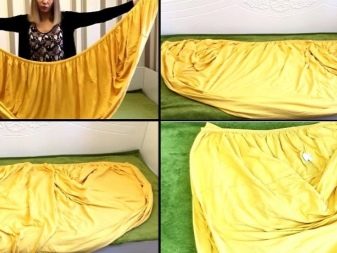
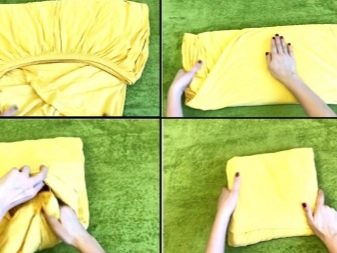
The second method starts in the same way as the first - you need to fold the sheet in half, combining the long sides, and nest the corners into each other. When you have completed these simple steps, follow the instructions.
- Lay out the folded sheet on the bed, visually divide it along the long side into three parts and wrap the sides towards the middle.
- Then wrap the side with the elastic from top to bottom twice - this way you hide the side with folds inside the fabric.
- Gently straighten the folds in the fabric by tugging on the sides of the bundle.
- Flip the rectangle over to the other side and visually divide it into thirds along the long side again.
- Wrap one side first and insert the other inward to create a neat bundle.
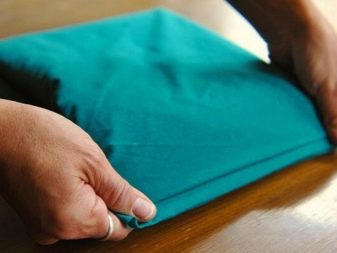
For more compactness, press down on the pillow from the sheet with your hands before placing it in the closet or dresser.
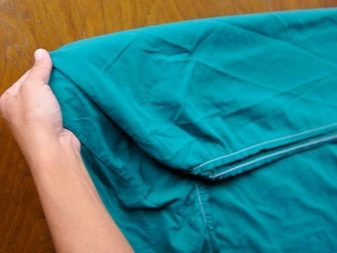
How to fold a round sheet?
Unlike classic rectangular bedding, round linens aren't all that common - they're mostly used for cribs or those rare occasions when an adult bed is round or oval.
The easiest way to roll a roller is from bed linen of this shape. Let's take a closer look at the method of folding a round sheet.
- Fold the garment in half face to face.
- Then spread the resulting fabric semicircle on a flat surface and smooth out the folds and sides.
- Next, fold the sheet in half across the elastic again and flatten.
- Fold parallel to the elastic to the middle so that you get a rectangle.
- Roll round garments on the narrow side, flattening the gathers periodically.
- Tie the finished roller with a string or ribbon so that it holds its shape.
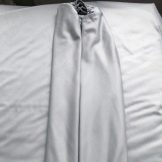
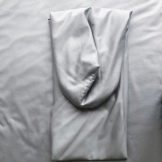
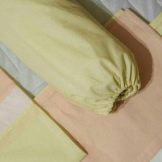
Instead of the last step, you can also fold the rectangle into an "envelope" instead of a movie, just divide it into three parts and fold as in the methods described above.
Helpful hints
Now, when folding a stretch sheet no longer seems like something incredibly difficult to you, we suggest that you familiarize yourself with other nuances of the correct use of such bedding. It is very important to store the product correctly so that it retains its positive properties and qualities.
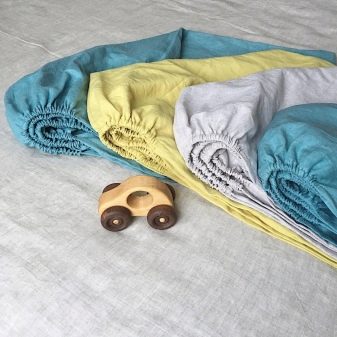
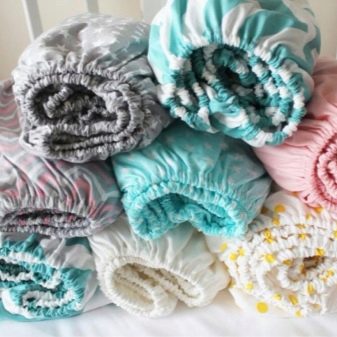
Let's take a closer look at the rules to extend the life of bed linen.
- Before purchasing such a product, decide on the type of fabric from which it should be made. A completely natural material wrinkles a lot, and it is very difficult to iron the places near the elastic, so this choice is not the best. Mixed fabrics do not wrinkle as much, so if you dry the garment properly, you won't need to iron it. A fully synthetic sheet also does not wrinkle, and is inexpensive, but will deteriorate faster than others.
- Ironing your bedding is not the easiest thing to do, but there is still a way to do it quickly. Fold the fabric in four and iron it over the non-elastic section, being careful not to iron too close to the folds or creases. After that, straighten the product and additionally strip the remaining creases and bruises on the folds. For perfect results, you can iron the sheet by pulling it over the mattress.
- It is not recommended to iron terry and fleece products - high temperatures disrupt the structure of soft pile fabrics.
- Allocate a separate shelf in the closet or a drawer in the dresser for bedding, to be stored separately from everyday clothing.
- Summer sheets in cotton and warm models in bikes and flannel need to be put on different shelves.
- Sort products by color so that light-colored monochromatic fabrics do not come into contact with brightly patterned accessories to eliminate the risk of staining.
- Do not put laundry in plastic bags, trying in this way to separate the products or to protect light-colored fabrics from dust. In such conditions, the fabric will begin to deteriorate much faster and rather quickly acquire a musty odor that is not easy to remove. The only exception is special vacuum bags, from which air is completely removed.
- Change your bedding every ten days, after all, if the elastic is in a stretched state for too long, it may lose its properties.
- Do not dry the sheets after washing. - take them off immediately after they are dry, otherwise the sun's rays can ruin the gum.
- Do not hang your washed laundry in the cold - if moisture freezes in a wet gum, it can also lose its qualities rather quickly.
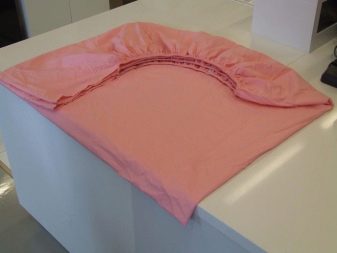
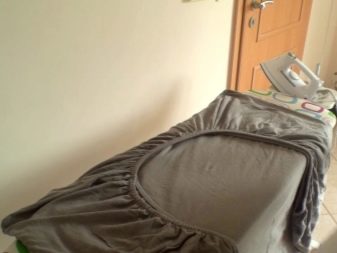
Responsibly following all the points of proper care, you retain the original appearance and increase the life of the stretch sheet.
A visual overview of how to fold a sheet with an elastic band is presented in the following video.


