Wood carving for beginners
Each person has certain talents, some are acquired, others are given by nature. In their striving for beauty, people are constantly trying to make not only something new, unusual, functional, but also beautiful, aesthetic and beautiful. Woodworking is one of the oldest crafts that remains popular and relevant today. Those who wish to learn woodcarving must master a lot of wisdom, understand the technique and gain experience, but this requires certain knowledge.

Views
Wood carving originated in Russia, when, in addition to creating wooden pieces of furniture and utensils, craftsmen tried their hand at arts and crafts.
In view of the variety of variations in the execution of wood processing, it is worth highlighting the varieties of this skill. These include:
- through thread;
- deaf;
- brownie;
- sculptural;
- chainsaw thread.
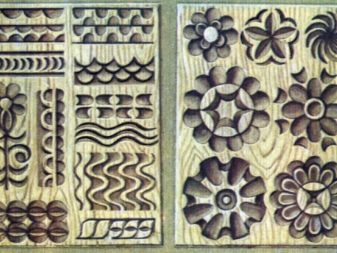
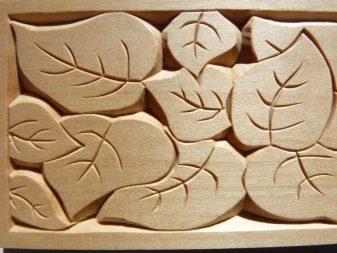
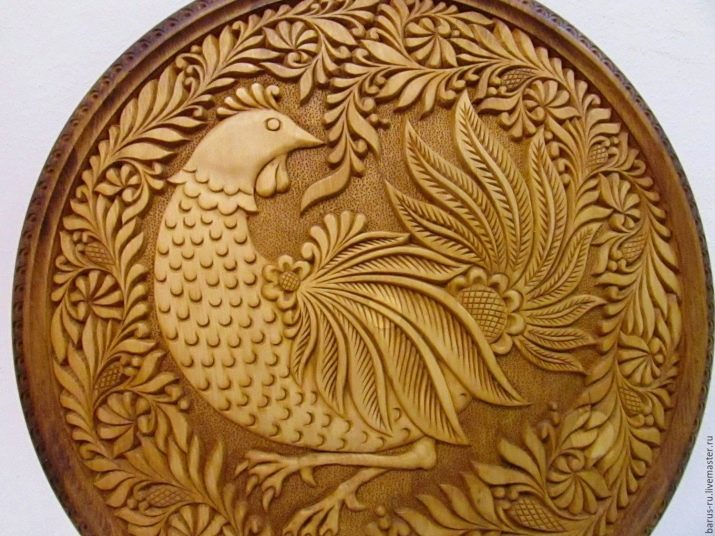
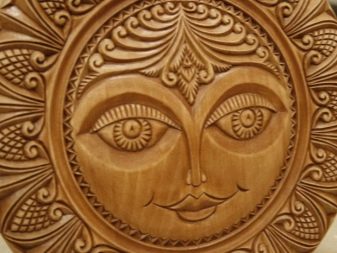
In addition to this classification, there is also a division of woodwork into relief and volumetric sculptural carving. The simplest is the technique of creating a relief, which is divided into the following carving options:
- geometric;
- flat-relief;
- openwork;
- deaf with the chosen background;
- slotted contour;
- waybill.
Each technique has its own characteristics, therefore it is necessary to study each type in order to fully master the skill of working with wood.
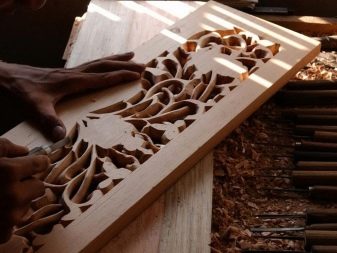
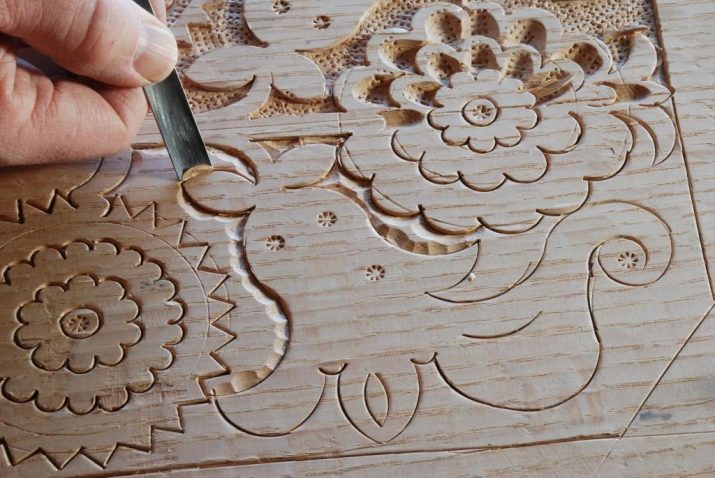
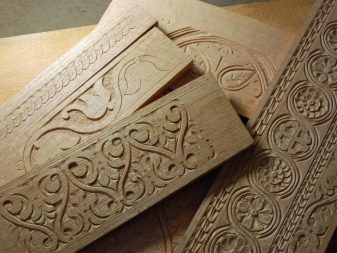
Contour
Contour threading is considered to be one of the simplest techniques since the patterns are applied on a flat prepared surface, slightly going deep inside the material, which allows you to form the outline of the future pattern.
This type of work refers to geometric carving and is subdivided, in addition to contouring, into triangular-notched and staple techniques.
To start work, you need to come up with or choose the pattern you like and apply it to the tree, which should be as smooth as possible.
Do not use sandpaper or other abrasive products on workpieces, as small particles will interfere with a neat thread and cause the cutting tool to become dull.
The optimal cutting depth is considered to be 1.5-2 mm and the tilt angle of the tool is 40 °. Having made one line, you can start the next, but tilt the cutting tool in the opposite direction to make a geometric depression. If the movements were done correctly, the edges of the lines will be smooth and the surface will be shiny.
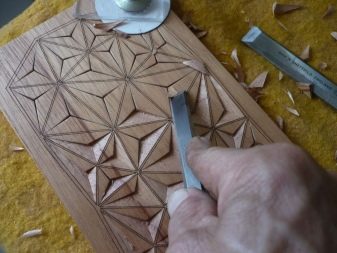
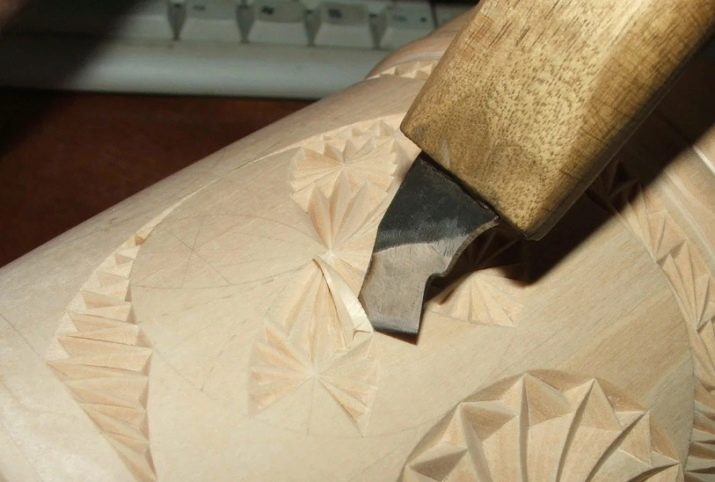
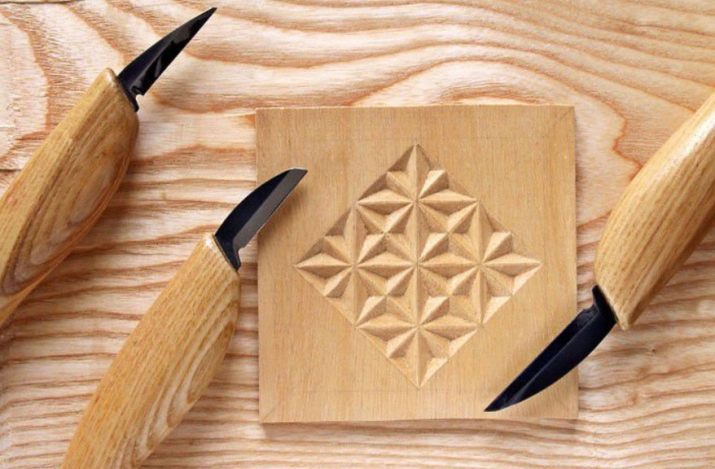
Geometric
A more complex technique of carving after contour is considered a geometric one, it differs in that the pattern is created not with the help of lines, but thanks to the creation of geometric shapes. Most often, novice carvers use wedge-shaped notches in wood.
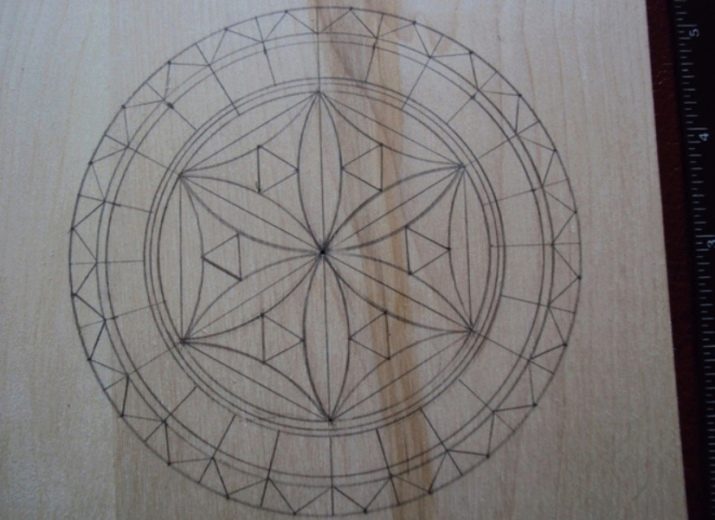
When performing geometric carving, it is necessary to select the optimal working material and prepare it, and then apply the desired pattern.
When drawing a sketch, a pencil, ruler and compasses are used so that all lines are even and correct. If you can't create a drawing on your own, you can use a ready-made sketch by printing it and using an awl to puncture the intersection of the lines.
Geometric carving sketches often consist of triangles, which must have a notch, because the wood is cut at different angles, and the excess wood is removed. Once all the triangles have been processed, you can move on to carving other elements. After the main work, it is necessary to clean up the problem areas for which a sharper tool is used. The finished pattern is sanded and stained.
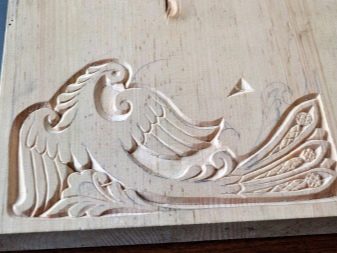
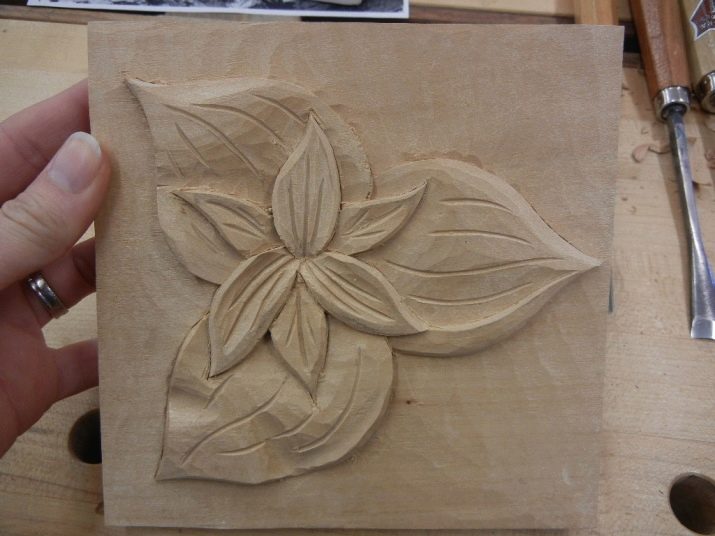
Flat mousse
Another technique that allows you to create a drawing on a tree is called flat-shaped. The essence of this method is that you need to create grooves on a flat surface, thanks to which the desired result will be formed.
This type of activity can have varieties, these are:
- through thread, which can be applied or through; slotted - work is done with a chisel or chisel; profile - you need a jigsaw or a saw to work; openwork - the carving is performed in the form of a relief ornament;
- blind thread, when during operation there are no through holes on the surface;
- house carving, used to decorate the facades of houses.
Each type of woodwork has its own characteristics, the inventory that is needed in the process, as well as the technique, thanks to which you can master the basic and more complex techniques.
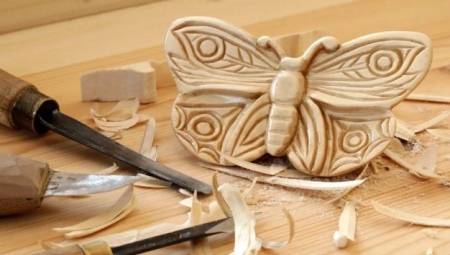
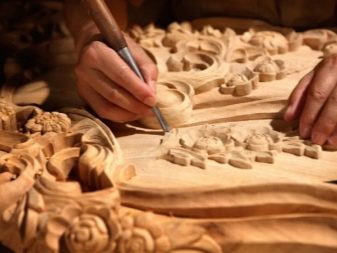
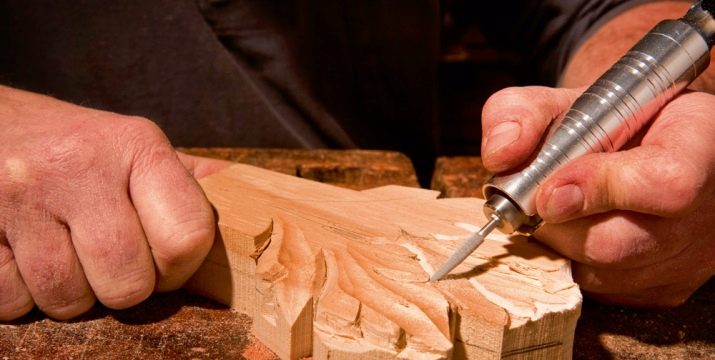
Sculptural
The most complex technique of woodwork is sculptural carving, which differs from other types in that a chock, a branch, a piece of rhizome is taken for work, which is given the desired shape. Besides skill, the most important factor is the correct selection of the working material. Thanks to this technology, figures of animals and people can be obtained from wood.
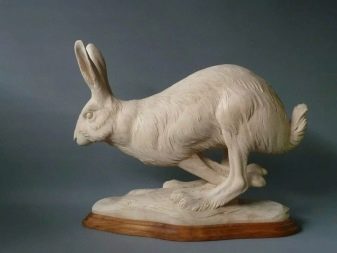

A sharp tool is used for work, thanks to which a piece of wood immediately acquires the shape, then the desired shape and gradually becomes the object that the master conceived.
On the blank, you need to outline a sketch with a pencil and try to stick to it so that the product is symmetrical and beautiful.

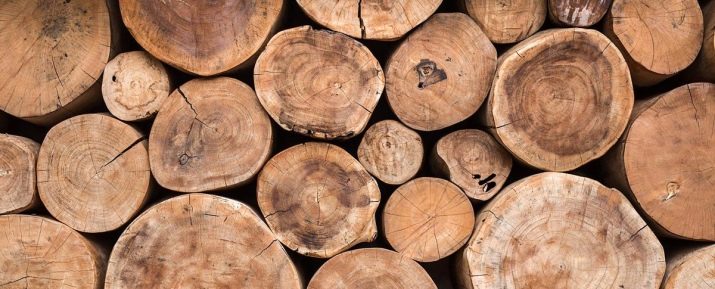
Which tree to choose?
When planning to try your hand at wood carving, it is important to understand that in addition to talent, you must have a set of tools with you, as well as use the right wood. Even experienced craftsmen will not be able to get high-quality results if they take for work a tree that is difficult to process.
Certain types of wood are considered the most suitable for carving.
- Linden - the most suitable option for the first steps in working with wood. This material has the greatest softness, which allows you to learn both simple and complex techniques in optimal conditions.
- Alder - both red and black varieties of this tree are suitable for carving. This wood is denser than linden, but it also lends itself well to processing, it is very convenient to cut it, and the patterns will turn out to be clear and beautiful. The main disadvantage is that this type of wood is considered rare.
- Birch - An even denser and more resilient version of wood, but suitable for comprehending the basics of wood carving. Unlike alder, which does not change its shape after drying, birch can deform, so small objects are usually created from it.
- Oak - a noble material for woodwork by experienced craftsmen, it will be difficult for beginners to cope with oak linen. Working on an oak requires a sharp tool and an experienced hand of a master who will cope with the task at hand.
- Pear - a fruit tree with good density and a homogeneous structure. Thanks to the peculiarities of pear wood, you can create the most delicate and graceful works.
Each craftsman should be well aware of the features of all types of wood and choose the most optimal options for work.
Required tools
Working on wood processing requires the master to have the necessary equipment, thanks to which he can create any products. Among the most important tools are:
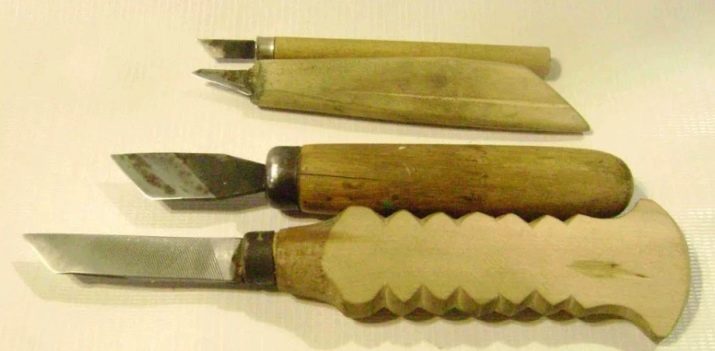
- sharp penknife;
- saw (transverse, longitudinal, universal);
- ax (cleaver);
- adze, an ax with a blade perpendicular to the ax handle, for creating curly and concave products;
- cutter, plane - necessary for removing chips from the workpiece
- drill;
- dremel with attachments, for creating woodcuts;
- milling cutter with a set of blades;
- file;
- jamb knife;
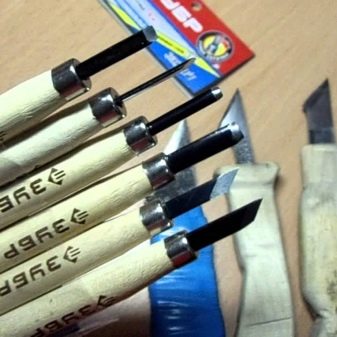
- chisels - a tool for processing wood (there are flat, semicircular, corner and staple varieties);
- cranberries - a chisel with a curved shape (thanks to this tool, you can engage in relief carving, strongly immersing the chisel into the wood);
- spoon cutters are a tool thanks to which you can create wooden spoons, since the shape of the product facilitates the efficient extraction of large quantities of wood at a time.
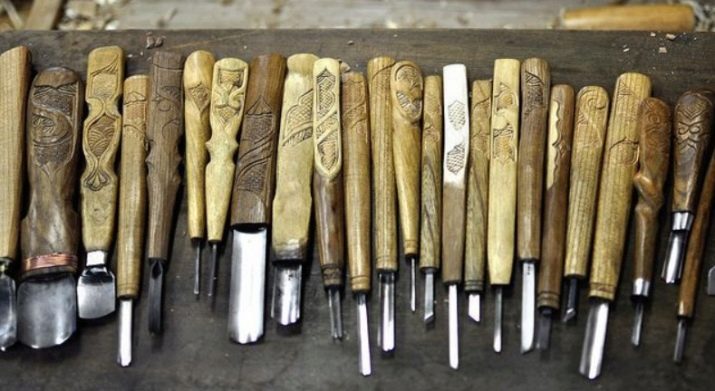
For a novice wood craftsman, it will be enough to have a carpenter's pencil, a few chisels, a jamb knife and a penknife.
It is very important that all tools are well sharpened, have no chips and breakages, as this can affect not only the beauty of the future wooden product, but also the safety during work.
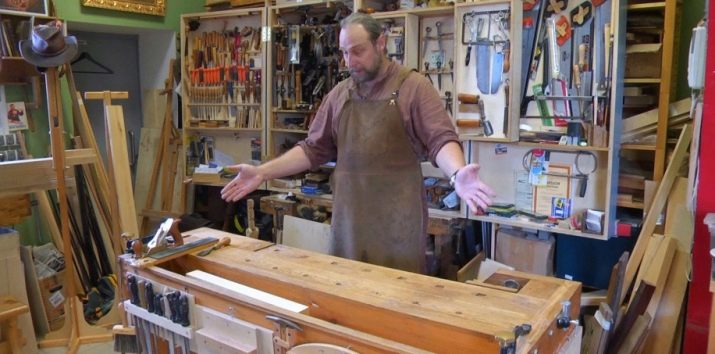
Workplace requirements
Wood carving should be done in a prepared location on a sturdy and stable workbench. Novice craftsmen can use the countertop, the main thing is that its height does not exceed the belt line. The main requirement for the working surface is cleanliness and smoothness, in the event of irregularities, they must be removed immediately. The board on which the carving is made must be securely fixed with clamps.
Under no circumstances should you sit on a stool, wobbly chair, or work on your knees.
For a beautiful and high-quality work on the working area, it is necessary to install good lighting in the form of 2-3 lamps or bright lamps. The placement of the light will be important, it should be exposed at different angles, above the level of the carver's eyes. In a well-lit and properly prepared workplace, even a beginner will be able to learn more skills and learn the basics faster.

Step by step diagrams for beginners
To understand the basics of wood carving, it is worthwhile to master the lessons step by step - from the simplest to the more complex. For beginners, and especially for children, it is worthwhile to immediately talk about safety measures in order to prevent possible injuries.
To learn how to cut any objects with your own hands, it is important to know what is needed for this and what the sequence of actions should be.
The simplest technique is to teach contour carving, for which you need to prepare the main inventory:
- wooden blank;
- chisels;
- jamb knife;
- pencil and paper for sketches;
- sandpaper;
- paints.
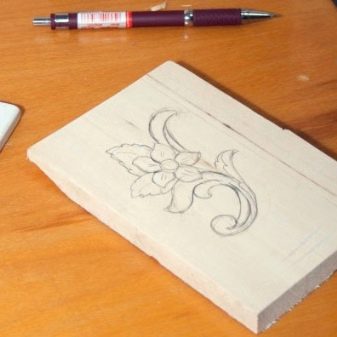
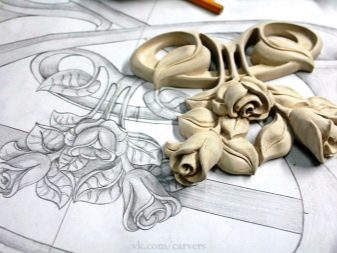
In order to cut wood correctly and beautifully, it is important to tell everything about the chisels and show them at work. Manual work is distinguished by the subtlety of execution, so you should not rush and start cutting without a sketch. Drawings are prepared on paper, carefully thought out, and then transferred to a tree.
The basics of working with chisels and a jamb knife are on workpieces with straight and wavy lines.
The novice carver should get a feel for the tool and learn how to work with it. As soon as it starts to work out stably, you can choose some kind of sketch and try to bring it to life. The most common themes for carving are animals and natural landscapes with various objects. After the work is over, the workpiece is sanded and painted.

Common mistakes
Wood carving is a complex activity that takes a lot of time to master, and the absence of mistakes significantly reduces the learning period. Among the main mistakes are:
- using raw wood, without drying;
- hasty deepening into the surface of the tree, all movements should be slow, with gradual pressure;
- carving in one direction and with the same pressure, without taking into account the specifics of the wood, you need to change the pressure and work at different angles, depending on the wood material;
- lack of a work plan: without elaboration of a sketch, correct application and gradual cutting of a pattern, it will not be possible to achieve a result;
- do not rush to master all the skills at once, you need to start small and easy, gradually increasing the level of skill.
If a beginner master sets himself the right tasks and does not make mistakes, then gradually he will learn how to work with different types of wood and create masterpieces.
The following video introduces a woodcarving lesson for beginners.


