Overview of wood carving chisels
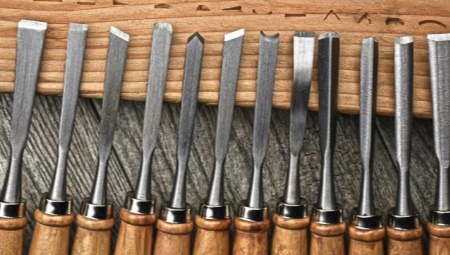
The master carver is always presented as a brutal man who works in the workshop. And it is surrounded by shelves and boxes with numerous tools. Today, gender equality in woodcarving, although it has not become 100%, but women are also actively occupying this niche, since the demand for wood decor is great. This means that there are more newcomers, and their questions should not remain unanswered. The most basic ones relate to the choice of tools, an initial set of chisels.
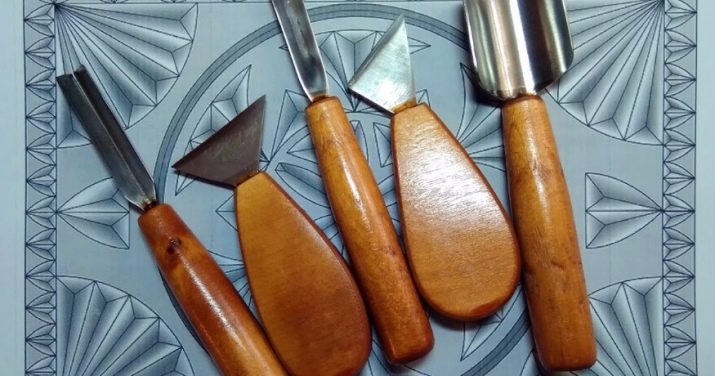
Peculiarities
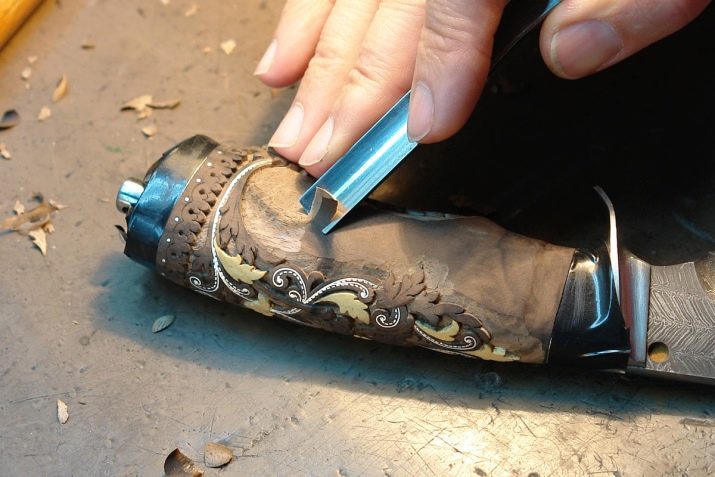
The chisel is a multifunctional tool. In the dexterous hands of a carver, a chisel can do a lot: choose an extra volume of wood, climbing into the most difficult-to-penetrate areas. She can also align the edges of furniture. With a chisel, you can achieve rounding of any radius and, finally, make an artistic composition out of faceless wood.
By the way, she can work not only with wood. It copes well with soft metal, interacts well with plastic and leather.
And if the master decides to repurpose, a set of professional tools may still be useful to him.
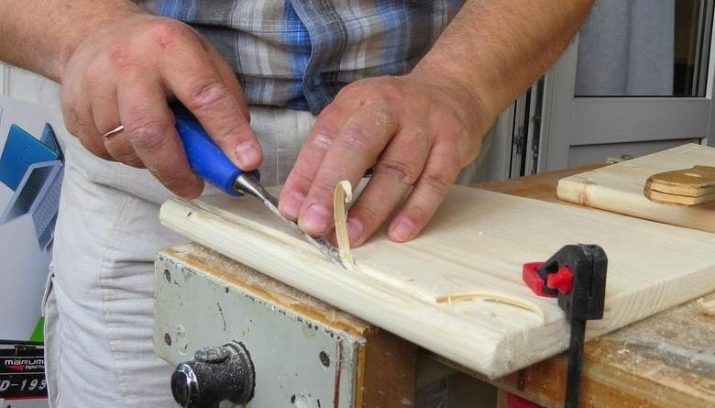
In terms of functionality, chisels can replace a chisel. But there is some difference in them: the chisel has a smaller volume of wood removed, since the cutting edge of this tool is narrower than that of the chisel. The cutting edge angle settings are also different. Chisels are divided into carpentry, art and machine tools. Woodcarving chisels - a variety of cutter options that differ from each other in the shape of the working area. For example, a straight working part will allow you to get smooth edges along the entire perimeter of a wooden workpiece at the exit, and an oblique working part helps you select narrow grooves and get corner edges.
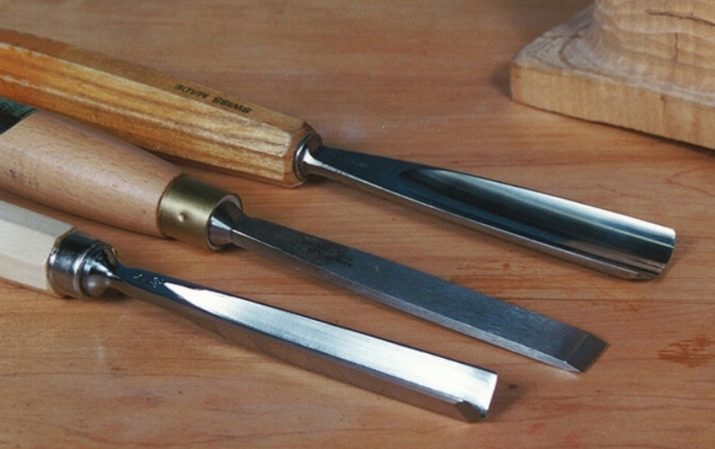
Semicircular and circular working zones form radius curvatures and spherical fragments. These chisels, by the way, are often called graters. But the corner working part helps to arrange blind holes of an unrounded cross-section. Finally, the curved work area handles undercuts and spherical fragments. Each master selects chisels and knives for himself. And although almost everyone has a basic toolkit, it is necessary for the hand to feel the instrument. And this is always an individual choice.
Two cutters will need different chisels (by design, notch) to form the same part, and this is normal.
Views
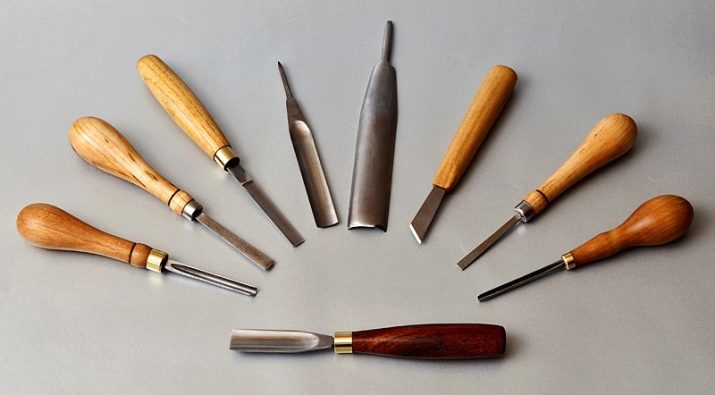
As noted above, the shape of the blade itself plays a decisive role in the chisel and its functionality. Here are the types of popular chisels.
- Straight chisel knife. Such a device is indispensable for processing joinery and cutting simple grooves.
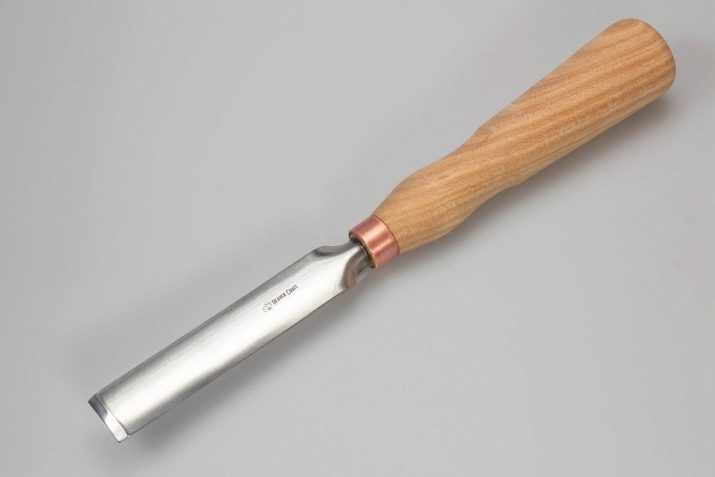
- Corner chisel. Reminiscent of the English letter V, at different angles in the chisel there are two overlapping blade planes. It is logical to assume that such a variety was created to obtain V-shaped notches. The sharper the angle of the cutter, the deeper the notch will be.
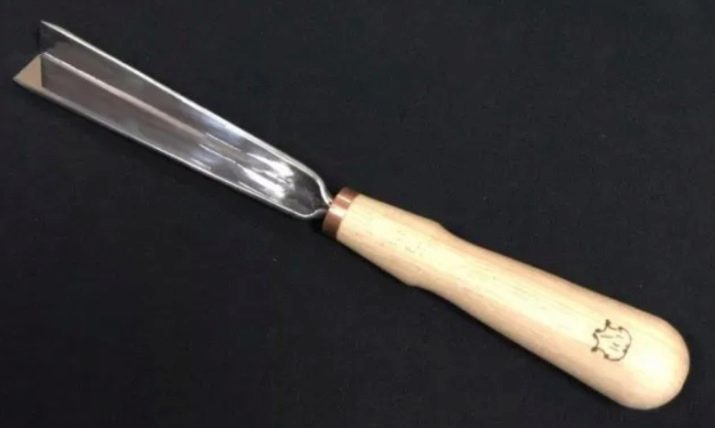
- Oblique. The blade of this tool is beveled at 45 degrees. Longitudinal grooves are cut with this professional chisel. It is also suitable for initial changes to the workpiece.
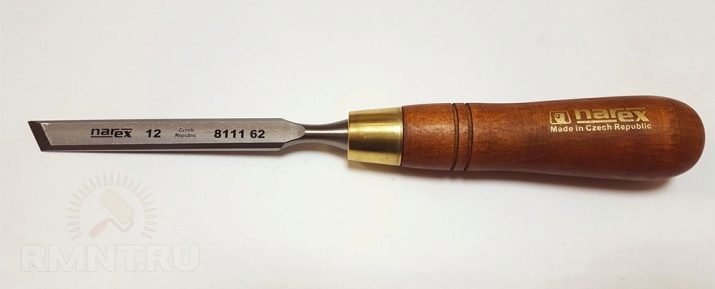
- Semicircular. It will allow you to prepare the product for processing. She is also able to cut all kinds of ornaments, make serifs. It can be round, medium and sloping. Each cutter is stocked with a semicircular tool.
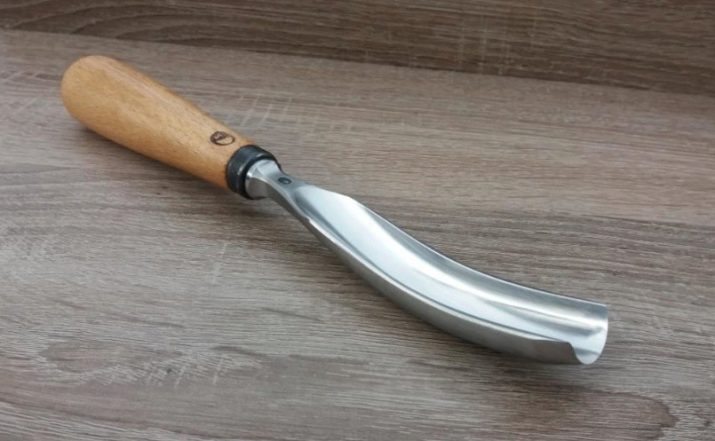
- Clucarza. Outwardly, it is very similar to its predecessor. But the working surface of the cranberry tree is equipped with a rounding both along the rod and along the end part of the blade. Thanks to this shape, you can count on the smooth movement of the tool along the tree. Cluckars have subspecies. For example, the cutting part of one cranberry tree is rounded, the other is straight, and the third is coal.
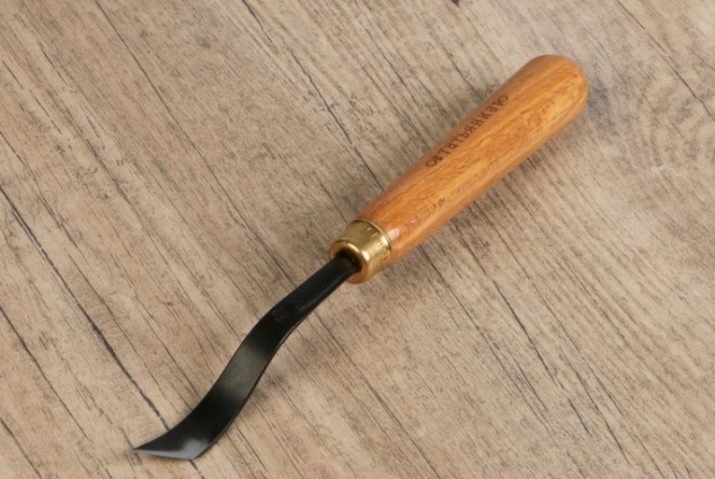
- Shtikheli. Made of mushroom handle and oblique cutter. They usually serve to form grooves. The more the cutter presses on the tool, the brighter and deeper the carving will be.
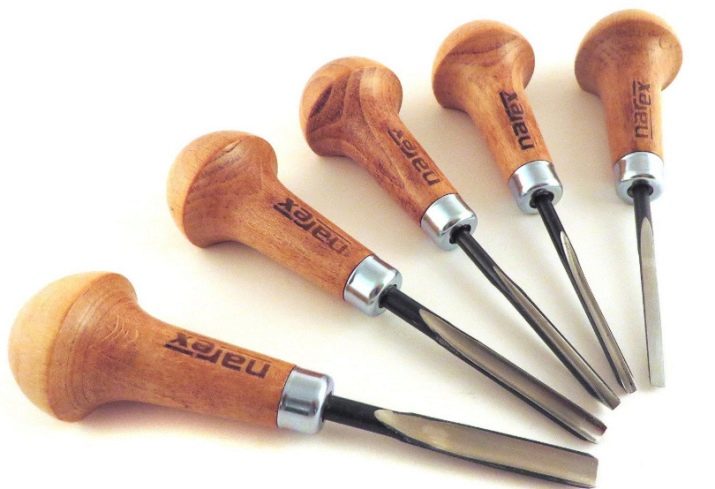
- Caesarics. In a sense, this is also a semicircular chisel, but its working area is very narrow, only 3 mm wide. Caesarics make narrow grooves and work out the smallest ornamental fragments.
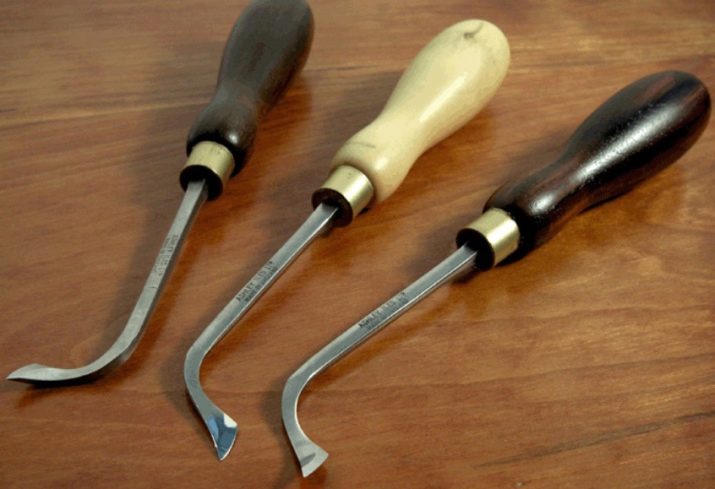
- Klepik. Such a cute word is called a mini-chisel with a perfectly sharpened narrow blade, reminiscent of a sharp leaf. You have to use a rivet in a situation where simple chisels are powerless. Fine workmanship, accurate drawing - for this, a small chisel is purchased.
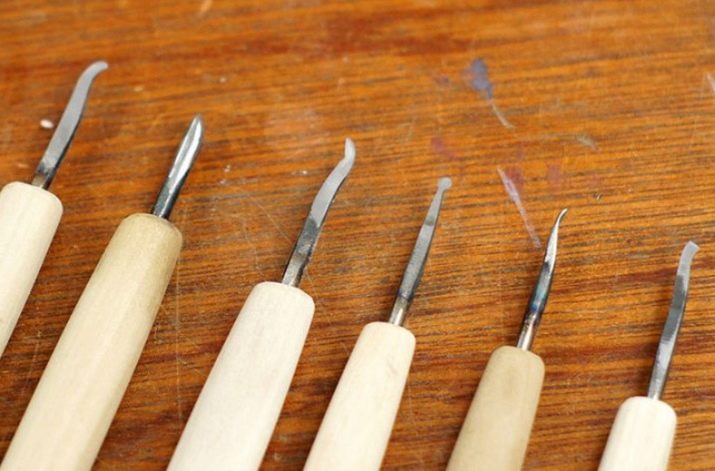
- Marigold. Another mini-tool that cuts the finest fragments, but more rounded.
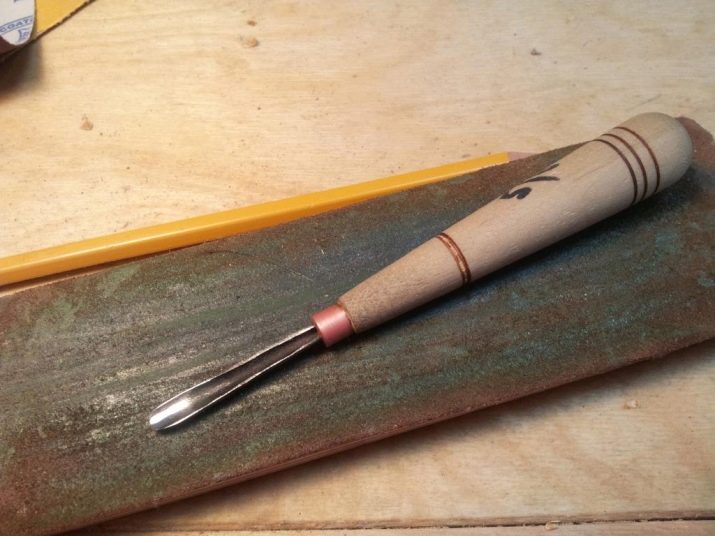
- Reverse chisel. Features a convex outer groove to create a protruding pattern on the main planar canvas.
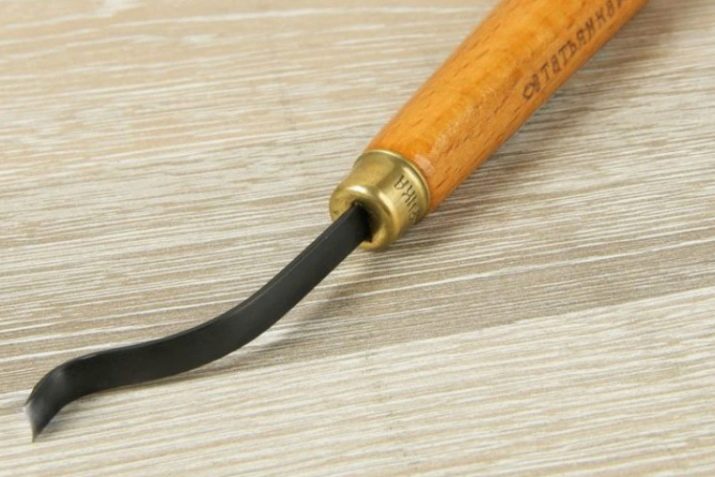
And chisels are made forged, cut, stamped. Forged have a noticeable thick blade, so hardwood lends itself to them. Die cutters are suitable for working with medium to soft woods. The stamped chisels work thanks to the thrust washer.
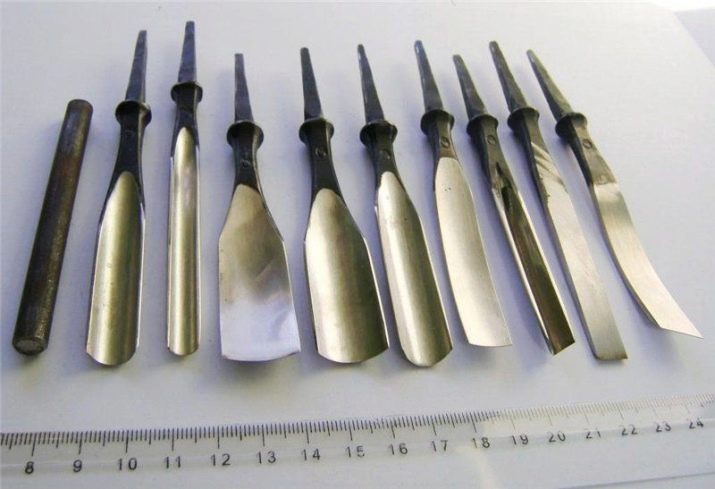
Homemade chisels are not nonsense.
Nevertheless, in the ready-made prefabricated samples, the tools are already in a certain configuration, and not all of what is presented is necessary for the cutter, not everything is provided for in the set. Therefore, homemade chisels appear often, and in quality they may not be inferior to factory products.
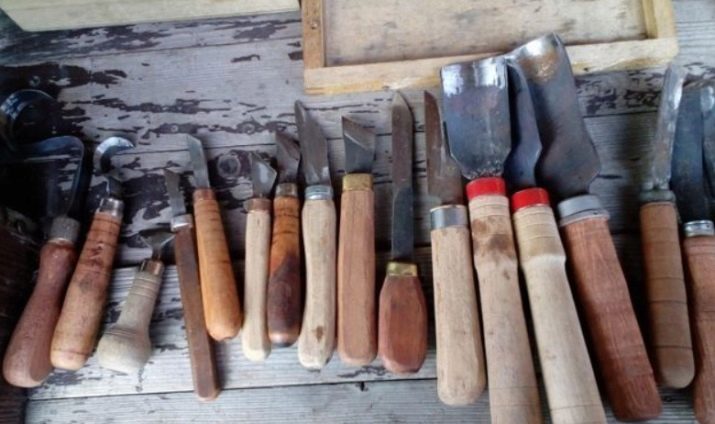
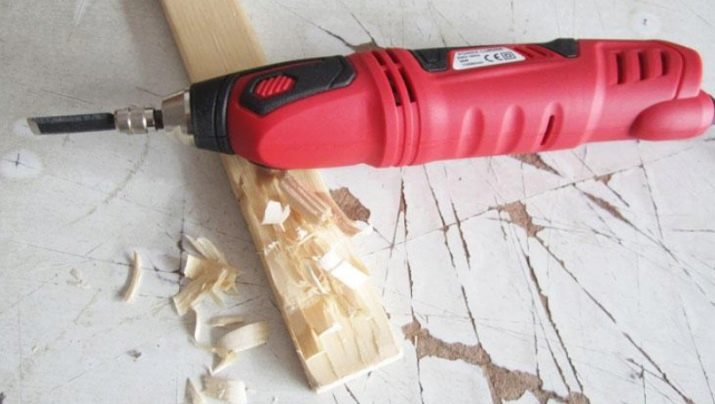
A modern carver has a great choice - from curly chisels to electric ones (and there are some). But the basis of the craft begins with the simplest, recognizable, well-proven chisels from a ready-made set. Having gotten used to working with them, you can already master any such, even the most complex carved tool.
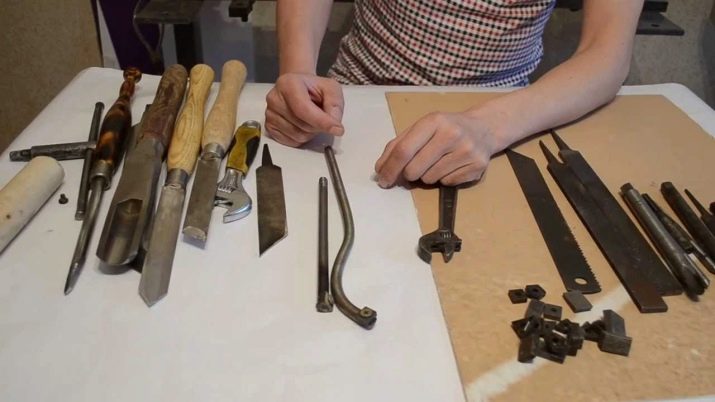
How to design a chisel yourself - what to take for a blade:
- a cutter for metal - it is quite tough and reacts well to sharpening;
- file - quite a worthy source for a carpentry chisel;
- drills (for metal) - a decent base for narrow small chisels;
- profiled toolkit - suitable for an angular cutter;
- Needle files - will perform a thin instrument.
Small tools are better at home. The handle is often made of timber, since wood is more familiar and more environmentally friendly than plastic.
How to choose?
I would like the material to be durable, and the cost of the set did not go beyond the budget. You have to make some compromises. Some people prefer to order a ready-made set from an Asian site, while others choose chisels one by one, making their own collection for a long time and reverently.
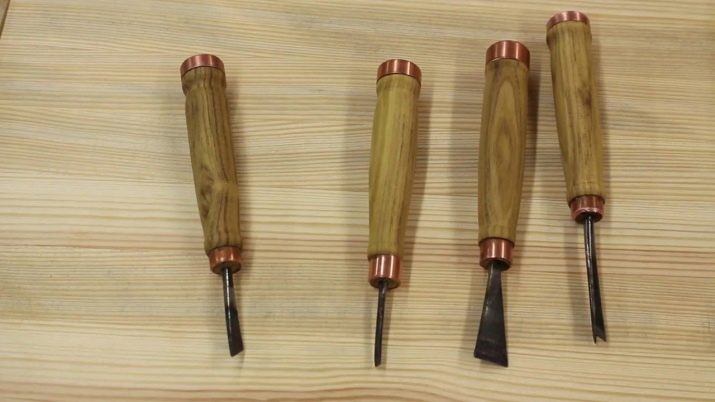
We will give tips for beginners on the choice of chisels.
- A really high quality blade is made of 13X or 8XF tool steel. Such a metal has a high carbon content, it also contains chromium, sometimes tungsten. It is imperative to pay attention to the type of steel when buying, otherwise you can overpay for not the highest quality.
- Chisel hardness values should not be lower than HRC 59.60. If they are less, then you will have to buy a cheap chisel (perhaps just a fake) made of 45X structural steel. The bad thing is that you will have to sharpen the tool very often.
- If you don't have time to go around and choose tools that are not complete, you can buy a set. Among the most popular are Narex, Sandwik, and Bahco. Among the products for carvers there are many good Japanese brands, and from the Russian ones it is worth taking a closer look at Enkor.
- Optimum length is 10-15 cm. Larger torch will handle less stress. The chisel handle can be made of wood or plastic. On the one hand, wood is more familiar, its naturalness is tactilely more pleasant, on the other hand, good plastic can be more durable and shock-resistant. Therefore, the question of choosing the material of the handle does not have an objective assessment.
- If the manufacturer is not indicated on the product label, it is most likely a fake. And no matter how attractive the price of a fake, they will not justify even the small funds that are spent on them. Good chisels will last for years.
- The quality of the chisel steel is easy to test on a grindstone. When the steel is properly hardened, burrs will form during sharpening and can be easily removed. But if there are no such burrs, it means that the material is overheated and the cutter is banally dangerous. If burrs are formed and cannot be removed, this means that the steel is very soft. She just won't stand the sharpening. The sharpened edge of such a chisel will deform even with mini-force.
You need to understand that any chisel has burrs and irregularities on the chamfer.
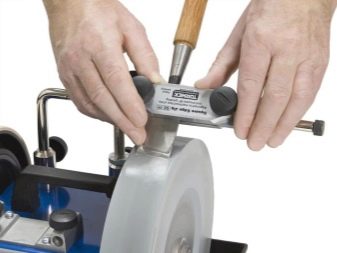
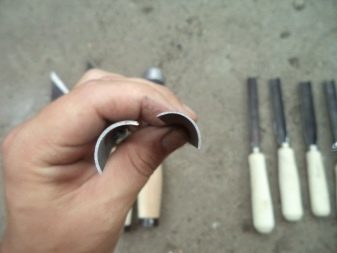
They can be adjusted on the grinding wheel. The wizard holds the deformed chamfer around the circle, removing bumps, rust and chips. The three-level whetstone can give the chisel any sharpness.
How to sharpen correctly?
Thanks to competent sharpening, the cutter acquires an accurate cut and ease of use. But the sharpness of the blade is not the only thing; the sharpening angles are also important. They depend on the type of instrument and the actions that will be performed on it.
If the cutting edge is sharpened correctly and the chamfer angle is maintained, then the chip removal cutter will more easily maintain its thickness. And the efforts made also correlate with the quality of sharpening.
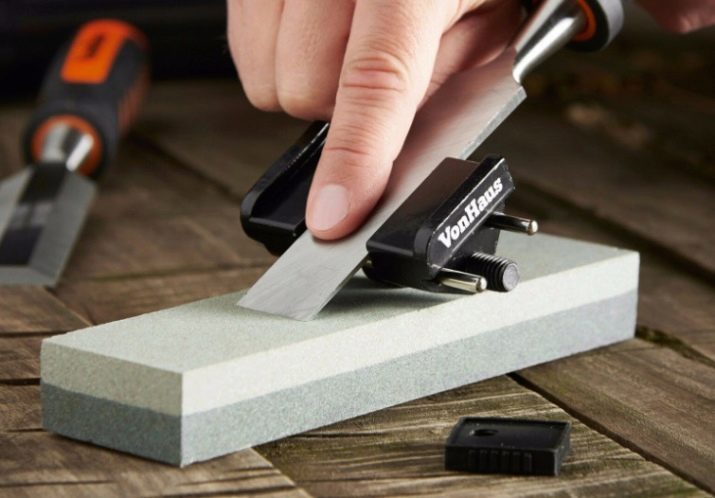
The cutter can be sharpened both by hand devices and driven ones. Basically, craftsmen use grinding stones and bars wrapped in sandpaper, sheet abrasives. Felt and fabric polishing bases are also suitable for this mission. Of course, sharpening machines are also used (they are vertical and horizontal).
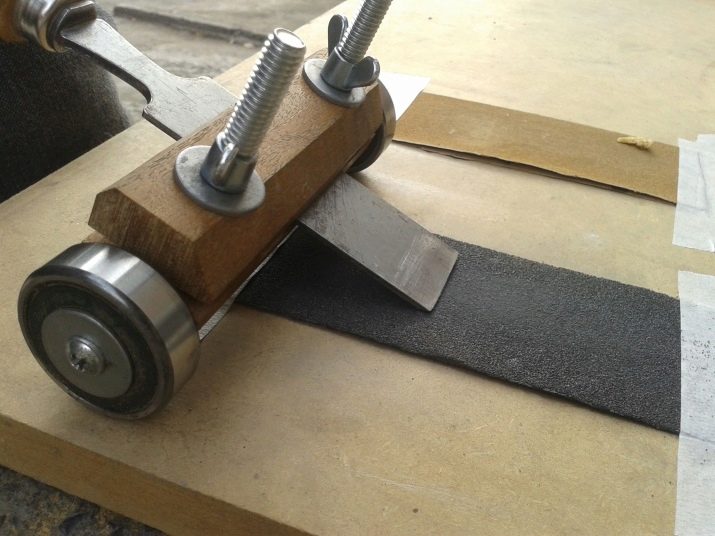
Here are a few key points about sharpening a tool.
- The size of the sharpening angle is a span of 25 +/- 5 degrees. Such parameters are formed by GOST 1184-80. Usually the angle at which you want to sharpen the tool is associated with the thickness of the chisel.Thick blades are more often oblique. If there is only one chisel so far, it is recommended to sharpen it at a working angle of 25 degrees.
- In the basic set for sharpening there are 3 items - an abrasive for starting processing, grinding materials for finishing, and also a sharpening mandrel that fixes the angle.
- If the device is manual, the angle in it can be set with wedges, if it is factory-made, it has angular adjustment. The device is simple: the carriages move the abrasive over the surface and the inclined platform, and the clamp is set in advance at the desired angle.
- The chamfer is sharpened both manually and with a power tool. But the finishing of the cutting edge can be done only by hand.
- Sharpening water stones are ideal for sharpening the chisel blade. First, these stones are soaked in water; during sharpening, it comes to the surface and is mixed with the dust of the abrasive. Which forms a viscous grinding consistency.
- Lapping and grinding are still different operations. Finishing sets the geometrically exact plane of the chamfer, grinding provides a variant of its roughness.
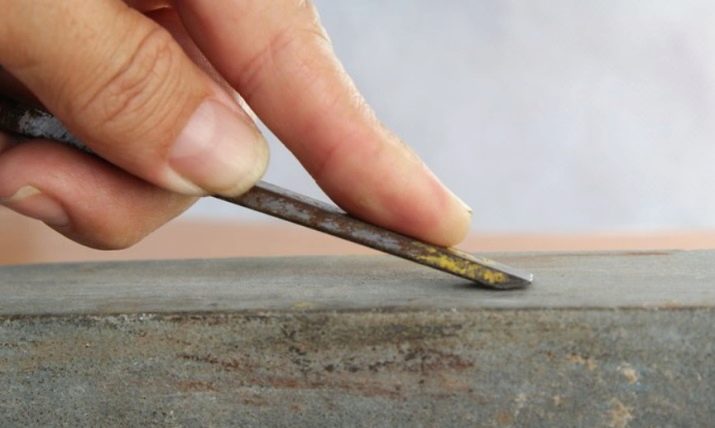
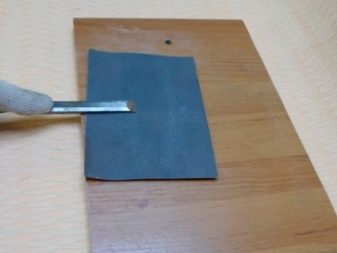
The algorithm for sharpening the chisel with his own hand is as follows: first, a chamfer is ground on the abrasive bar (no visible defects should appear), then the line of the cutting edge is checked (perpendicular to the tool blade). Then the block is wrapped with a fine-grained grinding: the chamfer is ground to a shiny surface and maximum sharpness. After processing, the chisel is wiped dry, because a block with sanding paper can be moistened with water. Both the ability to choose the right one and the perfect sharpening come with experience.
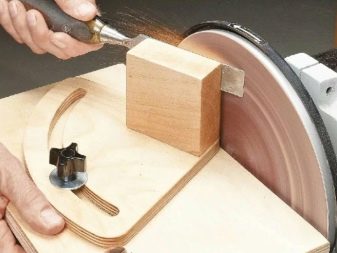
Therefore, beginners should not be afraid: the work is exciting and creative, and the tools literally become an extension of the master's hand.
The following video provides an overview of wood chisels.


