All about slotted thread
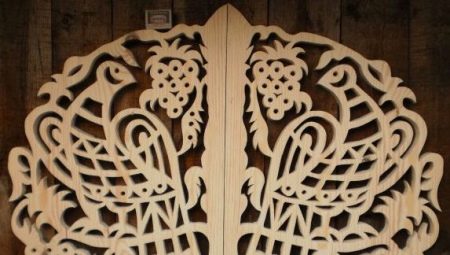
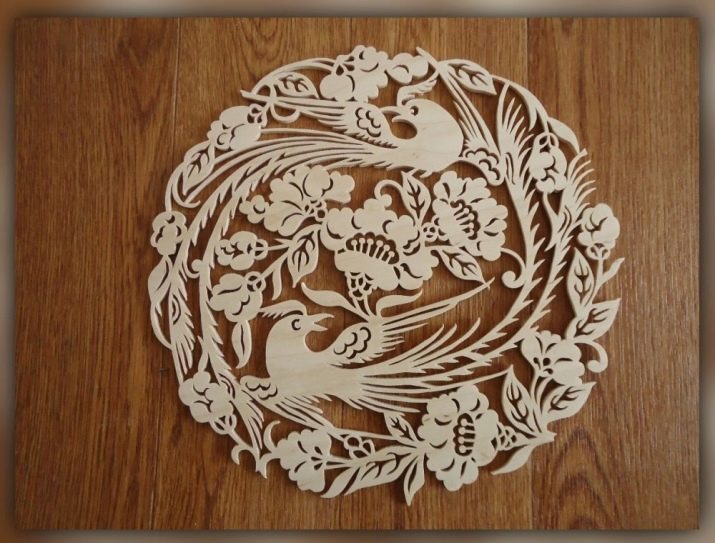
Woodwork looks beautiful and unique and includes many different techniques. One of these is slotted thread. Its peculiarity lies in the fact that the pattern is cut through and through. Because of this the products seem very light and lacy.
Peculiarities
The history of this technique goes back several decades, but it does not cease to be popular.
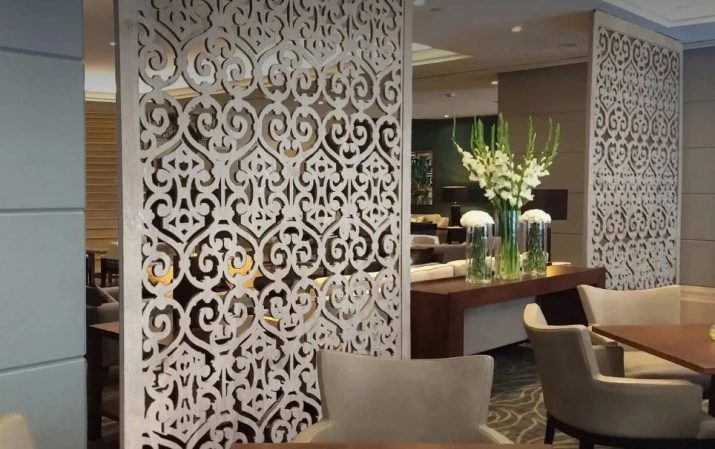
Most often it is used to decorate interior items in houses, namely: window shutters, frames, railings, arches in the house, tables and just decorative elements. Caskets, stands and much more are also decorated with carvings.
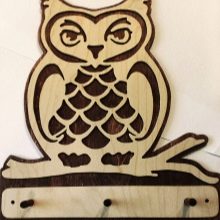
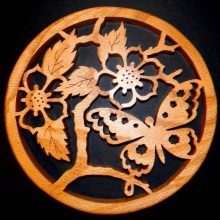
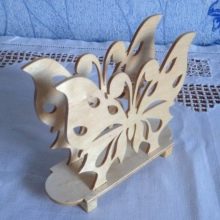
The peculiarity of this technique is in the absence of a background under the pattern. Therefore, in the description, the slotted thread is sometimes called sawing, through or openwork. Despite this, craftsmen can attach a background canvas of a contrasting color to make the details more expressive.
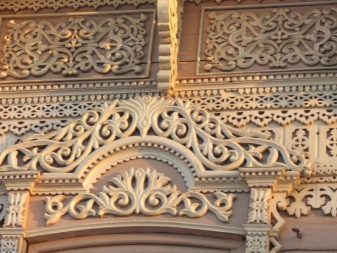
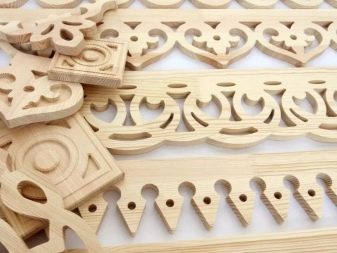
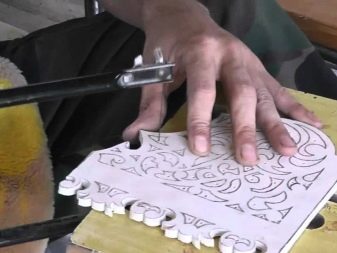
The slotted thread is suitable for both beginners and experienced craftsmen, as patterns in this technique have a different level of complexity... It can be both ordinary geometric shapes and complex curls, floral designs, animals and birds.
Views
Slotted threads can be of different types.
- Flat-relief... A type of carving in which all elements of the pattern are at the same height and on a flat background.
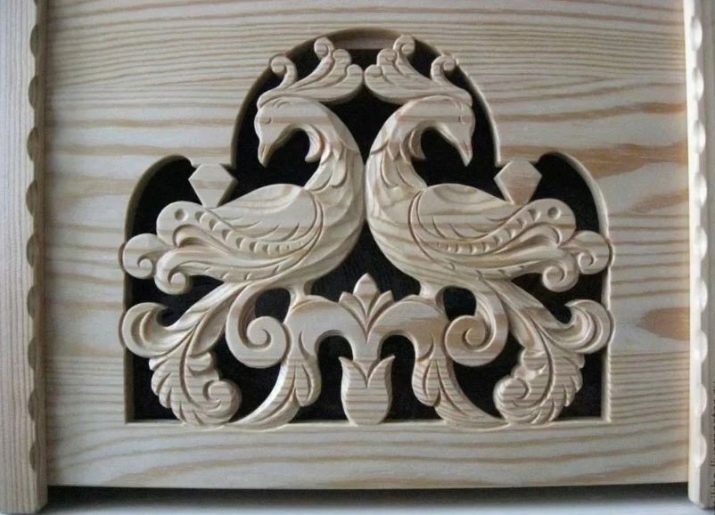
- Embossed. This thread is made in such a way that the entire surface is the elements of the pattern, it is not flat. In this case, at the end, the background is removed to get a see-through look.
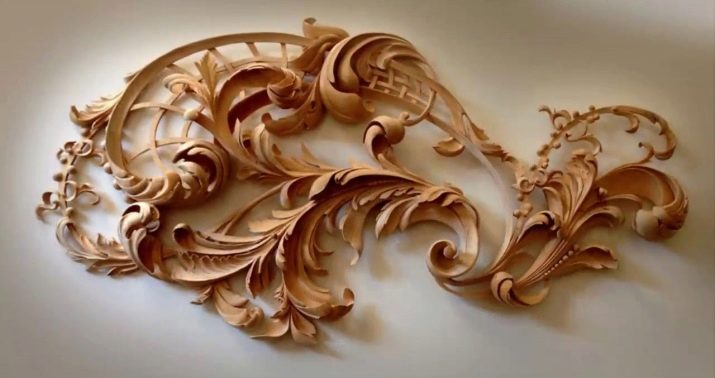
The slotted thread itself, as mentioned above, is divided on openwork (no background) and invoice (with background).
Instruments
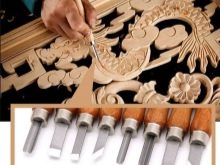
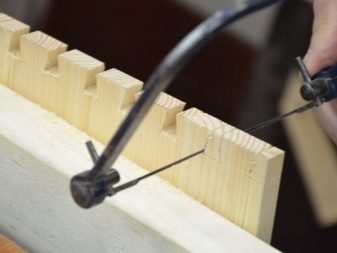
You can make a slotted thread with completely different tools: jigsaw, saw, chisel, knife, blades, router, drill and others. The appearance of the work, its accuracy, elaboration of details, as well as speed will depend on the choice of tool.
The most popular are drill and saw, which can be of different sizes, depends on the pattern template. In this case, you first need to make a hole in the workpiece with a drill., to place the saw blade or jigsaw blade inward and not make a kerf at the edge of the piece of wood.
To make the edges of the cut look neater and more nervous, you need to take saws with smaller teeth or process them at the end with a grinder or fine sandpaper.
Unlike carving with a jigsaw, working with a hand tool will be slower, but you can concentrate more on working out the details of the pattern according to the template.
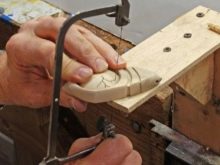
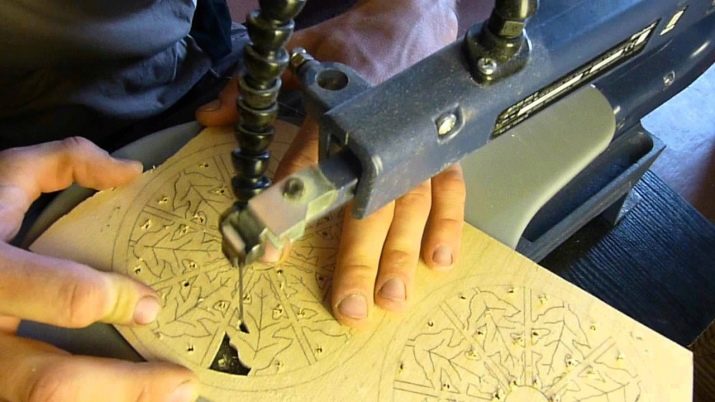
Also electrical appliances can be used - jigsaw, the use of which speeds up the process of work, but requires caution, - or use laser cutting. This technique is not very popular, because it requires rather expensive equipment, although the speed of work increases. It is used only in the case of large-scale production, when it pays off.
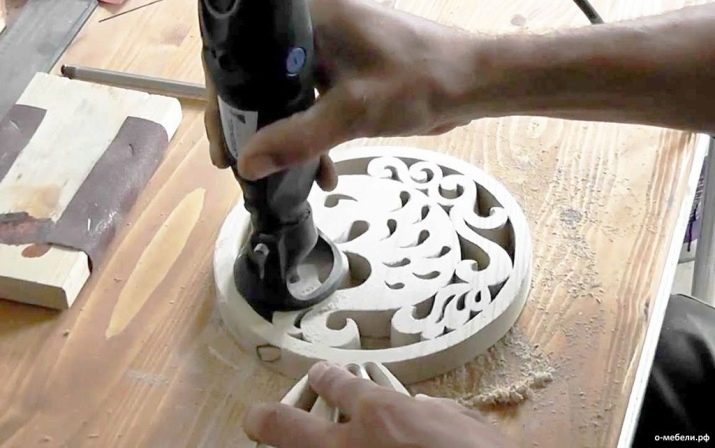
Electrical appliances also include milling cutter, which can perform a large number of different techniques, since different attachments can be installed on one instrument. You need to get used to working with an electric milling cutter, so beginners are not recommended to use it.
The process of cutting the pattern can be lengthy. Usually, the milling cutter performs those parts of the work that the larger tools did not cope with.for example: working out the smallest details, rounding corners or sanding edges. The use of an electric milling cutter is possible at all stages of work, but this is irrational, because the engine of the tool is not always designed to operate in a powerful mode for a long time, and you will often have to change the attachments, which will quickly grind off.
An interesting slitting technique is burning. It is performed using special equipment, a highly heated wire or nichrome string. The disadvantage of this technique can be considered a strong burning smell, so you will have to work in a special room or in the open air. The tool needs to be cooled frequently, and this may delay the work process. There may also be a charred edge around the edges of the pattern.
Materials (edit)
The end result of the work is also very dependent on the material on which the carving will be performed, since wood differs in density, structure and environmental resistance.
Slotted threads can be made on plywood or pure wood.
Therefore, we will consider both of these options.
If you choose plywood sheets, then you need to know that they are of several types.
- Plywood FC - moisture resistant material, which is easy to use and harmless to humans and the environment. It is used to perform almost any type of work.
- Plywood FB - material that undergoes additional processing, after which a protective layer appears, allowing it to be used outdoors. Because of this, the cost of the material may be higher. Also harmless to humans and the environment.
If you choose wood, then you need to consider characteristics of each type of wood.
Novice craftsmen are advised to use birch or linden, because these varieties have sufficient density. The structure of the tree is dense, therefore, it will be convenient to work on small details of the pattern on it.
Aspen is less suitable for beginners because the wood crumples and is very easy to cut. You need to get used to the processing of this variety.
Fir, spruce and pine are used most often because they are easy to find, and the cost is low.However, it should be borne in mind that these varieties have different layer densities and a pronounced structure. This can interfere with creating small drawings.
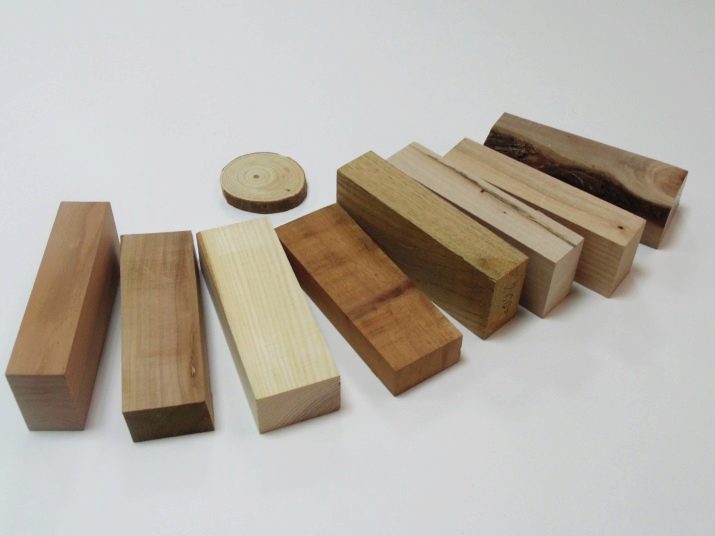
Wood must be dried before workso that in the future it does not crack and bend. Therefore, this preparation point cannot be ignored. If you purchased insufficiently dry material, you need to dry it yourself. Place the board on an end to allow air to flow from all directions.
Technology
When all the preparatory steps are completed, you can start the carving process itself.
- The prepared pattern template on paper is firmly attached to the workpiece.
- After that, you need to transfer the drawing to the tree with a pencil. You can skip using a template and come up with a pattern yourself, create your own drawing.
- Next, holes are made in the tree in order to insert the jigsaw.
- After completing the pattern, you need to completely process the edges by sanding them.
- The finished product is varnished. Painting with a spray gun will make the process easier and save the product thanks to the technology of uniform application.
How to make wooden platbands for do-it-yourself carved windows, see the video.


