All about embossed carving
Embossed wood carving is one of the ancient ways of decorating objects: dishes, furniture, decorative elements and others. Things decorated with carvings are still widely admired and popular. Having mastered all the intricacies of craftsmanship, the carver can secure a good income for himself. But how to master this difficult craft? What tips for beginners are the masters willing to share? All this and much more you will find in this material.
Peculiarities
Wood carving has a long history that dates back to Ancient Rus. Over time, independent techniques for treating wooden surfaces have been formed, each of which has its own nuances and unique features.
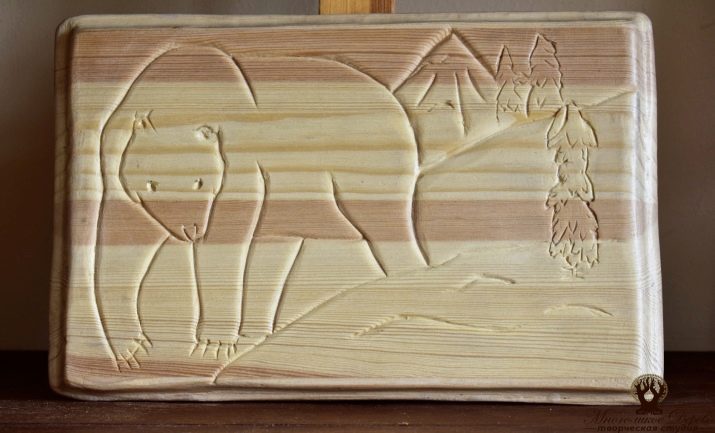
- Contour thread... This type of carving may mistakenly seem to be the simplest: simple lines are applied to a flat workpiece, from which the contour of a pattern, landscape, etc. is formed.
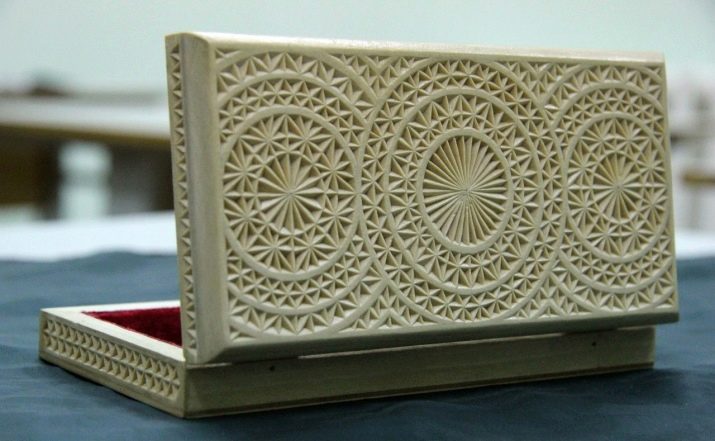
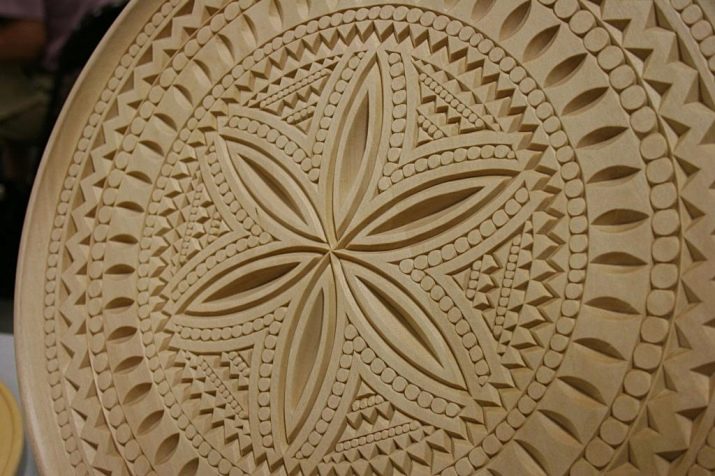
- The most common technique is geometric. In this case, the pattern is formed from a combination of geometric shapes or cuts.
- Flat-faced thread involves carving indentations in the smooth surface of a wood base that form an image.
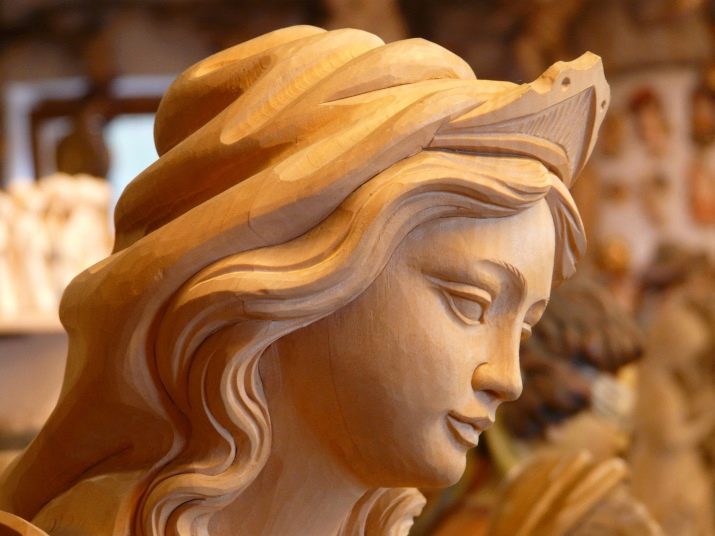
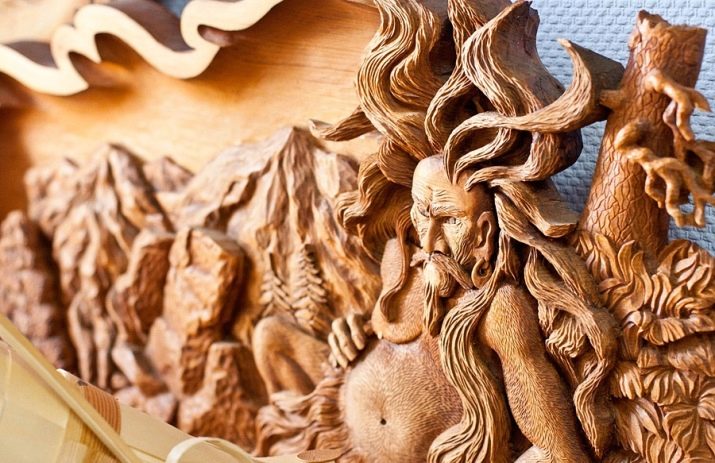
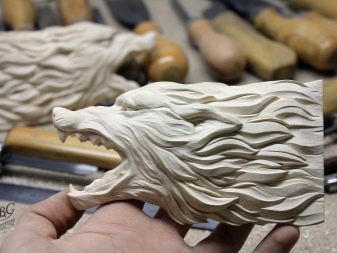
- Sculptural (volumetric) carving can rightfully be called the most complex of the techniques. The master gives the blank (root, chock, large branch) the desired shape, adds details and gets a full-fledged statue from natural material.
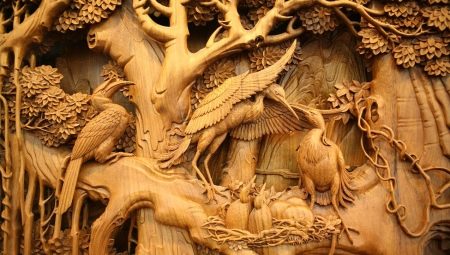
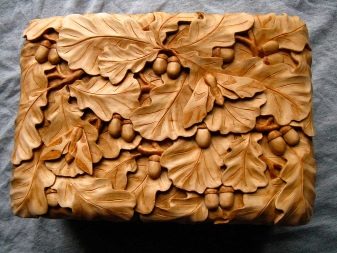
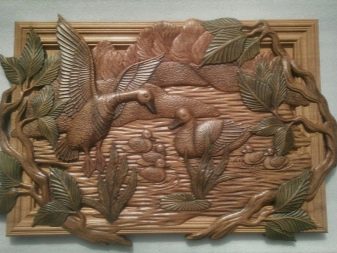
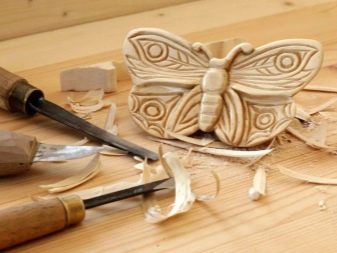
- Embossed carving, which will be discussed in this article, has a number of specific features. The image of plants, animals, or just an ornament protrudes into the foreground due to the cropped background. Another unique feature of the relief technique is the inimitable play of light and shade.
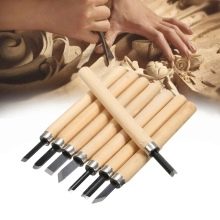
Instruments
Embossed carvings require special tools.
It is worth clarifying that in the early stages of familiarizing a novice carver with woodwork, expensive professional sets of knives, chisels, mallets and other things are not at all necessary.
Well sharpened penny knife and jamb knife - the main helpers of beginners. Later, when you have some experience and your hand movements are more confident, you can purchase the following tools:
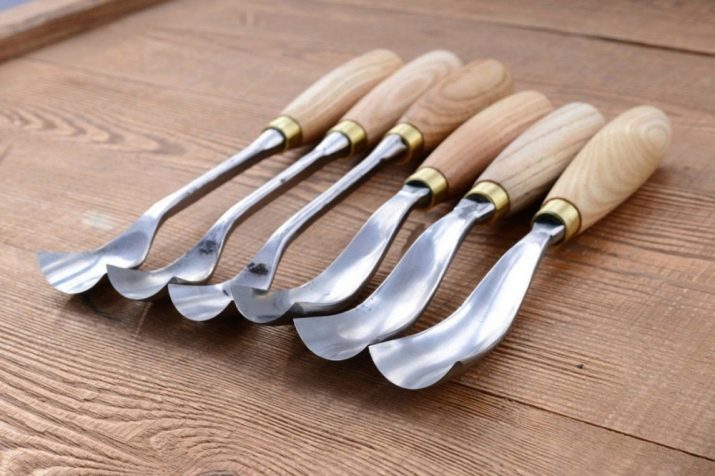
- corner chisels (gameus);
- straight chisel;
- radius (semicircular) chisel;
- shtikhel.

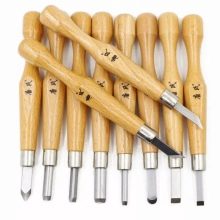
Skilled craftsmen add several additional devices to the above "arsenal":
- cranberries - chisels, the canvas of which is curved;
- knives: power, straight and Bogorodsky.
Step by step technology
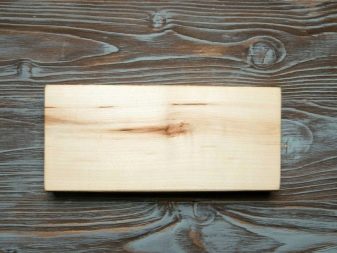
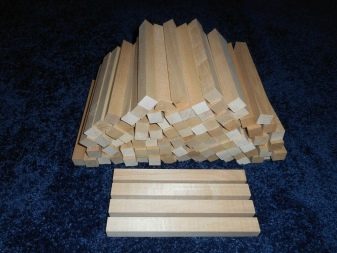
Before the drawing is applied, it is necessary to decide on the choice of the source material, because half of the success depends on the type of wood.
- Linden... Linden wood is the undisputed champion of the woods used in carving. Plastic, lightweight and affordable, it is perfect for a beginner and a master. Ineffective coloring is the only minus of linden.
- Alder... Alder (black and red) is a dense material. Despite the fact that alder wood is quite difficult to get, it is perfectly cut and practically does not bend after drying.
- Pear... Dense and homogeneous pear wood can be placed on a par with linden and alder.
- Birch... Resilient and dense birch is suitable for mid-level carvers who have worked with linden trees. This wood is used to create small products, as it can deform when it dries.
- Oak... Massive and difficult to process oak is a material for real professionals. Sharpened tools and the steady hand of a master will be able to transform stubborn wood into a mesmerizing relief.
After the cutter has decided on the material, it must be thoroughly dried. Harvesting of wood begins in November and ends in February, when the amount of sap in the wood is minimal. When buying wood for carvings, be sure to check if it has been dried. If you want to prepare the workpieces yourself, check out the drying algorithm:
- clean the tree from bark and branches;
- divide it into parts;
- boil the workpieces in special containers with the addition of salt for 4 hours;
- place future foundations in the basement for several days;
- Move the wood to a ventilated area.
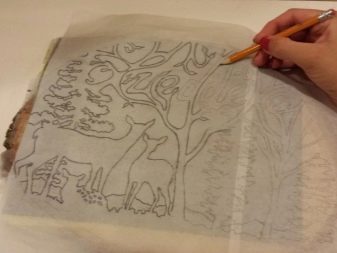
After the cutter has decided on a sketch for the product, it must be transferred to the workpiece. The following methods and objects are used to transfer the image.
- Copy paper... The lines of the carbon paper can be freely erased, which allows you to change the pattern right on the go.
- Stencil. Cut out a sketch out of paper or cardboard, attach it to the workpiece and circle. Also, using a stencil, you can outline the contour, marking corners and bends with punctures. The punctures are connected together with a simple pencil.
- Fraser. If you're not afraid to take risks, attach a template to the tree and cut it out with your tool.
- Is the sketch displaced during the transfer process? No problem! Place under a piece of wood rubber mat or backing, and the drawing will be accurate and accurate. It is at this stage that you should think over the location of details and main objects, pay special attention to the composition.

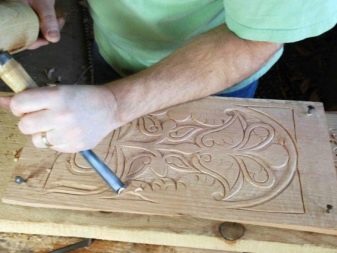
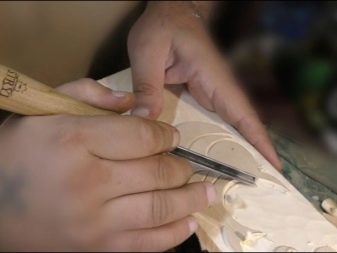
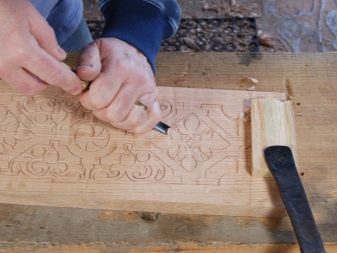
The next stage of work is cutting the main contour... Delicate background removal is the highlight of the embossed carving. The formation of this skill is the main task of a beginner.
Radius chisels will help remove large amounts of background with minimal force.
The penultimate stage - contouring using corner chisels.
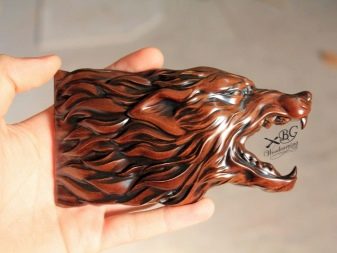
After the product is ready, it must be coated with one of the following compounds.
- Stain. Staining is used to give wood a noble shade, as well as to enhance contrasts in the work: darkened areas "recede" into the background, forming a three-dimensional image.But such a coating is only suitable for large reliefs; small-relief carving under the influence of stain can swell, which, undoubtedly, will irreparably spoil the appearance of the product.
- Wax. A wax finish is a suitable option for carvings made on dark wood species. The wax gives the finished product a shine and smoothness. The effectiveness of a wax coating often depends on how you spray it. Sometimes there are difficulties with polishing when finishing volumetric reliefs and works with abundant and small details.
- Butter. Using oils as a decorative coating, it is worth considering some of the nuances that can lead to swelling or staining. For embossed threads, it is recommended to apply oil in no more than two coats.
Tips from the masters
- A blunt tool is not suitable for the job, as it requires a lot of effort when carving. Watch out for the sharpness of the chisels and klukars.
- When mastering carving, start with simple geometric patterns. Then you can move on to something more difficult: vegetation, animals, people.
- Never point the chisel in your direction while working: this can be dangerous. Aim the instrument in the opposite direction or keep it parallel to your chest.
- To make it easier to transfer sketches to the workpiece, make a drawing on a 1: 1 scale using graph paper or tracing paper.


