All about carved wood boxes
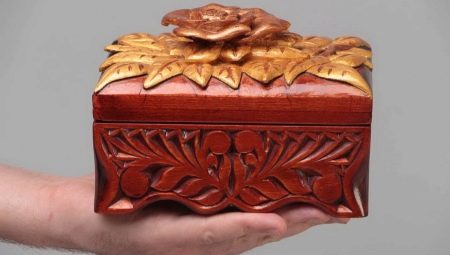
Carved wooden box - a classic souvenir and an eye-pleasing product that will never be a superfluous gift. She will decorate a woman's boudoir, become an elegant and unassuming present for a teenage girl, and turn out to be the very thing that was not enough to store important trifles. And if this is a hand-carved box, it also becomes unusually warm, the owner's favorite thing.
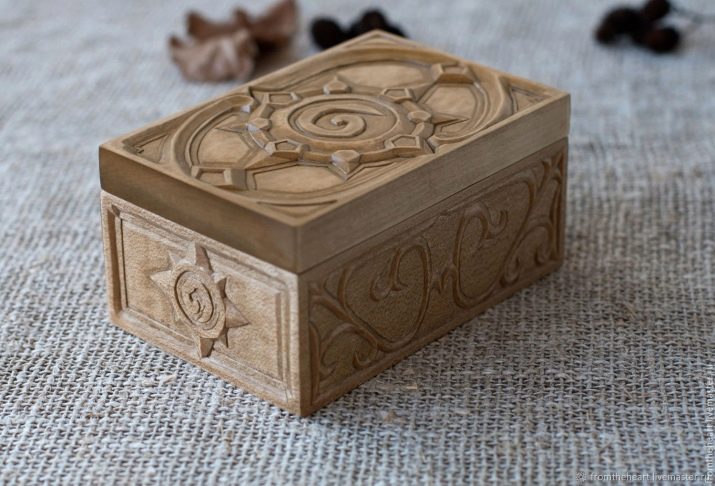
Peculiarities
It is both decorative and utilitarian at the same time. A carved wooden box mainly serves as a container for jewelry. But it contains money, important papers, and various memorabilia (like badges from the hospital). The box can also become a special interior attribute if other carved wooden elements or just wood of the same shade are found in the decoration of the room.
Making caskets is a very ancient trend. In particular, the popularity of this craft in Egypt is known. V China and Japan the boxes were made of valuable wood species, hand-painted and carved were used to decorate these items. Jewelry and valuables were kept in caskets.
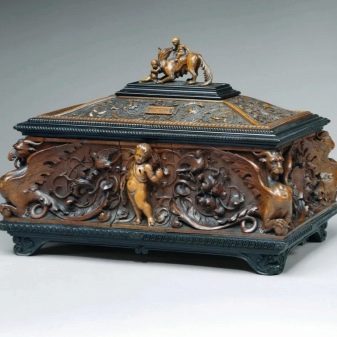
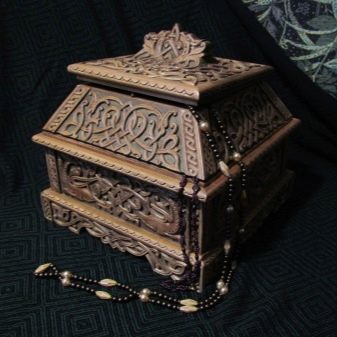
Wood products are more popular than many other casket options. They are affordable, and the choice is always pleasant for the buyer. These are aesthetic and original products that you want to look at and touch. Various woods are used to make boxes. The decoration itself is mainly done with a jigsaw and carving knives.
Solid wood is not the only material suitable for creating jewelry boxes, although it is by far the most preferred material. MDF and chipboard are also used, although there are fewer possibilities for carving specifically.
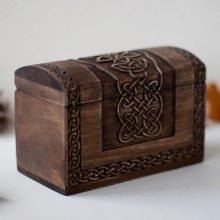
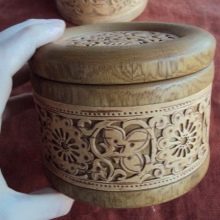
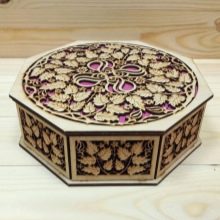
Boxes are made according to diagrams and drawings. First, the master chooses the design of the future product, transfers it to paper (creates a sketch), sets the dimensions, cuts out blanks from paper and compares them, draws up a drawing. The cutting sheet of the box is formed on the basis of this drawing. Cutting can be done using paper templates or computer programs.
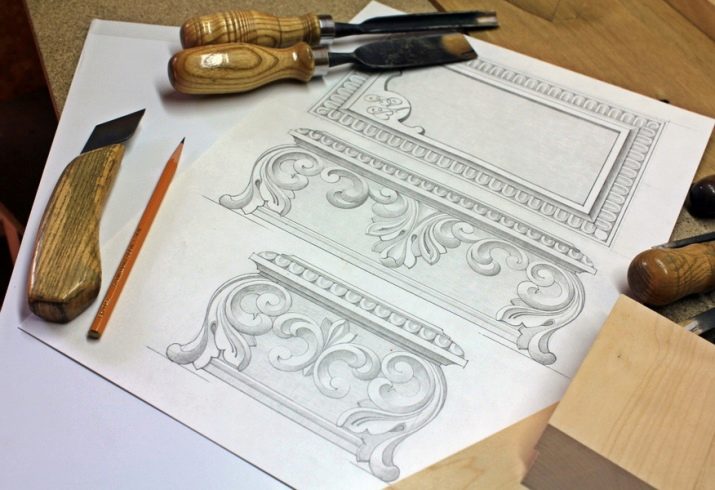
Popular ornaments
Beautiful patterns, nice geometric images seem so delicate and complex that many simply do not have the courage to try themselves in carving. But fortunately for such cases there is a stencil. This is the name of a device that helps to apply a pattern or other symbols to a wooden surface.
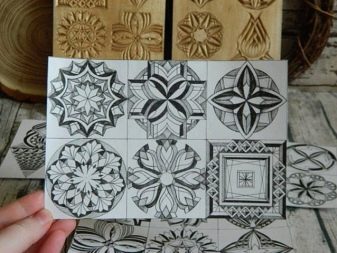
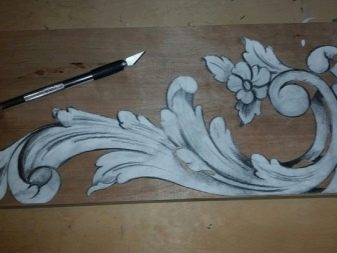
Beginners should start with simple ornaments that are not so difficult to transfer and, most importantly, are not so difficult to cut later.
There are 3 basic rules for choosing an ornament:
- if the box is large, openwork and small ornament will be an unfortunate choice;
- a large ornament will not fit a small casket;
- the main thing in carving is proportions, mistakes in them erase all other advantages of the product.
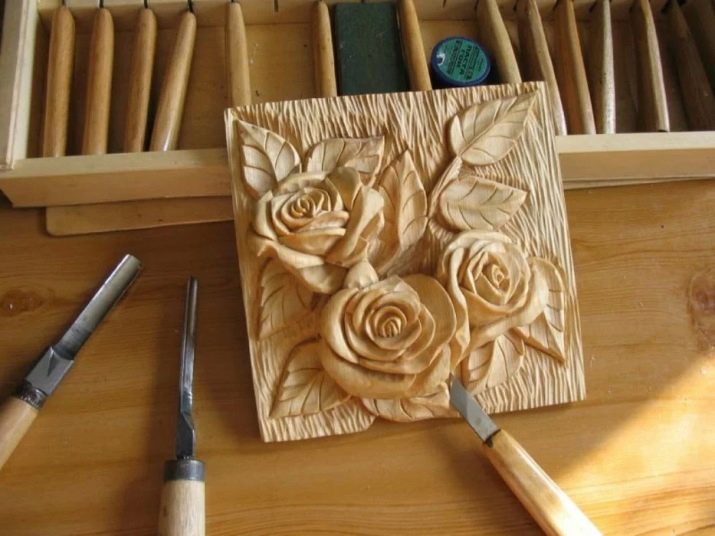
The thread itself can be slotted, flat-relief and embossed... Slitting is a very complex technique, because in the process of work, the background, background or substrate is almost completely removed. As a result, an almost airy ornament is obtained on the finished product. Blanks are made from linden or coniferous wood.
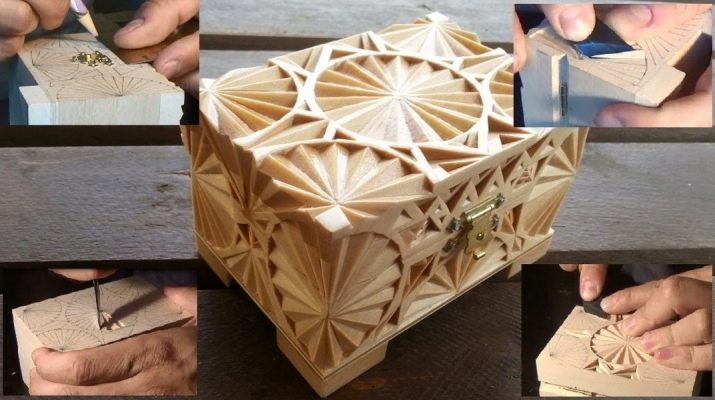
Materials (edit)
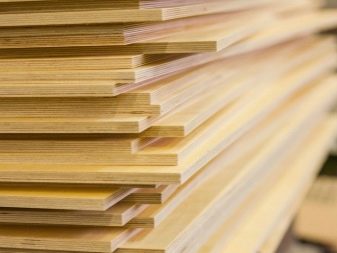
Handmade solid wood box is an expensive and high-quality option. You can safely count on the fact that such a product will serve for more than a dozen years. But there are simpler options, for example, a plywood box. Plywood sheets can be bought in the construction market. The main requirement for plywood is that it must be well dried, and its thickness must be at least 8 mm. If you have to work with damp, insufficiently dried plywood, the appearance of the product will suffer.
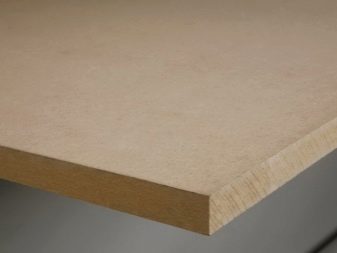
MDF Is a medium density fiberboard. Plates are made from small sawdust so that their structure is dense and reliable. Regular slabs are even and smooth, perfectly homogeneous. Therefore, they are very comfortable in processing: it is not difficult to mill and process MDF with a jigsaw.
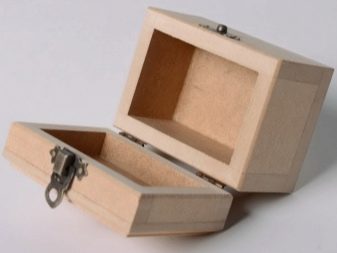
The wood for carved caskets is different.
- Pine. It has a straight-layered structure with yellowness, it is easy to work with it, but it is of little use for shallow-relief carving.
- Larch... The wood is of the highest quality, strong and heavy, but not very easy to work with.
- Juniper. The tree dries out a little and is not afraid of decay, it behaves well when cutting. Suitable for flat-thread threads.
- Oak. The dense wood is distinguished by its graceful structure. Excellent material for carving and turning.
- Aspen... Soft and delicate, it lends itself well to carving with a chisel.
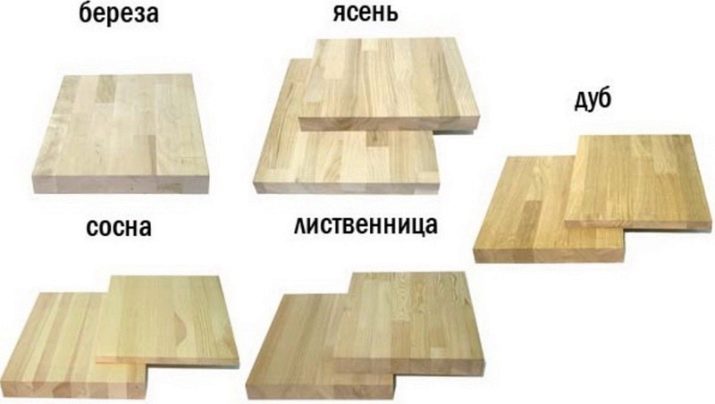
Linden, maple, birch, alder and other species are used in carving. It should be a good, dried, aged tree. When choosing wood, you need to give up marriage - these are knots, cracks, fiber slope, rot and wormholes.
Instruments
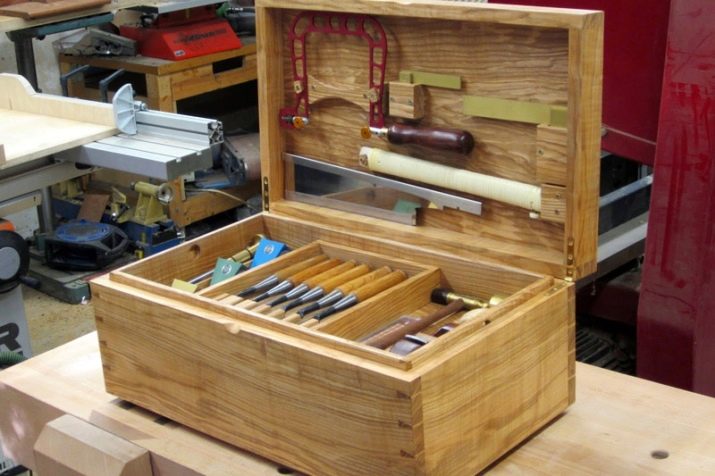
It is not necessary to have a complete set of tools for a novice carver. But the basic kit is needed, and it also cannot always be assembled in one day.
What you need to work:
- jamb knives - tools with a beveled blade, which are convenient for making recesses and grooves;
- cutters for geometric carving - they handle rounds and curved shapes well;
- Bogorodsky knife "Tatyanka" - perfect for "strength" carving;
- chisels - there are many variations of them, often sold in a set;
- jigsaw - simplifies work and speeds up the process;
- engraving machine - beginners may not need anything, but for products for sale, creating personalized and designer items, interesting finds will be required;
- sandpaper - helps to finish the product.
The carver may need a roughing hatchet, a plane and a rasp, a set of patterns, a drill, and nichrome wire for burning.
Step by step manufacturing
Finally, an example of an algorithm for making a carved box with your own hands. We will analyze step by step how to make a beautiful box.
- First you need decide on a project, for beginners, it is optimal to start with a contour thread. The pattern will not run deep on a flat surface; the lines will only form the outline of the pattern. The blank of the box itself will be required, it is good if it is made of soft wood. Cutters call such blanks "linen".
- Ideal if a beginner has already mastered the technique of creating stencils and templates. But you can just try transfer the sketch to the base, the main thing is not to rub it with your fingers. It is convenient to use the gouging technique in this case.
- The carved blank is decorated starting from the back panel... Errors there will not be so noticeable, and at the beginning there are always more of them.
- Defects in flat-relief threads are a common situation. In order not to destroy the pattern, the carver can attract superglue to assistants. It is perfectly absorbed into the carved surface of the box, forming a plastic film on it. But it is not necessary to apply glue everywhere, but in places where the lines converge.
- After the back surface is cut out, you can proceed to the side... And only when everything is ready, and the hand is already "full", you need to engage in the carving of the lid. Yet this is the most important part of the job.
- Usually, you want the box also paint, more precisely, change its tone a little with varnish or stain. If you have to work with varnish, the process will be multi-stage. You will have to cover the product in several layers. And each time you need to wait until the previous layer dries. Simplifies the work of covering the box with aerosol varnish.
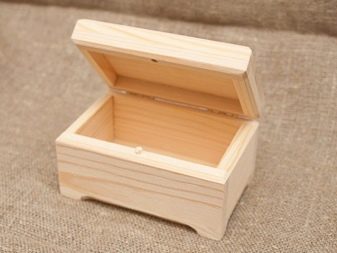
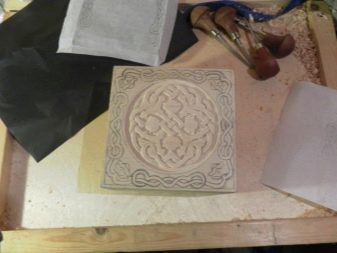
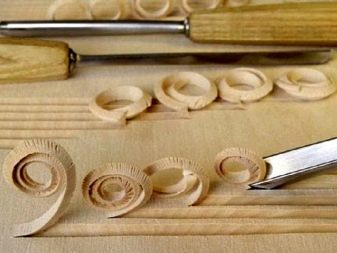
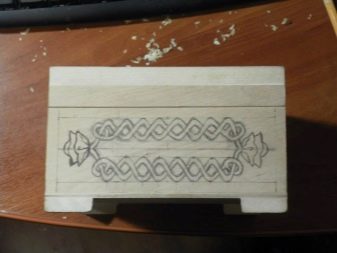
No theory compares to practice: it can only inspire artisan exploits. For some beginners, the drawings and drawings of the future carving seem too complicated, but if you just delve into the principle of the craft a little, the icons and diagrams become clear. And transferred to a tree, they instill pride in themselves and give excellent results.
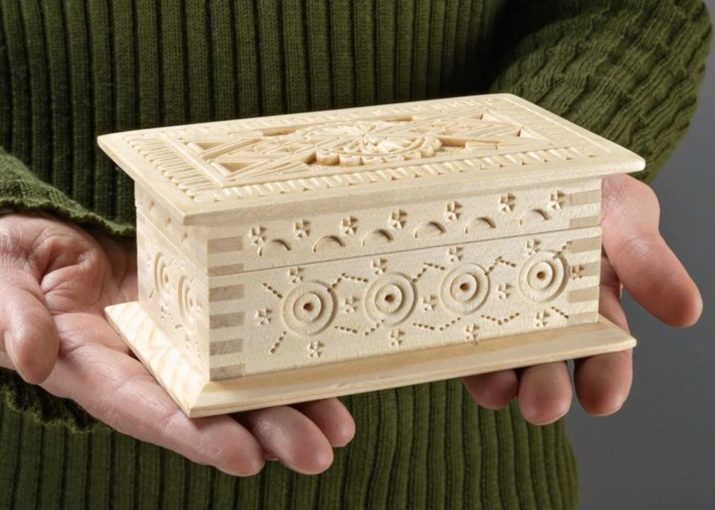
For information on how to make a decorative carved wood box with your own hands, see the next video.


