Utilitarian handicraft
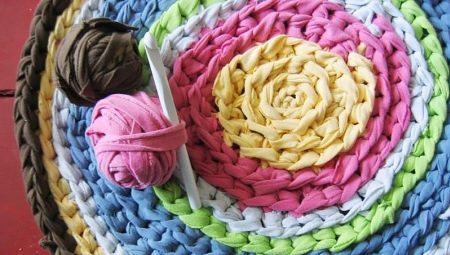
Surely, many have not heard of utilitarian needlework, but the product that people who are engaged in it create, most likely, have seen it. These are rugs, cozy, warm, attractive in terms of creating a unique home interior, but they are made from old clothes, scraps and more. For those who are close to the philosophy of reusing things, this type of handicraft may be to their liking.
What it is?
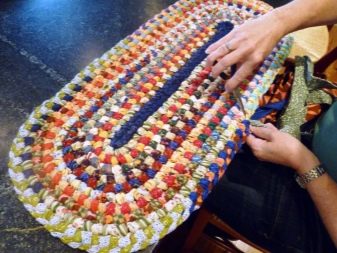
Wicker homemade rugs have always existed, it seems, they just disappeared into the shadows from time to time. Today, when typical interiors created on the basis of Scandinavian brand furniture (or its replicas), you want to "dilute" with something unique, people return to handicrafts. If not themselves, then they find masters on social networks who offer warm, atmospheric decor, made with their own hands. But many decide to decorate a house without intermediaries: they begin to dive deeper into the topic of needlework and come to the idea of weaving rugs, because it does not seem as difficult as, for example, knitting or embroidery. However, these products are not only weaved.
How rugs can be created.
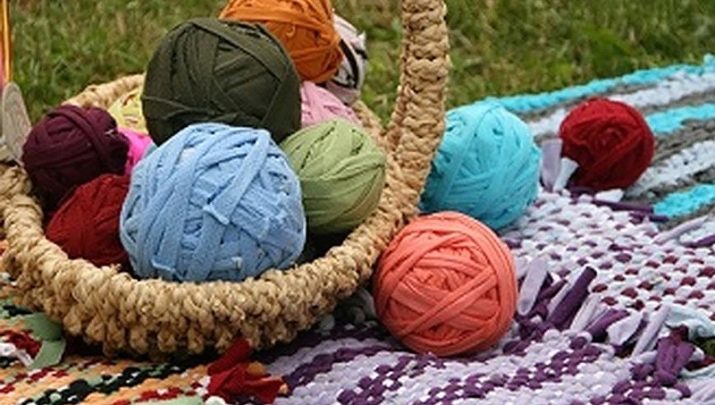
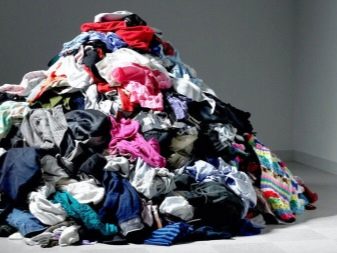
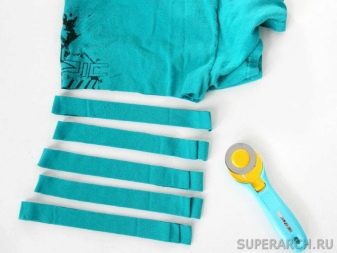
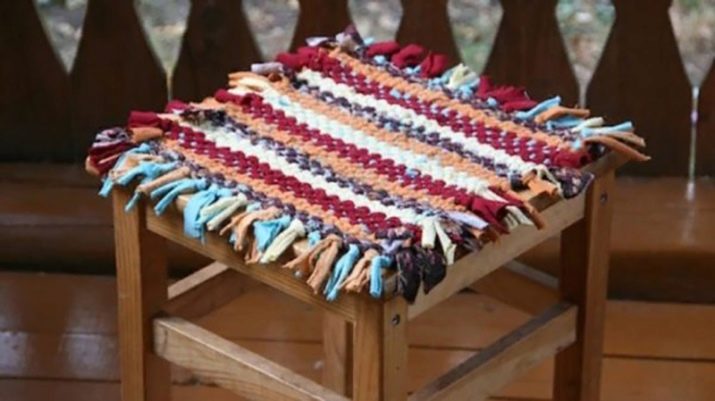
- From fabric and old clothes. For example, they take old T-shirts, cut them into strips and then weave fabric from these strips. Its density depends on the material used. And to strengthen the rug, it is fixed on oilcloth or dense rubberized fabric.
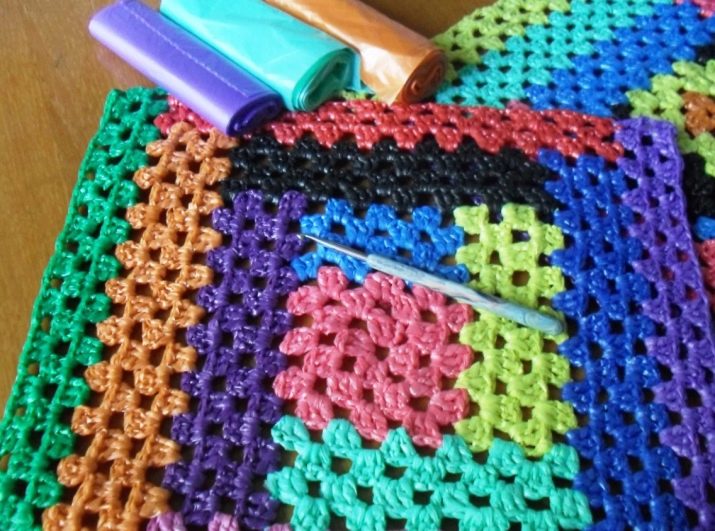
- From old packages. Grocery bags can also be cut into strips and used as threads. Weaving will follow the usual pattern, only the material is slightly different from the fabric.
Such rugs can be used at the entrance to the house (on the porch), in the bathroom, on the balcony, in the utility room.
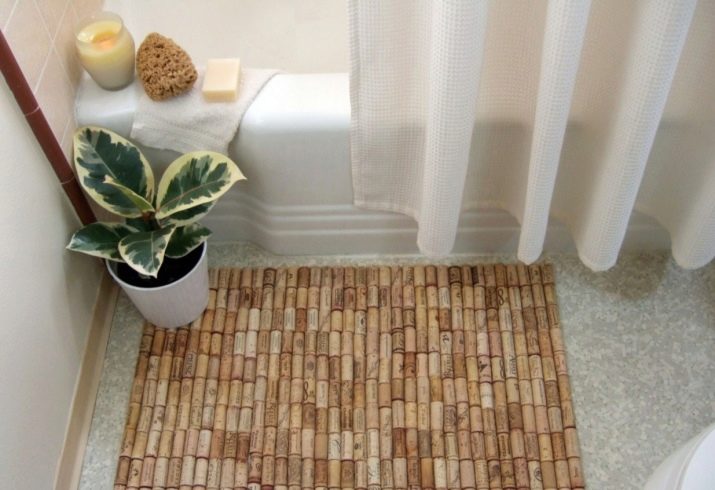
- From traffic jams. Cork mats are often called massage mats because if you try to "stroke" them with your feet, you can relax and get a really pleasant sensation. Typically, these rugs find their place in the bathroom, and it takes about 3 hundred wine bottle corks to create a product. They are glued to the rubber base in halves, that is, for a start, each cork is cut in two. And it will be fixed to the rubber, it will be the flat part. For work, you need a glue gun.
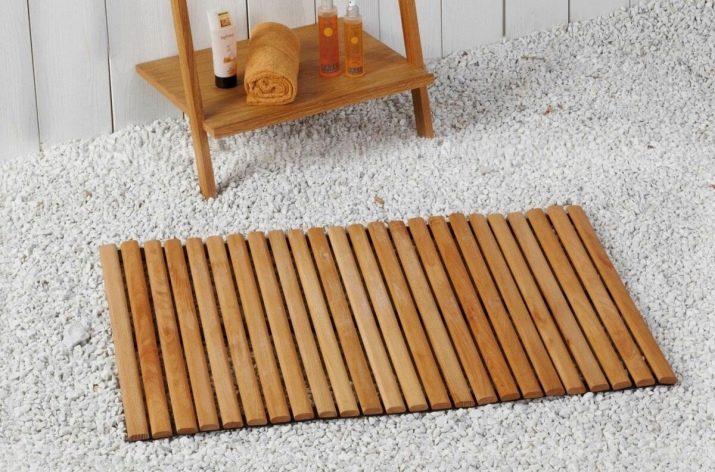
- Made of wooden slats. It turns out a full-fledged mat. Old skirting boards are used, which, after repair, could go to the landfill. But they are selected, sawn into workpieces of the same length, in which through holes are made. And then the straps are simply held together by the synthetic cord. Both concrete and tiles can be laid with this mat.
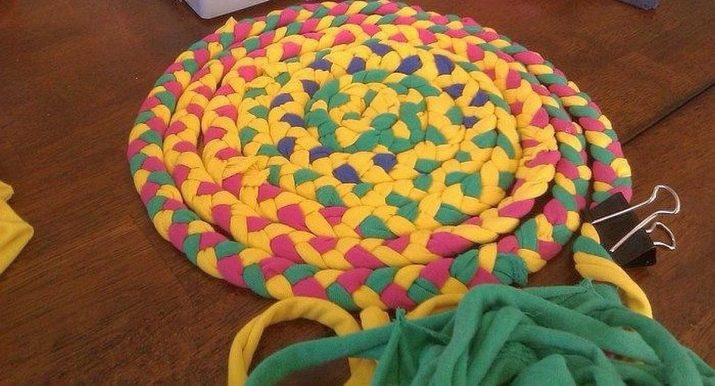
- From braids. Let's say a thick yarn is taken. Pigtails are made from it, long and rather dense. Then these pigtails are woven with a snail and fixed on a dense, glued or rubberized base. Fixed with glue. You will get a delicate round rug, for example, a bedside rug.
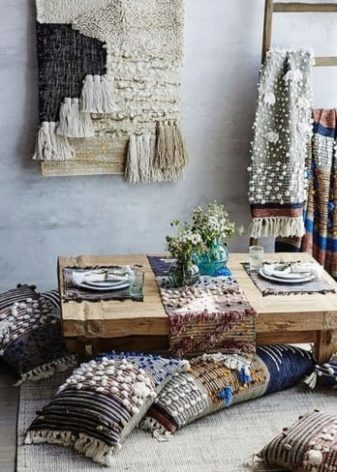
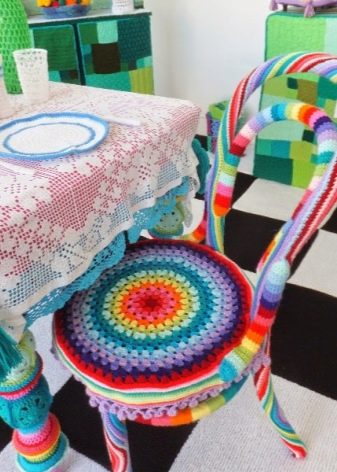
But the rugs can be not only on the floor, but also on the wall. Then you get a beautiful interior panel. This is not macrame, but rather a mixed technique associated with weaving. Rugs are also used as napkins, tablecloths, paths. They can be used to cover window sills, use them as a bedding for a chair, etc. Products can be complete (that is, a set in which both the unity of materials and the unity of technology can be traced) or unique, without a pair or thing-partner.
Master class on creating a rug
Braided rugs have become popular, they compete with products from a linen cord, but both options look great in the interior.
Everyone can master the braid, but you have to find a tool (or make it yourself).
The frame for weaving should be slightly larger than the size of the intended fabric. On two opposite sides of the frame, you need to stuff nails (their caps should be small), you can also use wooden pins. The distance between the studs is 2-2.5 cm.
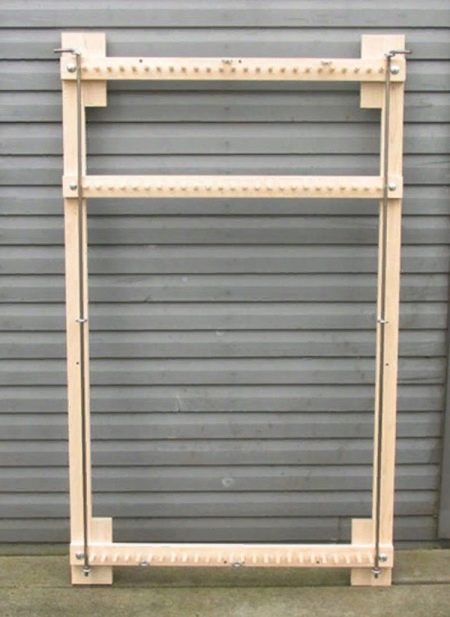
Do-it-yourself wicker rug step by step.
- First you need to secure the warp threads. For this, you can use the same linen cord, thick yarn, twine, or just rags tied in length. The end of the thread must be fastened to the upper stud in the corner, then it is snakelike around all the studs on the upper and lower rungs.
The tension should be sufficient, not too tight.
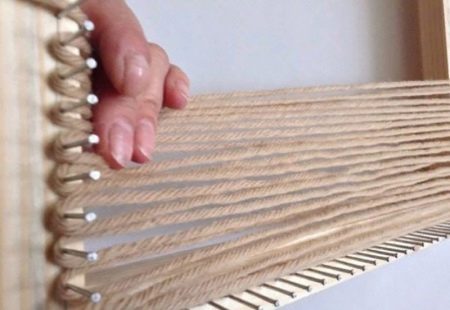
- It's time to prepare the working threads. Very long ones are not needed, because the weaving will constantly "stumble" about untangling them. The next strip must be attached as the predecessor is shortened.
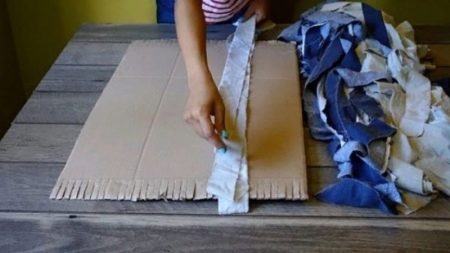
- Weaving begins with alternate skipping strips of working thread above the warp threads below them.
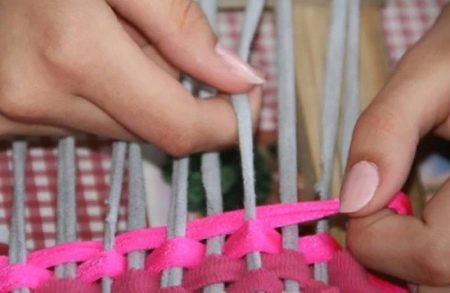
- When the end of the row is near, the working thread is wrapped around the extreme thread of the warp, and the weave continues the other way.
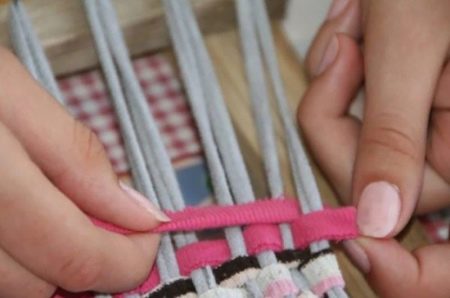
- After several rows, the weaving must be compacted (and this should be done regularly), the woven rows will be pulled up. A wooden fork is very convenient in this sense, although you can do it by hand. The denser the weaving, the narrower the row spacing, the less noticeable the warp threads will be, which is very good.
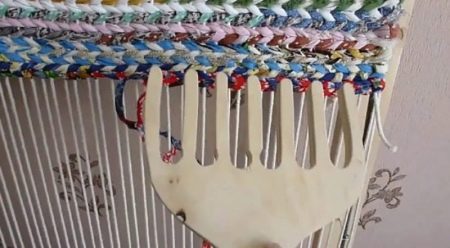
- Weaving goes according to the pattern, the required number of rows is counted, if necessary, the thread is extended (or changes with a strip of a different color). If the color of the thread needs to be changed at the edge of the garment, it should be cut close to it and a new strip should be tied or even hemmed. The knot will remain on the wrong side. But there is another option: tie the strips at the edge so that long tails remain. Then the edges of the product will be fringed, which also looks pretty.
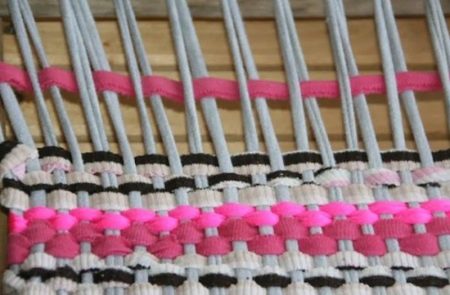
- When all the rows are tied, the mat is carefully removed from the frame. If you want to complicate the weaving, instead of one working thread, you can remove two, they will be intertwined both with the warp threads and among themselves.
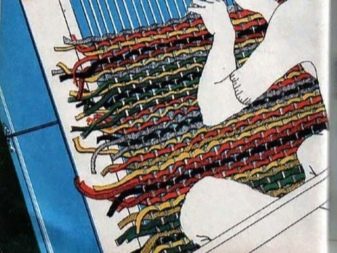
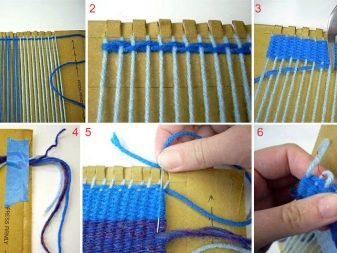
Having once spent time on the construction of the frame, you can use it for a long time, conveniently creating cute rugs for the house.
Patchwork options
Patchwork also refers to utilitarian needlework, and this is a very interesting, with great potential, kind of creativity.
What techniques does this needlework offer?
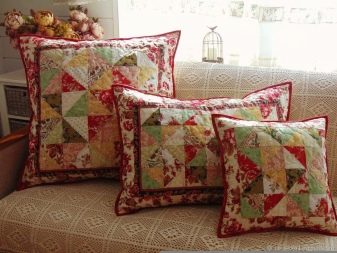
- Classic. It is based on any fabric in which the flaps must initially be stitched together, and then they will be superimposed on the wrong side of the base material. The fabric and cloth from the rags are sewn together. The patchwork pattern becomes the front side of the product, and the material taken for the base becomes the wrong side.
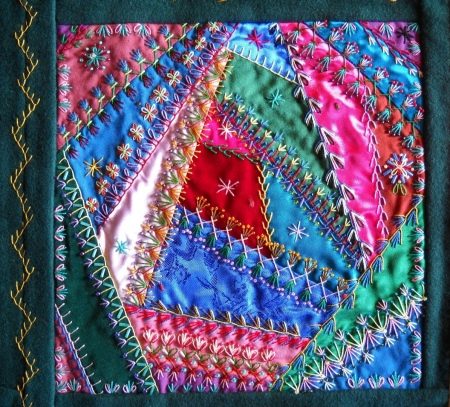
- Crazy patchwork. In this technique, the shreds can be of any shape, they are all sewn to the base, the work becomes bright, and you just want to look at it.
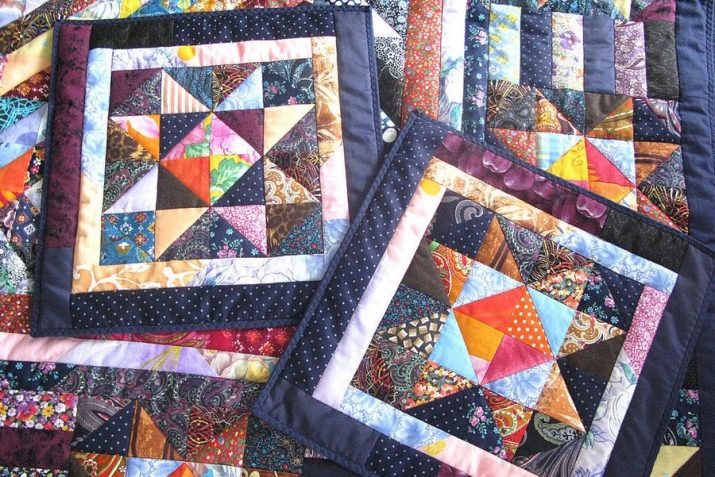
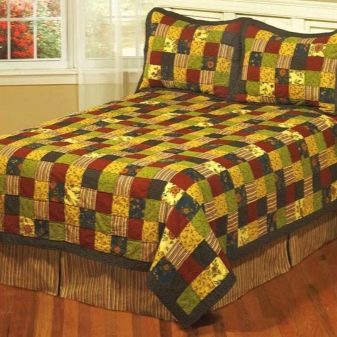
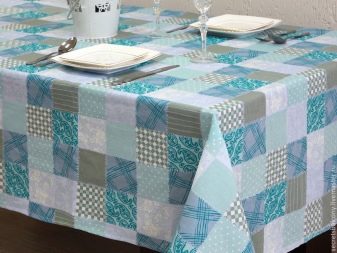
- Square blocks. Many beginners in patchwork start precisely with Russian squares: identical square fragments are cut out from different fabric samples according to a template. A drawing is formed from them, the squares are connected.
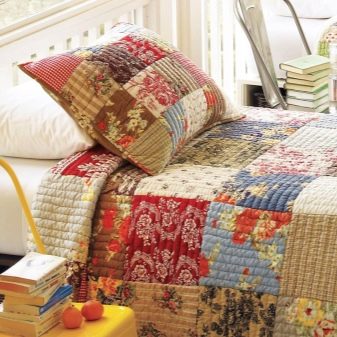
- Stripes. Also, the principle is in combining fragments of different tissues, only in this case it will be strips.
They can be connected in different directions, for example, in a spiral or zigzag pattern.
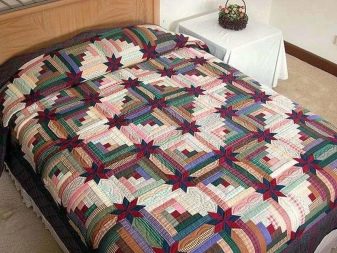
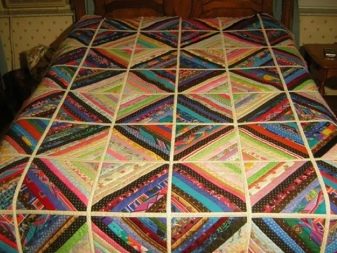
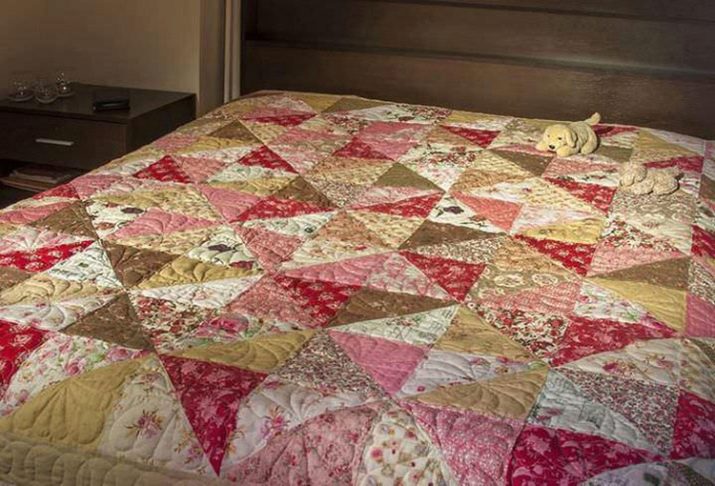
- Triangles. It is easier for beginners to work with fragments that are represented by isosceles triangles. You can sew napkins, table runners, bedspreads and rugs in this way.
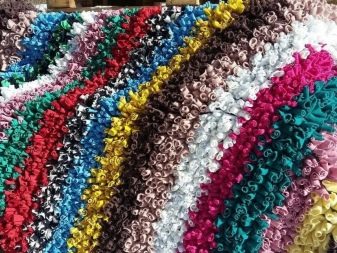
A very cool technique - blooper. Surely grandmother could teach someone such needlework. A base is taken from a dense fabric, you need to sew flaps of the same length to it. The stripes are sewn on one side, and fabrics that are very different in structure can be used. But there is an option "for the advanced": the edges of these shreds must be rolled into a tube (or bent at an angle) to make the thing look more luxuriant. This technique makes very nice cushions.
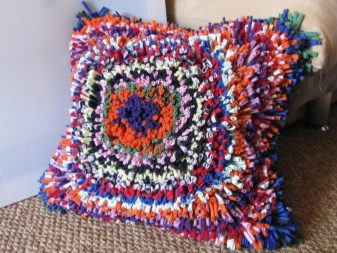
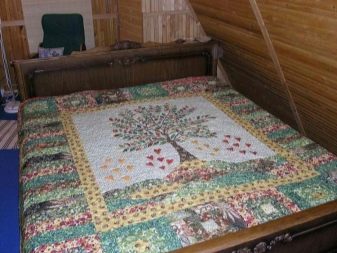
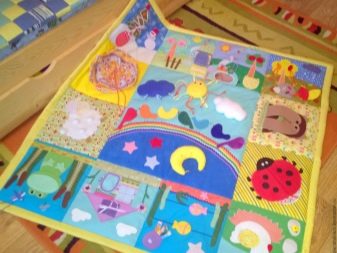
The most attractive thing about patchwork is that things come out very cozy. Therefore, the technique is often used for sewing baby blankets (including for discharge). You can sew a chic patchwork tablecloth, curtains, bag, apron. The tracks on the table, sewn according to the same scheme, turn out to be stylish. But the search for materials itself is also pleasing, because things that have already served their purpose can be used. For example, old dresses, curtains, tablecloths: they are out of fashion, torn, their pattern has faded, but it's a pity to throw them away. And now they will continue to exist in the form of a product in a patchwork technique.
A detailed master class on creating rugs from old things can be found in the following video.


