All about backpack badges
The modern world is replete with the amount of available information that is updated every second, so people need simplified symbols that convey maximum meaning. In other words, each person is looking for a special way of expressing themselves, and one of the most popular methods is attaching badges to clothes, a bag or a backpack. Such a simple decoration can speak eloquently about the character, interests and hobbies of the wearer.
What it is?
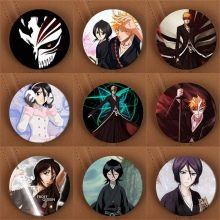
Backpack badges are a kind of small ornaments with a simplified image that conveys a certain meaning. Travelers most often use flags of different countries or emblems of cities for this purpose - in communication, this can become an additional interesting topic of conversation about sights or funny stories from the resort. For movie, cartoon or comic book lovers, decorating their backpack with themed images is a great way to share their hobbies.
Creative people can realize their ideas by creating icons for a portfolio on their own, because there are many ways to make such an item with their own hands. Homemade jewelry looks spectacular on clothes and a backpack, because it is original - it is impossible to find another such creation in the world.
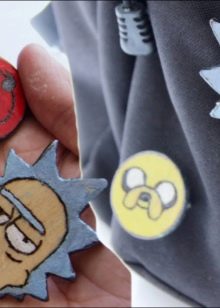
Many aspiring artists often create merch in the form of badges based on original drawings, showing their individuality.
Thanks to the convenient pin-type fastening, the jewelry can be easily attached and removed from the fabric. In addition, you can change the location of the icon at any time by pinning it to another section of the portfolio.It is best to decorate fabrics with such an ornament, because needle punctures remain on the leather knapsack when the location is changed.
What can be?
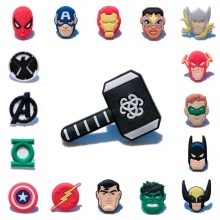
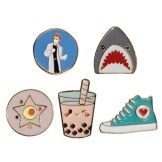
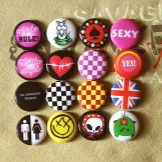
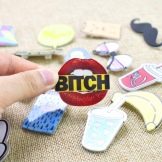
Initially, the badges were not a simple decoration - metal items of various shapes with certain symbols spoke of the status of the bearer or of belonging to any organization. In the present time, insignia are still used for such purposes, but they also became the progenitors of popular jewelry for children, adolescents and even adults. The most popular models are considered to be round products with a bright image - phrases from comics, cartoon animals, mouth-watering food or anime characters.
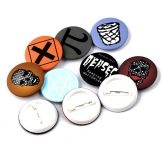
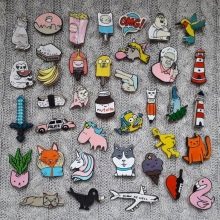
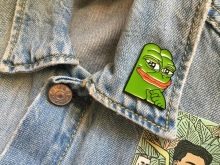
Most often, fashionable badges are made of plastic, but sometimes more expensive iron decorations can also be found. The iron object is usually not round - it follows the outline of the image. Such items are very interesting and original, but you won't be able to make them yourself - you need special equipment.
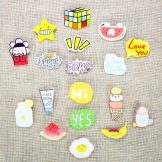
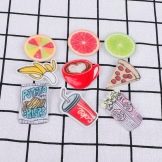
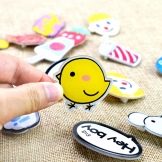
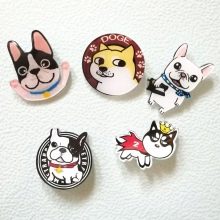
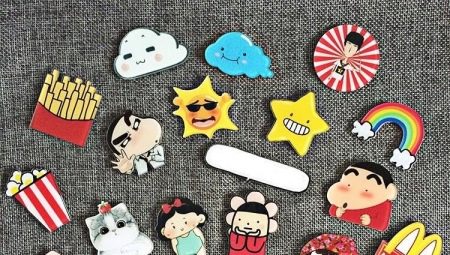
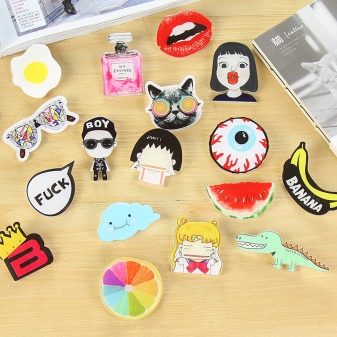
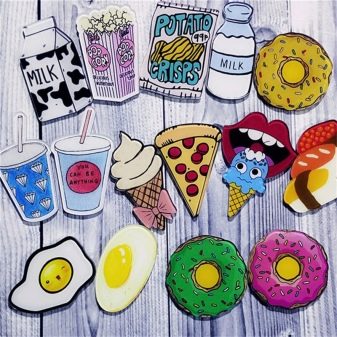
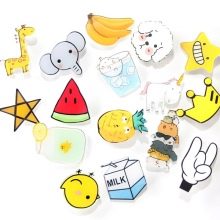
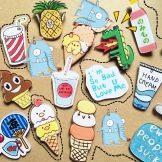
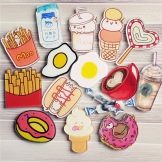
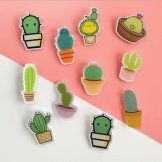
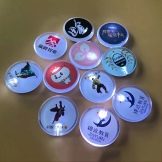
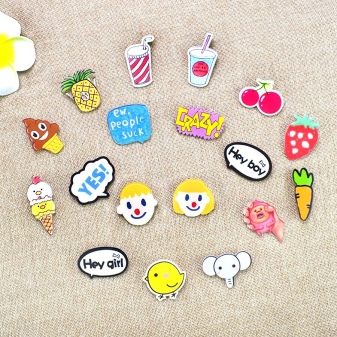
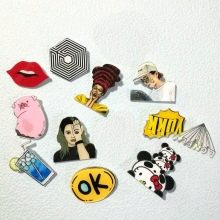
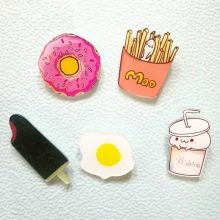
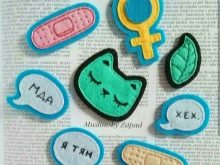
In mass production, round plastic badges are most often produced, but there are also unusual options made in the form of the depicted object. The pictures on these icons are bright and cute - they easily attract the eye and evoke positive emotions.
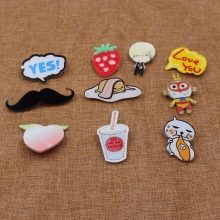
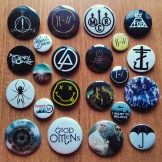
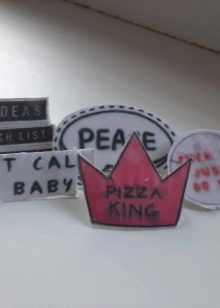
Black or black and white decorations are also often found - against such a contrasting background, capacious phrases or images that carry a deep meaning look very impressive.
How to do it yourself?
When the assortment of items in the store becomes uninteresting to the badge collector, you can make your own cool items. Homemade jewelry is made from different materials, such as felt or a combination of paper and plastic. The fastening of the badge is most often an ordinary safety pin; you can also purchase a special base for the badge at a needlework store.

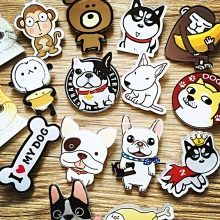
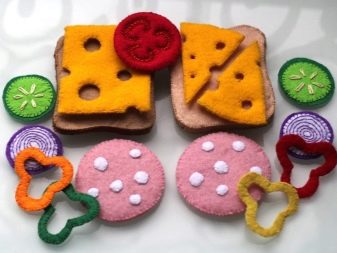
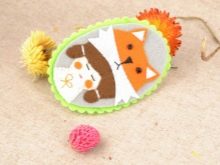
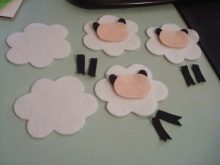
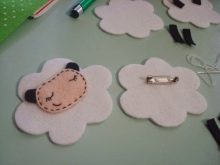
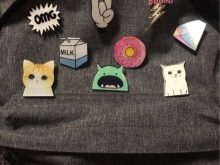
From felt, the cutest products are obtained in the form of an animal's face, for example, a cat, a fox, a hare or a bear. These badges are very aesthetic, because felt is pleasant to the touch and has soft pastel shades. Creating a felt badge with your own hands is quite simple, for this you will need:
- multi-colored sheets of felt - the eyes, nose, ears and fur of the future animal should be different, but matching colors;
- a hand needle and thread in the color of felt - if you know how to use a sewing machine, you can sew on it, but we will consider the method of making it by hand;
- paper - needed to make a template;
- glue gun - needed to attach the fastener;
- pin or special base for the badge.

Next, we will consider the manufacturing technology.
- First, you need to decide on the appearance of the animal - as a sample, you can use your own drawings or examples from the Internet.
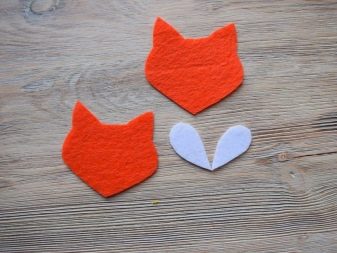
- Having decided on the appearance of the animal, make a template for the face, eyes, nose and other details out of paper. Then fold all the details as they will look in the finished form, adjust them if necessary.
- Cut out all the felt in the desired color. An important point: for the fastening of the clasp to be invisible, you need to cut out two main parts of the badge. In the case when this is the face of an animal, cut out two heads.
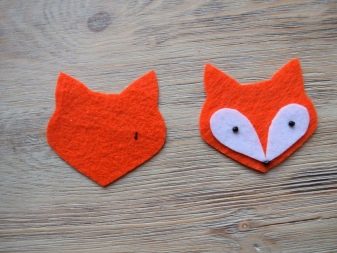
- Sew all the details of the muzzle to the main half of the head with threads in color. Little life hack: the mouth and pupils can be done using black thread - just sew a few stitches, giving them the desired shape.
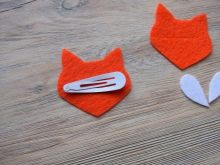
- You need to attach a clasp to the bottom half of the head. If it is a regular safety pin, use a glue gun to glue it across the "nape" of the animal. In the event that this is the basis for a badge or a brooch, it can be sewn with threads through special holes.
- The final stage of manufacturing is the connection of the main and lower parts. To do this, carefully fold the pieces together and lay the stitches with threads along the edge of the garment.At this stage, it is important not to rush so as not to distort parts of the muzzle.
The finished badge will be very original and unique - each person will proudly wear a man-made product. Feel free to experiment with icon designs, it doesn't have to be an animal. There is another method for making badges on your own, compared to the previous one, it is a little more complicated and requires more attention. The second method involves making jewelry with a pattern covered with plastic - the product will turn out to be very neat, as if from a store. Let's take a closer look at the manufacturing technology.
Tools and materials
To make a plastic badge yourself, you need the following items:
- transparent plastic sheet 6 PS (this is used for packing cold food products, for example, cakes);
- white sheet of paper;
- stationery scissors;
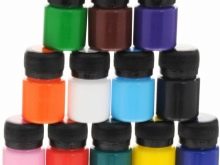
- acrylic paint;
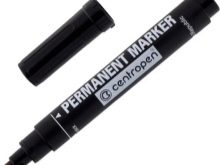
- black permanent marker;
- silicone glue gun;
- baking paper;
- pin or clasp.
Manufacturing technology
Having prepared all the necessary tools and materials, you can start creating the original icon.
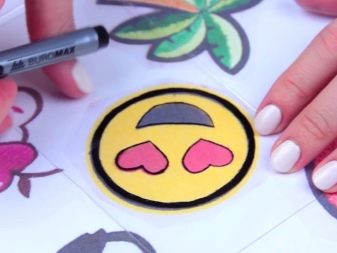
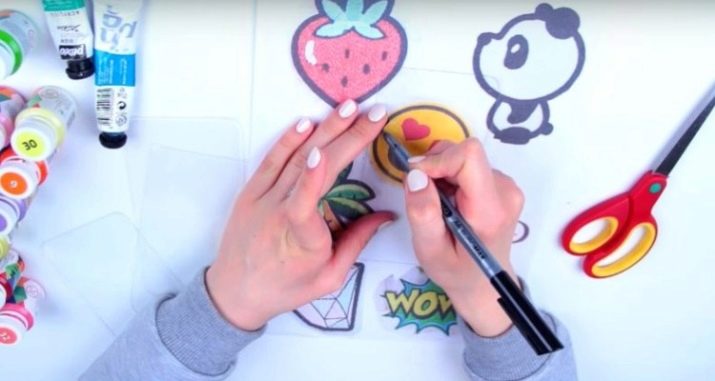
- First, you need to prepare an image - you can draw it yourself on a blank sheet of paper, then your product will definitely be unique. You can also print ready-made images on a printer, the main thing is to decide on the size. It is very important to sketch at least 4 times the finished size of the product - when baking, the plastic will shrink a lot.
- Place a thin plastic on top of the drawing and in detail transfer the lines with a permanent marker to the surface of the polystyrene. Trace only the contours - the color of the picture is applied after baking. Don't worry if the marker doesn’t cover the plastic with a perfect solid color — it will fix it when squeezed in the oven.
- Cut out the finished sketches from a sheet of plastic, leaving a few millimeters from the edge of the picture - this will make the picture look neater.
- On a baking sheet, you need to lay baking paper and place future decorations on it. You need to lay out the pictures so that their edges do not touch, otherwise they will stick together.
- Preheat the oven to 160-170 degrees and set the baking sheet inward for 3-4 minutes. The plastic will begin to shrink very quickly, when the deformation ends - take out the baking sheet.
- The figurines can curl when baking, so while they are still warm, press down on them with something heavy with a flat bottom, such as a saucepan or glass.
- Paint the cooled flat icons on the back with acrylic paints. Particularly small details can be painted on the front side, taking care not to overlap the black outlines.
- Apply silicone glue to the back of the badge.
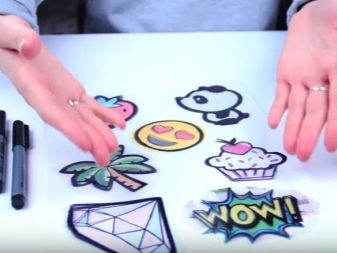
When you complete all the steps in the instructions, the icons are ready to use - you can attach them to your backpack and bravely show off your homemade creation to your friends.
How can you attach?
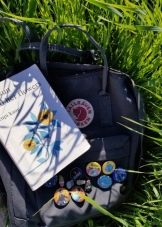
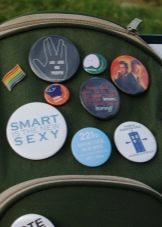
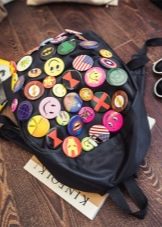
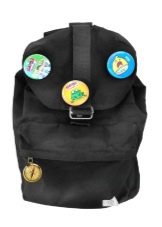
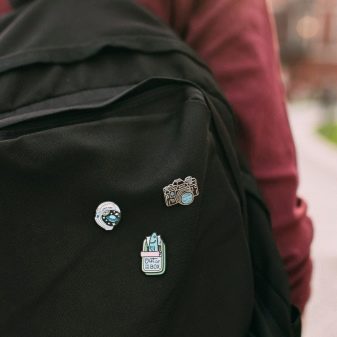
More often than not, people prefer to wear badges by attaching them to their backpack. You can decorate a portfolio with one bright icon or several at the same time - they can be hung in an interesting order, creating a new design of the backpack. Also, badges look interesting on sports and travel bags that are worn over the shoulder.
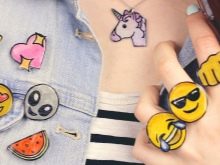
You can attach a homemade jewelry not only to a bag or backpack - it will look great on a knitted sweater and denim jacket. Especially inventive people attach badges to sneakers - for this purpose, it is advisable to use small products.
Beautiful examples
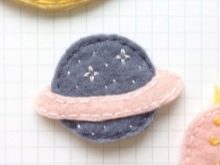
The choice of an icon primarily depends on the interests and preferences of the wearer, because they reflect the nature of a person's hobbies. Girls most often prefer bright pictures in the form of cute animals or cartoon food with eyes - ice cream, citrus slices, strawberries, lollipops or candy. For boys, the assortment of decorations is also quite large, it can be a car, a soccer ball, a rocket, a slice of pizza or a box of popcorn. Travelers will definitely be happy to attach badges with recognizable city architecture or beautiful landscapes to their bags. For fans of anime, movies and cartoons, the ideal icon is the one that depicts the characters of your favorite work.