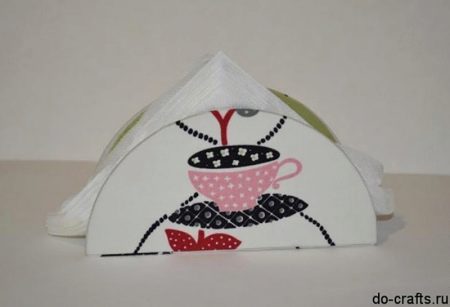
We make a do-it-yourself napkin holder from cardboard

The napkin holder is an irreplaceable attribute on the kitchen table. Such stands are often made by hand from various materials. Today we will talk about how you can independently make a beautiful napkin holder from a cardboard base.
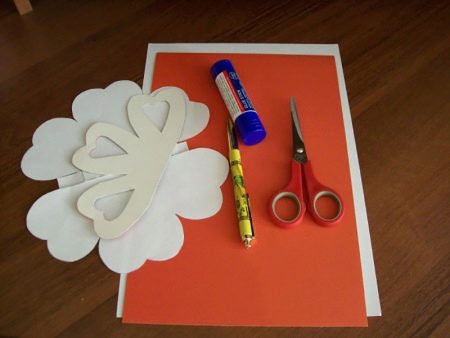
Tools and materials
First, you will need to prepare the materials and tools that will be required to create this product. They are:
- thick cardboard of the color you like;
- White paper;
- PVA glue;
- scissors;
- pencil;
- a brush for applying glue;
- templates;
- a pen with an empty core.
Step-by-step manufacturing scheme
When everything you need is ready, you can start creating a homemade napkin holder.
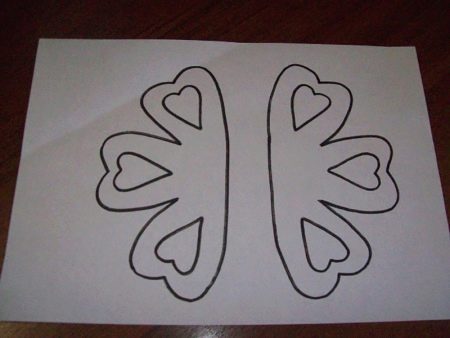
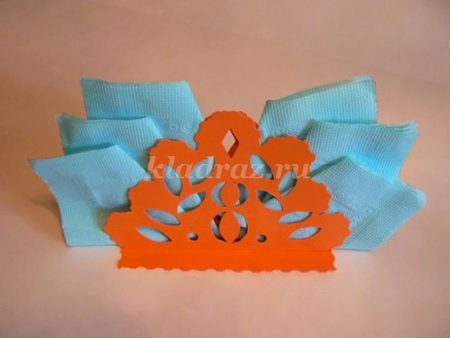
- First of all, you need to choose the most suitable templates for the base and decoration.
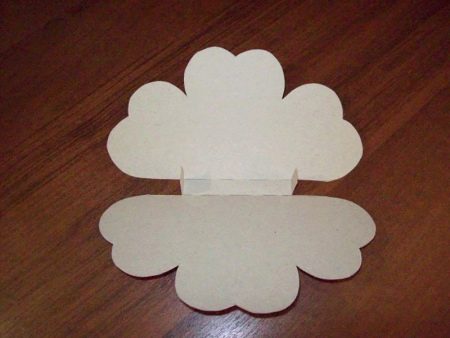
- After that, the selected base sample is placed on a cardboard material, its outline is drawn with a pencil, and then the resulting blank is cut out with scissors. On the blank from the template, you need to transfer the places of its fold for the further manufacture of the base of the salad bowl.
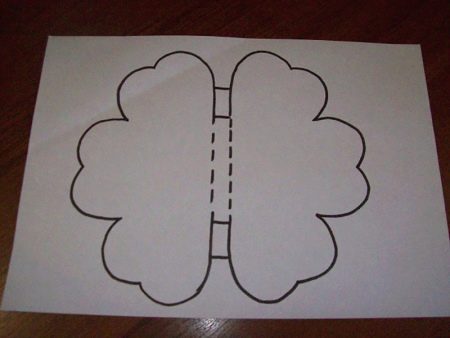
- Further, on the workpiece along the outlined dotted lines with the help of a non-working rod of the handle, narrow grooves are drawn along which it will bend to form a napkin holder with all the details: the bottom, two side racks and fasteners made at the same time with the bottom.
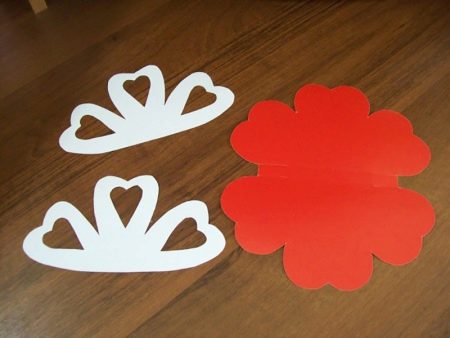
- It remains to transfer ready-made templates for decorating the cardboard base of the napkin holder onto white paper, and then cut them out as well.
There should be 2 such parts - one for each side post.
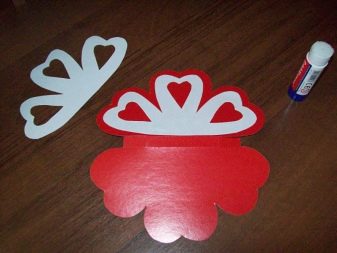
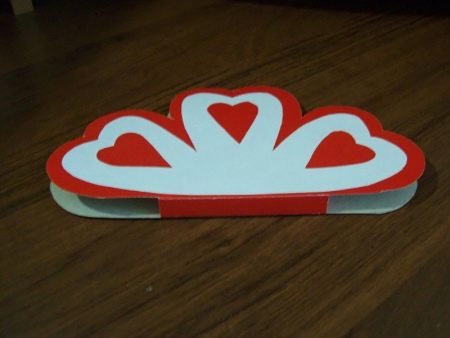
- Having done this, you can immediately stick the blanks on the cardboard base from the front side. They will act as decoration for the item.
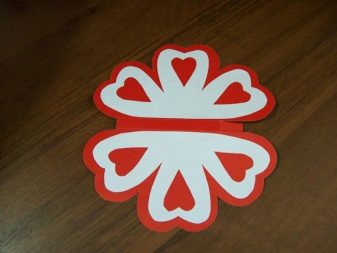
- Now both halves of the resulting product will need to be carefully bent along the dotted lines from the inside, giving them the appropriate shape of a napkin holder, and then glued to the fasteners.
This craft can be done with children.
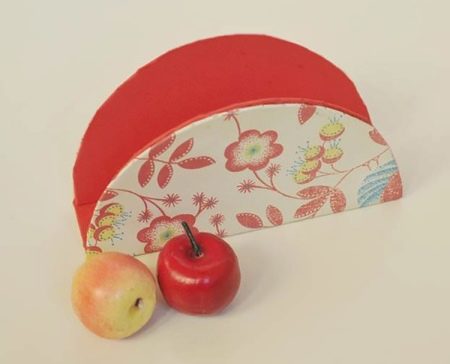
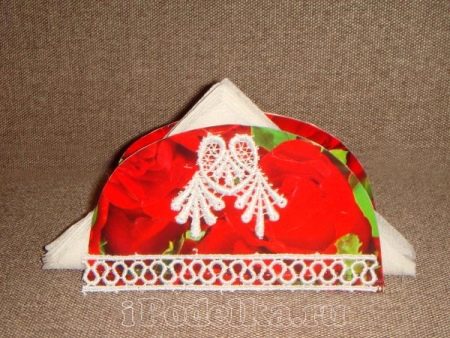
Let's take a closer look at another step-by-step scheme for making a homemade napkin holder.
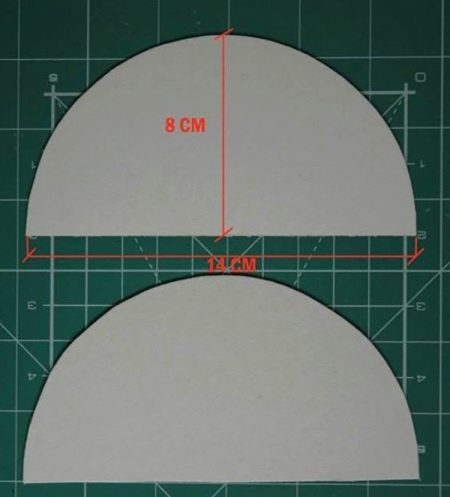
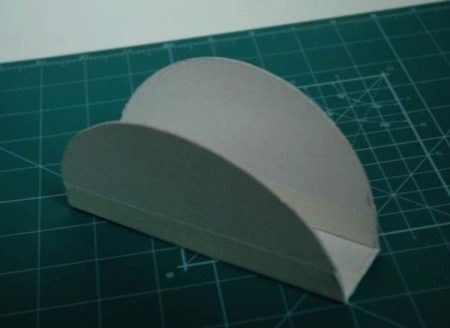
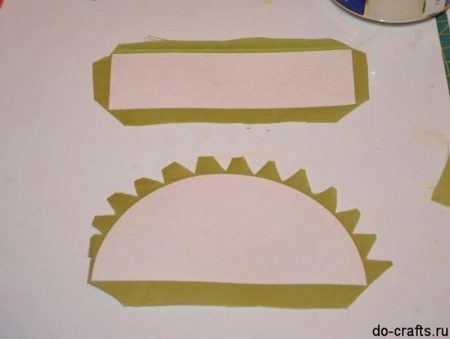
- Cut 4 blanks out of thick cardboard in the form of semicircles - they will be the sides of the stand.
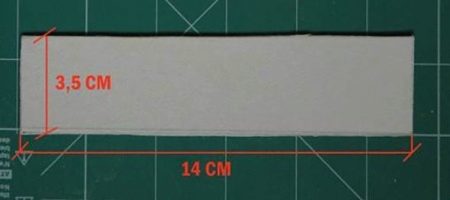
- Cut 2 rectangles from the same material - these are the bottoms. The sizes of the bases of the semicircles and the long sides of the rectangles must be the same.
- It is better to immediately connect two semicircles and 1 rectangle together into one product - the basis of the table top. In this case, a wide mounting tape is often used, which will provide the most reliable and strong fixation. All parts are glued together end-to-end and on both sides (from the outside and inside).
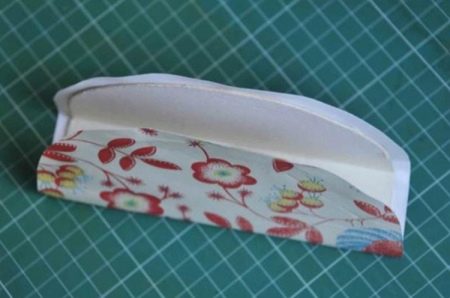
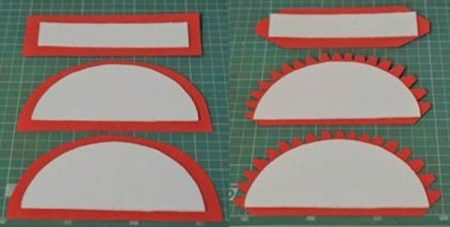
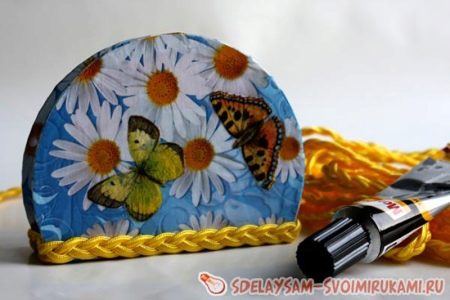
- Next, you need to take colored paper, the color of which can be any. Sometimes elegant gift paper wrappers are taken. From them, according to templates, blanks are carefully cut out for decorating the base of the stand. In this case, it will be necessary to make allowances of at least 3 cm on each side.

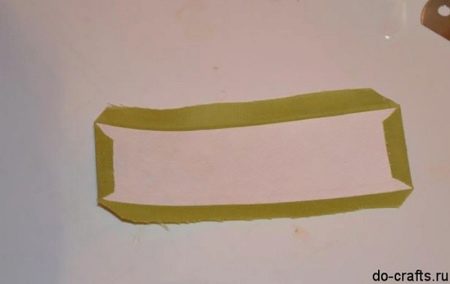
- Now the outer part of the cardboard stand is pasted over with blanks of colored paper. It is necessary to ensure that folds and other defects do not appear on the surface, as they can spoil the appearance of the product. It is better to fix it with PVA glue.
When gluing, it is recommended to use a thin brush, which allows you to gently apply the required amount of adhesive to the product.
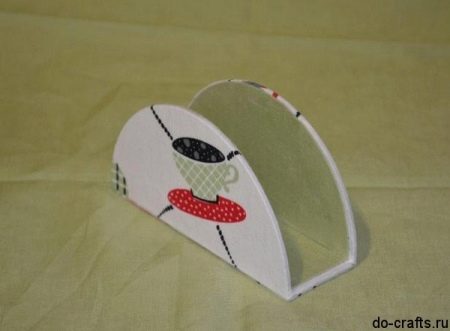
- Then scissors are taken, with which the edges of the napkin holder are shaped. The remaining allowances on the paper are slightly notched, but the cardboard part is not affected.
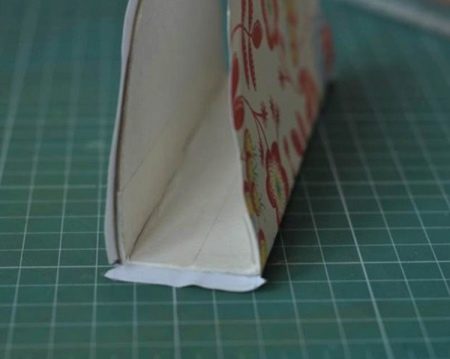
- The resulting cut elements of the paper "cover" are carefully folded into the inside of the napkin holder and fixed there with glue. Perform the same actions on the side parts and on the bottom of the product. As a result, pieces of colored paper will not stick out, as they will be hidden on the inside of the stand.
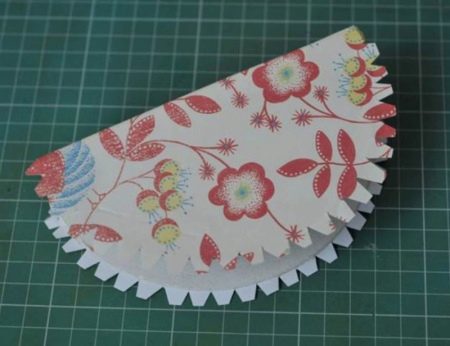
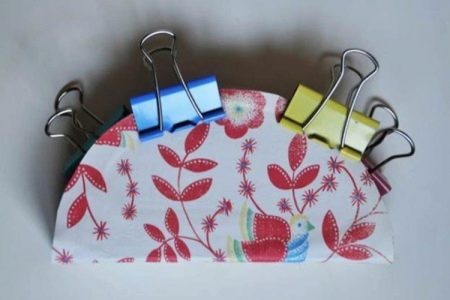
- Later, small jagged holes are formed at the edges, not reaching the edge of the cardboard material at a distance of 3-4 mm in order to prevent gaps. The cuts are glued to the back. In order for the adhesive to adhere well, you need to hold the parts with clips or clothespins for a few seconds.
- The workpiece should be left for a while so that the glue can dry completely. At the same time, the rest of the cardboard parts are taken, which will later be placed inside the finished product.
-
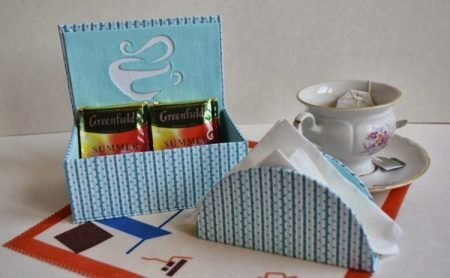
To decorate the internal section of the stand, in addition to the remaining semicircular and rectangular parts cut out earlier, you will need decorative elements made of colored paper. These parts, cut according to the same patterns, are glued to cardboard blanks.
- After that, the corners are carefully cut from the resulting cardboard blank with scissors. And you will also need to cut off about 2-3 mm on each side so that they can fit into the inside of the stand, but do not stick out.
- At the final stage of manufacturing, the crafts connect the internal and external finished parts. To do this, first the bottom part is glued in, and then the side parts. If there are allowances on the finished stand, they are also folded back and fixed with glue so that they do not stick out.
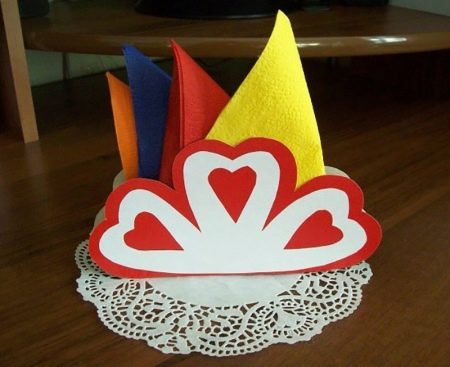
It remains to wait until the glue on the finished napkin holder is completely dry, after which it can be placed on the dining table.
Useful Tips
When making such cutlery, you should use PVA glue or Moment-Kristall composition. These adhesives will make the fixation of all parts of the stand as strong as possible. In this case, a glue stick is rarely used.
When making crafts, it is better to use ready-made drawings and templates.
Templates will allow you to cut neat and beautiful blanks, and diagrams or drawings - not to be mistaken with the installation.
To make the napkin holder original, you can use special curly scissors. They will allow you to easily create beautiful patterns on various parts of the described table accessory.
When creating napkin holders, it is better to use several different materials of different colors.... In this case, the overall composition of the craft turns out to be more beautiful and interesting. If you wish, you can take other additional details for decoration.
A detailed do-it-yourself napkin holder workshop can be found in the following video.


