Do-it-yourself napkin holders
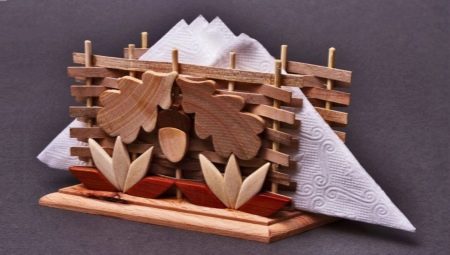
Napkin holders are an integral part of table setting. If desired, such products can be easily made by hand. They are made from a variety of materials. Today we will talk about how you can independently make these devices in various ways.
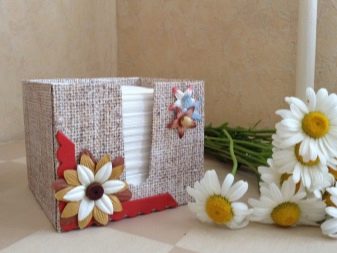
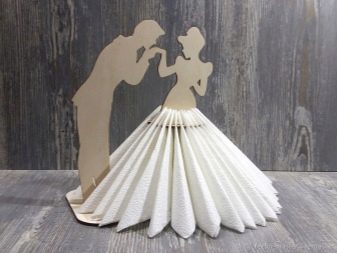
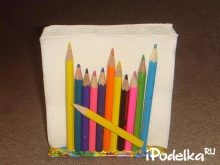
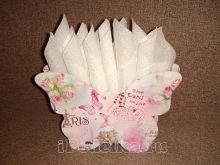
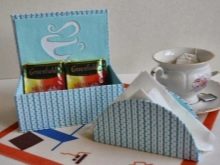
Crafting from paper and cardboard
Before you start creating such a napkin holder at home, you should prepare all the materials necessary for this:
- cardboard sheet of any color;
- white or colored paper sheet;
- glue (you can take either PVA or glue stick);
- scissors;
- ballpoint pen;
- templates.
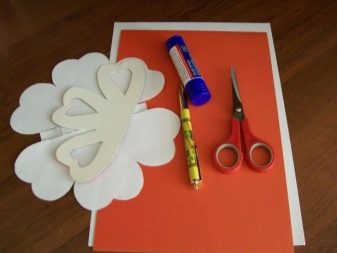
When everything is ready, you can start making a homemade napkin holder.
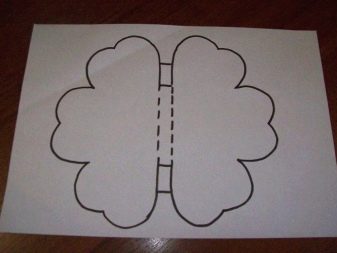
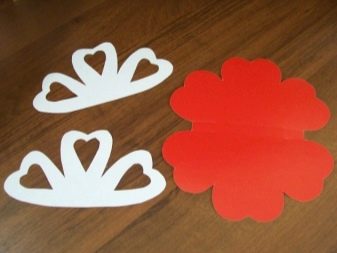
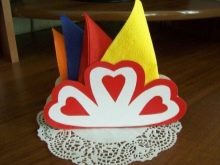
- To begin with, take templates. Beautiful openwork samples should be selected, they will be needed when creating jewelry for a future napkin holder.
- The template is tightly applied to a sheet of cardboard and outlined with a simple pencil, then blanks are cut along the marked lines. In total, you need to make 3 such decorative elements.
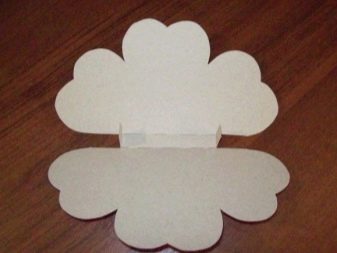
- After that, small grooves are formed on the parts, and the material is further bent along them. This can be done with a ballpoint pen.
- In addition, you will need to take a separate template to form the base for the napkin holder. It is applied in the same way, circled and cut out.
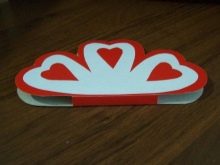
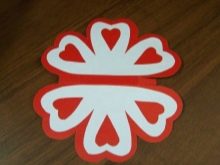
- Later, the pieces, made of white paper material, are neatly attached to the cardboard blank with glue.
- After that, both sides of the workpiece are fastened to each other from the inside. The result is an interesting and beautiful kitchen product.
If desired, it can be additionally decorated with other decorative elements.
How to make from newspaper tubes?
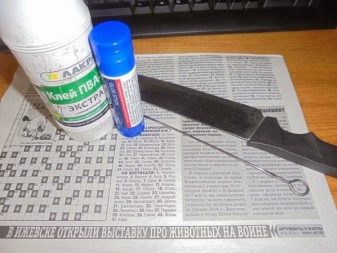
Now let's consider a master class that allows you to make beautiful napkin holders from a newspaper. In order to weave this original stand, you will need the following materials and accessories:
- old newspapers;
- scissors;
- glue stick;
- stationery knife;
- long knitting needle.
Step by step algorithm.
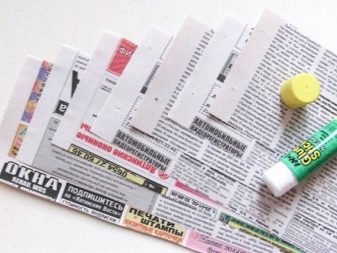
- First, you should prepare the newspaper tubes themselves. To do this, the sheets of the newspaper are cut along the direction, while the width of each element obtained should not exceed 5-7 centimeters. In this case, cut should be strictly along the fibers. Otherwise, the workpieces may turn out to be ugly, and it will be much more difficult to twist them. Before starting weaving, it is worth putting a little pressure on the paper - if the gap turns out to be even, then this means that it goes along the fibers.
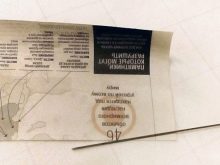
- Then one edge of the strip is wrapped around the edge of the knitting needle so that in relation to the rest of the material it is placed at an angle of 45 degrees. Then the paper is gradually wrapped around a metal knitting needle until a thin tube is formed.
- The ends of the paper blank are carefully coated with adhesive. When it dries a little, the knitting needle is gently pulled out. This procedure is repeated with all newspaper cutouts.
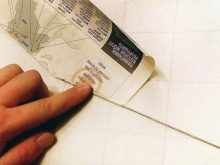
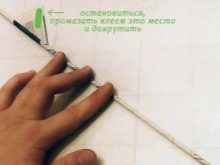
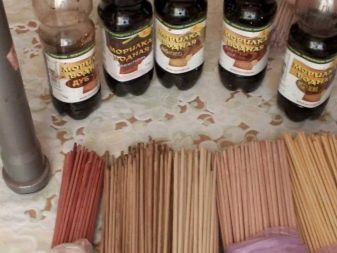
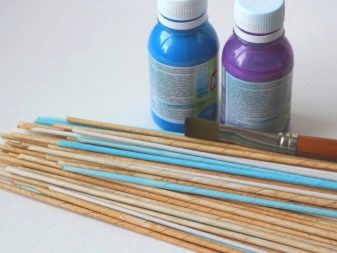
Later, finished paper blanks are dyed. This will make the napkin holder more beautiful and colorful. For this, you can use various formulations.
- Acrylic paint. Such a substance will give the finished product a light glossy finish. In the process of drying, the paint will begin to harden, therefore it is recommended to apply it already on the finished craft.
- Gouache. These coloring compositions have quite bright and rich shades. It is best to dilute them with a little water before use.
- Wood varnish. This substance for covering the napkin holder will give it a rich and juicy shade. But in this case, it will be necessary to apply several layers.
- Stain. It can be alcohol-based or water-based. This composition is sometimes also diluted with water.
If desired, the tubes are additionally decorated with sparkles and rhinestones. As a result, the blanks will acquire an unusual and beautiful design. After that, you can start the process of weaving the napkin holder itself.
There are a wide variety of weaving techniques.
Let's consider how to make a square product.
- To do this, first take a sheet of paper, markings are applied to it, where the racks of the future kitchen napkin holder will be placed. One newspaper tube is laid out on each rack.
- Two twisted paper blanks are neatly connected together with the help of an adhesive, all this is bent. The resulting element is put on the first stand, then they begin to weave with a rope in two tubes to the end of the row.
- Then weaving is carried out in the opposite direction. To make a U-turn, turn the lower tube, and then the upper one. In this way, 4 rows are made, gradually building up newspaper tubes, inserting them into each other behind the counter.
- One tube will need to be hidden, while the second blank is increased. Weaving continues with chintz until a fabric is obtained, the length of which is 18-20 centimeters. In the process of work, it is better to hold the workpiece a little so that the side parts do not lose their shape.
- It is better to hide the free ends of the material in front of the counter, then they are simply cut off. As a result, the front side should be a flat piece in the shape of a rectangle.
- Next, the napkin holder is turned over to the wrong side. The package with napkins is fixed strictly along the central line. A paper web is folded around it, it is fixed in this position with a thin elastic band.
- After that, the product is well coated with glue or colorless varnish. Then, 2 double parts are formed from 4 newspaper blanks, they are glued at the distance where the edge of the napkin holder will be located. The workpiece is wrapped with it. All of this joins each other.
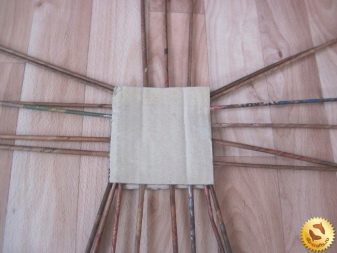
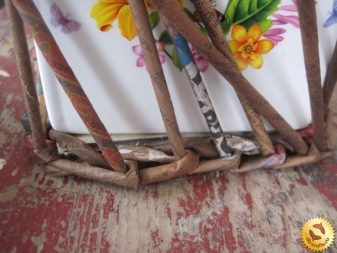
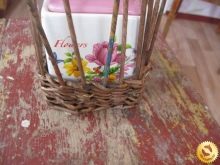
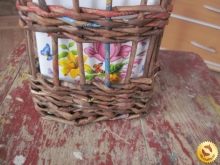
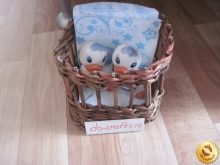
When the product is completely dry, you will need to carefully remove the package with napkins. If desired, the finished craft can be decorated with various decorative details. In this case, it is best to glue them at the joints of the elements in order to hide them.
You can also weave the item to create an imitation of a grapevine.
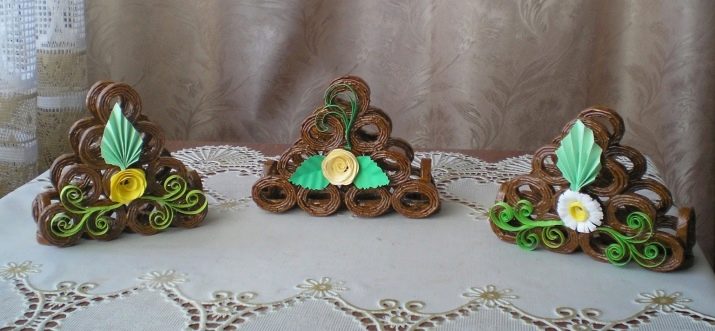
Homemade wooden napkin holder
To make this napkin holder with your own hands, you should prepare the following materials in advance:
- pieces of plywood;
- simple pencil;
- jigsaw;
- PVA glue;
- strong thread;
- pen (not writing);
- a device for burning wood;
- copy paper;
- sandpaper (varying degrees of grit).
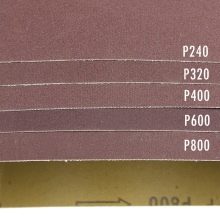
Procedure.
- The selected plywood is carefully pre-cleaned using sandpaper. This process must be carried out in stages. After that, the material should be completely flat, have a glossy surface.
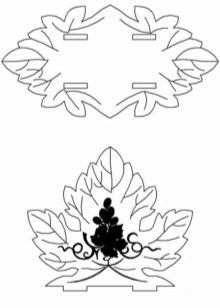
- Then a suitable drawing of an openwork pattern is selected. It translates to wood. To do this, it is better to use carbon paper, a simple sharp pencil, a ruler, and a ballpoint non-writing pen. To make it easier to work, it is better to attach the drawing to the plywood with buttons.
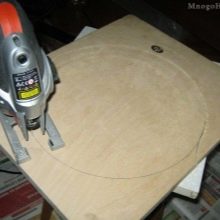
- At the base of the future stand, holes are made that will act as grooves. There should be 4 of them in total. Saw out such elements from the inside. In this case, first, holes are drilled in the workpiece, the diameter of which must be at least 1 millimeter. They can be made using a regular awl.
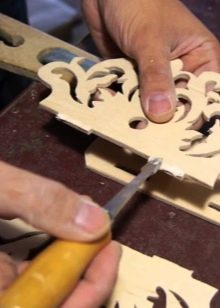
- Now you should start cutting out the blanks. First, you need to make the internal details, after that move on to creating the outer pattern. The work is carried out along the pre-marked lines with neat movements of the jigsaw in the up and down direction.
- Further, all the cut out elements are processed with sandpaper. After that, they begin to glue the resulting wooden parts. To do this, it is better to use a PVA adhesive.
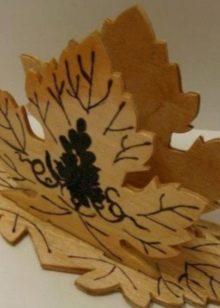
When the napkin holder is completely ready, it is decorated with a variety of patterns. In this case, you first need to draw a sketch with a simple pencil, and then it is carefully burned out using a special electric apparatus.
Making from scrap materials
The kitchen stand can also be made from many other materials. We'll look at some of the individual options below.
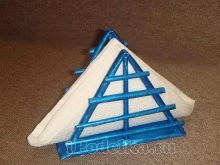
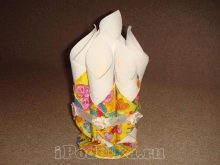
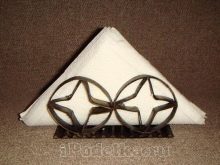
From disks
In this case, it is worth preparing in advance:
- 3 computer disks;
- Scotch;
- PVA glue;
- glue gun;
- acrylic-based paint and acrylic varnish;
- stationery knife;
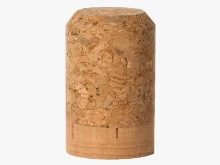
- wine stopper.


Algorithm.
- At the first stage of creation, all discs will need to be trimmed. In this case, two side parts are removed from one of them, and one side part from the other two.
- After that, the central section of the discs with a hole is sealed with several dense layers of adhesive tape. At the same time, an adhesive mixture is prepared with PVA and water, while the proportions should be equal.
- Using the resulting composition, a white napkin is glued to the base using the decoupage technique. To do this, the brush is dipped in the finished substance and with its help the paper material is impregnated so that small folds begin to form.
- When all the glue is completely dry, a layer of white acrylic paint is applied to the central part of the workpiece, which is sealed with tape. The product is left in this form until it dries.
- Next, colored napkins for decoupage are taken, two decorative patterns are cut out of them, while you can use ready-made templates.
- The cut parts are glued to the central part of the workpiece. In this form, everything is covered with transparent varnish and dried with a hairdryer.
- Later you need to take a sponge for washing dishes, apply a few drops of acrylic paint on the hard side. The color can be any at will, the golden coating will look spectacular. The dye is thoroughly rubbed with polyethylene.
- Then, with short, ragged movements, they begin to process the surface of the workpieces, without affecting the drawing.
- At the end, the finished product is decorated with napkin cords. For this, thin threads are formed, they should also be pre-painted with acrylic pigment. Then these elements are fixed to the outside of the napkin holder.
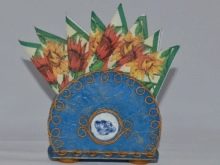
- At the final stage, all the parts are put together and glued. On the inner surface of one of the side parts, you will need to glue two parts of one cut wine cork, it is better to do this with a glue gun. These elements will serve as restraints for the napkins.
The second side blank must be fixed to the other side of the plugs exactly opposite.
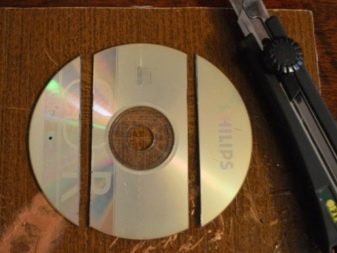
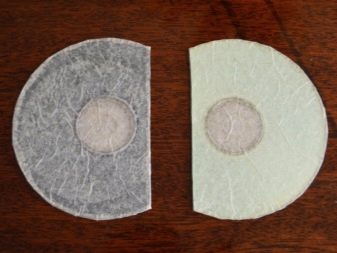
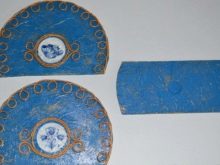
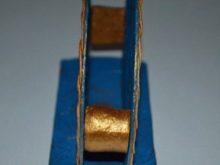
From a plastic bottle
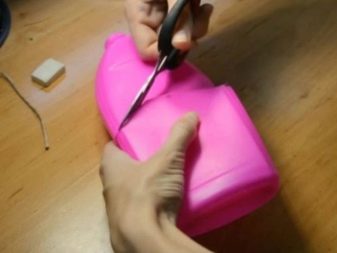
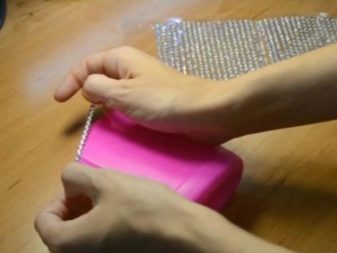
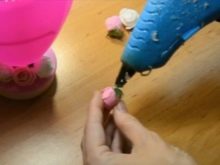
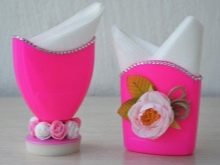
In this case, to make a kitchen napkin holder, the bottle is carefully cut into two equal halves. You can use sandpaper to remove burrs from the surface. Special self-adhesive rhinestones are glued along the edges.
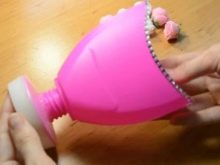
After that, using a glue gun, the second half of the bottle is glued with the neck to the lid from under the cream jar. Further, both napkin holders should be decorated with artificial flowers.
From pasta
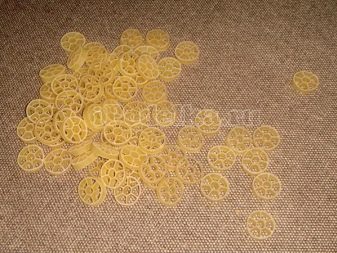
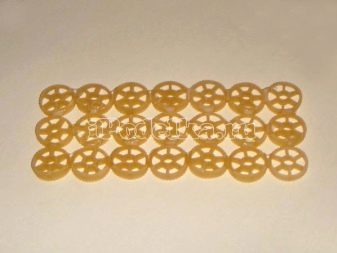
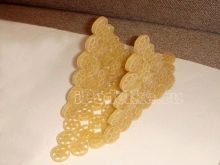
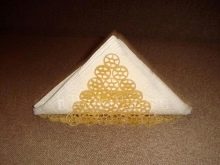
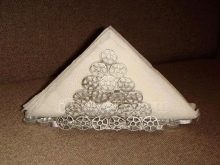
Now we will consider how to make such a pasta kitchen product with our own hands in stages. To do this, you need to take the "wheels" pasta. A plastic bag is laid out on a flat surface, pasta is glued on it in 3 rows, each of 7 pieces. You can use simple PVA.
Then, two sides of the future napkin holder are formed. To do this, pasta is glued vertically, while reducing each row by one piece. The lower part of the product will need to be slightly extended by gluing 3 such "wheels". Further, the resulting structure should be decorated, its surface is covered with a golden or silver coating, such paints can be found in spray cans.
How you can make a cardboard napkin holder with your own hands, see the next video.


