How to make a cardboard box with your own hands?
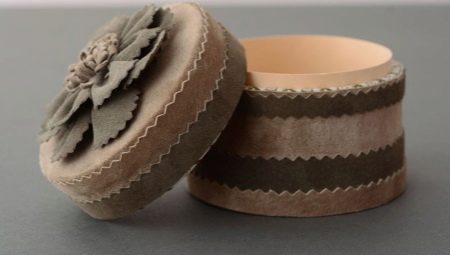
Everyone can become a happy owner of the box, and it is not at all necessary to pay big money for it. The box is easy to make with your own hands from the cheapest material - cardboard or paper.
Simple option with paper
Origami is a wonderful art, the magic of creating three-dimensional shapes from a flat sheet of paper. Now we will focus on the simplest addition scheme available to beginners.
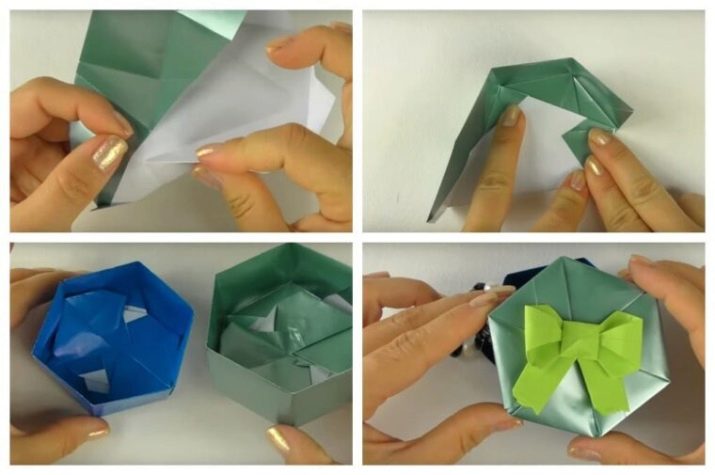
Origami paper hexagonal box
Materials:
-
2 sheets of 15.5x15.5 cm of the same color;
-
2 sheets of a different color and size - 15 x 15 cm.
Instruments:
-
scissors;
-
ruler;
-
pencil.
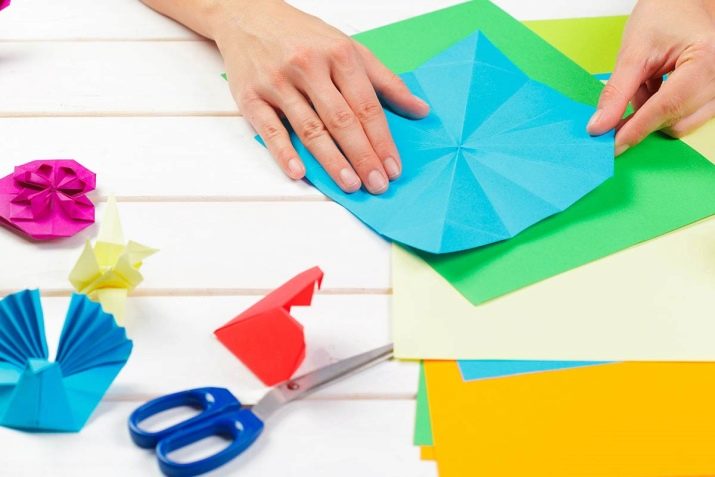
Phased execution of work.
-
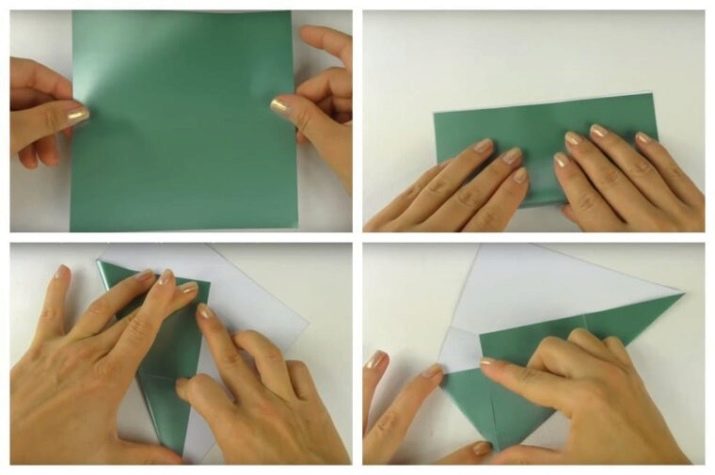
One of the large sheets is used to make the cover.... If the paper is one-sided, then the sheet is laid with the colored side down, wrong side up.
-
The sheet is folded in half, clearly ironing this and all subsequent fold lines.
-
Then the sheet is unfolded and folded across again, forming a perpendicular intersection of the folds.
-
Next, the lower left corner is bent with the end to the central intersection of the lines, thus obtaining a new corner on the right side. In this case, it is necessary to ensure that all lines, corners and points are clearly formed, even and smoothed.
-
With a free corner, the sheet is turned towards the manufacturer and the lower part is folded towards the upper corner, carefully making sure that the tip is visible... To do this, it is enough to leave a corner of no more than one centimeter.
-
The resulting fold is smoothed, and the tail visible from above is folded over and pressed tightly against the workpiece, after which it is revealed.
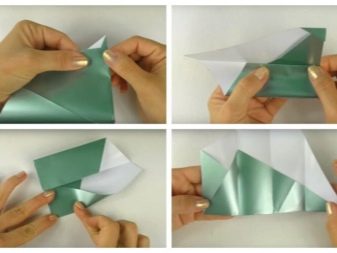
Now it's the turn of the horizontal folds.
-
The lower part is folded towards the horizontal fold, thus dividing the space into two parts.
-
The opposite side is manipulated in a similar way.
-
After that, the form is unfolded, the lower part is folded towards the upper one until the intersection of the multi-colored sides.
-
Fold back, fold the right half.
-
Next, the material is turned towards itself with the right side, and the triangle is folded again, making sure that its sidewall touches the top.
-
The workpiece is unfolded again, and the resulting figure is folded in half, then unfolded again.
-
Now the side of the future box is already visible.
-
Holding it, you need to iron all the lines going vertically.
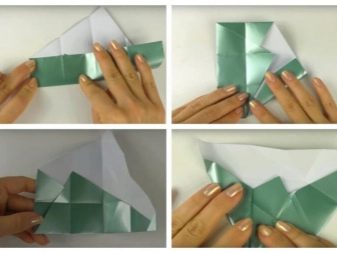
It's time to start assembling - all folds are folded diagonally, while doing all this in such a way that the material wraps inward, and so on to the opposite side.
Thereafter, the remaining paper is wrapped inward and the first blank is completed. Now we need to make another, the same part from a second sheet of the same size. When both parts are ready, they are combined into one. One half of the box is ready.
The second half is made in the same way, only from sheets of a different size. As a result, you get two halves of one box, one of which, the smaller one, is the base, and the second, large one, serves as a lid. The lid can be decorated with a bow, ribbon, rhinestones and other decor.
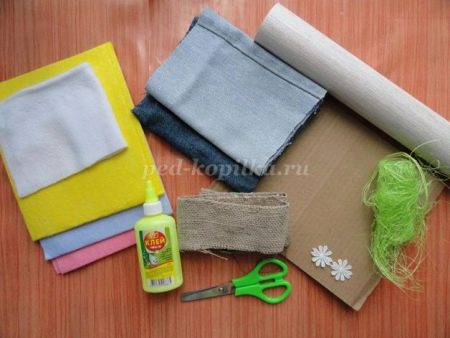
Making a craft with cloth
The offered round cardboard box, easily made by hand, looks very beautiful, even exquisite. Its implementation is a simple process, but rather painstaking. Therefore, it is better to be patient in advance. Its design in black and red plaid looks impressive, but the print can be any - it all depends on the taste and purpose.
To complete the intended work, you will need tools:
-
compass;
-
ruler;
-
thermal gun;
-
stationery knife;
-
tailor's chalk;
-
lighter, hand needle;
-
scissors, a simple pencil.
Materials:
-
a piece of satin ribbon;
-
any fabric, lace, rhinestones, artificial flowers.
The first thing to do is to cut out the blanks for the box from the corrugations. For this you need:
-
2 circles with a diameter of 16.3 cm;
-
4 circles with a diameter of 15.5 cm;
-
rectangular strip 50.8 cm long, 8.7 cm wide, placing a 3.5 cm mark on the edge for an overlap.
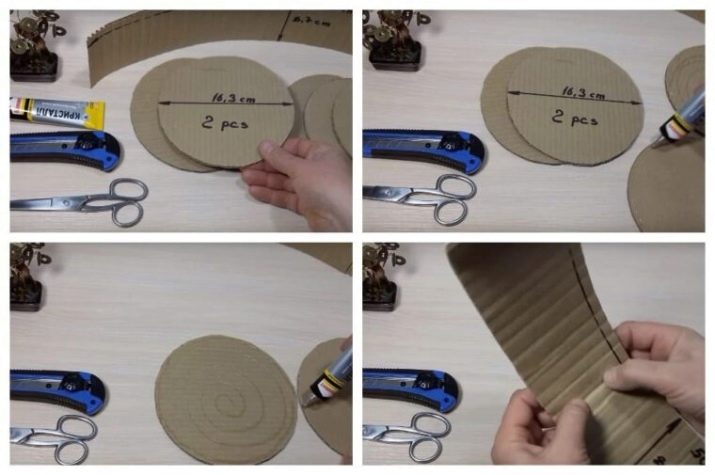
Large circles must be tightly glued together in pairs, getting two thick round blanks. To make it easier to work with the strip, it can be ironed, after which it will become more plastic. The upper part of the cardboard is removed from both sides at a distance of 3.5 cm. After that, the edges are glued together to form a ring. Now is the time to assemble the blanks into the box.
-
The first circles of 15.5 centimeters are placed on the bottom and glued together, while applying glue on the outside and inside.
-
Glue is applied to the remaining large and small blanks and they are combined in such a way that the smaller rounds are in the center of the large ones.
-
The resulting cover should fit snugly into the collar ring.
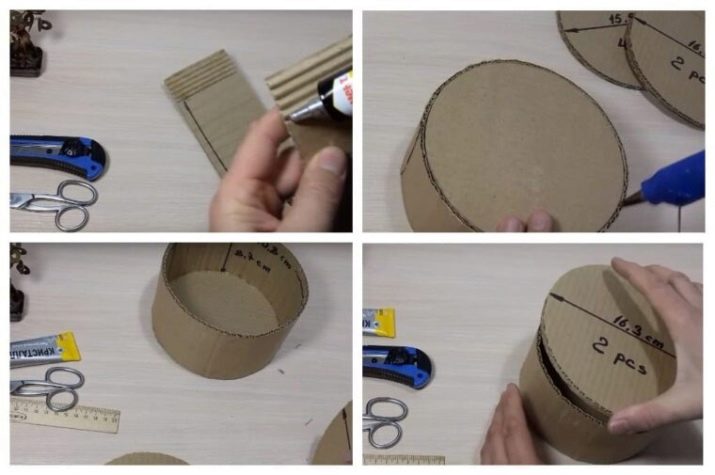
The box is ready, now you need to decorate it and make a little thing out of the craft, worthy of being a gift and decoration of a room, for example, a dressing table.
You can move on to the decor.
-
Fabric parts are cut to the same dimensions as cardboard ones, but with an increase of three millimeters.
-
The cut fabric is glued to the bottom, then the inner walls are pasted over using a strip of 51 cm long.
-
The part of the fabric protruding from above is wrapped outward, covering the cuts of the sides and fixed with a glue gun.
-
Now decorate the outer side of the box with a cloth.
-
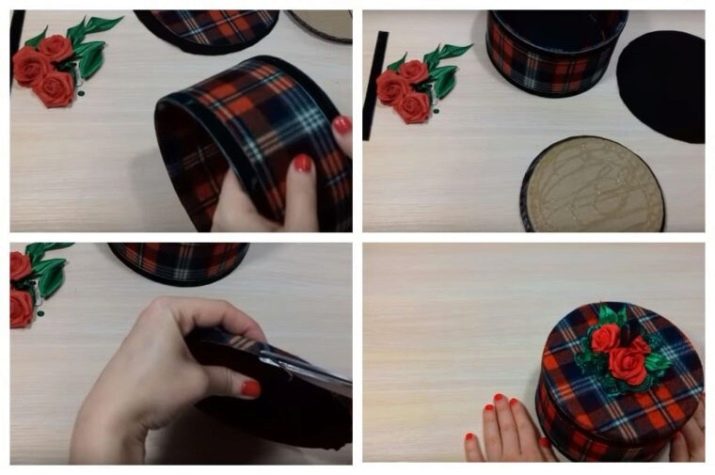
The top edge, like the bottom, is closed with a satin ribbon using glue.
-
For the lid, you will need to cut two circles out of the fabric - 17 cm for the bottom and 18.5 cm for the top.
-
First, the lower part is closed, and then the upper one, after having sewn a loop from the ribbon to it.
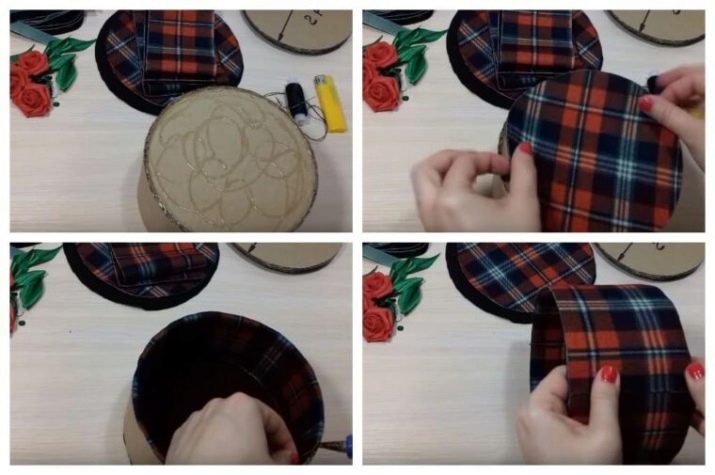
The box for cosmetics, jewelry and other little things is ready.
It remains to decorate it with flowers, rhinestones and other decorative elements, put it on its legs, attach decorative handles on the sides - whatever you like. This can be done for children - a large one will serve as a repository for designer parts, small toys from kinder surprises, and so on - the range of applications is huge.
Making in the form of a book
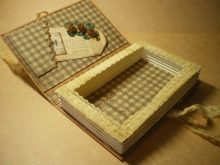
Old books make beautiful boxes, and may the book lovers forgive us. This is not blasphemy, this is a second life for a print publication that might otherwise end up in recycling or simply in a landfill. Today's master class offers a book box decorated using decoupage technique. What this means is not worth explaining now - the topic is too broad.
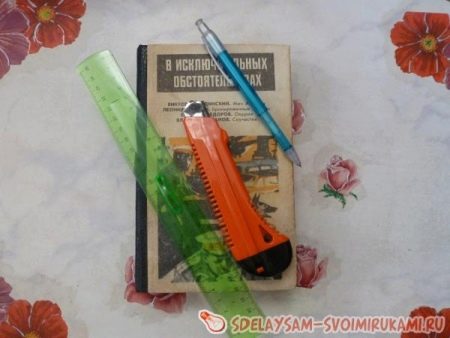
Instruments:
-
stationery knife with a set of blades;
-
scissors, masking tape, metal ruler, brushes.
Materials:
-
glue - PVA, "Moment";
-
alcohol-based crackle varnish;
-
oil and acrylic paints, sheets of plain paper;
-
decorative elements for decoration - ribbons, braid, rhinestones, chains, metal parts.
Step by step execution.
-
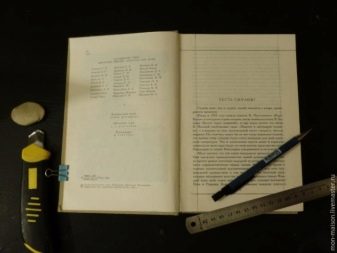
Open the book, fix the title page with the cover with clips.
-
On the first page, an outline of the future internal space is drawn - a square or rectangle. Then they begin to cut through the thickness of the pages to the required depth (usually to the back "crust"), stepping back 2 cm from the edge.
-
Algorithm for cutting a "window": no more than 5 sheets are cut at the same time, placing a metal ruler or plate under them. If you take a larger number of sheets, then they can "move off" from under the blade, as a result, the cut will be uneven.
-
Cut pages require great care when flipping and clamping.
-
After the required depth is cut, a sheet of paper is laid down, the inner surface of the box and the "walls" are coated with glue with PVA glue.
-
Then another sheet is placed on top, and the whole structure is sent for 12 hours under the press.
-
After the press, the top sheet is removed, and the side walls are coated with glue.
-
Next, the endpaper and the first sheet are cut out, glued, and again under the press for 2-3 hours.
-
To preserve the integrity of the cover, it is covered with masking tape, and all parts of the box are painted with acrylic. The paint must be applied in several steps, since each layer requires maximum drying.
-
After that, three layers of varnish are applied in the same sequence.
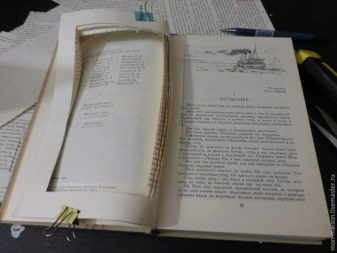
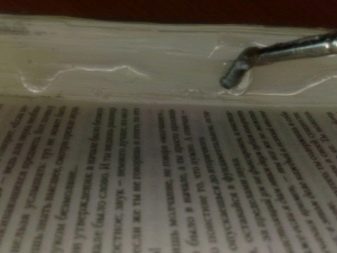
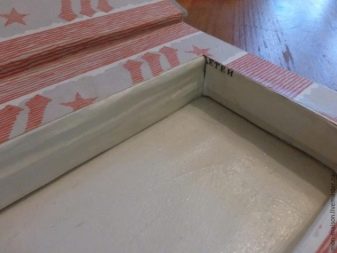
When the product is well dried after painting and varnishing, it is time for craquelure. Formed cracks are rubbed with a special compound - oil or pastel. It takes about 6 hours to dry.
Subsequent staining is performed using napkins and sticks by wiping. The box is tinted in any shades, creating iridescent overflows, mixing colors, adding colors and stirring with a stick until the desired result. In this case, you need to monitor the paint - it should spread a little.
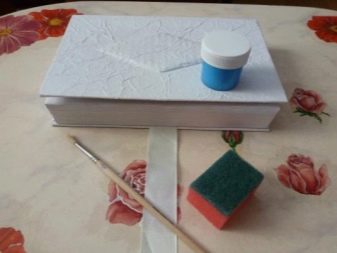
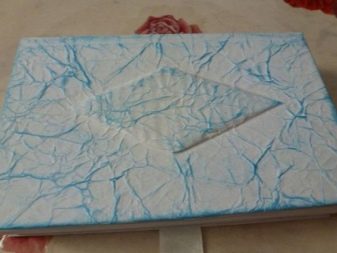
After the next drying, and this takes 2-3 days, the finished surface is fixed with two layers of varnish, the inner surface is decorated with scrap paper. The final stage is the decoration of the finished box with prepared elements. The assembly of the box with a lid in the form of a book is now complete.
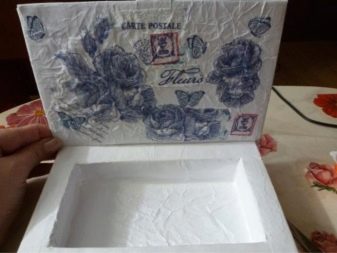
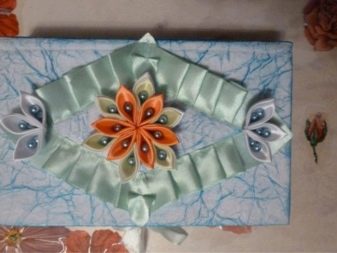
This is just one of many options - there are thousands of ideas, drawings, instructions on how to make a box with your own hands at home. The size and format of such boxes depends entirely on the source material (folio). You can find an option - a sliding book box.
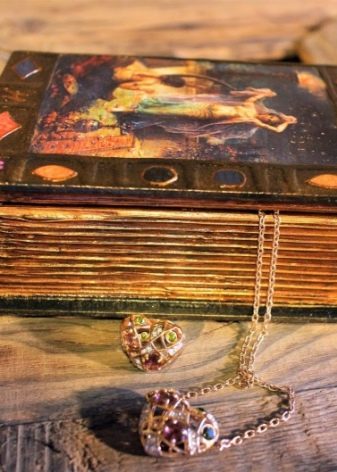
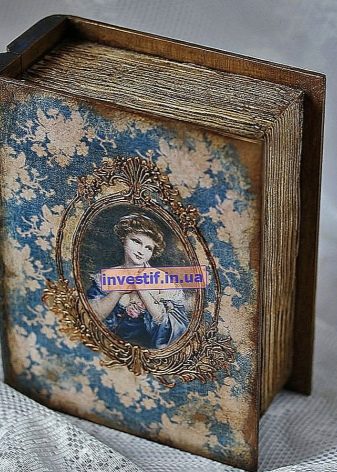
Shabby chic jewelry box
This master class is dedicated to making a needle box in the shabby chic style with your own hands. A small product turns out to be inexpressibly cozy and cute. Such a box can be made as a gift for a mother if she is fond of sewing.
Tools and materials
To make such a box, you will need materials:
-
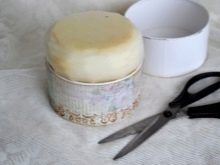
a box from "Rafaello" and a small piece of foam rubber 4-5 cm thick and 13 cm in diameter;
-
cotton fabric 20x20 cm, lace, decorative needles and scissors, hemp twine 1 m, chipboard or small frame;
-
paper and knitted flower buds, half beads, lace cotton braid, plastic or plaster moldings, a string of pearl beads and a sheet of paper 30x30 cm.
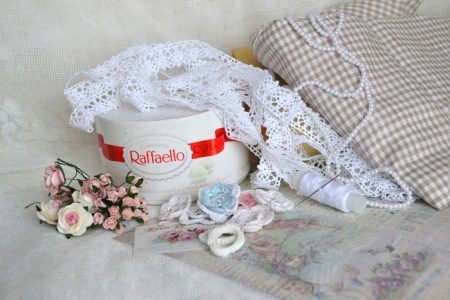
And:
-
scissors;
-
centimeter, ruler;
-
pencil, tailor's chalk;
-
thermo gun, Moment glue, compasses.
Step by step diagram
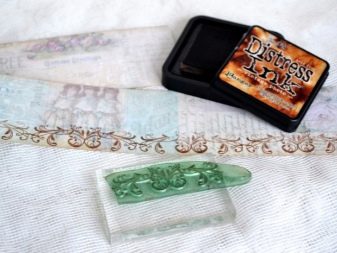
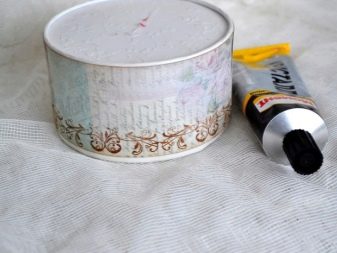
A strip of paper is cut to the size of the box and one edge is tinted with distress ink, and the other with a stamping pattern, and then glued to the base.
-
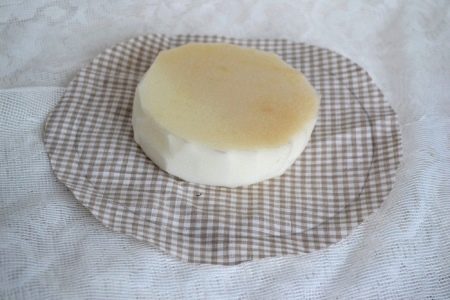
A circle is cut out of a piece of foam rubber, suitable in diameter for the box, and with scissors they give it the shape of a hat.


- A circle with a diameter of 18-20 cm is cut out of textiles + an allowance of 1.5-2 cm.
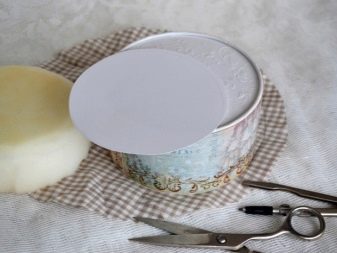
- Next comes the turn of cardboard - a circle of the same diameter as foam rubber is cut out of it.
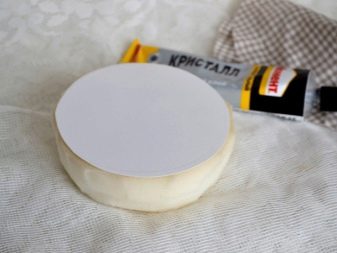
- Now the foam is covered with a fabric, while trying to make it lie evenly and beautifully.
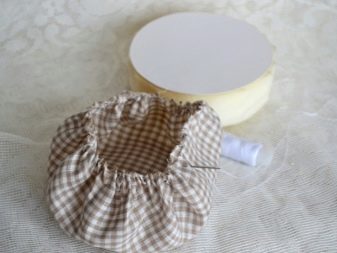
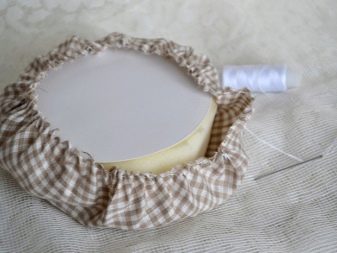
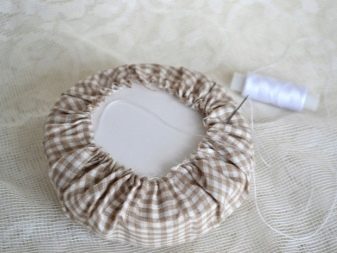
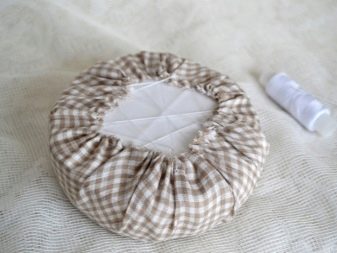
- Gently glue the finished pillow to the top of the box.
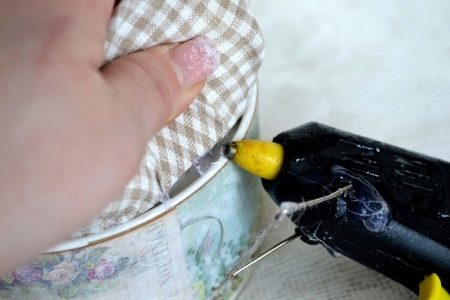
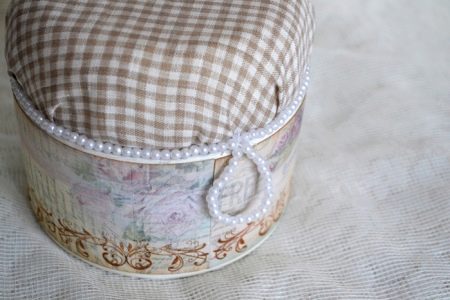
- The borders are masked with a "pearl" thread, a lace bow, and a decorative element-droplet.
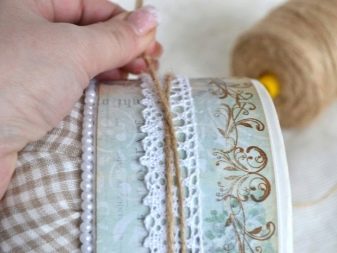
- Lace is allowed around the perimeter of the package and tied with twine.
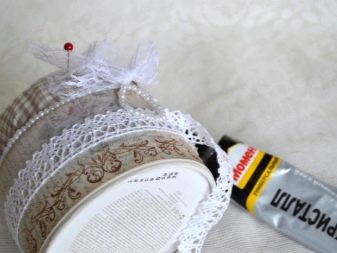
- For decoration, cut out a suitable picture, apply a tone to the edges and glue it onto a piece of white cardboard, leaving free edges by 0.5-1 cm.
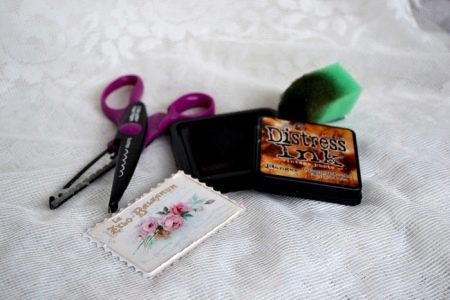
- The cardboard is cut with curly scissors, getting a fantasy edge and also toning it.
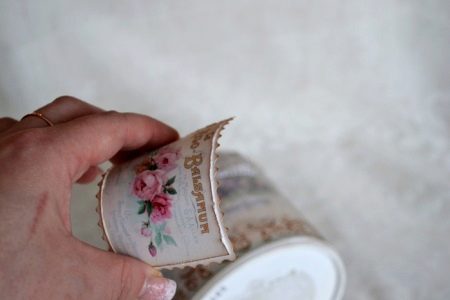
Since lace and twine added noticeable thickness, the upper and lower parts of the picture are fixed on double-sided tape (before gluing, the picture must be pressed tightly to the box and held, giving it the desired bend).
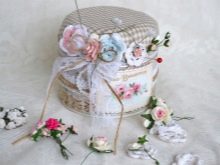
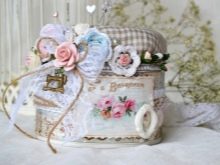
It remains to decorate the needle bed with prepared elements, giving it a complete look.
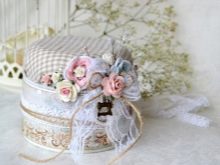
More ideas
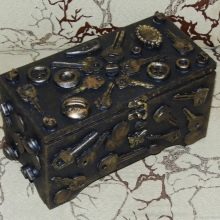
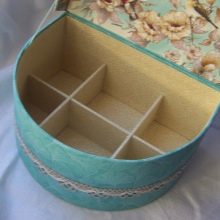
In fact, there are so many types, sizes and shapes of boxes that you can make with your own hands that it can become an occasion for realizing your own creative potential. Square, rectangular, round and oval boxes are made of corrugated cardboard.
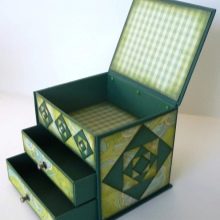
You can make a figured box or "chest of drawers" with drawers, "chest", with decorative elements of threads, beads, metal, plaster, paper, plastic parts. The product can be made of colored printing material or monophonic. Today, homemade money boxes are very popular. An excellent decorative accessory is a twisted box made of cardboard strips.
How to make a cardboard box with your own hands, see the video.


