How to make a music box?

Knowing how to make a music box, you can present other people with a very pleasant, elegant gift, the memory of which will remain for a long time. Therefore, it is useful to figure out exactly how the mechanism is made with your own hands. We suggest that you familiarize yourself in detail with the process of creating a mechanical homemade music box at home from improvised materials for a master class.
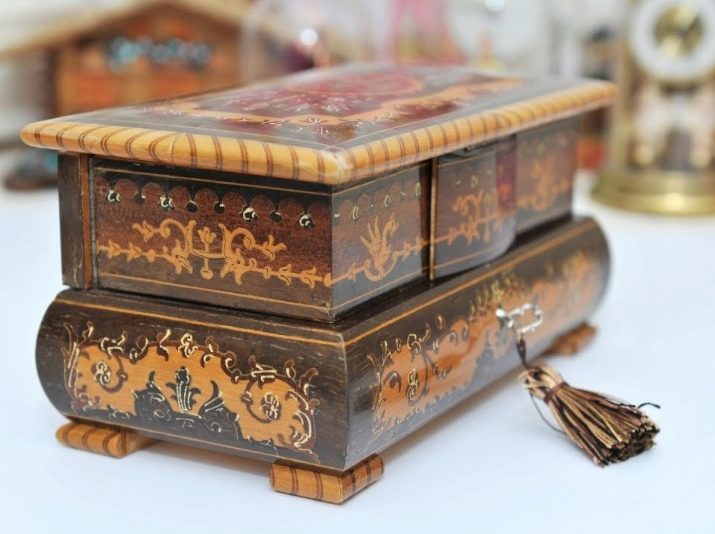
What is necessary?
An abundance of audio technology seemingly solves the problem of listening to sounds. But the more valuable is each hand-made craft. Making a music box and its mechanism from scrap materials turns out to be quite simple, you just need to properly prepare for this. It is worth considering right away that it is not necessary to do the traditional version itself.
A very good choice is a design with a modern filling and an old-fashioned appearance.
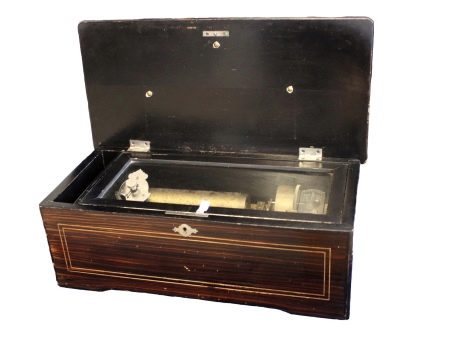
Therefore, components such as:
-
frame;
-
music block;
-
transistor (8050 is best);
-
sound speaker - from any device, even from an unnecessary phone or radio;
-
a switch from your home phone or other device that allows you to start and stop playback;
-
battery holder with matching contacts and markings.
Step-by-step instruction
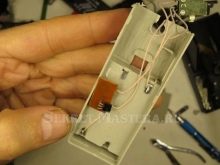
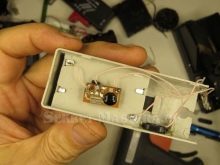
To make a music box with your own hands at home, you must first work on the music module. There is nothing complicated here - you just need to put an 8050 transistor on the control board. For work you need a soldering iron. Conductors are connected to the transistor, which will allow you to connect the speaker and supply the circuit with current.
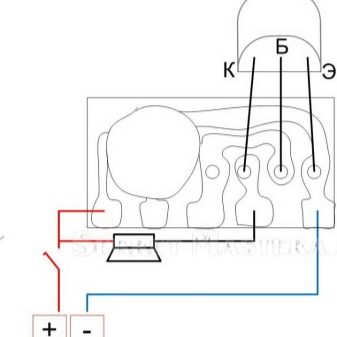
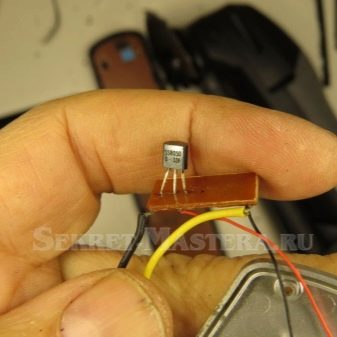
Further:
-
test the circuit;
-
insert electronic components under the chest lid;
-
cut the battery compartment lengthwise as necessary;
-
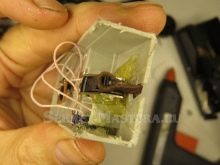
put the details of the circuit in place and fix it with hot melt glue;
-
glue the switch (it is better to try it on beforehand);
-
complement the switch or switch with a control loop made of a cord or leather strap;
-
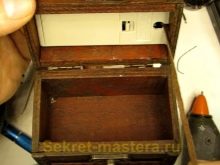
the block with the battery slot is inserted into the lid of the chest;
-
the free edge of the lace is put on hot melt glue on the inner wall of the box so that the lid can be opened limitedly;
-
mask the battery socket with a piece of black cardboard.
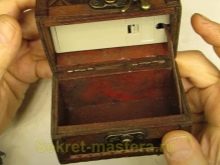
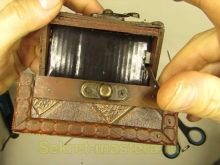
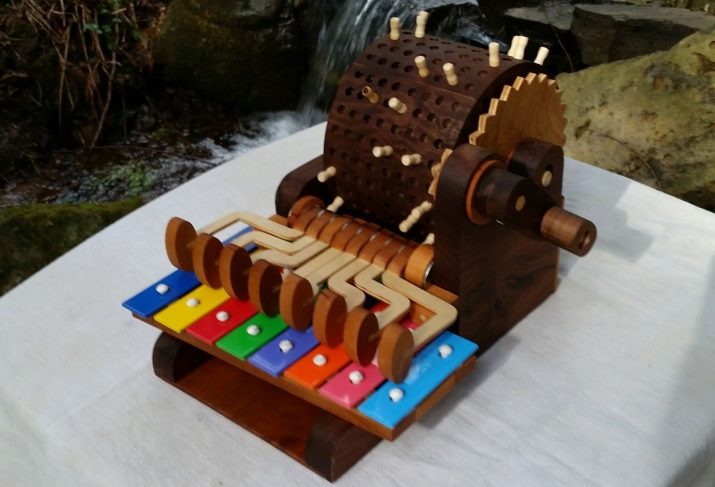
But many people prefer making a homemade mechanical box with a melody.
For work you will need:
-
xylophone;
-
trimming wood (best of all walnut or cherry);
-
glue (carpentry, spray, as well as rubber);
-
dowels;
-
steel washers;
-
beeswax mixed with orange oil.
First of all, according to the scheme of work, the drum is being manufactured. Its size is determined by logs, workbenches or other work stands. With a band saw, the drum is sawn into 8 fragments of the same size. They are processed on a grinding wheel and then glued together in pairs. The glued octagonal tube is ground again to a cylindrical shape.
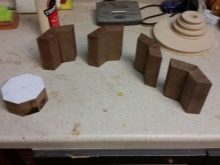
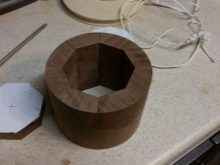
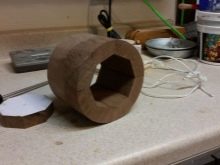
The next step in the master class is to draw parallel lines 10 mm apart along the entire circumference. When ready, create 4 lines on the staff. Before drilling, the drum must be placed in the frame so that it rests on the center axle. Then they deal with gears, which must be cut out of plywood using a band saw. They will also have to be glued to plywood.
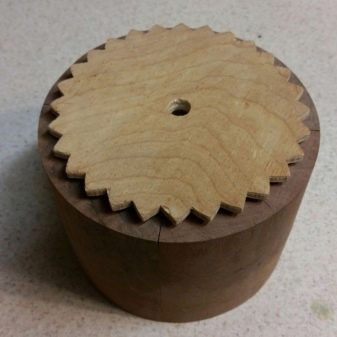
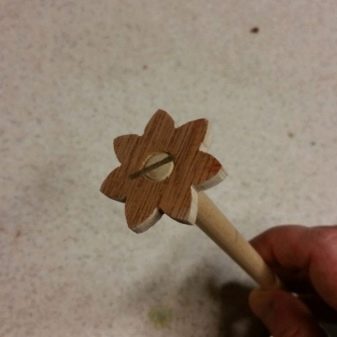
Then comes the time to work with the box hammers. Their length should be equal to the length of the xylophone. The next step is to make the assembly to support the xylophone and drum. The pins can be cut from the dowel rods. Their edges are sanded and fitted with small slots for more efficient assembly.

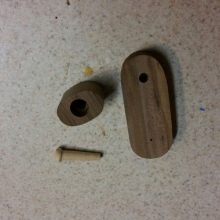
Children love to play with the finished box. Their main interest is who will rotate the handle faster.
Useful Tips
It is very important to choose the correct size of the box so that everything fits in it. In most cases, dimensions of 50x75x50 mm are enough, but you still need to double-check and clarify. Although wood is a true classic, no one forbids the use of metal or heavy papier-mâché. It is best to use acrylics to decorate your music box.
The wood is treated with furniture wax, varnish or stain; if the box is initially finished, it is left alone.
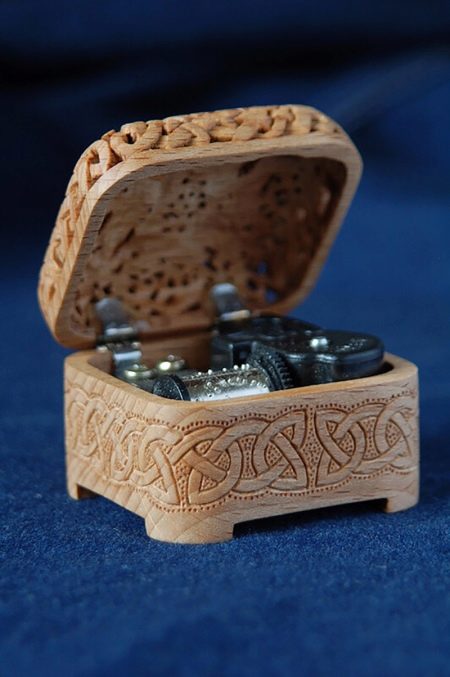
Large beads are often used as the legs of a music box. Since they do not have special fasteners, they are mounted with superglue or with a glue gun. The lid of the box can be decorated even for those who are deprived of artistic talents at all - here stencils, stickers and decoupage techniques are very helpful. It is better to do the specific design in such a way that corresponds to the melody embedded in the device.
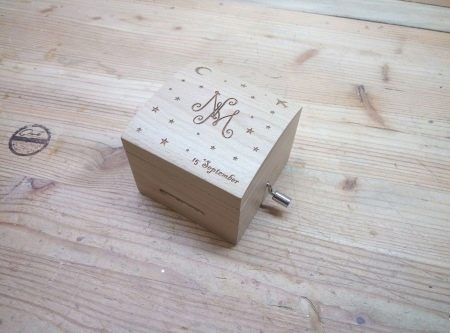
A variety of looks is achieved with beads, shells, decorative sand and stones. The location of the mechanism inside depends on acoustic preference and whether you plan to store anything else in the box. When the placement of the devices is determined, it is necessary to check whether their fasteners will damage the safety of the legs of the box.
It is very useful, despite the simplicity of such a craft, to create a drawing on paper (Whatman paper).

Additional recommendations:
-
transfer the markings to the bottom with medium-sized pieces of scotch tape;
-
mark the installation points of the winding keys or handles on the sidewalls of the boxes;
-
drill holes, if necessary, not with an electric, but with a hand drill;
-
install the mechanism inside the box only after thorough cleaning;
-
carefully monitor what exactly is being put where;
-
equip the product with an arrow indicating the direction of scrolling of the control knob;
-
if desired, put a transparent top cover or the same inner baffle.
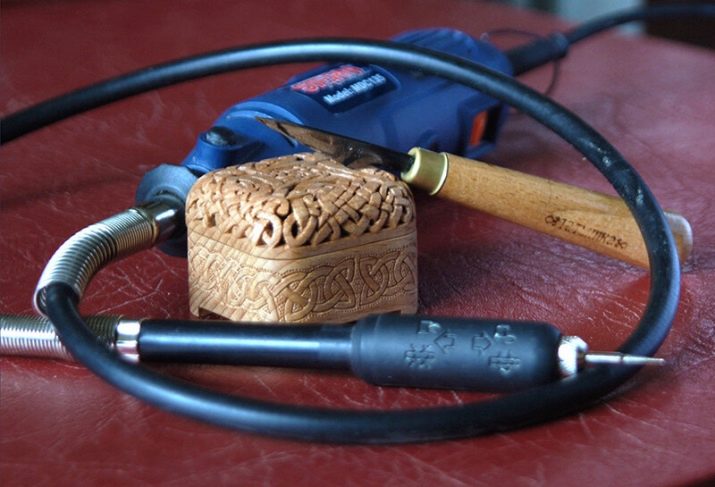
Detailed instructions on how to make a music box can be found in the following video.


