Varieties of boxes from postcards and their production
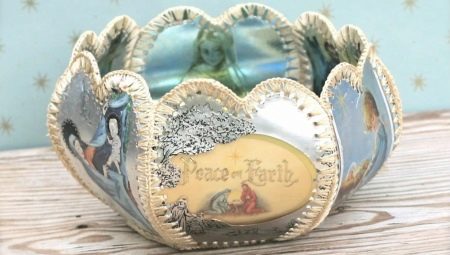
The most common way to congratulate you on any occasion is to present a postcard. Surely many people at home have a large number of illustrated signs of attention, which are a pity to throw away. In order not to send dear things to the trash, you can give them a chance for a second life - make a pretty box out of them.
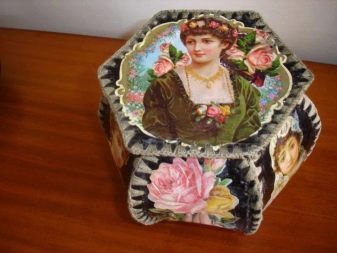
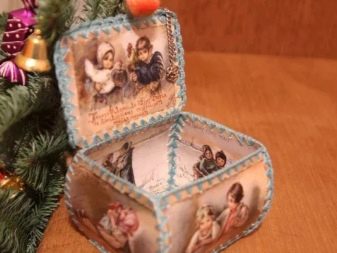
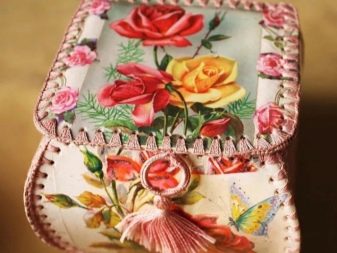
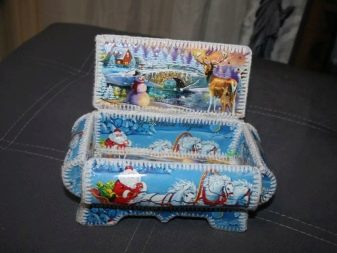
What are they?
A postcard box is a great way to take advantage of stale postcards and add charm to your interior. For crafts, you can use any postcards: Soviet, from March 8, New Year's and Happy Birthday. The main criterion for choosing illustrations is that they should be in the same theme, for example: only flowers, animals or patterns. Beautiful postcards from the times of the USSR with children or animals are also suitable for needlework - a box made of such material will be an excellent gift for parents or grandparents.
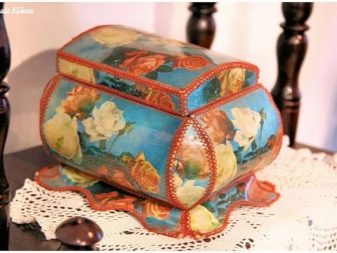
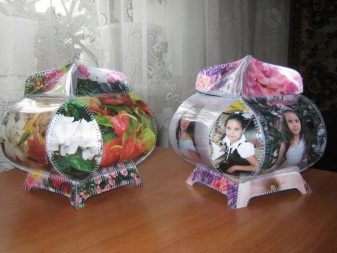
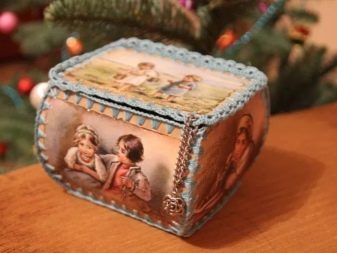
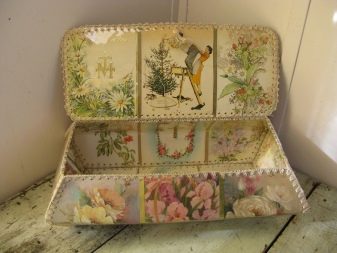
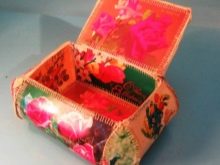
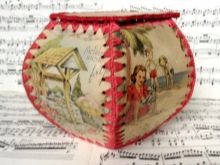
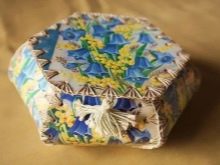
The boxes differ not only in the variety of pictures, but also in their shape: they are square and rectangular, with simple and curly corners, with a flat and volumetric lid, with and without legs. Additional elements for decorating the box can be bright threads for joining parts, lace, beads and beads. For convenience, many needlewomen add a neat handle with a tassel or bead to the lid to make it easier to open an elegant drawer. There is no limit to your imagination in creating jewelry boxes: they can be decorated with laces, ribbons, buttons and even chains with locks and keys.
Master class on making a simple model
To make a box from postcards, you need to prepare the following tools and materials:
- postcards;
- scissors for paper;
- a needle with a wide eye;
- floss threads;
- ruler;
- pencil;
- compass;
- stationery knife;
- a board for cutting parts.
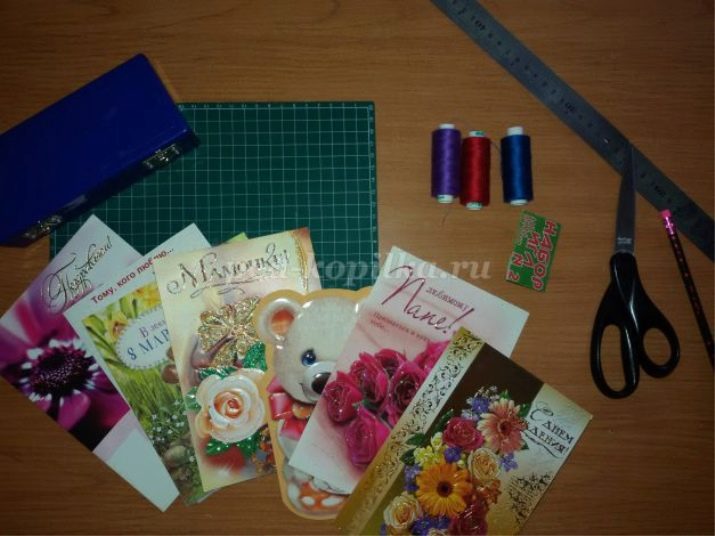
Having prepared all the details, make templates for the parts of the box from the postcards. Let's consider in more detail the sizes of the required components.
- Wall details: 4 rectangles 10x12 cm, 4 rectangles 14x12 cm and 4 circles with a diameter of 4.5 cm. Each circle must be cut exactly in half.
- Cover details: 1 square 12x12 cm, 1 rectangle 12x18 cm, 1 circle with a diameter of 5.5 cm. The circle must also be cut in half.
- Bottom details: two squares 12x12 cm.
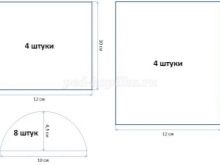
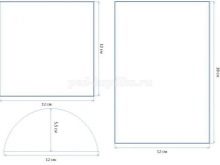

At this stage, all preparations are completed - you can start making a simple box with a lid from old postcards. Consider creating a box with your own hands step by step.
- On each prepared part around the perimeter, make holes for the threads at a distance of 5 mm from the edge and 3-4 mm from each other. The seams will look much neater if you prepare holes for them at the same distance in advance.
- Find a thread that is similar in color or matches the color of the postcards and thread it through the needle.
- Trim all parts of the boll with an overcasting seam. At the corners, thread the thread three times in one hole to get a nice twist: first create an edge on the stitched side, then as close to the corner as possible, the last on the next (unstitched) side of the card.
- Next, you need to assemble the details of the box so that they become voluminous and are patterned outward from all sides. To do this, sew together the volumetric details of the walls and lid, threading through the overcasting stitches. Semicircles are the side parts of the lid, large rectangles go around them on the outside, and small rectangles are fixed from the inside. Sew the bottom parts to each other with the right sides out. The details of the side parts are sewn in the same way as the lid: the semicircles are sheathed with a large rectangle, and the small rectangle secures the structure from the inside. Make sure that all parts are sewn with pictures out.
- Now you need to connect all the parts of the box. The assembly scheme is quite simple: sew the walls to the bottom from four sides, using the edge seams as fasteners. Then connect the corners of the box, stitching the walls together. Sew the cover last to the product - it must be attached to one of the walls. A simple square box is ready, you can decorate your room with it, store light items in it, or use it as a gift box.
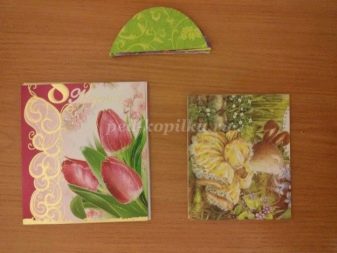
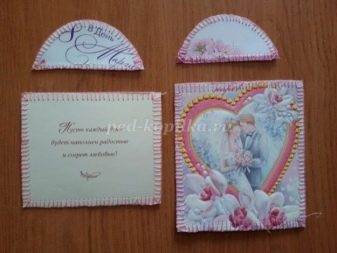
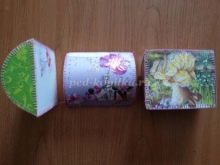
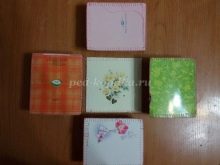
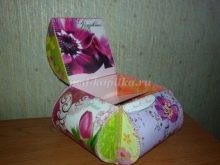
If you run out of thread before you finish trimming the edges of the postcard, you need to carefully hide it.
To do this, pass the needle to the wrong side of the picture and pull it under 7-10 ready-made stitches, cut off the excess thread. After that, create a knot and continue to weave from the same hole in which you finished the previous stitch.
The step-by-step instructions look much more complicated than the process of making the box itself, so do not be afraid to engage in this fascinating creativity.... You can also change the size of the box - it is not necessary to follow the parameters given in the example exactly. After completing all the steps of the instructions, you can add details to the box: attach the handle to the lid, fringe - along the edges or lace - to the corners.
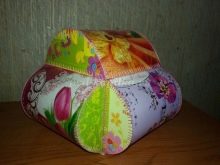
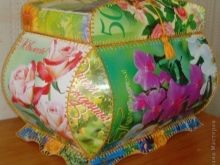
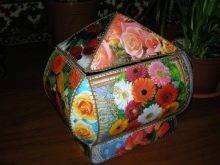
How to make original boxes?
To make an unusual gift for family and friends, you can create unique things with your own hands. We propose to consider two methods of making original handicrafts from postcards.
Oblong
To make an oblong box with oval edges, you need to prepare the following tools and materials:
- postcards;
- threads;
- scissors;
- oval patterns;
- ruler;
- a sewing needle with a large eye;
- simple pencil;
- a board for cutting parts;
- stationery knife.
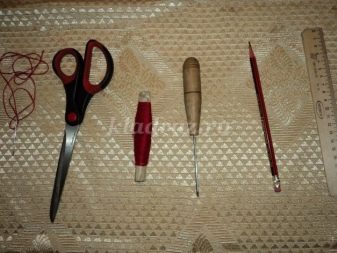
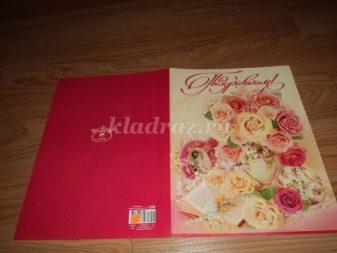
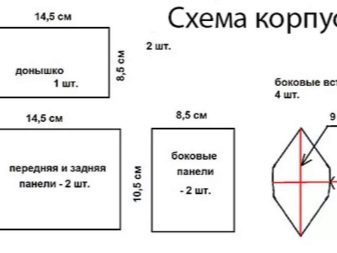
Next, you need to select the size of the future box in order to prepare part templates. Let's give an example of making a box with parameters 14.5 cm (length), 8.5 cm (width) and 10.5 cm (height).In this master class, the oval sides will make the walls of the product convex, so the height of the finished box will be less than the height of the templates.
Let's take a closer look at the details that need to be cut out of postcards.
- Bottom - 1 rectangle with dimensions 14.5x8.5 cm.
- Walls - 2 rectangles 14.5x10.5 cm (front and back parts of the walls), 2 rectangles 8.5x10.5 cm (sides of the walls) and 4 hexagons with two elongated corners (oval corners of the walls), the distance between the elongated corners should be 9 cm, and between the side walls the gap should be 6 cm.
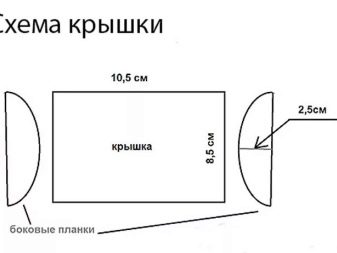
- Lid - 1 rectangle 10.5x8.5 cm and 1 oval with a vertical diameter of 8.5 cm and a horizontal diameter of 5 cm. The oval must be cut exactly in half along the vertical diameter (8.5 cm).
To make the box tighter, stronger and more neat, cut out a pair for each piece. Next, process all the parts with an edge seam and sew together with a picture outward. A two-layer box will be stronger and prettier, but if the number of postcards is limited, then a single-layer version can be made.
Step-by-step instructions will help you create an elegant box with your own hands.
- First, in all parts of the craft, it is necessary to make holes around the perimeter at a distance of 5 mm from the edge. This can be done with a sewing machine by threading the cards under the needle without thread. You can also mark the holes with a ruler and pencil, and then poke holes with a needle or awl. If you are creating a box with two-layer pieces, create holes in them, placing the holes in the same place. Then you will be able to join the same parts together with a overcast seam immediately after creating the layout, rather than overcasting each part separately and then stitching.
- Using a floss needle and thread through the prepared holes, create an overlock stitch around the perimeter of the cards. In a single layer casket, just create the same stitches. In a two-layer garment, line up identical pieces with the pictures facing outward and immediately sew them together with a overlock stitch.
- After processing all the parts, start assembling the box. First, connect the walls to the bottom, to do this, take the bottom of the structure and sew the front and back walls in series to its sides, and then the side parts. As a result, you will have a flat blank box in the shape of a cross. Next, you need to sew hexagons to each corner, which serve as oval corners in the structure. Connect the corners of the box to the sides by bending the cards to the sides of the hexagon and stitching them together. Due to the unusual shape of the corners, the walls of the box are convex, and the shape of the craft is oval.
- Next, make a cover for the structure. The halves of the oval are the side parts of the lid, they must be sewn to the short sides of the rectangle. To do this, bend the rectangle into an arch and sew the side parts of the lid to it along the oval side.
- The next step is to connect the lid to the box. To do this, select one of the long sides and sew the cover securely. At this stage, it is very important to create a solid stitching, because the lid will constantly open and close. For a tighter connection, sew 2-3 times without cutting the threads. Then pull the thread through one of the inner seams, secure and cut off the excess.
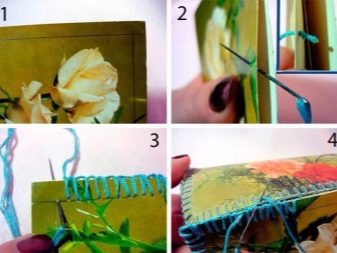
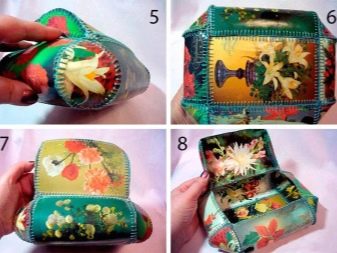
The oblong box is ready to use, you can store your jewelry in it or use it as a gift box. You can add finishing elements to the finished craft, such as an openwork handle, a lace to open the lid, or neat legs.
With a surprise
A simple way to please family and friends is to make as a gift a box with a surprise. Such a simple and unpretentious do-it-yourself design can contain a wide variety of congratulations, but not verbal, but visual.It can be a snowman with a gift symbolizing the coming of the new year, flowers or butterflies suitable for congratulations on International Women's Day, or any other content that you find suitable for a gift to a specific person.
To create a box, you will need the following tools and materials:
- postcards;
- thick cardboard;
- PVA glue;
- double sided tape;
- scissors or clerical knife;
- decorative themed details for filling.
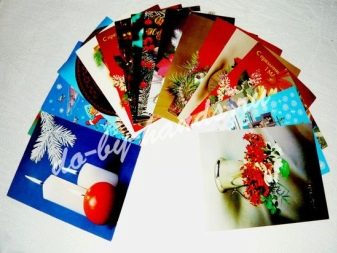
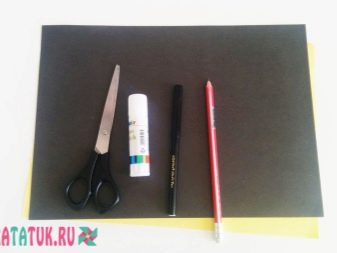
Materials for decorating the box can be a variety of items, depending on the case. As mentioned above, these can be miniature Christmas decorations, homemade paper flowers, plastic butterflies, beads, lace, small cards with congratulations or other messages. Before starting work, select the appropriate postcards for making a surprise box and materials for its filling.
The essence of the box with a surprise is that its corners do not connect to each other - the shape of the box is supported by the lid. When the recipient removes the lid from the box, the walls fall, revealing beautifully designed content.
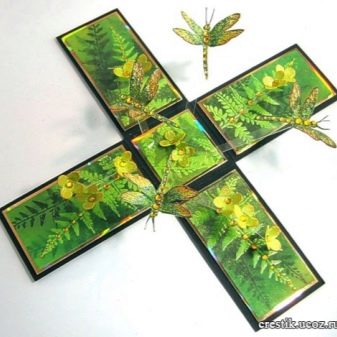
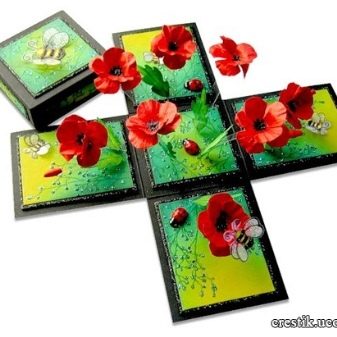
Let's take a closer look at making such a wonderful box.
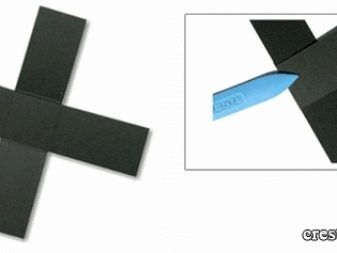
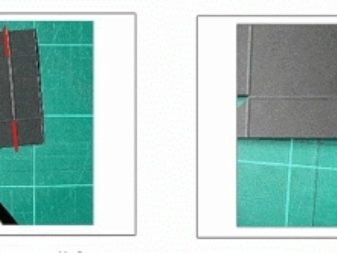
- On a large square piece of cardboard, draw parallel lines to create a symmetrical grid. Then cut the square corners along the marked lines. The result is a cross-shaped box blank.
- Bend each side to the middle so that in the center of the workpiece you get a square bounded by folds.
- Create a cover from a small square. The base of the lid should be 2–3 mm larger than the base of the box, and another 2 cm along the perimeter. Then step back 2 cm from each side and draw lines, cut out some of the corners so that neat wings remain. Lubricate the wings with glue and glue the lid.
- Glue slightly smaller pieces of postcards to the top and sides of the lid, as well as the outer side parts of the box.
- Attach decorative elements to the square bottom and decorate the inner walls of the box with parts of postcards or wishes.
- Gather the walls together and cover the craft with a lid.
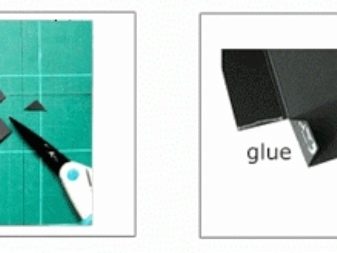
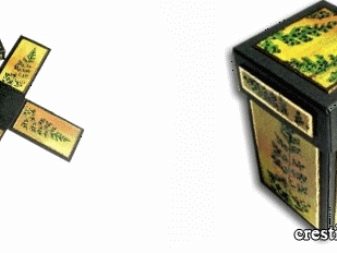
The box with a surprise is ready, you can please your family with an unusual gift.
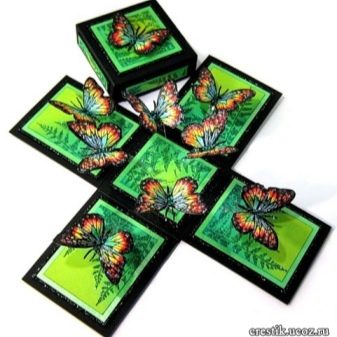
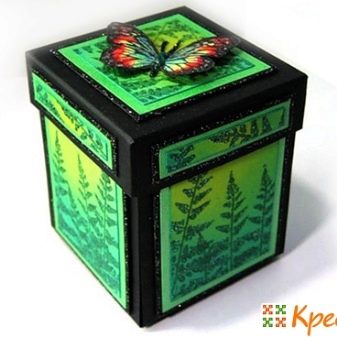
The video below will tell you how to make a box out of postcards.


