We make original jewelry boxes with our own hands
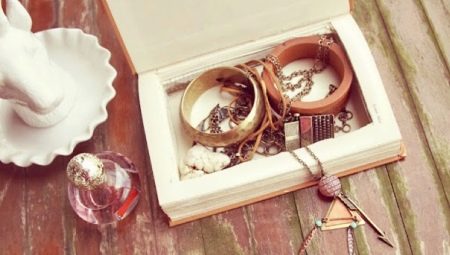
The ability to make beautiful and functional things with your own hands can become not only an exciting hobby, but also a source of additional income. Today we want to present to your attention several simple master classes on making jewelry boxes.
How to make from cardboard?
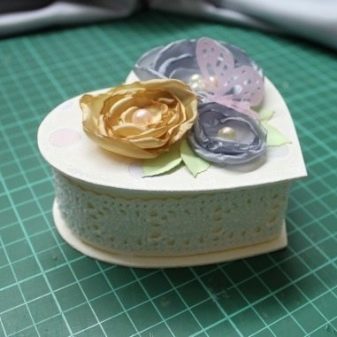
Let's start our story with an unusual heart-shaped box.
You will need the following tools and materials:
- cardboard of any color;
- 1 sheet of plain white paper;
- paper for decoration (wrapping, decoupage);
- 2 small pieces of fringe;
- decorative elements of your choice (lace, beads, bugles, natural materials);
- glue, scissors, paper clips, pencil.
Step-by-step master class.
- First, on plain white paper, draw a template for the future heart: fold the sheet in half, draw half a heart on it, taking the fold of the sheet for its middle, cut it out. This must be done so that the box does not turn out to be skewed. By size, be guided by the desired dimensions of the future product.
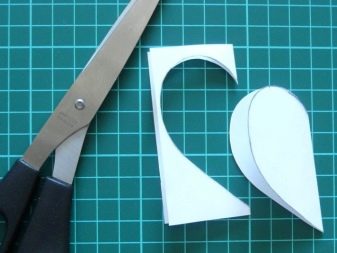
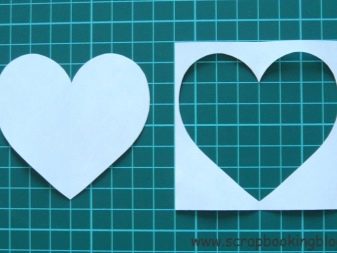
- Now attach the finished template to a sheet of cardboard, circle it with a pencil, cut it out. This will be the bottom of the box.
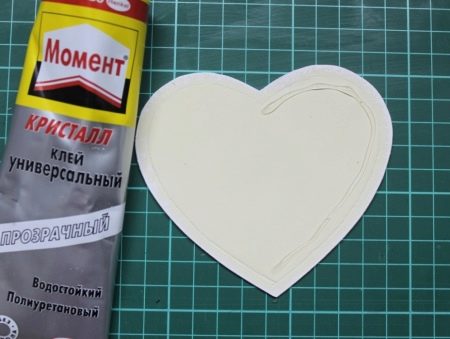
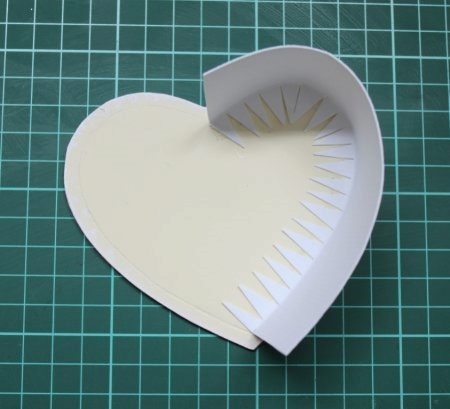
- Next, we start making the walls. Cut a wide strip out of cardboard, making one of its sides serrated. The width of this strip will become the height of the side of the box. Glue it to the bottom. Collect the other side in the same way.
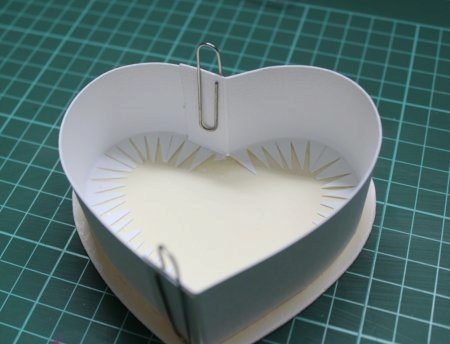
- Glue both walls together, fasten them with paper clips, let the glue dry.
- Outside and inside, it is advisable to glue the product with beautiful paper.
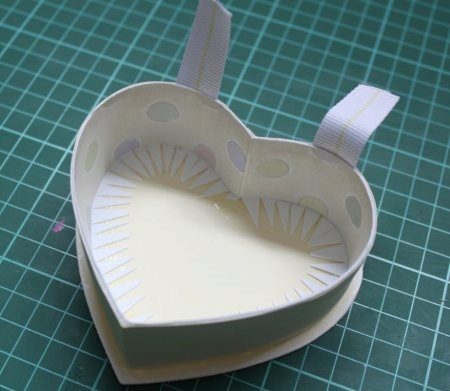
- Attach 2 pieces of fringe to the base - a curtain on which the lid will be held.
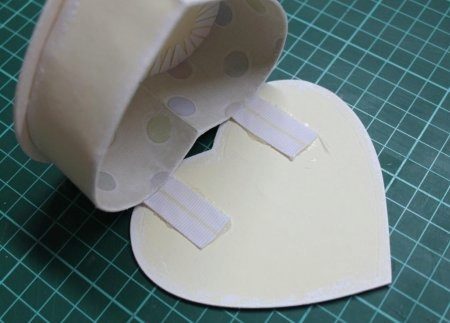
- Cut out the second heart according to the same pattern - it will become the lid of the box. Glue it to the curtains.
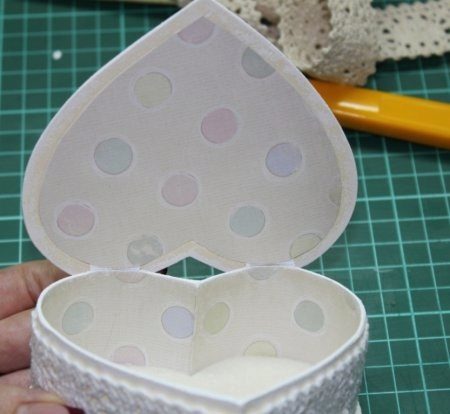
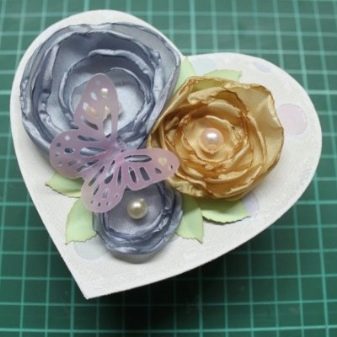
- We decorate the product with lace along the contour, decorate the top with beads, bows, ribbons, dried flowers.
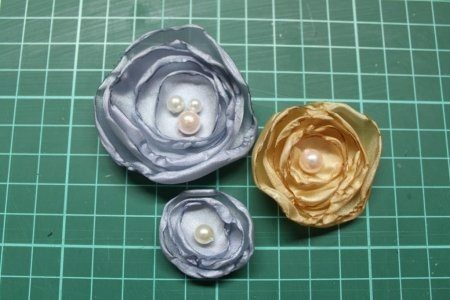
A miniature heart box for storing earrings is ready!
Manufacturing out of the box
Prepare for work:
- a finished box or thick cardboard for its manufacture;
- scissors;
- Super glue;
- beautiful paper (wrapping or other);
- various decoration elements for your choice.
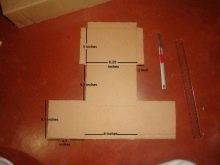
Dimensions of our box: 112.5x150x125 mm.
We carry out everything step by step.
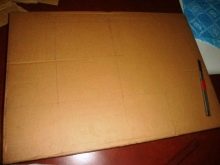
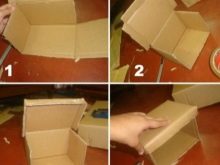
- If you decide to make the box yourself, then here's how it is done. On a piece of cardboard, following the instructions in the photo, draw its outlines, carefully cut out. Fold the sides as shown in the figure, connect them to each other with glue.
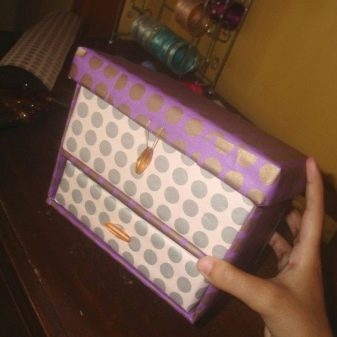
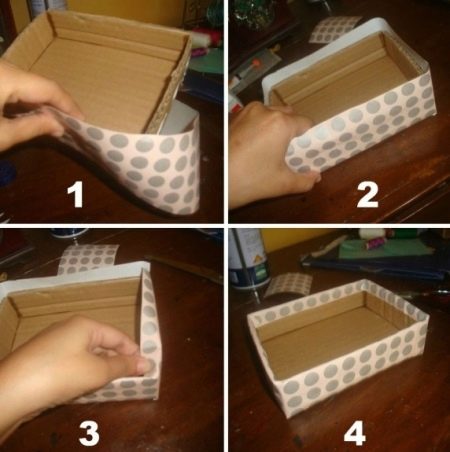
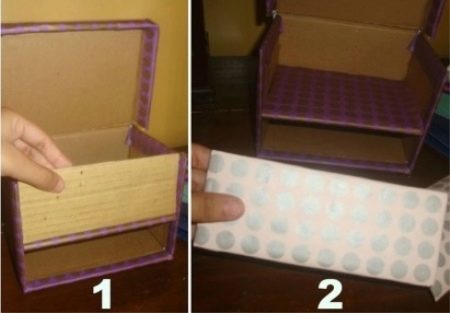
- Our box will be equipped with one or more compartments. Cut out a blank for a drawer from cardboard (remember that it should turn out to be lower and narrower than the product itself). Fold its sides, glue it together, decorate the box with wrapping paper on top.
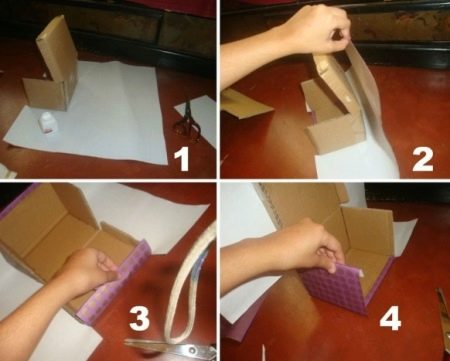
- Glue the outside of the box with the same paper (or another one of your choice).
- Next, take a piece of cardboard 106x144 mm, decorate it with wrapping paper, insert the resulting partition into the product.
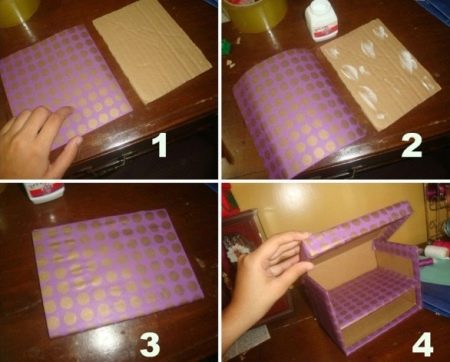
- If you want to add another compartment to the organizer box, you will need a piece of cardboard of a suitable size - it must be pasted over with paper and placed inside the product.
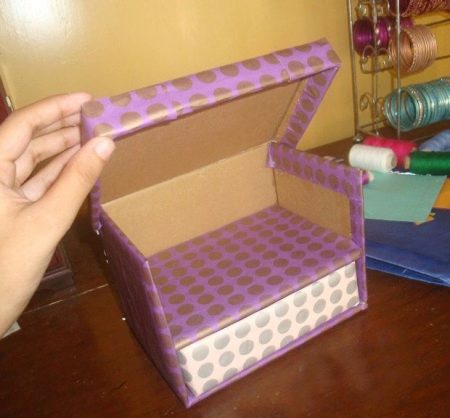
- Insert the drawer into the finished box.
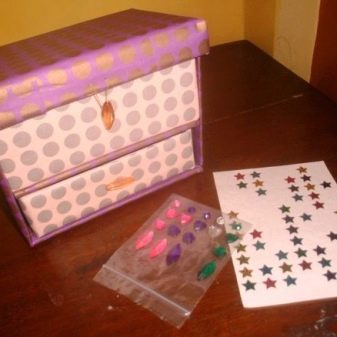
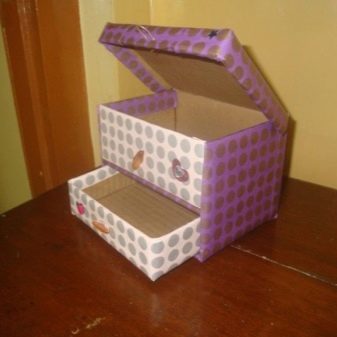
- The last step is decorating. Unleash your imagination, or use the tips below.
Other creation ideas
Homemade jewelry and jewelry storage boxes can be made in several other ways.
From book
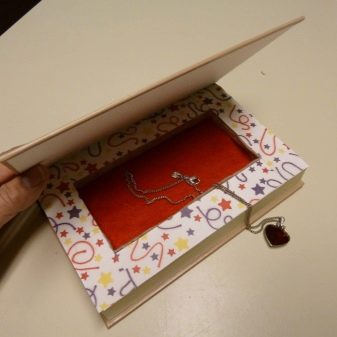
An unusual and rather large box will come from an unnecessary book.
Prepare:
- a thick book;
- PVA glue;
- artificial flowers;
- simple pencil;
- brush;
- ruler;
- stationery knife.
Step-by-step master class.
- Open the book about halfway down. Using a ruler and pencil, draw a rectangle on the page, leaving a margin of approximately 12.5 mm. Drawing a knife along the lines obtained, cut a hole. Turn the page and do the same on the next one. These steps need to be repeated until you get enough indentation. Don't worry if the edges of the cut rectangles don't line up perfectly.
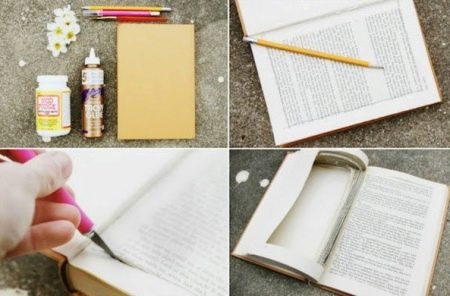
- At the end of this stage of work, you have to glue the pages together. We'll have to wait for the glue to "set" well.

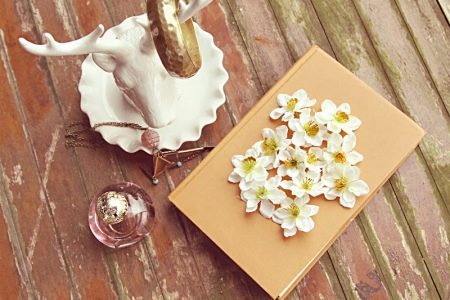
- Next comes the most pleasant and creative stage - decorating the resulting box. Decorate its "cover" with flowers, lace, ribbons, or leave it intact.

- If you want to equip your product with a lock, glue 2 small magnets on the "cover" and on the base using hot glue.
From the reel
A very simple and at the same time original box can be obtained from a reel of scotch tape.
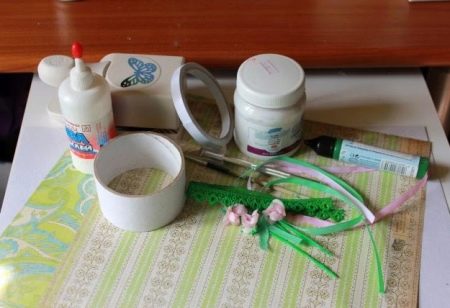
Prepare:
- the bobbin itself;
- binding cardboard (sold in art stores);
- simple pencil;
- PVA glue;
- scissors;
- decorative elements of your choice.
Phased work.
- The first step is to make a base for the lid and bottom. To do this, take a sheet of cardboard, attach a reel to it, draw it along the contour with a pencil. Circle the resulting outline with another circle, but with a diameter 30 mm larger.
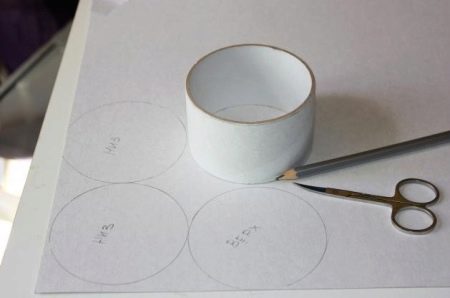
- Use a sharp object or metal ruler to fold over the edges of these round blanks. Glue one of them to the reel - you get the bottom of the product. To mask uneven edges, you can glue the glued together with tape.
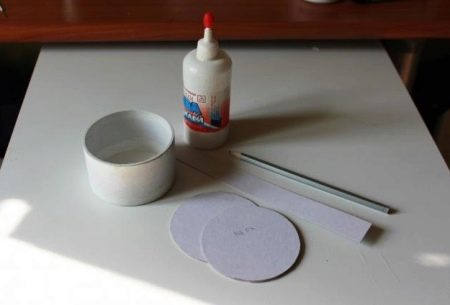
- Cut a thin strip from a sheet of cardboard, use it to connect the cover and the spool.
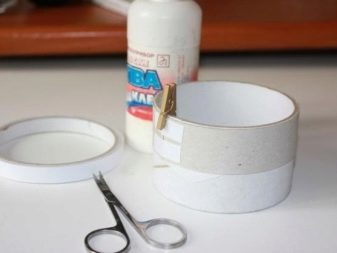
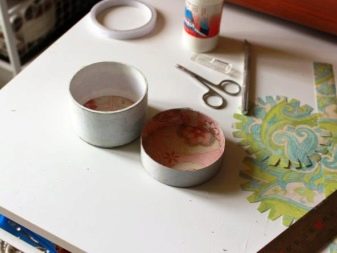
- Thoroughly coat the lid with glue, all its parts, leave to dry completely.
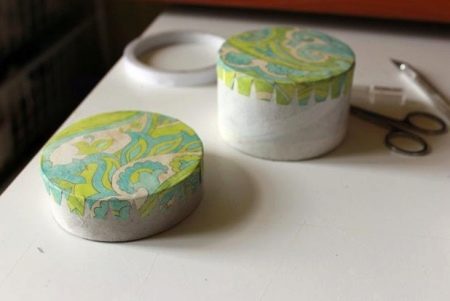
- To increase the rigidity of the bottom and lid, you can glue an additional layer of cardboard to them.
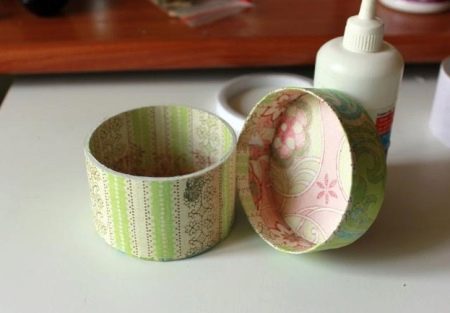
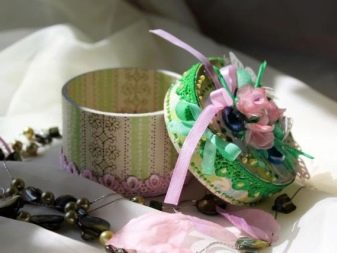
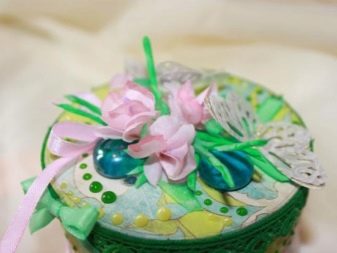
- It remains only to decorate the finished product according to your taste.
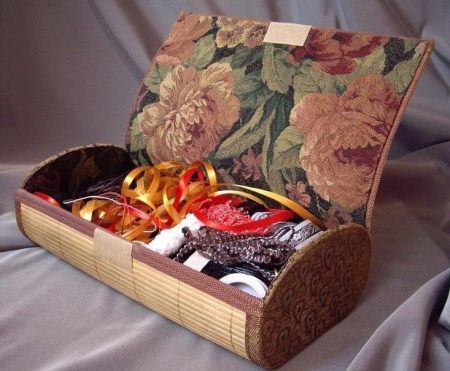
From bamboo napkin
Another beautiful box can be created from the most ordinary bamboo napkin (or rug), which literally "for a penny" can be purchased in any supermarket of household goods.
You will need:
- the napkin / rug itself;
- corrugated cardboard (you can take an unnecessary box from household appliances);
- threads, sewing needle;
- woven fabric for interior and exterior decoration;
- glue gun;
- beads, coins, ribbon for final decoration;
- a piece of elastic (for fastening);
- acrylic paints, varnish.
Let's get to work.
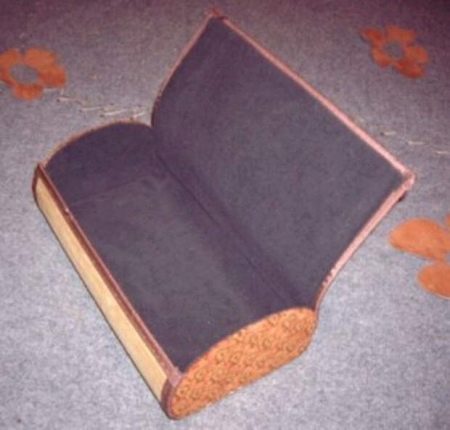
- Cut out 2 sides from corrugated cardboard. Their dimensions and shape will be completely dependent on what kind of box you want to end up with, as well as on the size of the rug.
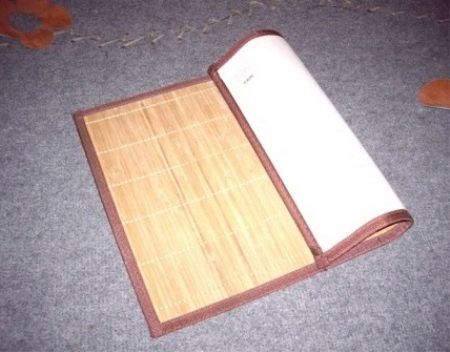
- We glue / cover them with the selected fabric from the outside.
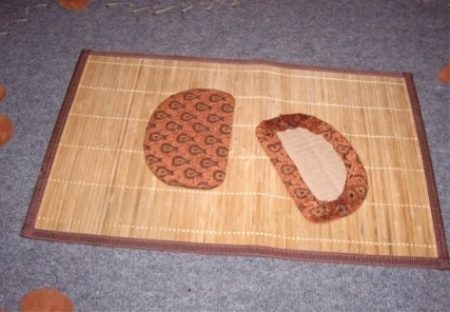
- We put the sidewalls on the material for finishing from the inside, we sew them on a sewing machine or by hand very close to the edge.
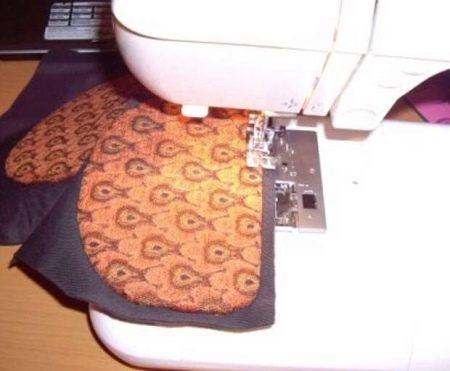
- We cut the fabric almost at the very seam.
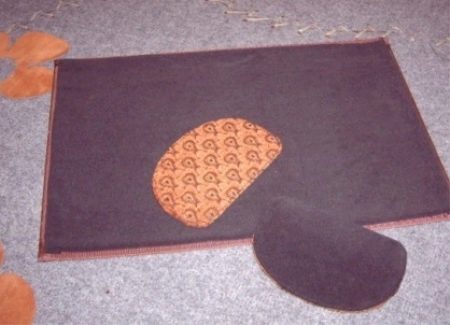
- We also sew / glue the same material to the bamboo mat from the inside out.
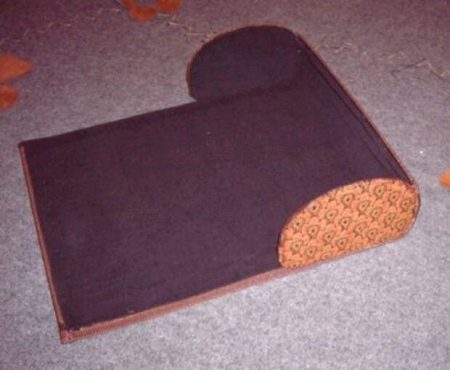
- The product is assembled using hot glue or hand stitching.
- We decorate our box: we glue the ribbon, beads, coins, curly scraps of fabric on top.
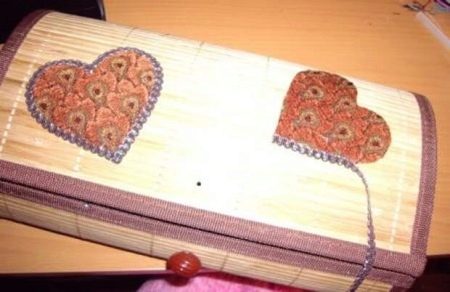
- We form a fastener: we attach a large bead from below, from above - a loop from trimming an elastic band or elastic ribbon.
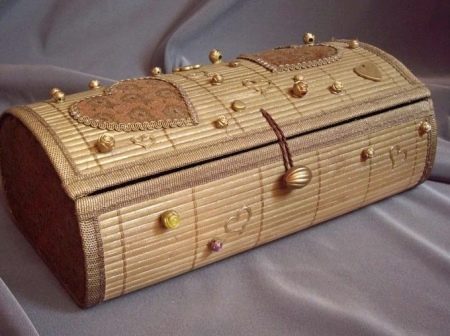
- We paint the product with the selected shade of acrylic paint. Gold, silver, bronze will look great.
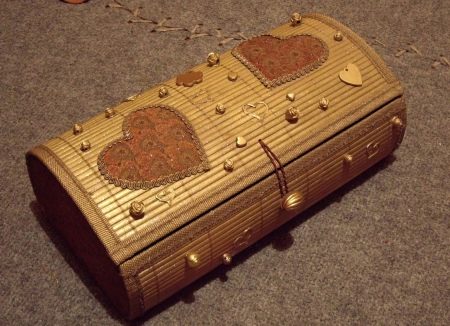
- We cover the box with varnish.
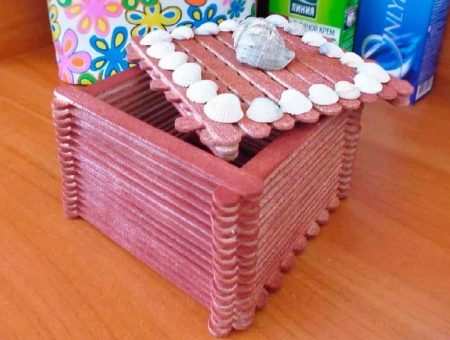
From wooden spatulas or ice cream sticks
Take:
- wooden spatulas / sticks - 70 pcs.;
- glue "Titan";
- various shells;
- spray paint.
We work step by step.
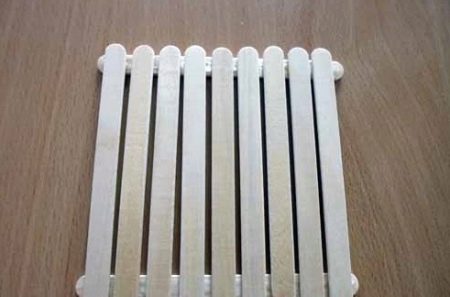
- To begin with, we will form the bottom of the product - horizontally place 2 spatulas parallel to each other, then we will vertically glue other sticks on them, observing an interval of 2 mm between them.
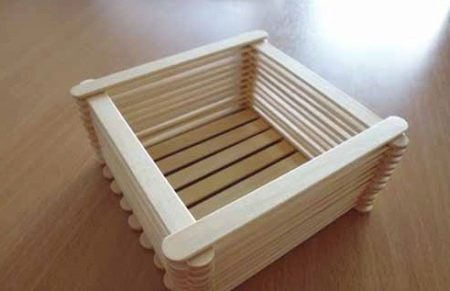
- Next, glue the spatulas from the sides (2 pieces on each side).
- Making a lid: take 4 sticks and glue them in pairs.
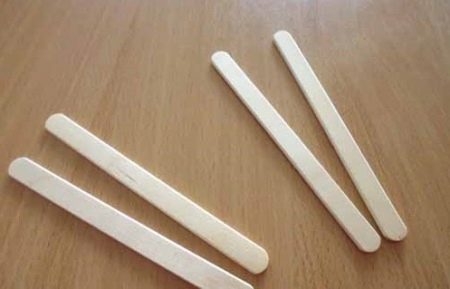
- We stick others on them - they should protrude unevenly on the sides, somewhere a little more, somewhere less.
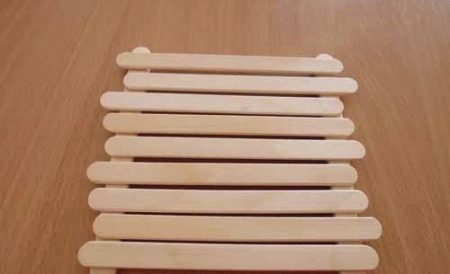
- We attach the second row of spatulas vertically.
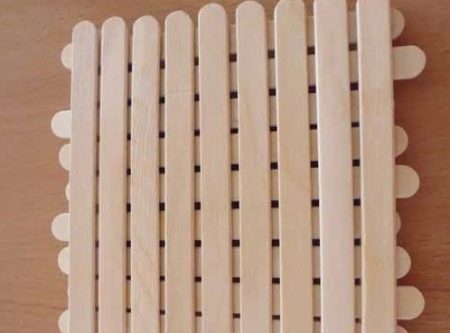
- We decorate the lid with shells. From the edges - the smallest. You can glue a large and voluminous one into one corner - this will be the so-called handle, you will use it to lift the lid.
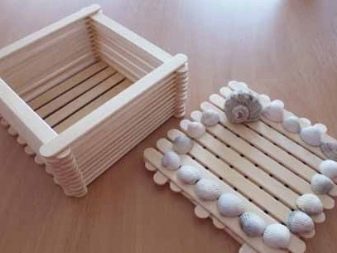
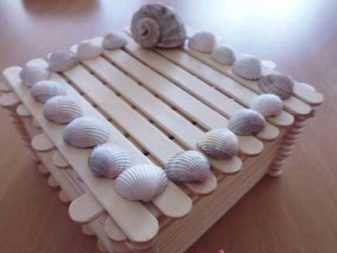
- Spray paint on the item.
Jewelry Box Decorating Tips
Finally, a few useful recommendations from designers regarding the decor of ready-made jewelry boxes.
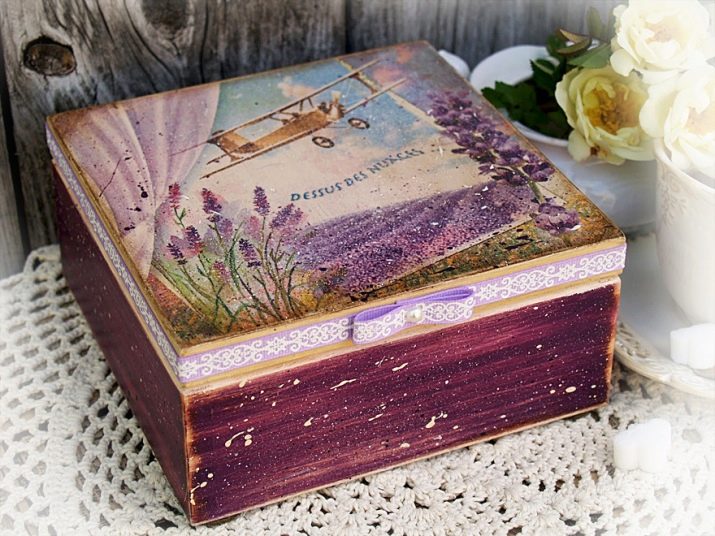
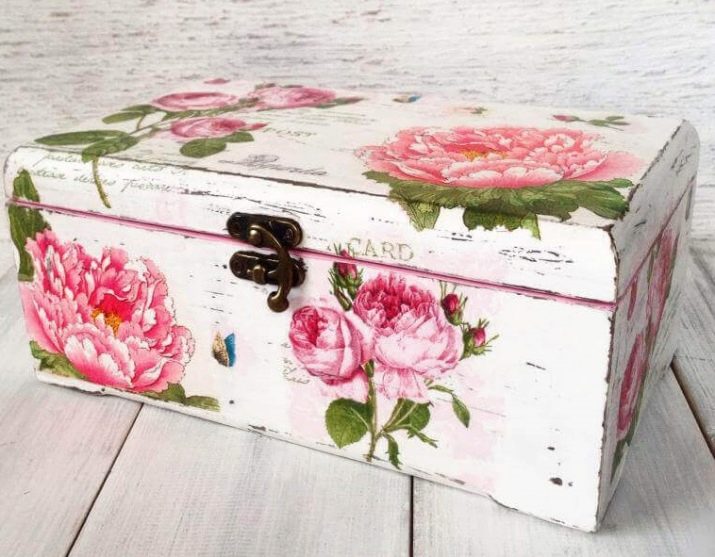
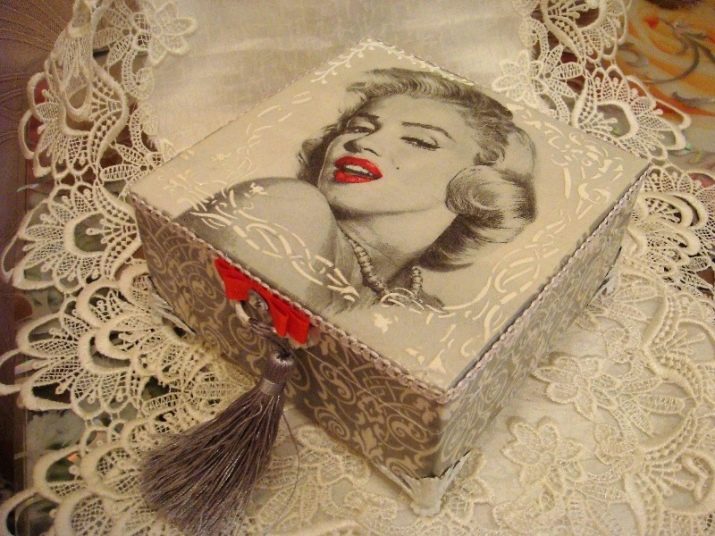
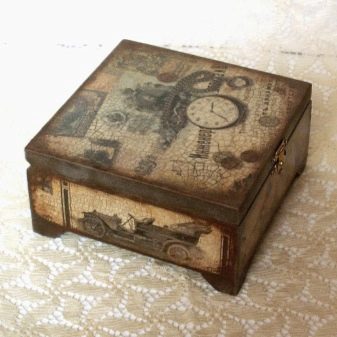
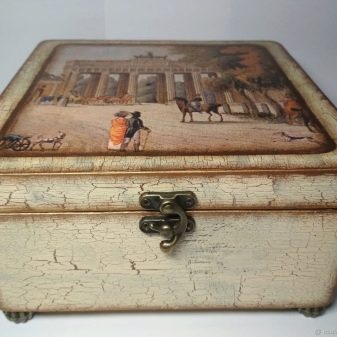
Perhaps the most popular direction for decorating such products is the decoupage technique - decorating crafts using special napkins. It can be used to create absolutely stunning vintage boxes in certain stylistic directions.
-
Provence. Choose floral prints, patterns with French landmarks. The general color scheme is pastel. The background is white or blue, the surface is artificially aged.
- Shabby chic. It is similar to Provence, but here the main role is played by images of angels, large roses, romantic girls.
- Pop Art. In this style, organizers with the image of Marilyn Monroe, Madonna and other cult figures of the 20th century in the spirit of Andy Warhol's paintings are welcome.
- Urban motives are also popular: black and white images of old cars, buildings.
Another way to create an original jewelry box is presented in the following video.


