How to make a doll-shaped box with your own hands?
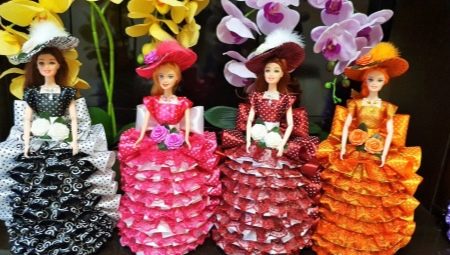
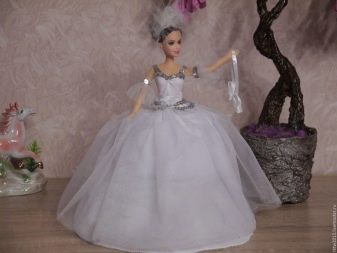
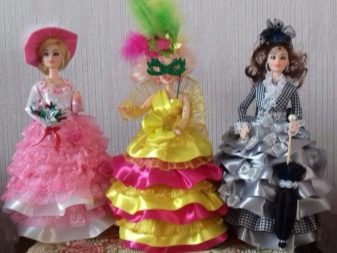
Puppet girls will charm you with their adorable outfits. In the interior, they look like decor, and you don't immediately realize that this is a completely functional box for jewelry or all sorts of little things. Making a doll-box with your own hands is a fascinating and pleasant experience, especially if you make it as a gift to a loved one.
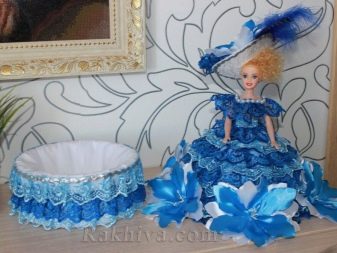
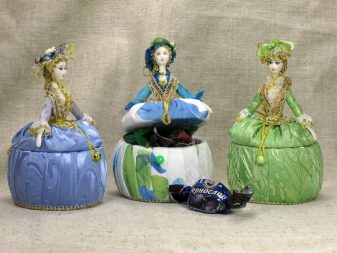
What is necessary?
We offer master classes for two products. Both dolls will be in sophisticated airy dresses, so you should not use jute, linen and other coarse threads to make them. It is better to work with silk and nylon threads.
For the first box, you need to prepare two basic things: a plastic bottle and a Barbie doll. Our product will consist of them.
We also need:
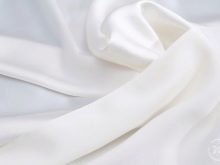
- white crepe satin;
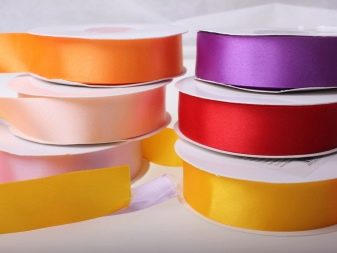
- pink and lilac satin ribbons;
- lace across the width of the ribbons;
- needle and thread, strong, with nylon;
- glue gun;
- some cardboard;
- felt-tip pen;
- scissors.
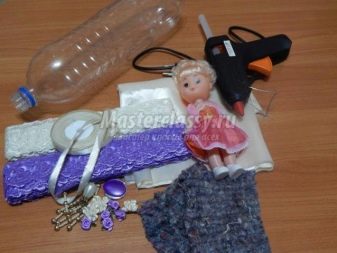
For the second box, the basic items will be a doll and a plastic mayonnaise bucket. In addition to them, we need:
- white crepe satin;
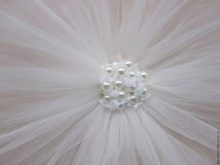
- tulle;
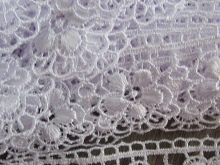
- lace;
- thread, needle;
- foam rubber;
- cotton pads;
- glue gun;
- glue "Moment";
- alabaster;
- scissors;
- felt-tip pen.
Step-by-step instruction
The doll-shaped box is incredibly beautiful, because it looks like a bride or a fairy-tale princess. Young ladies in royal dresses become decor and decorate the rooms of young girls, hiding their treasures under their outfits.
We offer several master classes on the manufacture of such boxes. If you do everything carefully and correctly, they will definitely work out.
Plastic bottle option
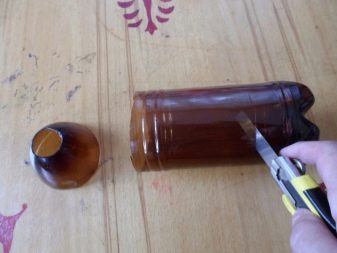
A plastic bottle with a volume of 1.5 or 2 liters is suitable for crafts.From it we need the lower part for the box and the upper part for the lid with the doll.
To cut a part of the bottle straight, fill it with water up to the cut. Using a felt-tip pen, using the outline of the water, make a mark around the circle. This should be done twice, for the top and bottom of the bottle. Then drain the water and cut two blanks along the outlined contour.
Fragments of a bottle and a Barbie doll are the basic parts for our jewelry box.
We will use crepe satin as a finishing material. Using a glue gun, cover the bottom of the bottle with a cloth on all sides.
In order for the box to become stable, it is necessary to make the bottom. To do this, take an ordinary metal lid from the can, paste over it with a cloth and connect it to the bottom of the bottle. The result is a convenient and reliable container for the box.
Let's move on to work on the lid.
- To make it, you will need a factory doll, more precisely, its upper part... Cut the neck off the bottle blank, we will no longer need it. Connect the resulting part to the doll.
- Any suitable material cut out a hard circle and close the lower hole of the future cover with it.
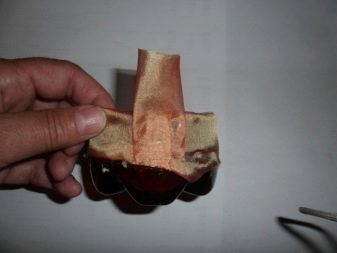
- Take the crepe satin again, put the blank on it. Carefully lift the fabric up on all sides and fix it with a strong thread at the doll's waist. Cut off the excess material and secure the cut with glue. The result is a lid, draped on all sides.
Now let's move on to the bindings. Sew two thin strips from a piece of satin - they will become connecting elements. Glue them to the lid with one end, and glue them to the box with the other.
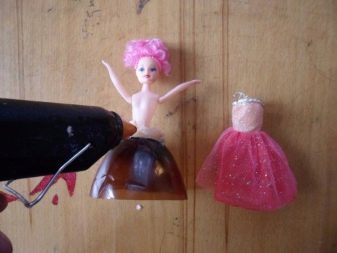
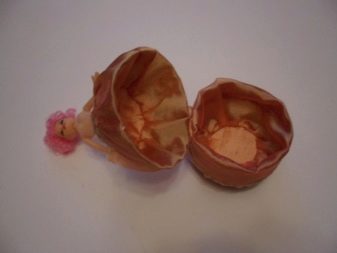
The main part is ready. Let's get down to creative work - decorating the product.
- Take lace and satin ribbons to form the outfit of our young lady. Pass the thread over the edge of the satin and pull it off.
- Glue the ruffle to the bottom of the box.
- Apply lace on the next piece of tape, connect them and gather by pulling the thread. Glue the ruffle to the box at the very edge of the lid, but do not touch it.
- Gather another piece of tape again, then glue it to the bottom of the lid.
- Take a satin piece of a different color, connect with lace. Glue the resulting ruffle to the top of the lid.
- Cover the bodice of the doll with a piece of satin. Fasten the laces on the arms, shoulders and waist.
- Take the narrowest satin ribbon and gather it together. Fix this part at the bottom of the box.
- For the doll, make a fan from a piece of lace, put it on your hand.
- Using cardboard and satin ribbon, make a hat, put it on your head.
The result is a wonderful decorative Barbie box.
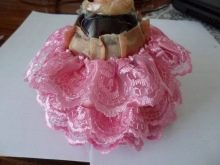
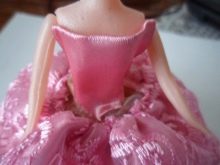
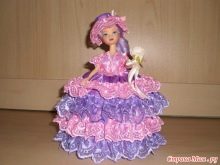
Plastic bucket version
Step-by-step instruction.
- Get a plastic mayonnaise bucket. Mark 2 cm from the bottom, draw a circular line with a felt-tip pen and carefully cut the bottom of the bucket along it. Subsequently, it will become the lid of the box.
- Cover the inside of the bucket with cotton pads. Cover the sides of the cut bottom with cotton wool from the inside.
- Prepare the crepe satin. Drape the sides of the bucket with it from the inside. Apply glue only along the edge of the part that was once the top.
- Fill the lid of the bucket with alabaster (from the outside) to make it heavier... It will be the bottom of our box. It is better to do this procedure in advance, then the material will have time to freeze and prepare for further work.
- Glue foam rubber to the inside of the lid. Cover the piece with a piece of crepe satin.
- Cover the lower part of the future box along the edge with glue and try it on to the made bottom, fix it, hold for a few seconds. A piece of crepe satin will stick to the bucket without stretching, as the foam rubber will slightly push it.
- Remove the bucket from the fitting lid and turn the glued patch up... Place the lid on the bucket with the flap (alabaster side up). Glue foam rubber on the alabaster.
- Foam rubber paste over the outside of the bucket.
- Place the box upside down... Tuck the crepe-satin that is loosely protruding from it and fix it around the top of the product.
- Cover with cloth outer walls of the box.
- It's time to work on the bottom of the former bucket, which we cut off from it at the very beginning of the work. Take the top half of the Barbie doll and glue it to this blank.
- Glue two foam rubber fragments to the doll's waist - in the front and in the back.
- Cut triangles out of the foam and fit them to the sidesto create a one-piece skirt.
- Take a piece of crepe satin, make a cut in the center and put it on the doll.
- Turn Barbie upside down, drape the fabric under the cover.
- Cut a circle out of the foam... Cover it with crepe satin. Install and secure this piece to the inside of the cover.
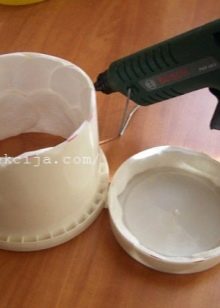
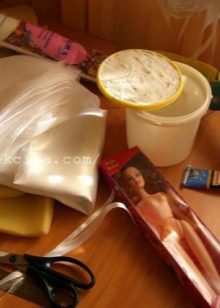
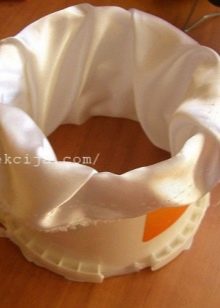
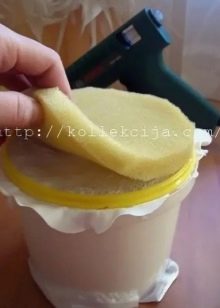
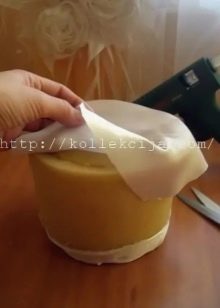
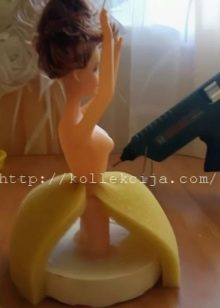
Put the glue gun aside, we will continue to work with Moment glue.
- Hide all seams and ugly draperies under satin ribbons.
- Prepare the beads strung with an elastic band, they will be the clasps. Glue them to the box.
- Using a piece of tape, connect the two parts of the product (box and lid) from the back. Secure yourself with horizontal tape on the inside.
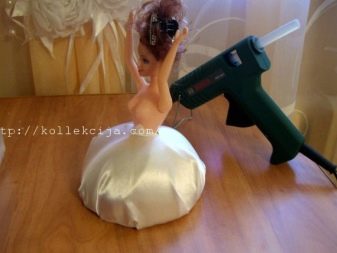
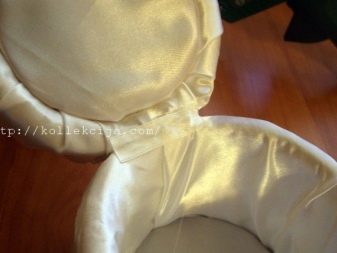
Let's move on to making the dress.
- Cut the tulle into strips, sew with thread and pull together to create ruffles.
- Sew the frill to the bottom of the box, hide the seam under the satin ribbon. Do the same with the second and third row.
- The fourth row of frills will run along the edge of the lid.
- Now take a piece of tulle and gently fold the folds around the doll's waist. When the work is finished, sew the bottom of the tulle to the frill, and hide the connecting seam under the satin ribbon.
- Make the bodice out of tulle, cover the top with lace.
- Add sleeves to the doll.
Get your hair done. Decorate the young lady with beads, bows, a veil or a hat, whatever you see fit.
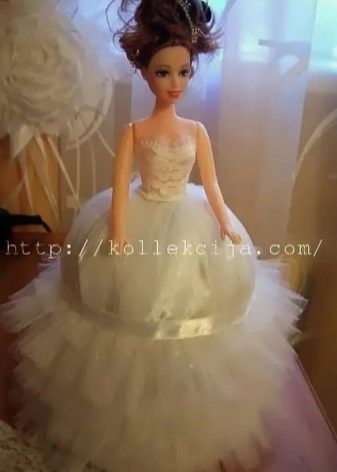
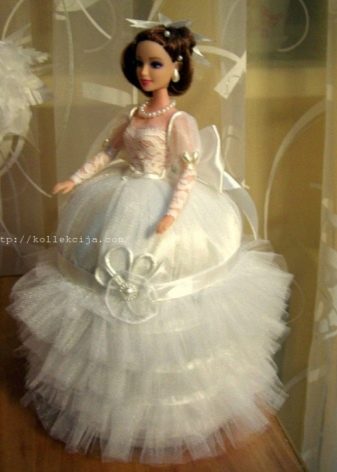
Here we have such a beautiful bride.
Recommendations
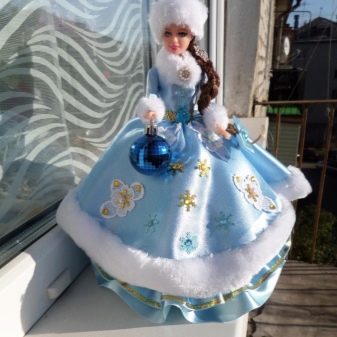
The doll can be presented in different ways: a queen in a heavy velvet dress, a bride in a flying transparent dress made of tulle and organza, a Snow Maiden in blue satin.
It is important that the dress is lush and hides the box with its contents under it.
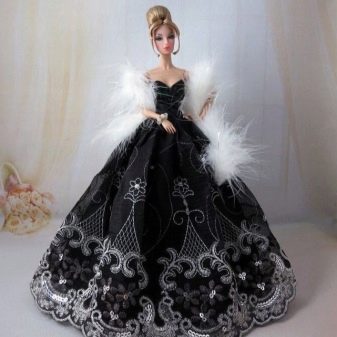
When making a product of any kind, a beginner can use our recommendations.
The easiest way is to form a doll's outfit with ribbons and lace, that is, use the option that we described above. But it will take the right calculation between the frills. The top row, running along the edge of the container, should slightly cover the bottom ruffle, and this, in turn, covers the box to the very bottom. There should be no gaps between the rows. Therefore, it is important to calculate the width of the tape and the height of the lower cut-off part of the bottle.
The doll-box made in the Japanese technique of kanzashi looks especially beautiful... Elements of origami are used in the creation of her outfit, only satin ribbons and pieces of beautiful fabric are used instead of paper.
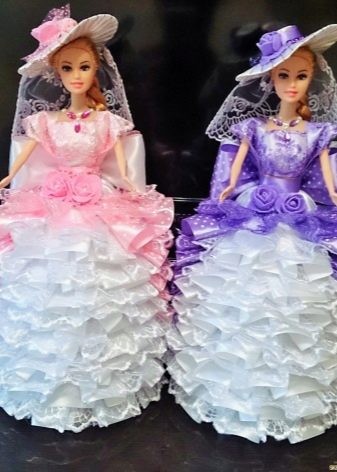
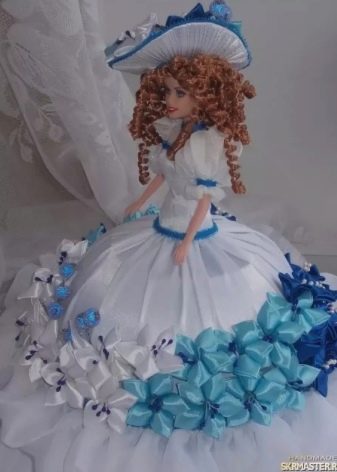
A barbie sitting over a casket in her most spectacular dress will still have an unfinished look if she is not complemented with accessories. Upon completion of the work, you must decorate the doll with the following elements (optional):
- hat;
- umbrella;
- lace gloves;
- veil;
- veil;
- handbag;
- fan;
- bouquet.
All these accessories are easy to make on your own using cardboard, beautiful fabrics, lace and all kinds of accessories.
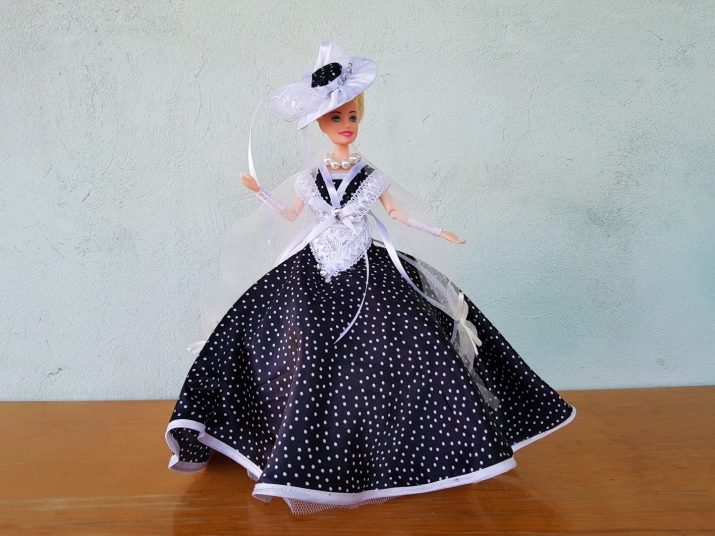
Next, see a master class on making a doll-box.


