All about watercolor sketching

Watercolor sketching is a fairly common painting technique. What is necessary for him, what genres and techniques this type of painting has, we will tell in this article.
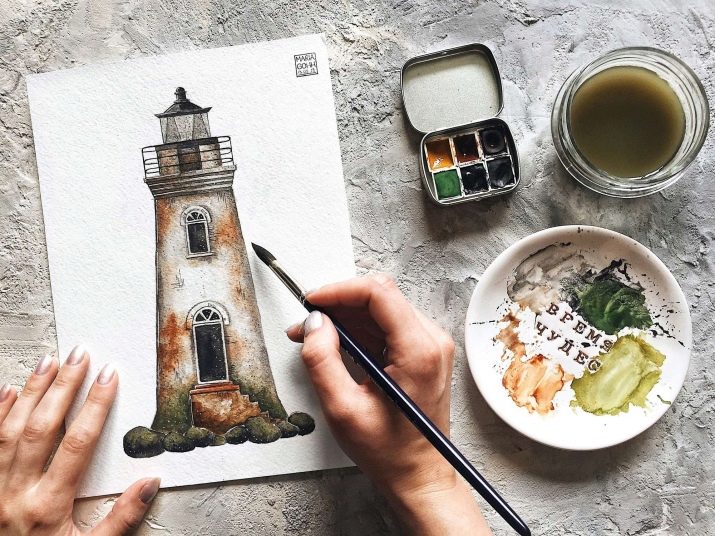
What is necessary?
Watercolor sketches can be done with ordinary paints and colored pencils. It is also allowed to use various alcohol markers, felt-tip pens and other attributes for creativity. In general, in the basic set it is recommended to have the sketchbook itself for drawing or thick sheets of paper for watercolors, watercolor pans, slate pencils, brushes of different sizes, erasers, a medium-sized container for water, as well as towels or disposable dry napkins, and sometimes references. which are necessary so that the artist can be guided by something while drawing.

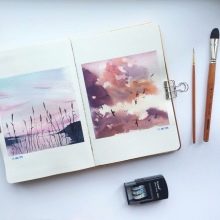
Particular attention should be paid to choosing a sketchbook. At the present time, there are many options on the market that differ from each other in the format, binding, color and texture of the paper sheets. All of these factors are equally important. It is worth choosing based not only on your preferences, but also on the characteristics of the material that is used for drawing.
So, if you plan to draw sketches with watercolors, then it is best to give preference to sketchbooks with thick paper, which is suitable for creating quick sketches and small watercolor images. Smooth paper, on the other hand, will be more appropriate if you are used to working with pencil and ink. The presence or absence of a spring in the sketchbook is also important. So, if it is, then the sheets will not bend when opened, which will make the drawing process more convenient.

Watercolor sketching genres
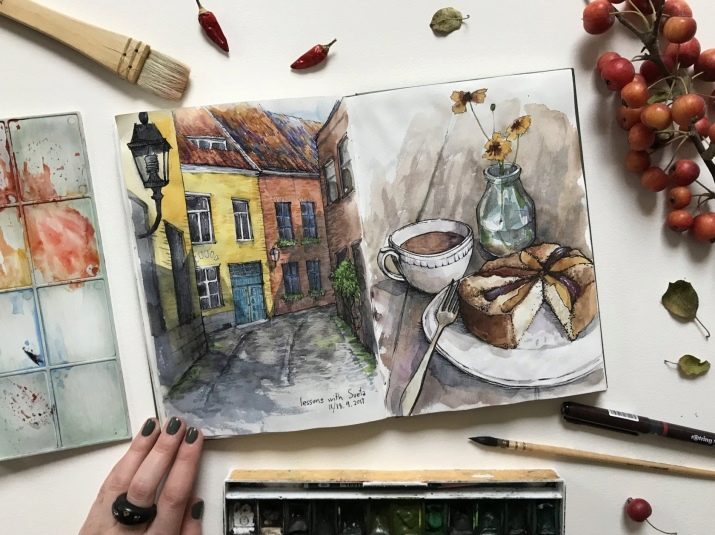
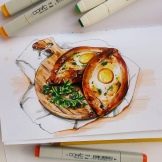
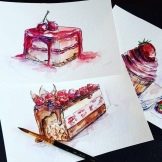
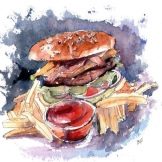
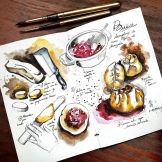
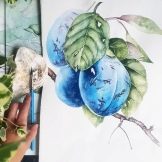
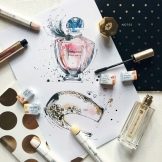
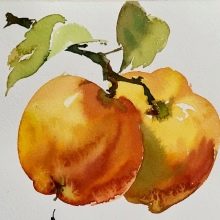
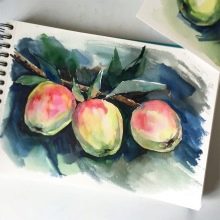
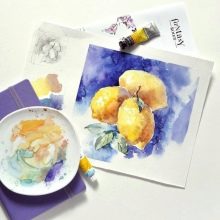
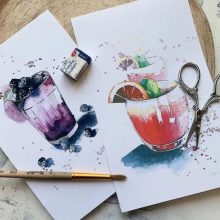
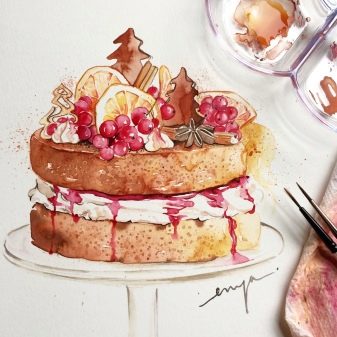
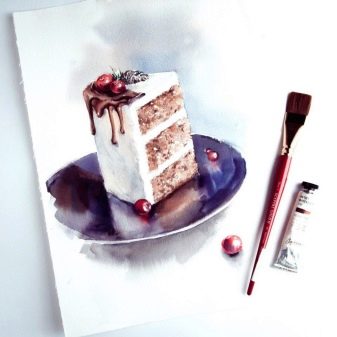
There are many genres of watercolor sketching. Each of them has its own characteristics, but it is rather difficult to say which of them will be simpler, and which, on the contrary, is more difficult. So, dessert genre, or food sketching, involves drawing different dishes, be it cakes, avocados, fruits, coffee or something else. Usually these are typical drawings that are necessary in order to be able to create a plan of the planned menu or make blanks for scenes of photographs.
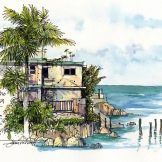
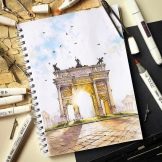
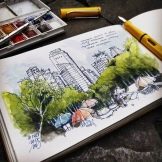
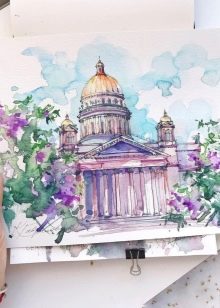
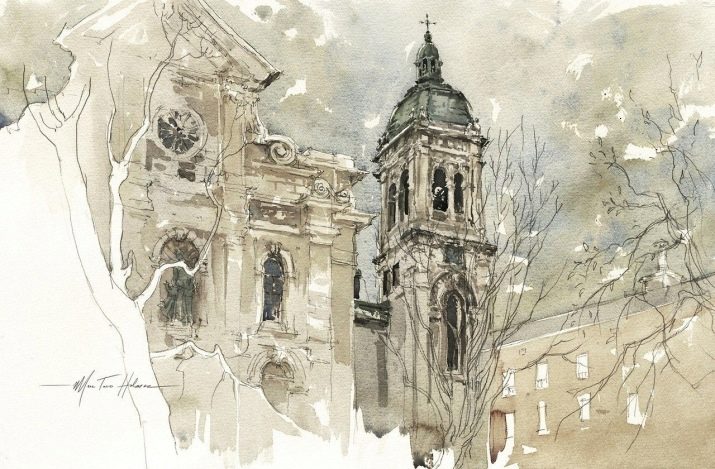
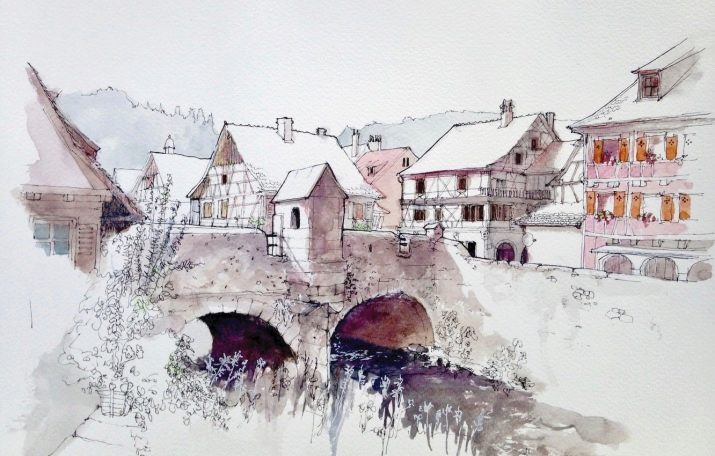
Travel sketching is a travel genre. It includes sketches of cities, streets. As a rule, such drawings do not pay too much attention to the architecture of houses and buildings, but the images clearly show driveways, cars, silhouettes of passers-by.

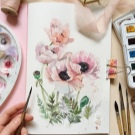
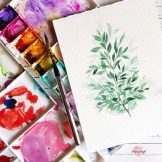
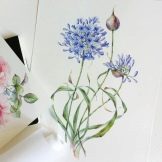
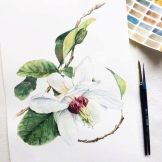
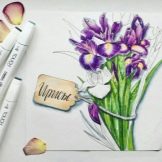
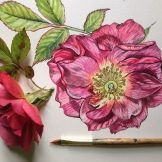
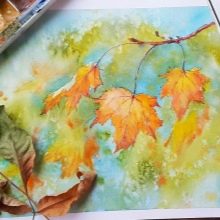
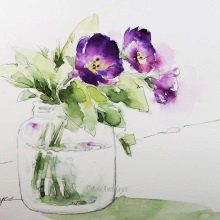
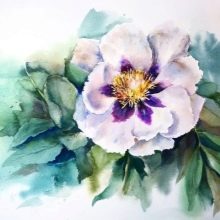
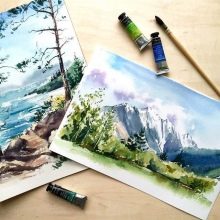
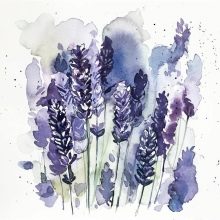
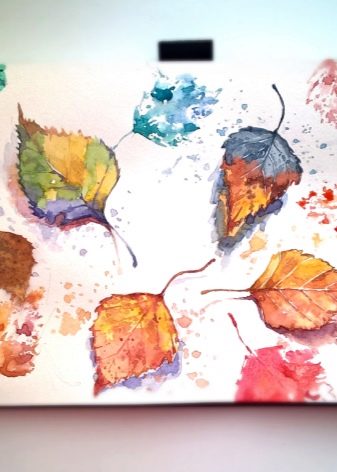
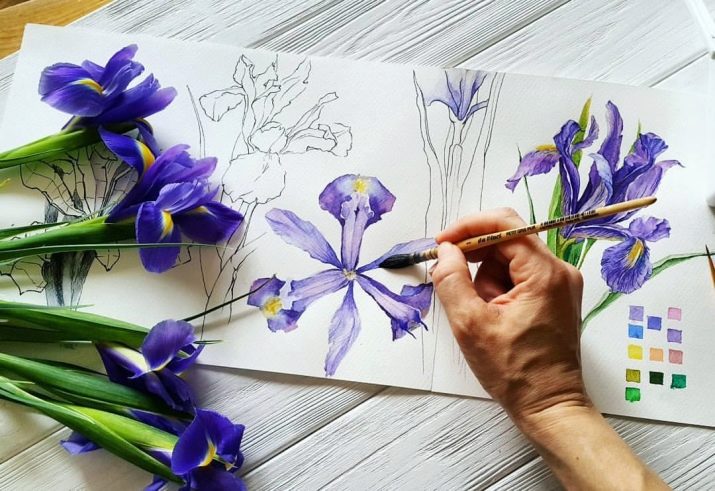
The botanical genre is also replete with sketching ideas. It involves drawing a landscape on a pre-marked sheet of paper, which often involves marking up perspectives from a distant subject to a close one on the main plan. Thus, the process of drawing distant and close objects is somewhat easier. In this genre, you can paint a variety of landscapes: both nature in spring and winter trees.

But the subject genre is often used to create posters, posters and banners. As a rule, the sheet is visually marked up into several parts, in which specific elements are depicted, each of them is an independent object in the figure.
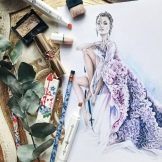
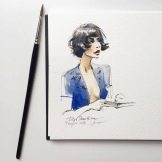
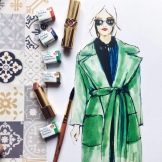
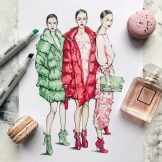
Fashion sketching means quickly and sketching clothing items. Previously, such sketches were often done by clothing designers and seamstresses in order to approve the sketch and present the thing more clearly.
Industrial sketching represents images that reflect the main essence of the object, that is, something like a preview should turn out. A person draws a sketch of the future object and then simply makes certain corrections, if necessary.
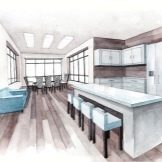
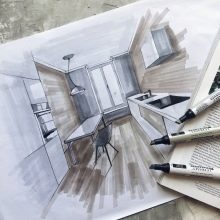
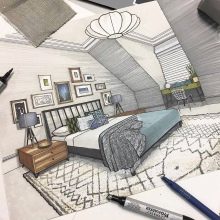
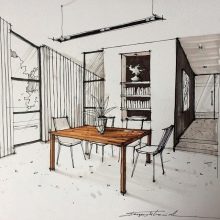
Interior genre, as the name implies, is dedicated to sketching the interior of rooms or premises for organizations. Such drawings help to visualize the future situation, to estimate the design.
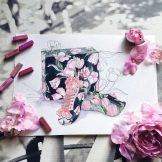
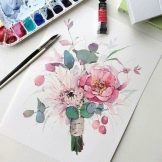
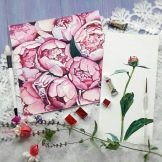
Floristic sketches, as a rule, are intended to depict the planned landscape design and not only. This genre orientation is most suitable for creating blanks when developing decorations for the holidays. All objects and decorations are drawn in the album, be it flowers or something else. Moreover, on a piece of paper, they are located in such a position in which they will subsequently be in real life.
Technique overview
There are different sketching techniques that allow you to make both simple and complex drawings. For simple sketches, it is usually enough to use lines, points, shapes from geometry or strokes. But in order to complicate the composition, you can use more "cool techniques". For example, the presence of perspective, and not only in drawing buildings and interiors, but also when drawing sketches of clothes, where you can add a model in motion, which will greatly complicate the work.
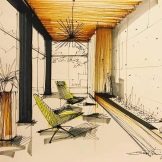
The presence of lighting and shadows is another technique that will allow for a more complex image. Without the use of chiaroscuro, the image will look more like a child's work. And its use will make the object more voluminous and naturalistic. Hatching is also an important technique that complicates the sketch. Usually, small strokes help to indicate the corner parts of the interior, and wide ones draw attention to supporting beams or volumetric objects that are characterized by a bulge.
Basic techniques
Glaze
This technique is also often called glizal or glaze, which means multi-layered painting. It is necessary in order for the drawing to have deeper overflows. This technique involves the phased application of shades on top of each other, which allows you to get a more saturated color. There are several variations of this technique.One of them is “wet on wet”. The essence of this technique is simple: the shade is applied to the base color, which has not yet dried out. This allows you to get a new color, which is due to the translucency of the top layer of paint.
Another technique is wet on dry. It is not as light as the previous one. In this technique, two layers of watercolors are gradually superimposed on each other, which creates the feeling of mixing two colors. In fact, the color pigments just partially overlap each other, without mixing into a homogeneous mass. And the third technique is dry on dry. It involves applying dry brush strokes so that the main color overlaps with the new one. This color technique is often used in industrial design.

Speaking about the glazing technique in general, it is worth mentioning that it is not used everywhere, because this method helps to show the brightness of the shades, which allows them to come forward. Because of this, a gloss appears, which will not be easy to get rid of by replacing it with a matte depth. So, for example, this technique is completely unsuitable for depicting the firmament.
English watercolor
The meaning of this technique is that the color is applied to a paper sheet, which must be soaked in water in advance. How wet the paper base of the drawing should be depends on what the creator intended to depict. As a rule, in many cases, a level of humidity is sufficient at which the water on the leaf does not shine in good light. Experienced craftsmen can control the moisture content of the paper by hand.
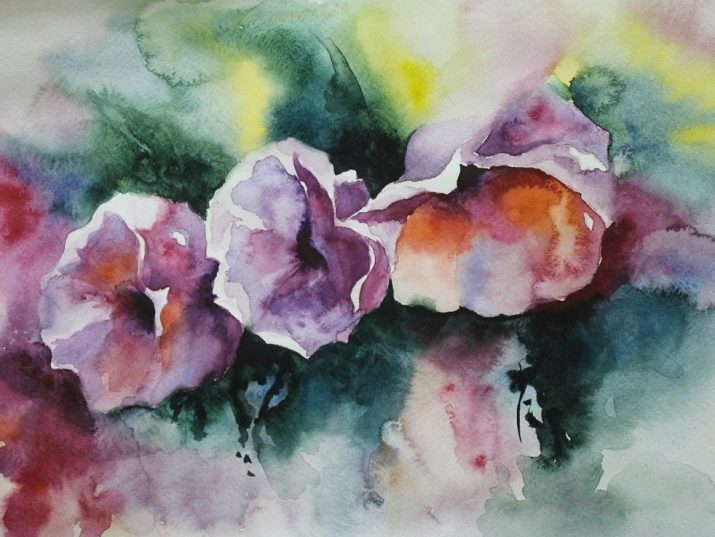
In general, this technique has both advantages and disadvantages. If we talk about its positive side, then here we can highlight the fact that when drawing, light and soft shades are obtained that are almost transparent. The transitions between them are soft, which gives the work a special tenderness. Quite often, this technique is used when portraying landscapes.
However, there are also downsides. They consist in the difficulty of working with this technique, because watercolors are characterized by fluidity, which can spoil the artist's idea. At the same time, correcting only a specific fragment, most likely, will not work - you will have to make changes to the rest of the picture. You can, of course, try to predict the "behavior" of the watercolor, but even the most experienced artist will certainly not be able to do this.

Reserve
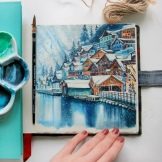
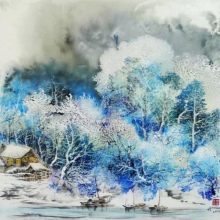
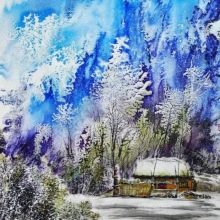
Another interesting technique. In general, the word "reserve" refers to the part of the sheet that is the lightest or has not been filled with color at all. That is, when working in this technique, the artist must leave specific white spaces, bypass them in order to fully realize his idea. This technique is especially suitable when painting New Year's landscapes, because in winter in nature, as a rule, there is a lot of white.
Often, using this technique, artists use additional materials so as not to accidentally paint over the white fragment they need. Often scotch tape, paraffin wax, wax crayons are used for this. Sometimes the paint is simply scraped out of the desired spots with a razor blade. And in some cases, such places are highlighted with the help of a wrung out brush or a dry napkin - they are passed over a layer that has not yet had time to dry completely.
Wet sheet work with dry finishing
This technique includes the two aforementioned methods: "wet" and "dry". Its essence lies in the fact that at a high degree of humidity of the brush, a "dry" direction is selected, and at a high degree of moisture of the paper - "wet". That is, it turns out that when working, two drawing techniques are involved at once. All this allows you to get blurry and softer outlines, the color of which is mixed with more contrasting shades, which causes diffusion: the paper expands in those parts where it is excessively wet, and color penetrates there.

A la prima
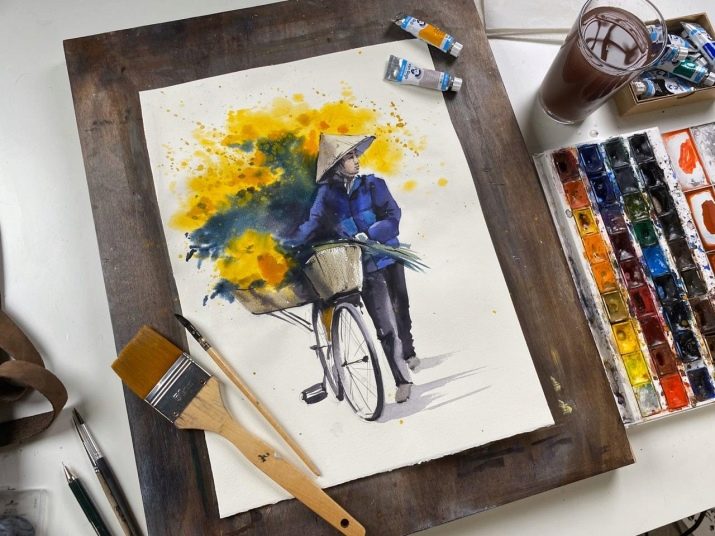
This technique is based on a fast pace of work and is best suited for sketching. This implies the rapid application of a single layer of color onto a damp piece of paper. In this technique, the sea with ships is especially often depicted, however, other drawings in it can also be performed. Using this technique, you can achieve beautiful effects of streaks and mixing of different shades on the sheet. This way of working allows you to create a quick drawing in which there is no need to draw individual elements.
By dry Italian school
This technique involves applying paint in one or two layers, after which the work is sent to drying. When applying color in one layer, it is necessary to make accurate strokes, while using a large amount of paint. If this does not produce the best color rendition, then it is allowed to improve it by adding a shade to the not yet dried layer. When using two layers, as a rule, two shades are involved. They are applied until the color of the first layer dries. The two-layer technique allows for more colorful and vibrant accents that overlap the first layer.

As a rule, only bright shades are used in this technique, which is done to avoid contamination. But for writing natural pictures, where a dark background is often found, this technique is not suitable.
Wash
This technique can help you quickly create several layers of the same tone at once. The bottom line is this: the creator mixes paint with water in a ratio of 1 to 6 or 1 to 8, thus obtaining an almost transparent liquid with color. It is often used to create a translucent background, or it is applied in several layers to obtain a subtle shade of one color. Often this technique is used by architectural designers, because they often need a transparent background of the picture, which will not draw all the attention to itself.
Using different materials
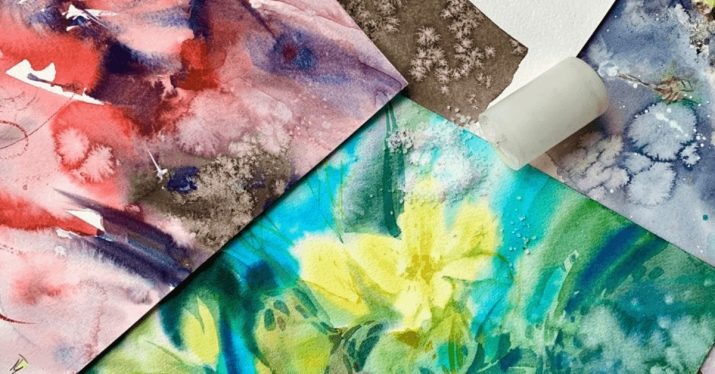
Different materials can be used in watercolor sketching. For example, salt, crystals of which are applied to a wet paint layer. Subsequently, they absorb all excess water, which creates a beautiful and unique divorce. It can be played in an interesting way. For example, this divorce can become a slight haze in the sky or a soft cloud. Some people use crumpled paper when drawing. Watercolors on such paper behave in a very unusual way. Due to their fluidity, they accumulate in the places where the paper has been folded, which allows you to create more volume. However, when using such a technique, it is necessary to decide exactly what will be shown in the picture and what technique of folding the sheet will be used.
Not less often, artists use cling film when drawing. Usually it is applied to an already completed painting, without waiting for the paints to dry completely. After a while, the film is removed - by this time the watercolor should also dry. After removing the film, you will be able to detect the formation of such an effect that is achieved with the help of glazing, that is, the effect of overlapping layers.
Tips for beginners
Don't be afraid to use new techniques in your work, because experimenting, especially when it comes to creativity, is not bad. On the contrary, you can try new techniques, discover something different and maybe even improve your skills. Do not fight for the perfect drawing, especially if you are starting from scratch. Perfectionism here will be clearly superfluous, because drawing something without flaws will immediately be difficult, if not impossible. At first, things may not work out or come out the way you expect. However, the most important thing at this stage is not to give up work, but to keep trying. Only in this case you will be able to gain experience and gain a hand, because you learn from mistakes.
It is worth mentioning the materials required for sketching. If you are new to this business, then you should not immediately chase expensive materials - perhaps you decide to quit this activity, which will waste money. At first, you can stock up on the most basic materials: an album or sketchbook, pencils, an eraser and paint for watercolor sketching. It'll be enough. In the future, if you decide to develop in this direction, you can buy more materials of better quality.
Beautiful examples
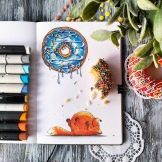
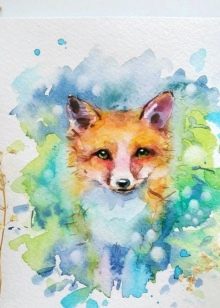
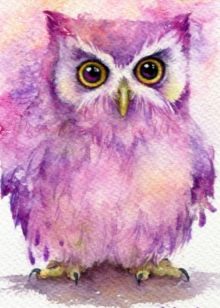
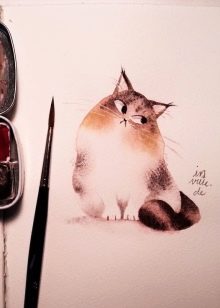
There are many examples of watercolor sketching. For example, portraits of animals. Among them there is an owl, a cat, and a fox.
And here are the images made in the dessert genre. It is worth noting that they look very appetizing.
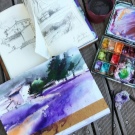
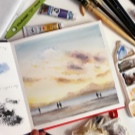
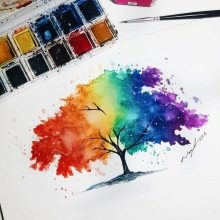
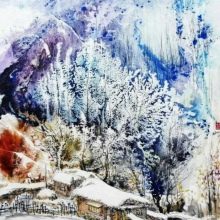
Landscapes made with watercolors, also look very impressive and beautiful.
For a step-by-step watercolor sketching workshop for beginners, see the next video.


