Touch Marker Drawings
In artistic creation, beautiful paintings are obtained only when using high quality materials. To create sketches, many novice artists choose markers. Touch is a quality and safe brand of painting supplies.
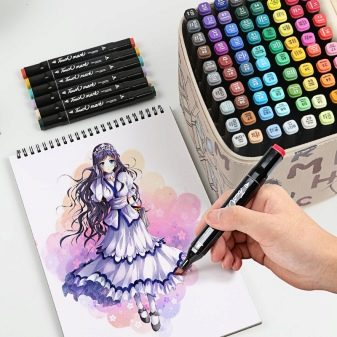
Pros and cons of drawing with Touch markers
Touch products are premium products manufactured by ShinHanart. The Korean brand offers products for professional artists, including oil paints and watercolors. All are marked with the "AP" icon, which means that the product meets international quality standards and does not contain substances harmful to the health of children and adults.
A number of series are produced.
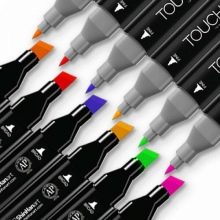
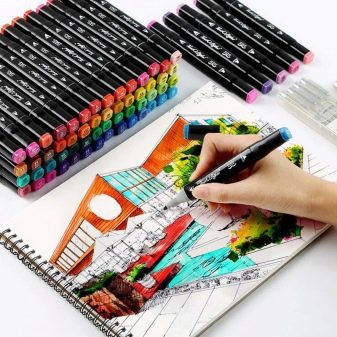
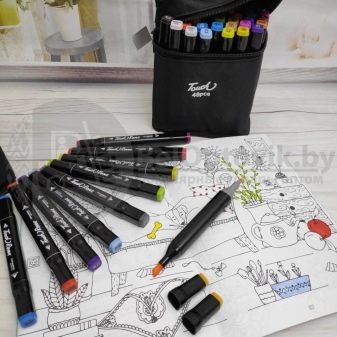
- Twin - with a black body in a standard double-sided version, with thin and wide nibs.
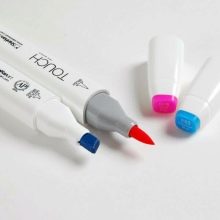
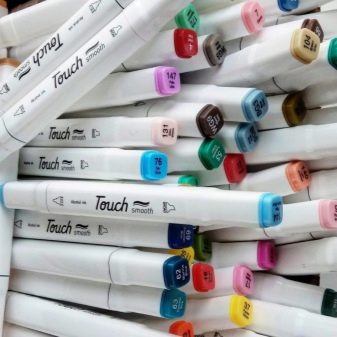
- Brush - double-sided in a white case, in place of a thin nib there is a special soft tip, they work like a real watercolor brush.
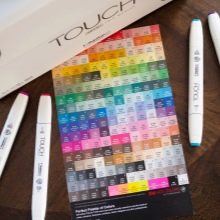
Touch alcohol markers are distinguished by a large selection of shades - 204, when applied, the ink lays down softly, creating smooth color transitions and new tones.
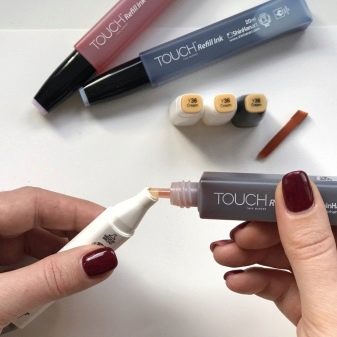
ShinHanart makes it possible to replace broken nibs and refill those that have stopped drawing. A set of nibs and ink bottles are easy to order on the manufacturer's website.
Pros:
- beautiful saturated colors;
- many shades;
- lay perfectly in layers;
- dry quickly;
- ergonomic body;
- bilateral;
- nib options - wide nib, narrow nib, brush nib, and wide nib;
- the ability to change the tip;
- refillable - 1 bottle of ink for 8 refills;
- service life is about 3 years;
- convenient packaging.
Minuses:
- slight odor;
- fade on paper;
- appear on the back of the sheet;
- end quickly;
- high price.
On the market, you can buy inexpensive Chinese counterparts, which are also quite good, but in quality they differ significantly from the original.
Easy drawing options for beginners
For a quick mastery of drawing, professionals advise.
- Practice drawing simple shapes more oftensuch as geometric or ornaments.
- Carefully examine the details of the subject: consider illustrations, photos, observe in the world around.
- Complex images before drawing divided into simple ones.
- Practice regularly not to be afraid of erasing, correcting and redrawing.
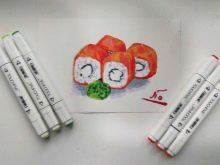
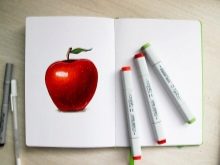
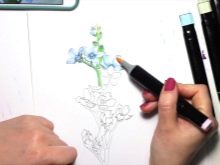
You will need:
- sketchbook or notebook with thick paper;
- a simple pencil hard-soft (HB);
- quality eraser;
- liners, capillary handles;
- markers.
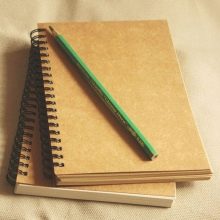
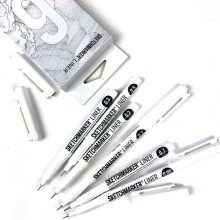
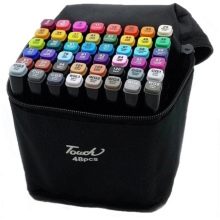
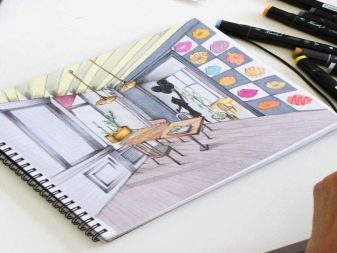
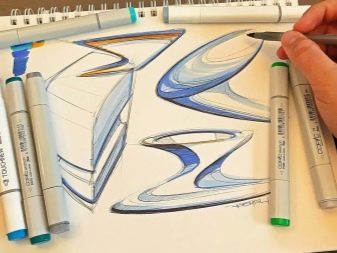
When creating sketches, only 2 techniques are used - this is shading an object and shading strokes in different ways. If they draw with markers, they blur the dark tone with a lighter one.
When taking the first steps in drawing, it is better to follow the work algorithms that were drawn up by professionals. This will reduce mistakes and develop the necessary skills.
They always start with an easy one.
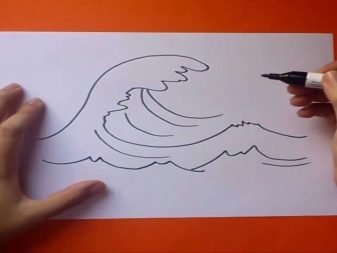
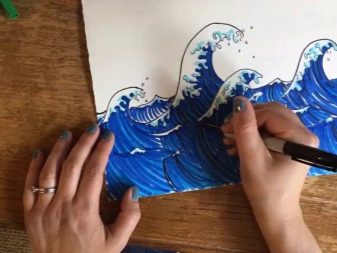
Wave
- A circle is drawn with a simple pencil, the lower contour is not drawn, but outlined with light shading.
- From the bottom of the center of the circle upward, smooth curved lines are drawn in a row.
- The upper part of the circle is separated by a wavy curve - this will be the head of the wave. A small shuttlecock is outlined in the middle.
- The foam is drawn.
- Carefully trace the outline with a pencil, and then with a liner.
Color drawings require more careful preparation.
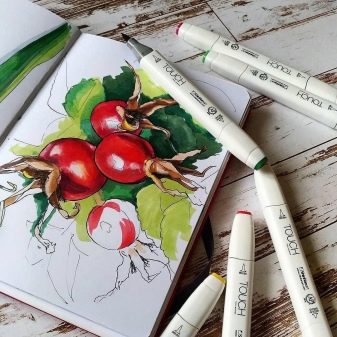
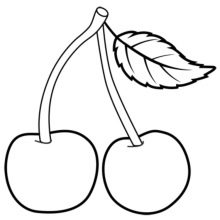
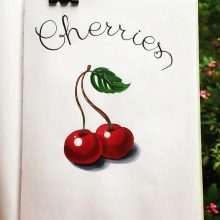
Cherry
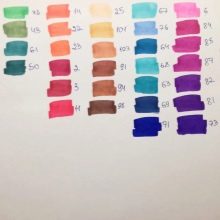
- They choose the right shades, for this they paint the palette.
- Sketch with a simple pencil.
- The contour is outlined with a liner.
- Soft pinks create soft highlights.
- Cherry is painted over with bright scarlet, and pink around the edges.
- The bottom half is filled with red.
- They are brought in dark red. Above, paint over the shadow from the twig.
- Blurred at the junction of tones with bright red.
- The petiole is painted bright green, the leaf - light green, leaving several white spots.
- Along the edge of the sheet, they are tinted, veins are brought in.
- The edge is painted over with brown, under the berry I make the shadow in a gray tone.
What else can you draw?
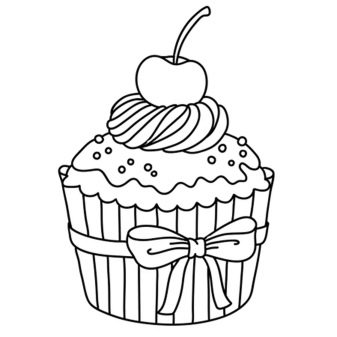
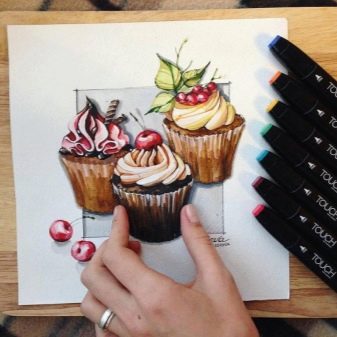
The choice of images for a sketchbook is very wide: these are Food sketches, mandalas for meditation, cute animals, bouquets, buildings - the list goes on and on.
As a rule, any sketch in color includes:
- applying a contour base with a pencil;
- selection of shades and painting over the picture.
It is necessary to choose the right shades, place highlights, darken and lighten certain areas. This is the only way to create a vivid and vivid picture.
Let's see how best to approach the creation of different types of images.
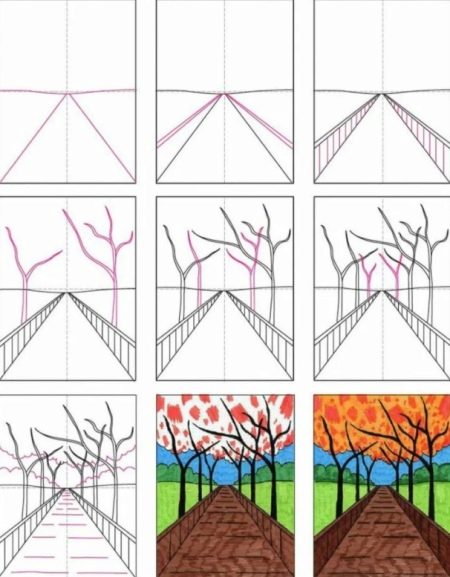
Landscape
At the first stage, a pencil sketch is created, then the drawing is painted.
- Background first. The sky is blue, the field and trees in the distance are green. They create a smooth transition of colors.
- The trees are outlined and drawn in black, adding horizontal strokes on the trunks.
- In the foreground, the strokes lie horizontally, and on the side of the fence - at an angle.
- Crowns of trees. The bright pink spots are applied first, and then the orange color is distributed.
Silhouettes
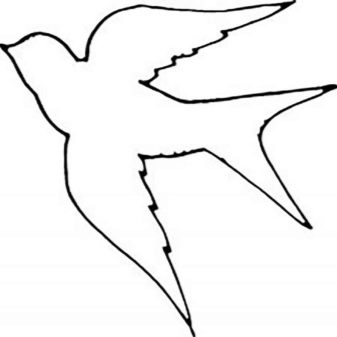
Beginners can try drawing silhouettes. It is much easier to sketch them than a full figure. This will be a great workout. Sometimes such images are filled with a uniform background, such as a starry sky.

Face
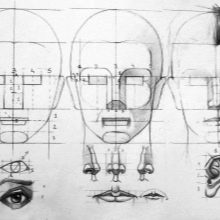
Professional artists suggest acting according to an algorithm.
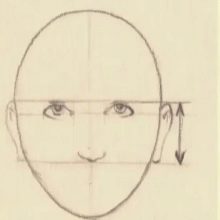
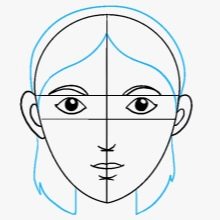
- They draw a circle, in the lower part they extend to an oval - this will be the face.
- The oval is divided into 5 parts: 1 with a vertical line marks the center of the face, 4 - horizontal lines are drawn on the vertical axis.
- On the uppermost horizontal line, then eyebrows will be drawn, the second is drawn under the eyes, the tip of the nose is located on the third, and the lip fold on the fourth line.
- The distance between the eyes is equal to the width of 1 eye.
- A gap is made between the lower lip and the chin, which is equal to the width of 1 eye.
- The ear is placed in the space from the upper eyelid to the tip of the nose.
- The edge of the hair is often placed at the same distance above the edge as the chin fold.
People
In order to draw a silhouette of a person, an algorithm is used.
- Choose a figure pose, and make sketches. Usually at this stage, the silhouettes are composed of lines.
- Draw up a sketch in simple geometric shapes (circle, square, oval, triangle and others).
- They add details: outline clothes, hair, facial features. Delete the sketch grid.
- They draw clearly the contours and faces.
- They create shadows and partial shades, paint the setting.
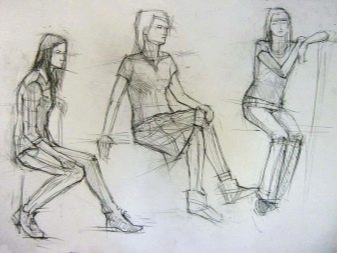
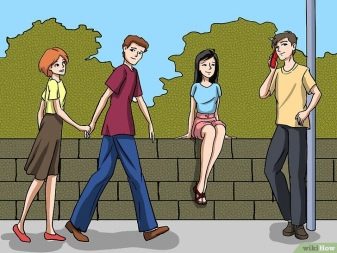
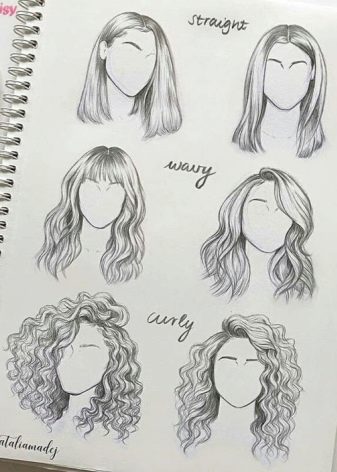
Drawing hair, especially when portraying a girl with long curls, is a painstaking task.
Several rules.
- First, outline the contours of the hairstyle.
- Fragments are drawn, which are then broken down into smaller details.
- Often, curly hair is textured, and straight hair is uniform.
- Several types of lines are always used: wide and bright, thin and shaded.
- Curls and braids are drawn more carefully.
- For colorful design, it is recommended to use several shades.
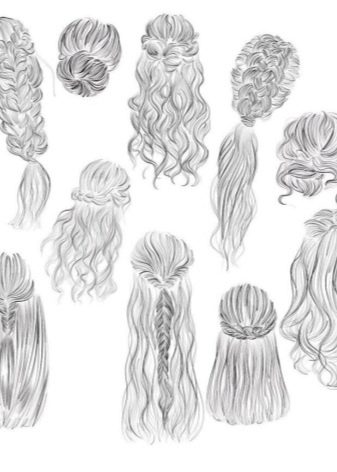
Useful Tips
-
Markers - this is not watercolor: mixing 2 colors does not get the 3rd one.
-
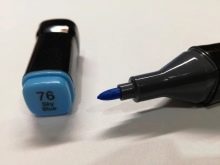
Sharp fine tip - "bullet" - used for contour and small fills.
-
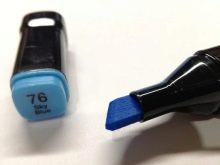
Wide nib - "chisel" - for filling large parts.
-
Flexible brush - Gives the effect of a watercolor brush with a smooth transition in tones.
-
Gray and brown tones help create a difference in shade over the same color.
-
Three to four tones of each color light to dark gives a more natural, smooth transition from light to shadow.
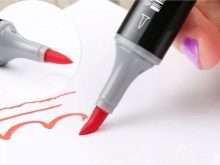
It is necessary to select the appropriate paper. Do not take a very dense one, otherwise the ink will be consumed very quickly. A regular office will do.
Fresh ink often appears on the back of a sheet, with an extra sheet under the image below. Tracing paper or blotting paper can also be useful for overlaying the drawing so as not to stain the sheet.
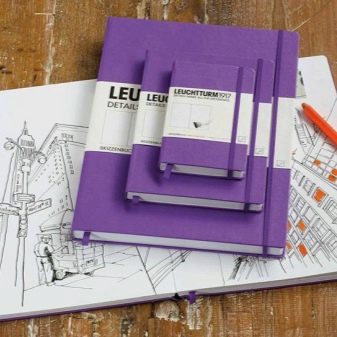
There is a special paper for drawing with markers, it is thicker in composition, but at a price quite expensive and quickly consumed. The best in terms of density are Leuchtturm1917 sketchbooks.
