What can you draw with sketching markers?
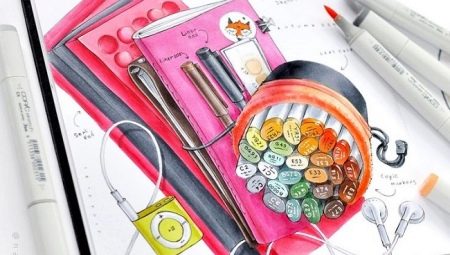
Buying markers for sketching is a special pleasure. But I would like not only to consider them, to try "for color", but also to draw something inspiring. And preferably not very difficult, because beginners often come to sketching. Well, this direction is wonderful because you can break into it from a running start.
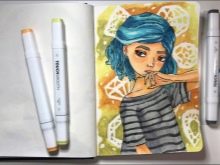
How to draw people?
It would seem that it is not the easiest option for drawing beginners, but many people want to draw a person - a stranger, their own portrait, Harry Potter or another recognizable person. Well, you can try, because almost any drawing with the addition of a human figure becomes more realistic and interesting.
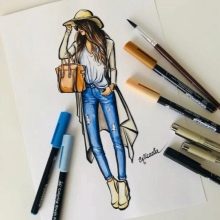
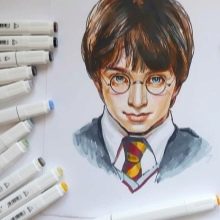
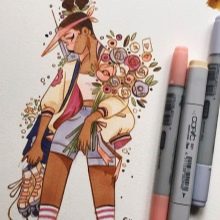
Practical advice will help with this.
- The horizon line should be at human eye level. That is, five people at different distances will stand on the same plane, and the artist seems to be looking at them too. And if the artist looks at the people being drawn from above, they must be positioned so that the distance to the horizon line is proportional to the growth of the character. That is, the intervals from the horizon line to the line of the eyes and from the line of the eyes to the ground level were equal. Otherwise, proportionality cannot be achieved.
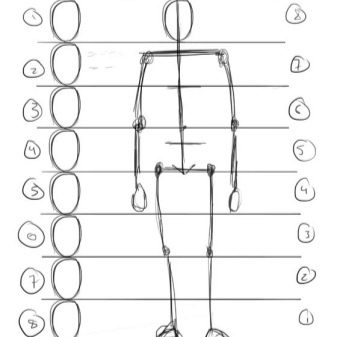
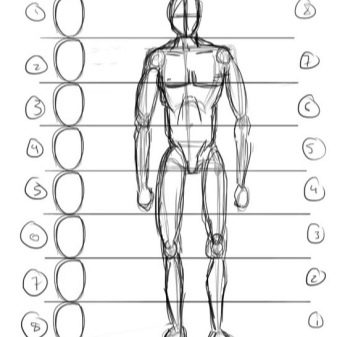
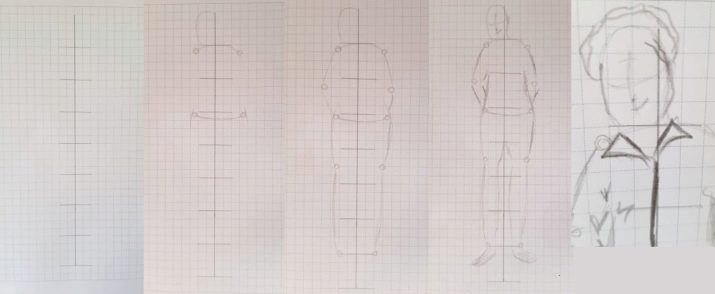
- After the horizon line is drawn, a vertical line is drawn - the core of the figure... It protrudes slightly beyond the horizon. The line is divided into several parts (there will be 7 in total), each corresponds to parts of the body, the bottom and top are approximately equal to each other. First, the skeleton is thrown, and then you can "put on" clothes like a mannequin. Next, you can work out the head.
- In sketching, they often work freely, without going into details - this is what distinguishes it from academic drawing. You can do it without filling at all, or you can add a light one for more expressiveness. Curious effects can be achieved using a semi-dry marker.
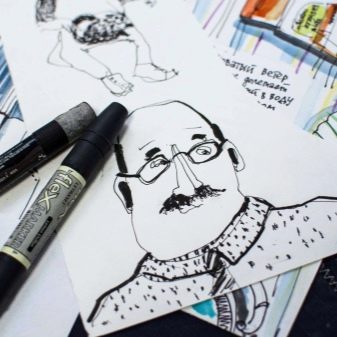
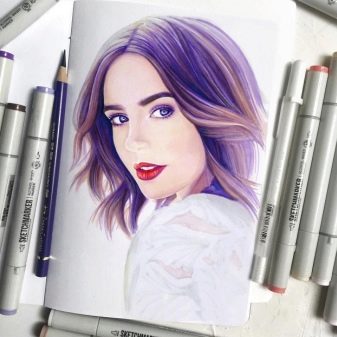
- Sketches should be dynamic in terms of conveying posture and posture... You need to work with a thin tip of the marker, drawing lines and points. And if you draw a figure in one spot (there is such a technique), you can quickly and better remember drawing a person's pose - this is a good experience for beginners.
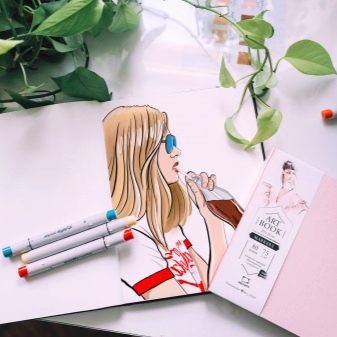
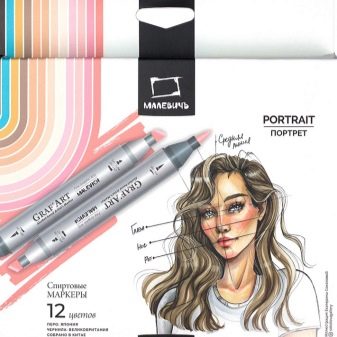
- It is best to paint over the edge, leaving white areas... Contour lines should be different in thickness. You should always start with a small scale and add only the details you really need to the shapes.
If the pieces still seem to be something very difficult to start, you can go to the series "for beginners", where the chances of quick success are much higher.

Light paintings
Take landscapes, for example. Even simple, primitive, they look nice if there are no gross mistakes. An assistant will be a reminder on how to make a landscape step by step.
- Silhouettes of tree trunks are outlined on the sketchbook sheet - these will be vertical lines. The shade marker should be related to the shade of the working surface, this is important.
- The area between the verticals must be painted over with green, the transition of shades must be controlled - it must not go out of the smooth mode.
- Now the trunks can be drawn in more detail - some are added with horizontal strokes, which are inherent in birch.
- Then you can proceed to the foreground: the image of grass, stumps, flowers and more.
- At the top of the sheet, the sky is indicated by blue shading.
Everything is as simple as possible, you can try to do it even with ordinary felt-tip pens.
Or, for example, the interior can also be learned to draw the first time. Let's consider how to draw an interior (room) quickly and easily.
- Draw a horizon line, it will be closer to the middle of the page.
- Bring out the back of the room. It doesn't matter what shape it is.
- The figures should not be very large, because there should be enough space for furniture and everything else in the drawing.
- The vanishing point is determined - it will be anywhere in the room along the horizon line.
- The drawing must be viewed from the side of the viewer.
- Then you can grab the walls - at any point in any orthogonal draw a new rectangle.
- It's time to use the horizontal and vertical lines that intersect at one point.
This is just the beginning, a rough draft, because the room still needs to be "furnished" with furniture. But the main thing is to understand the laws of perspective, everything starts with it.



How can you draw fruits and vegetables?
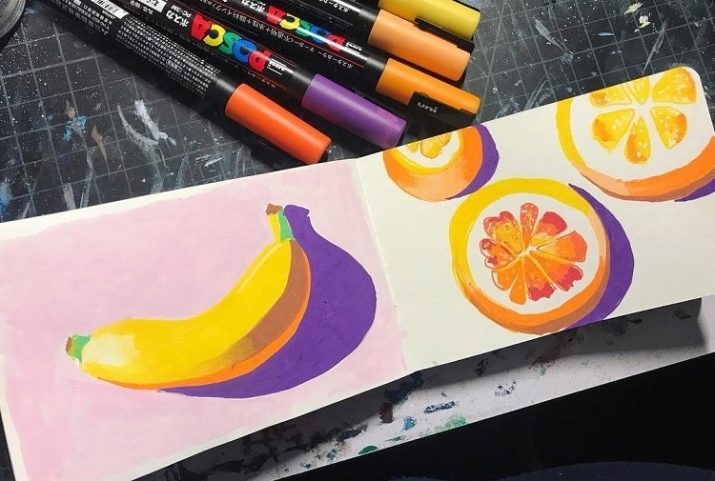
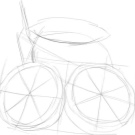
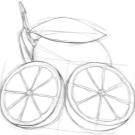
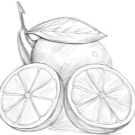
Using the lemon as an example, you can see how the fruit will be drawn in the sketchbook. Let's consider how to draw a lemon.
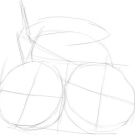
- First, a whole fruit is outlined (as a result, there will be it and a slice on the sheet). A circle is drawn, a diagonal line is drawn.
- The diagonal helps to draw the side bumps. A large lobule is also drawn in the foreground. In the middle there will be another arc that will show the location of the rind and pulp.
- In the middle of the lobule there are small details. The contour of the lemon is clarified, a branch with a leaf is drawn. Now unnecessary details / lines can be erased.
- Triangles are drawn on the lobule.
- The finished drawing must be outlined with a black marker. More lines can be added for the texture. Everything else is erased.
- A whole lemon is painted over with a yellow marker, as well as individual sections of the slice.
- Additionally, orange and brown are used, the tone is enhanced, and a shadow is added.
- The leaf is painted over in green, you can use several tones for more expressiveness.
- Glare is added with a gel pen. And beige and brown pencils will help create shadow under the fruit and wedge.
Now you're done! Apple, avocado, kiwi and other popular fruits and vegetables are also drawn.

Food sketches
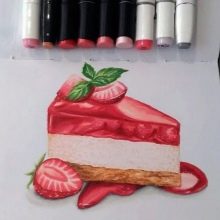
From ice cream to donuts, cakes and cocktails, you really want to draw all the delicious food, because the process involves different senses.
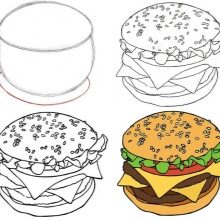
For example, here is the algorithm for drawing a hamburger.
- The top begins by drawing an ellipse.
- A semicircle should be located under it - the main part of the hamburger.
- There will be another ellipse at the bottom, but only from the front (visible) side. This is the bottom of the burger.
- Small slices are drawn at the top, layers are added. First, a salad leaf is depicted, then cheese, tomatoes, meat.
- You can outline the hamburger with a black marker.
- It remains only to color the product - the top and bottom layers will be dark orange. The rest is still more predictable: red tomato, green salad, yellow cheese, dark brown cutlet. The hamburger is assembled - no more than 10 minutes for everything.

Plants
They usually start with flowers, often switch to succulents and linger on this topic, but trees and larger objects are drawn when they "got the hang of the little things."
Flowers
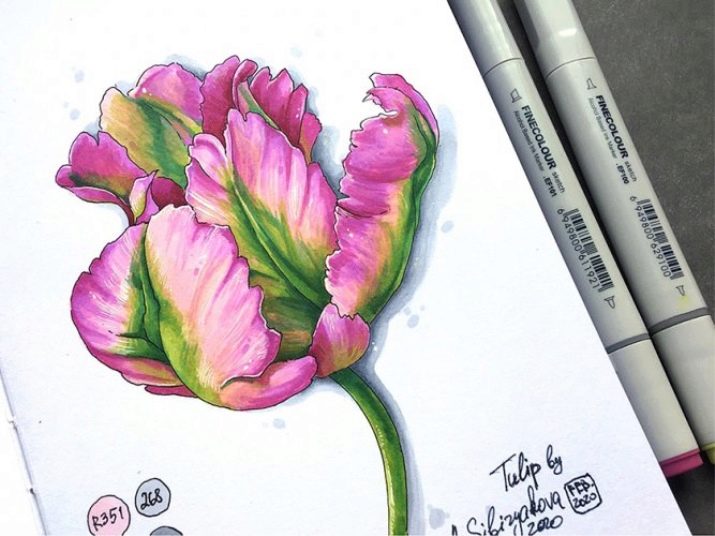
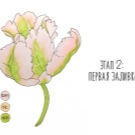
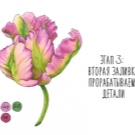
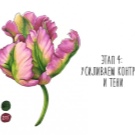
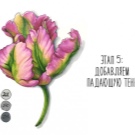
Tulips, roses, orchids are the most popular flowers for drawing by beginner sketchers. Since it will be more difficult with a tulip, it is worth considering a step-by-step algorithm for its image.
- Sketch with a liner. If you are not sure that it will turn out well right away, you can start with a pencil. It is necessary to outline the stem and petals without drawing details.
- Then the first layer is drawn with markers... The first fill is made. The selection of colors is based on harmony; their miscibility must be taken into account. Special markers for sketching can be mixed, for example pink + beige = new independent color.
- In the second step, you can add more intense colors. The marker should go along the edge of the petal to the center vein. Others, dark, outlined shadow areas. The techniques of strokes and shading are used.
- The intensity increases - the shadow on the leg and on the petals deepens, the central veins are outlined, the drawing is done with expressive light strokes... When you reapply the color, the saturation will increase, so it is not always worthwhile to grab onto the dark markers right away, you can just do the shading again.
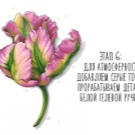
- Fill, tone boost, smooth gradient - these are the things to work on next. (guide to the figure, where the numbers of the markers used at each stage are indicated).
- It remains only to carry out the detailing with markers and a white pen. A white gel pen will make highlights on the petals and stem, you need to walk along the light edge of the petals.
And in sketches there may be a place for deliberate negligence, but only in small quantities. This will give the drawing expression, a feeling of quick sketching, emotional and mood.
Cactus
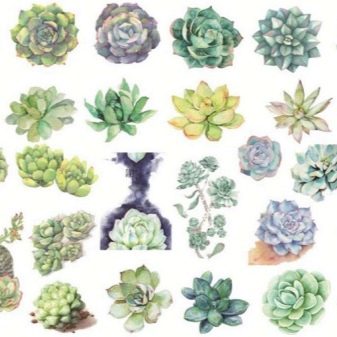
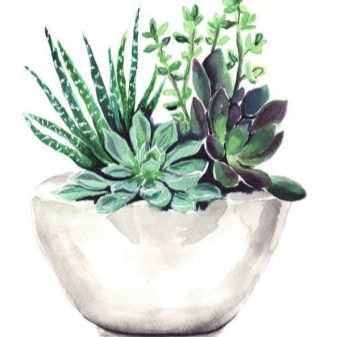
Succulents are a wonderful subject for drawing, they have become especially loved as an attribute of democratic interiors.
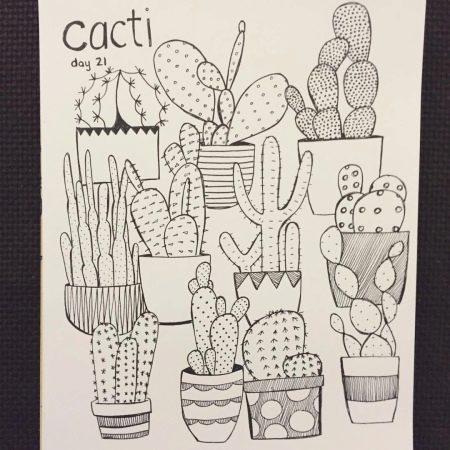
Here is a selection of quick sketches that can be copied without a step-by-step illustration.
- In 10 minutes, you can quickly make a whole series.
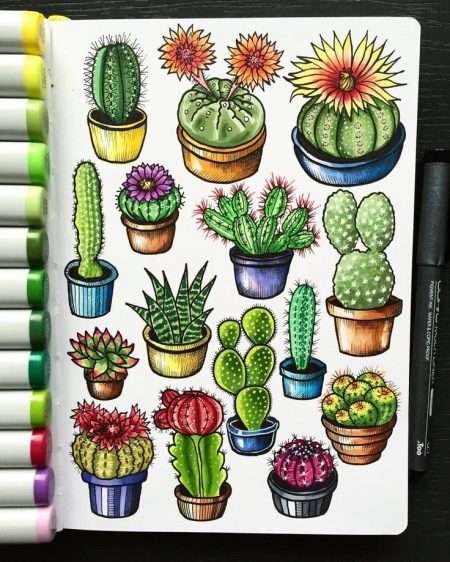
- Without bright colors, but with a strong outline.
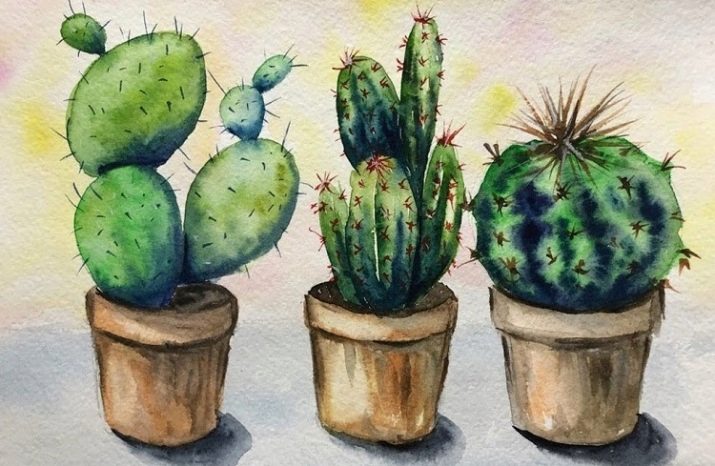
- Pencils are used here, but you can apply markers for outline and shadows.
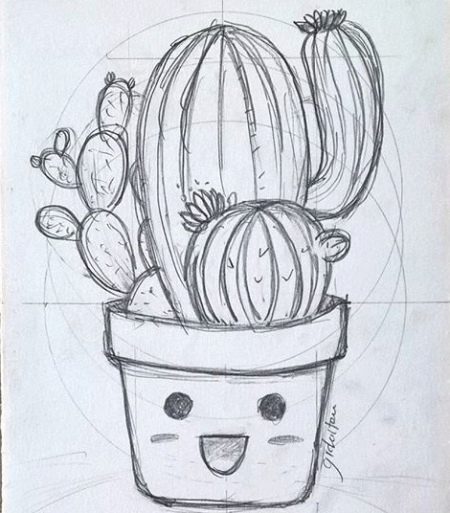
- Cuties are good for stickers.
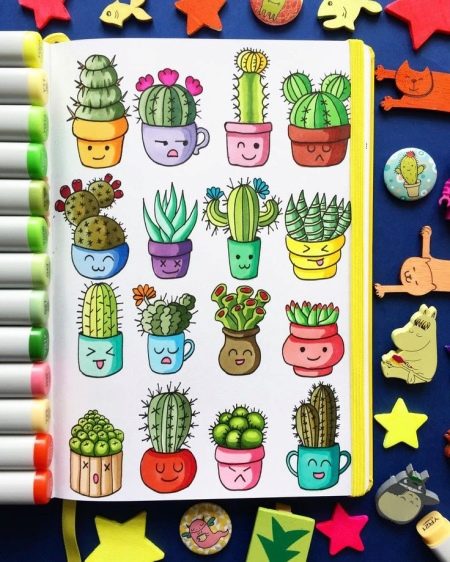
- Conceptual succulents. And this is all that is drawn very quickly, but this is how the “hand” is developed.
Trees
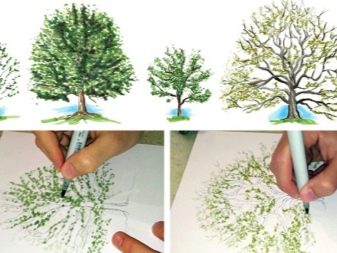
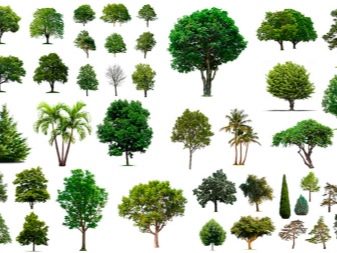
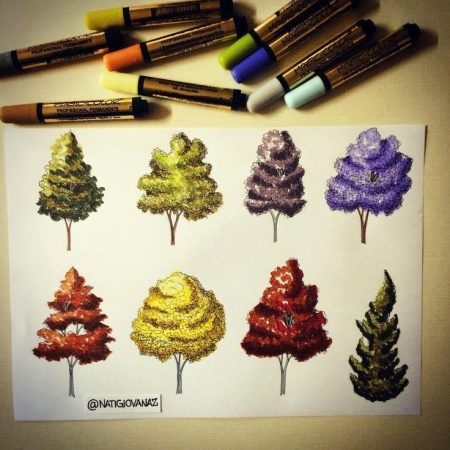
And one more collection, which shows both simple exercises in drawing trees, and the colors of the markers that are used here.
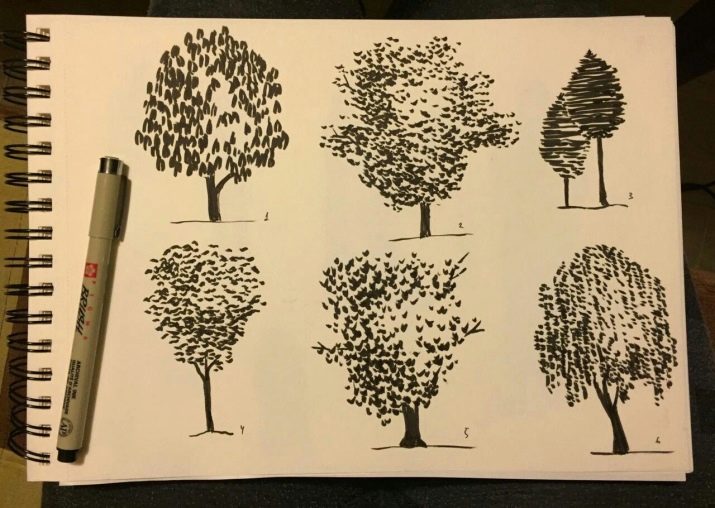
5 exercises in drawing trees with markers for beginners.
- All trees are drawn using the same algorithm, but it is interesting to experiment with color.
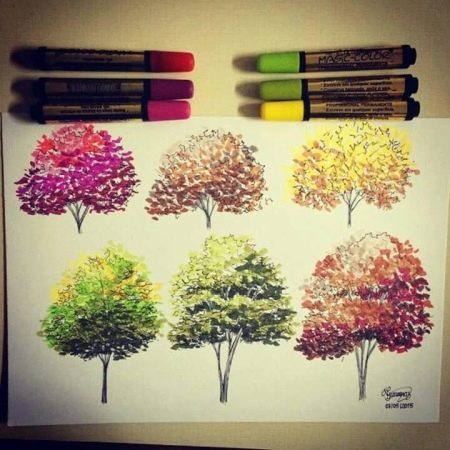
- Simple, but figurative and cute.
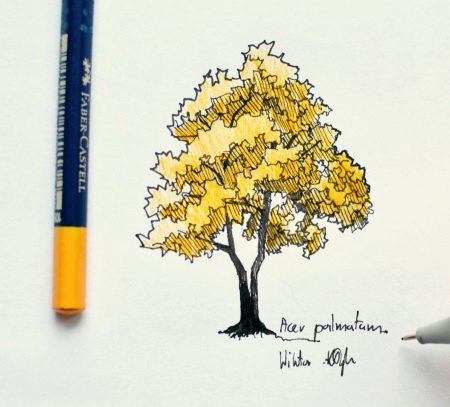
- This is how you can find your own style in sketching.
- Graphics are also interesting for skill development.
- Botanical illustration is fascinating.
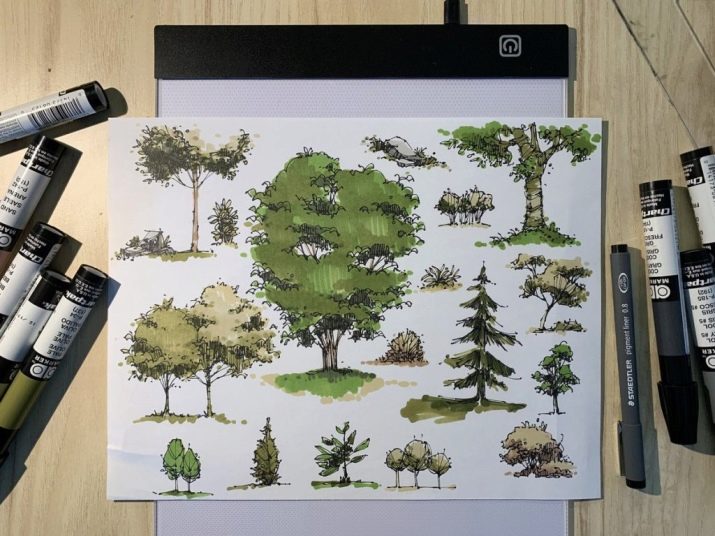
After trying different techniques, you can easily find your favorite.
Animals
The leaders of the very first themes from the animal world for sketching are a unicorn, a fox, an owl, a cat, and even a horse.
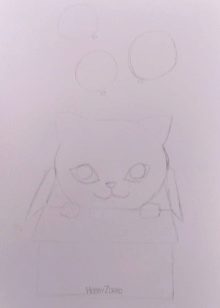
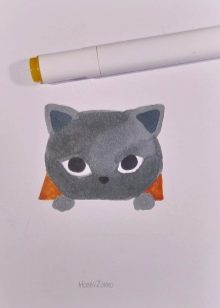
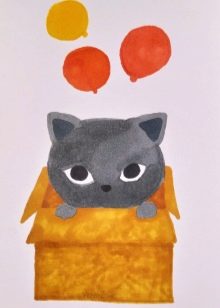
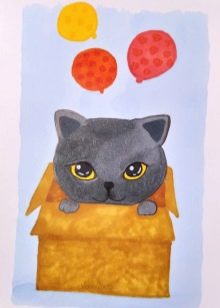
Here's how easy it is to draw a cute kitty with alcohol markers.
- First, a pencil sketch is made.
- Then the cat is immediately filled with gray. Ears - "triangles" are highlighted in dark gray. The eyes are the same color.
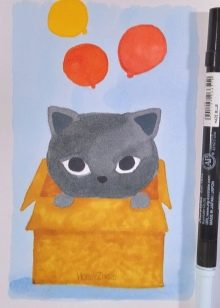
- The box from which the kitty crawls out will be light brown.
- Above there are 3 bright balls.
- It was decided to paint the background with light blue.
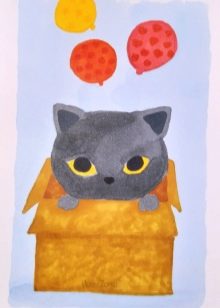
- The eyes of the cat are yellow.
- The nose, the patterns on the balls, the rendering of the box are all last.
- Finish the work by tracing the box and the thread for the balls. Even a child can handle such work.
New Year sketches
Let's say that a beginner sketcher has already learned how to draw, can improvise, and has a good command of colors. But there are almost no ideas, I don't want to repeat myself. Especially if his sketches are released - before the winter holidays, requests for illustration are growing.
What to draw as New Year sketches:
- the old Soviet New Year's interior - with a tube TV, a section, tangerines in crystal and "rain" on the Christmas tree;
- New Year's honey cake - many in the family traditionally bake it on holidays;
- a bullfinch sitting on a fluffy mitten;
- a beautiful Christmas tree that lovers are taking in an elevator;
- a cup of coffee with a herringbone pattern on the foam;
- a "snowflake" dress that hangs on the shoulders and waits in the wings;
- simple sleds, snow from which puddles down to the floor;
- a bear that mom and dad hide under the tree (or other cute gifts for children);
- candles in a vase with cones;
- a broken-down recipe for Olivier salad (or another signature family salad).
You just need to prepare for the holidays in advance - then such sketches as postcards will go like hot cakes.

Mini drawing ideas
If it seems that there is still nothing to draw, and you don’t want hackneyed themes, you can start creating your own universe, and then it will become a series of works. How to create a sketch universe:
- think over what will unite it - a city, space of space, a village, a forest kingdom, etc.;
- decide which colors will dominate to show the unity of the space;
- come up with a hierarchy of relationships in this universe - who inhabits it, who is in charge;
- decide what the landscape (or streets) will be;
- think over the plot, so that you can tell stories from mini-drawings.
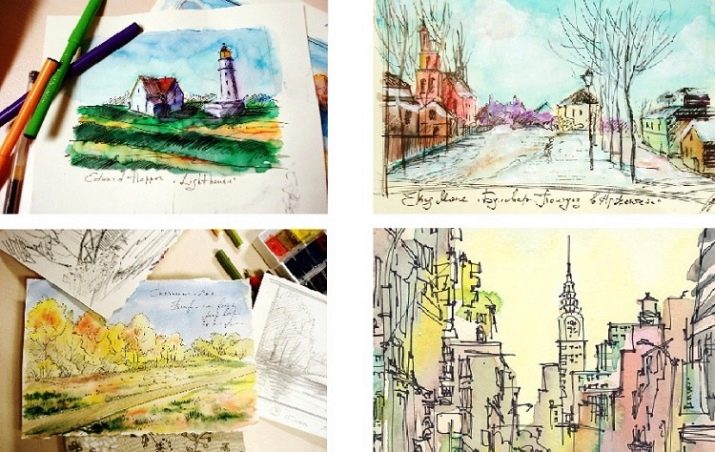
Why is it all a good idea: when there are no topics, then one huge one will always throw up a sea of tasks. Plus, it is not just drawing, but the replenishment of one large resource, in which all the drawings are interconnected with each other.
Who knows, maybe this will become the basis of a book, a blog, or just an author's series of works. This is how style is born. Inspirational sketching!
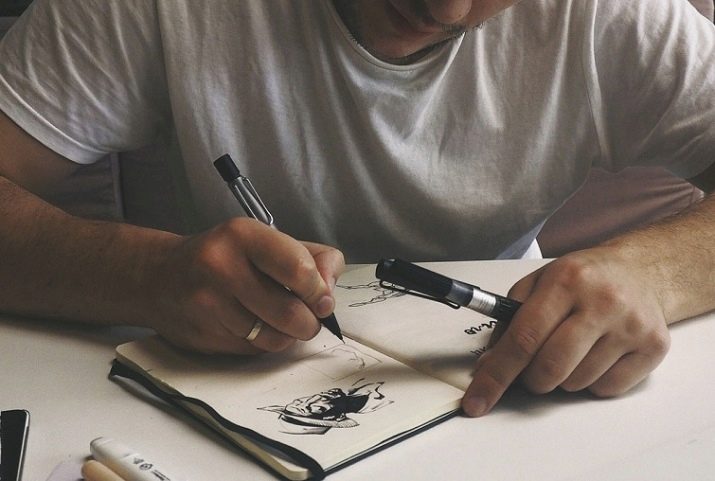
In the next video you will find a lesson in drawing with markers for sketching for beginners.


