Drawing people in sketchbook
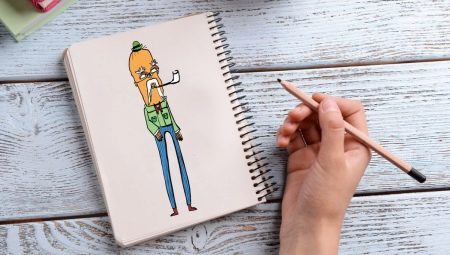
Sketches with people are some of the most interesting sketches to consider, in detail and detail. Newbies in drawing are afraid to try themselves in such works: it seems that it is very difficult to draw a person. But this, whatever one may say, is a matter of technology, it is worth understanding the algorithm - and everything will work out.
Fundamental rules
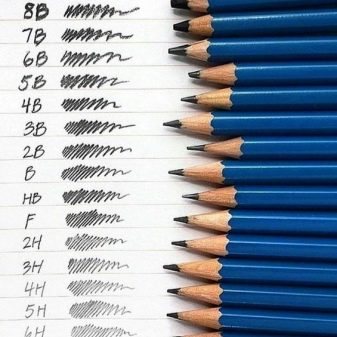
Drawing a person is not so difficult: a sketchbook, a good pencil and sufficient lighting (preferably daylight) are enough... They also draw with charcoal, but it is difficult for them to work out small details. And you need to draw with ink on special paper. Therefore, a pencil is the best option. They are hard (H), soft (M), hard-soft (HM), and medium (F). The letter on the marking is usually preceded by a number that determines the degree of hardness of the pencil. So, a pencil marked 3B will be three times softer than just B. For beginners, the HB pencil is enough for the first drawings.
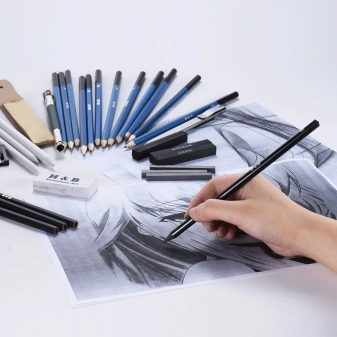
It is worth considering the main points when working on a sketch with people.
- Layout (position on the sheet). This is thought out at the very beginning of the drawing - where the person will be located. Although in a sketch such thinking may seem uncritical, nevertheless it very disciplines and trains vigilance, a sense of composition. All the more so if the project is complex, with many semantic centers and details. The initial markup is done with a simple pencil, thin lines.
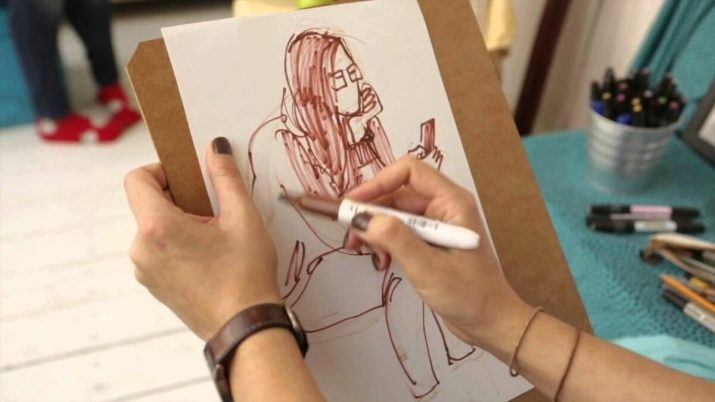
- Drawing a figure. Each artist studies human anatomy: how muscles, bones, proportions are located and built. Few people know how to do this intuitively, basically everyone learns, also with details. And even self-taught people necessarily go through, accelerated or in-depth, anatomy in the drawing. This is especially important if a person is to be drawn in full growth.The main vertical line will help, the artist repels from it.
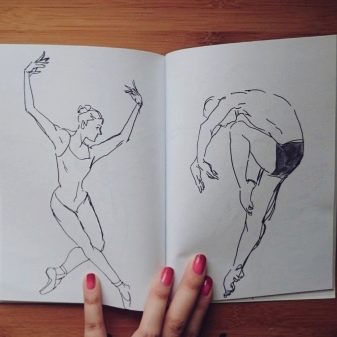
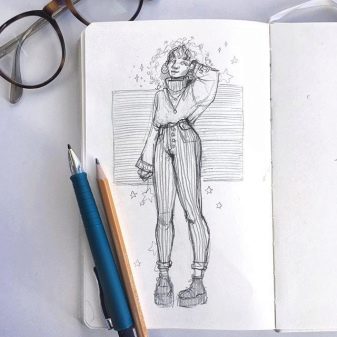
- Detailing... For more realism, you need to draw folds on a person's clothes, make shadows under his eyes, etc.
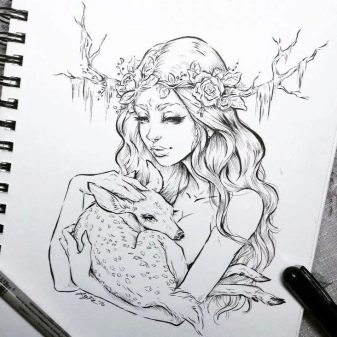
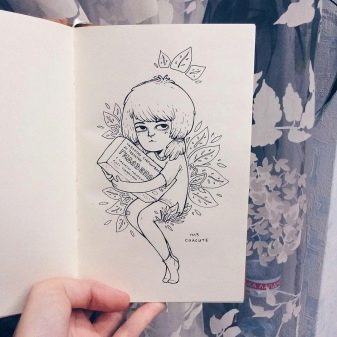
And you need to start with a draft, on which a beginner will learn how to build proportional skeletons... He himself must control the location of a person's hands, legs, facial features, knees and everything else. The resulting skeletons are converted into bodies in a simplified way (to begin with): you don't have to show muscle relief. Further, the artist thinks over the clothes. And only then, when the person is already dressed, you can proceed to drawing the muscles.
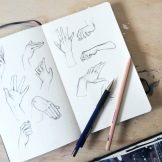
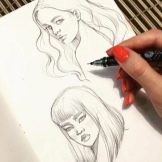
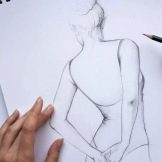
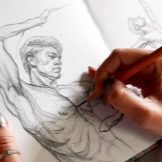
Drawing Styles
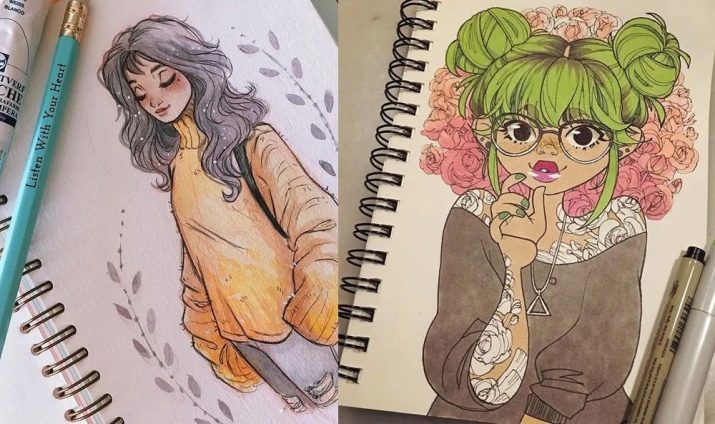
All the most popular styles of drawing people in a sketchbook can be represented by five groups: realism, anime, cartoon style, simplified and authorial.
- Anime... Such arts have a fairly high-quality detailing, even higher quality than the anime itself. And yet the base remains unchanged: big eyes, small noses (sometimes completely invisible), general expressiveness of images.
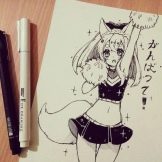
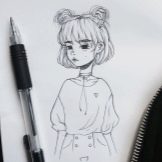
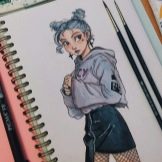
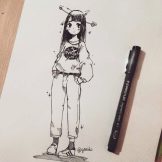
- Realism... Usually those who want to become a real artist start with it. It is based on realistic proportions, color. There is almost no line in this art. By the way, realism is often combined with anime, and they get very cool work.
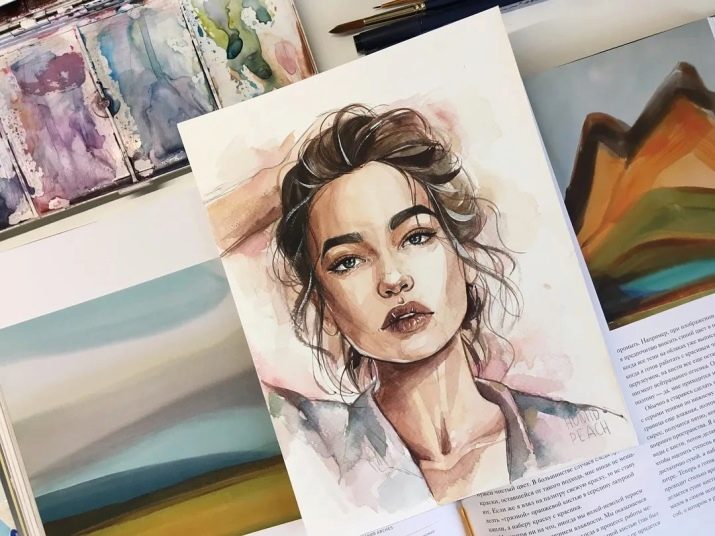
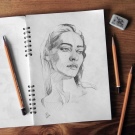
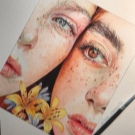
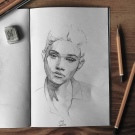
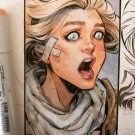
- Cartoon style. It can be presented without a contour or line art, who is closer to what. In contourless, as you might guess, the line is not used. But this is only at first glance easier, beginners should start with confident mastery of line art. In line art, a black (or other color, which is less common) line runs along the contour of the figure. Usually the lines are thin or medium.
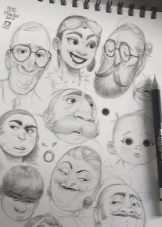
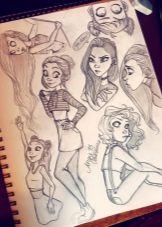
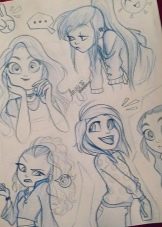
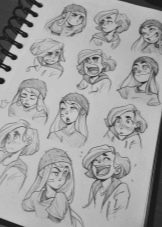
- Simplified... It may also seem simple, but far from it. On the contrary, there are no clear guidelines (knowledge of the anatomical drawing), and the person gets confused.
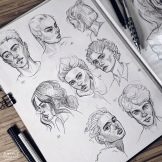
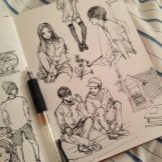
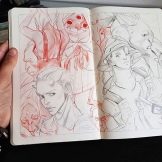
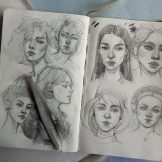
- Author's... More often it is a combination of this and that, the most beloved by the author, corrected by him. There are no rules here, a large field for experiments and bold ideas.
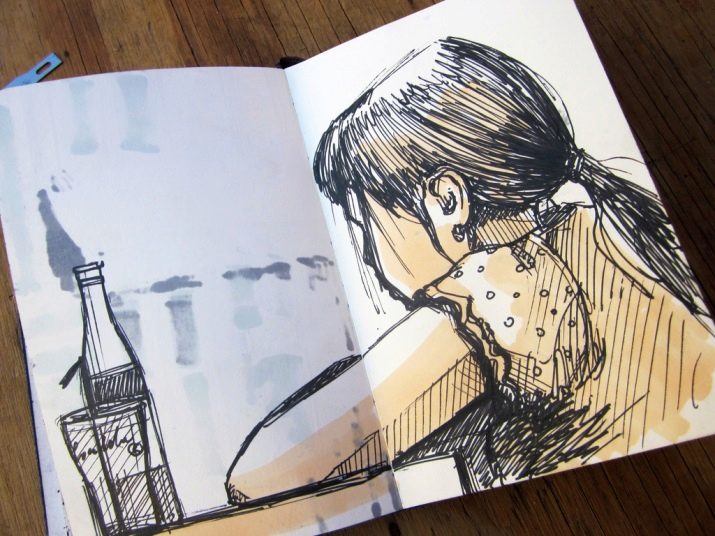
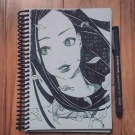
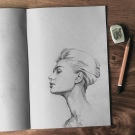
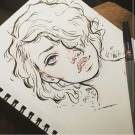
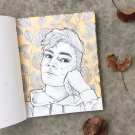
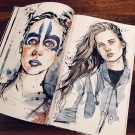
It is logical that a novice artist is often engaged in copying. And he may even be ashamed of this, which is definitely completely unnecessary. Because it is really useful: to follow exactly in the footsteps of professionals, drawing, analyze their work, notice patterns and principles, get your hands on, again. Subsequently, your own style or handwriting will still develop.
Overview of options
These hint rules will help you get in the mood for work. They will turn off all unnecessary throwing and allow you to learn how to draw people faster..
- You need to draw constantly, using any minute. In transport and in cafes, with simple pencils or markers, snatching images of people right from the surrounding picture. Here is a man running after a bus - you should try to depict him at least schematically, without details. Here is a child lying on the bed, snoring peacefully, with outstretched arms and a blanket almost thrown off - a wonderful excuse for a quick sketch. Here's a grandfather sitting on a bench, he took out a newspaper, put aside his cane - you need to try to sketch his posture, and the features of his clothes, and even his mood.
- Drawing body parts is also a great practice. For example, to depict only the face, trying to convey its emotion or some feature. You can try to draw a blogger's head from the splash screen of his channel - just stop the video, give yourself 3 minutes for an easy, sketchy, but informative drawing.
- The same person in different positions. To do this, you can turn on the performance of the gymnast, for example, stop the video at different moments and make quick sketches - here is the figure of the gymnast in a jump, here she is in the twine, here she is catching the hoop, etc.
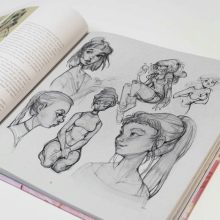
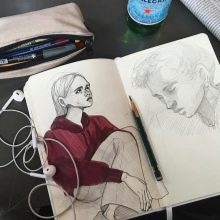
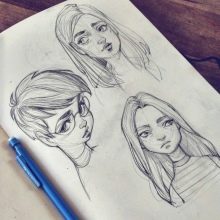
The best way for aspiring artists is to draw from life. Especially if the copying period has been passed in one way or another.
Step-by-step instruction
For the first standard lesson, the following goal is suitable: to learn how to draw a simple human figure, in jeans and a shirt. A person should be drawn in stages in a sketchbook with a pencil, focusing on the following points.
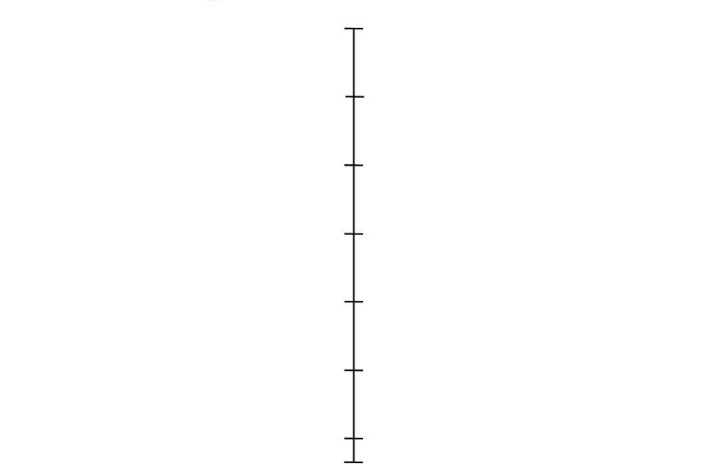
- A vertical line is drawn, it should not touch the top and bottom of the sheet... If you draw a line to the very bottom, your legs will rest on the edge, which is completely ugly. After drawing the line, it will have to be divided into 6 equal, small segments. So the proportion has already been outlined.
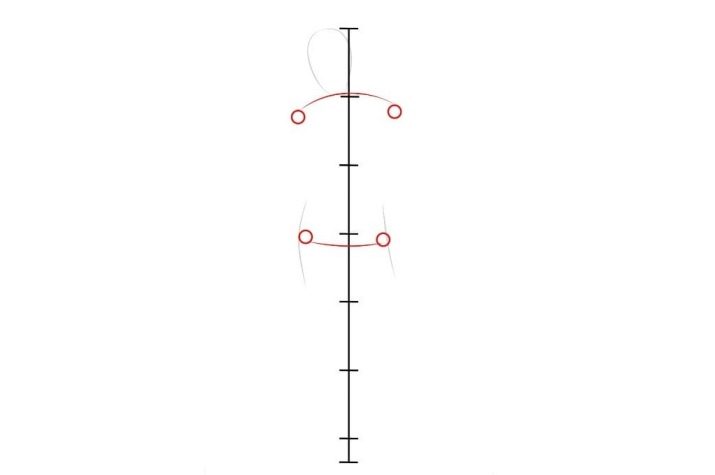
- Now we need to draw a few more lines to mark the location of the shoulder girdle and pelvis.... The shoulder part is located on the right side of the center line - more precisely, in this place it is drawn further than on the left. Because the person in the sketch will be relaxed, he does not stand at attention. It is noticeable that there was no room for the neck, which is also normal - the hero of the picture will be with his head tilted.
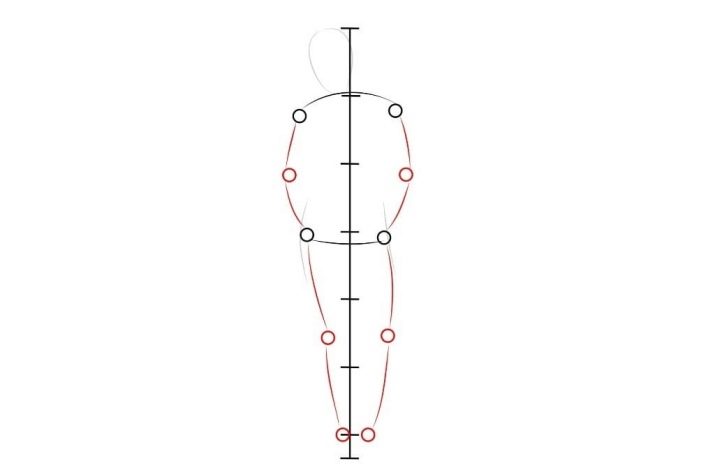
- Next, you need to outline the knees and elbows. The marks are spaced from the large lines. And they, too, should be barely noticeable, because then they must be erased. Circles are drawn in the lower part of the legs, future feet and legs will go from them.
- From the place where the elbows are marked, a line is drawn to the future pelvis... The hero's hands are hidden in his pockets, that is, there will be no drawing of fingers in this work, which is normal for beginners.
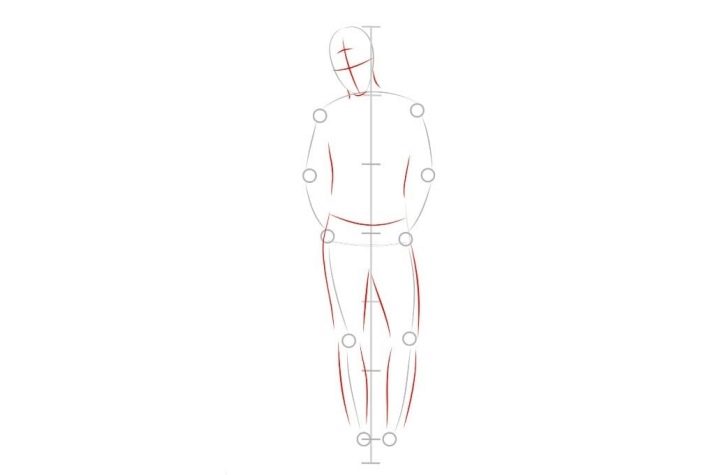
- It's time to erase all the subtle auxiliary sketches. Let them remain a little more noticeable so as not to get lost in further actions.
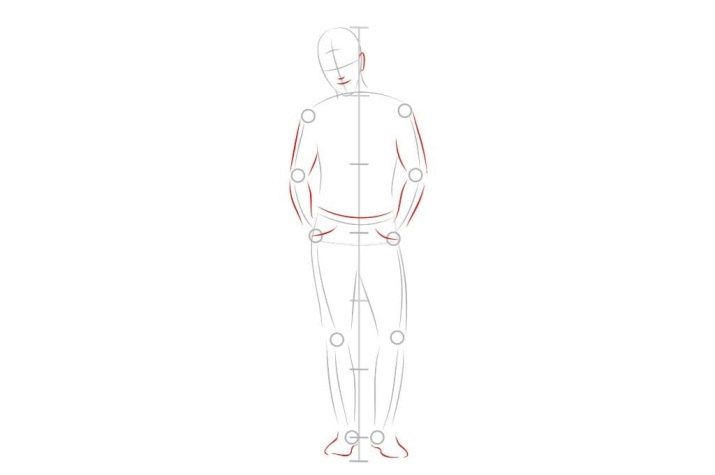
- For those strokes that are barely noticeable, the outline of clothing and body parts is drawn.... The head appears. The desired face elements are also added. The points of the chin and the hairline must be fixed. Next, you can outline the neck. When drawing, you should always focus on the central vertical line.
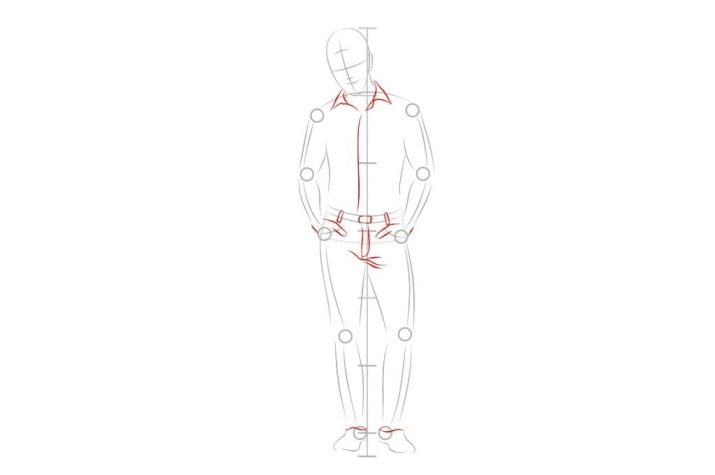
- This figure is joined by the outlines of the upper limbs.... Shoes appear. You can sketch out the nose and mouth. To draw the ear correctly, it is better to rely on this scheme: from the center line of the eyes.
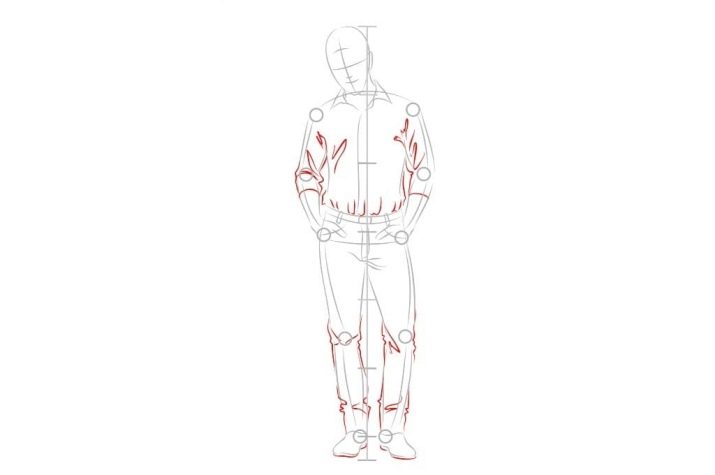
- The folds are drawn on the trousers. A belt appears on them. The shirt has a collar. Hands in pockets, but thumbs may be sticking out. A curved line is drawn where the pants end. Folds appear on the fabric - on the elbows, on the upper chest, near the belt. Auxiliary lines at this stage are removed completely.
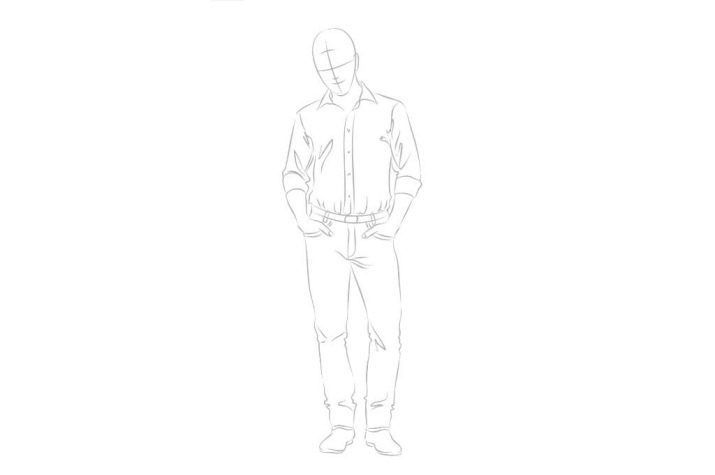
- It remains to detail the costume: features of edging jeans, buttons. You can consider exactly what details are missing for the realistic image.
- The nose and mouth, eyes are already outlined on the face. The lines should run parallel to each other. A smile appears on the lips: just strokes from the tip of the nose to the points of the mouth. In order for the eyes to be alive, it is imperative to make white highlights near the pupils. The face is made more expressive with eyebrows, and curved lines should also be added to the hairstyle.
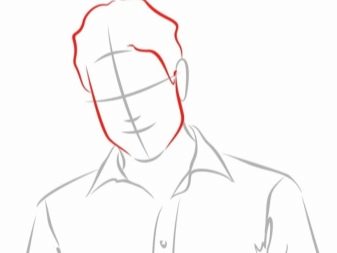
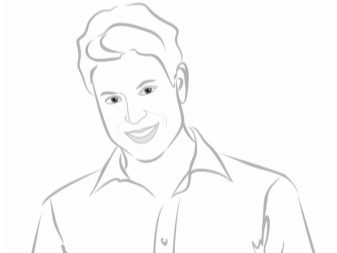
The drawing is ready. And then decide whether it will be in color, or will remain so. In exactly the same order, according to the same scheme, you can try to draw another person: a woman in a dress, for example. Algorithm, experience, numerous trials - that's the main thing in sketching. And we must not forget that your work also needs to be disassembled, therefore, you should not tear out sheets with unsuccessful sketches from a sketchbook.
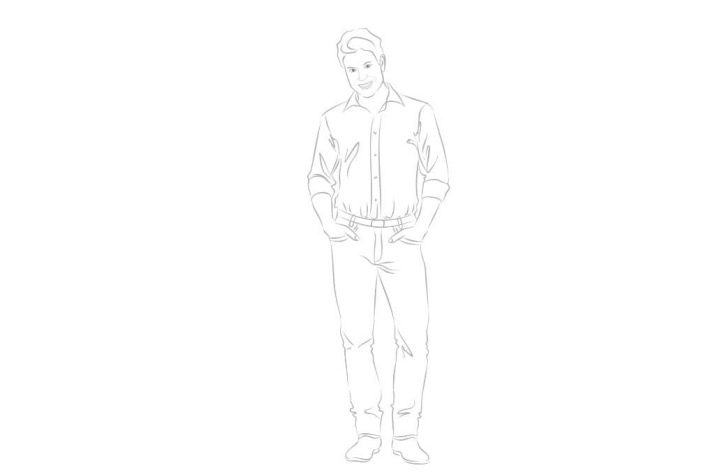
For information on how to draw people in a sketchbook correctly, see the next video.


