How to make a sketchbook with your own hands?
A sketchbook is a fashionable and very convenient thing for those who do not want to limit their creativity to time and place. Of course, there are many beautiful sketchbooks in stores, but sometimes you want to have something exclusive, even better - made with your own hands. Moreover, it is not so difficult.
What is necessary?
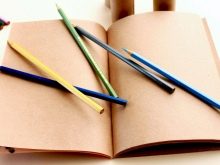
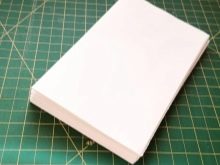
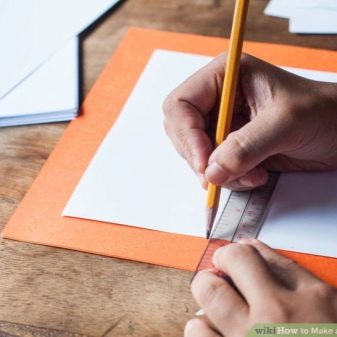
The most basic thing is drawing paper. It should be exactly the one on which you are more accustomed to work.
Usually they take exactly watercolor paper with the desired density index.

Here's what else is required.
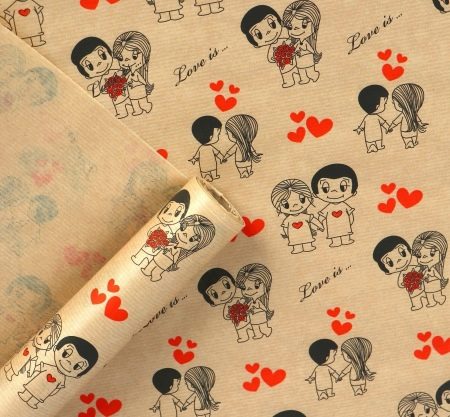
- Printed paper. It will become the cover of the sketchbook, its top part, because the cover still needs to be compacted. Many take wrapping paper for the cover.
- Thick cardboard. It will allow the cover to harden.

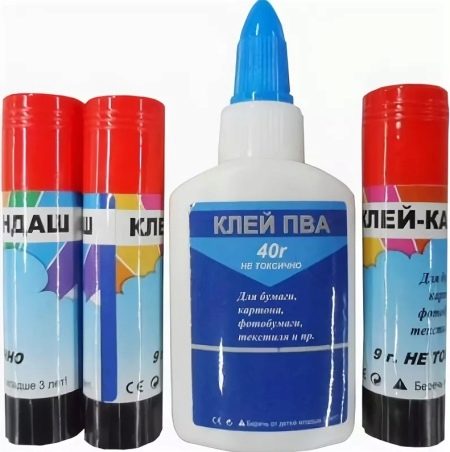
- Glue. Usually, even a simple PVA copes with its functions. Stationery glue (the one that is transparent) also works.
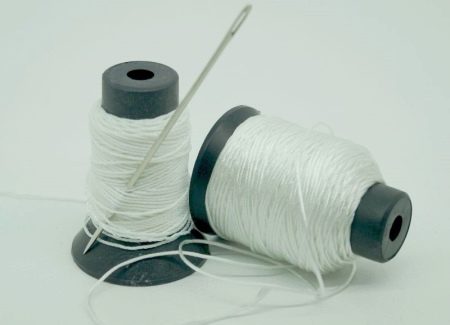
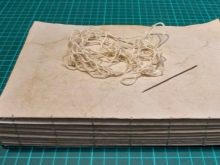
- Needle, nylon thread. Glue alone is not enough for fixing, the sketchbook will be stitched.
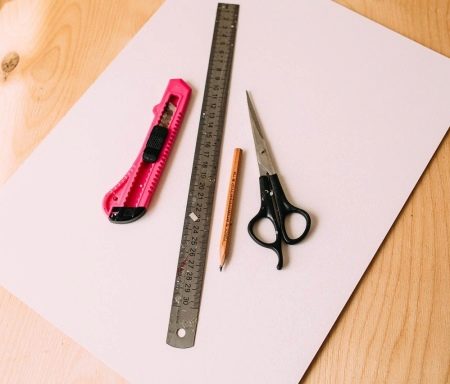
- Awl, scissors, ruler, stationery knife. Perhaps, in addition to these tools, something else will be required, but this will be dictated by the requirements of the author, the degree of his convenience. In principle, the above should be sufficient.
This MK discusses a method for making a simple sketchbook. It can be taken as a basis and supplemented with your own details. You can change the size, play with paper, use colored sheets, and so on. But if you do not impose special requirements on the sketchbook, but make a standard home-made product, almost equivalent to the average store, it is enough to repeat the instructions step by step.
Progress
The process is carried out in stages, and there will be 3 such stages.
Making a paper block
The drawing paper must be taken away: the sheets must be clean, free from defects.They must be folded in half, in blocks of 8 sheets. How many such blocks will be, the author decides individually. If A4 paper is used, three blocks are sufficient. You can do more, but it will be more difficult to glue them together.
The paper blocks must be folded so that the folds are smooth, beautiful, without deformation. Marks are made on the folds with a pencil, and the number of these marks should be even. Then each block must be carefully deployed, so as not to knock off the edges, and pierce holes with an awl in the places of the marks.
Life hack: to make the holes even, you need to put foam under the paper block.
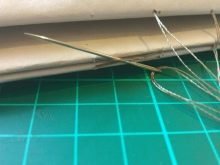
When the holes are ready, you can grasp the needle and thread. Strong nylon thread will do better. It is better if the color matches the paper.
Let's figure out what to do next.
-
The length of the thread should be slightly more than three times the width of our blocks. The thread must be folded as shown in the photo. Cut off.
-
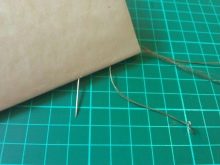
One block is taken, the thread is threaded from the first hole from the outer block side to the inner one. The thread is threaded so that the tail is 10 centimeters from the outside.
-
And again the thread moves in a serpentine manner into the other holes of the first block. In the finishing one of them, the needle goes strictly to the outer block side. It is important!
-
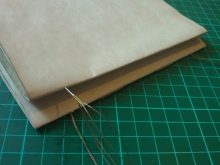
Now the second block is taken, the thread goes into the first hole from the outside, the two blocks are pulled together.
-
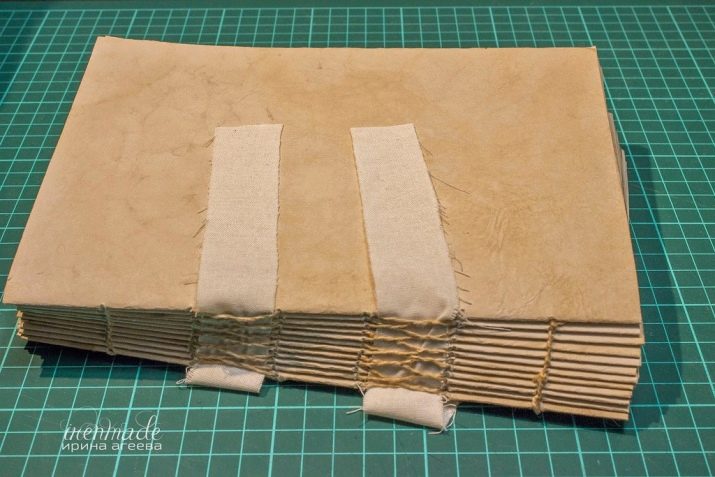
The thread is passed through the second hole of the second block from the inside, and then through the second hole of the first block from the outside. The two blocks are connected in this way. And then you need to continue this way until the needle slips out of the last hole from the outside.
- As a result - 2 stitched blocks with two tails of thread on adjacent holes on the outer block sides. Now you need to tie these tails so that the blocks connect. If there are no more of them, the tails can be trimmed.
It is also necessary to act if a third is added to two parts. The ponytails are trimmed when all blocks are connected.
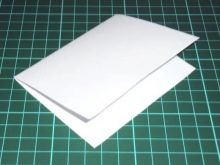
It is logical that the edges after such an articulation of the blocks will not be even, they will break. You will need a metal ruler and a utility knife. The inside of the sketchbook is ready!
Cover
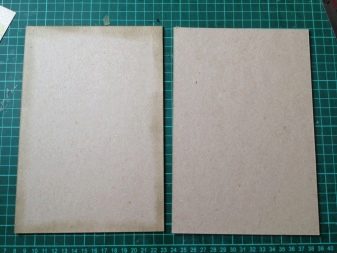
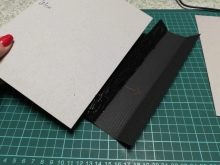
Once everything has leveled off, it's time to find out the exact dimensions of the filling. The size of the cover depends on them. Next, thick cardboard is taken, 2 rectangles are marked. And their width should be equal to the width of the made block, and their height should be 5 mm more than the block height. And you also need to mark out an elongated rectangle: the length is proportional to the length of the cover, the width is the width of the block.
All marked elements are cut with a metal ruler and a clerical knife.
Then you need to take the printed paper (or wrapping paper) and cut out the details in the same way. Two rectangles with a width equal to the width of the cardboard cover and 2 cm longer than the cardboard cover. It must be placed on paper, leave 1 cm at the edges. Circle the cardboard with a pencil on paper. Then draw and cut corners (45 degrees), including the two outer corners. Do not cut exactly at the corner, but leave some space.
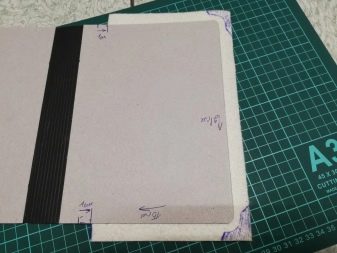
Cardboard substrates are wrapped in paper, all together, with the block, is assembled as a "sandwich". It checks how the assembled version looks like. Next, you need to take a cardboard edge, put this element on thin cardboard and cut it so that on all sides it is 5 cm higher than the edge.
It remains only to make the inner part of the cover: a couple of rectangles are cut out of the gift paper. They should be 1 cm (on each side) less than the entire spread of the cover.
Gluing
Pour glue into the cup. The thick substance can be diluted with water.
The gluing process.
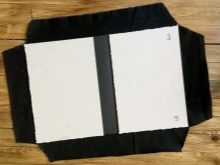
- Glue is applied to the back of the outer cover (made of paper). A sheet of cardboard is applied, the paper is smoothed, there should be no bubbles. Do the same with the second part of the cover.
- Next, the edges of the paper part are impregnated with glue and wrapped inside the cover of the product.And so that it does not curl up, remains flat, the edges are clamped by a stack of books. And so - until the glue dries.
- The spine must be coated with glue, glued to a cardboard edge and again - clamped with books.
- When everything is dry, the free edges of the spine are also coated with glue, all 3 elements are folded together. Leave 2 mm between the rib and the two sides of the cover, otherwise it will not open properly.
- The ends of the spine that remain are folded onto the inside of the cover. You need to wait until the glue dries.
- The inner side of the cover is also coated with glue and fixed on the wrapping paper with the pattern up. And again - smoothing.
- It remains to glue the inside of the rib with glue, 1 cm of the inside of the paper cover (insides). Then, finally, all the pieces are glued together.
The sketchbook must be folded and allowed to dry. The binding is clamped with stationery clamps for a tighter gluing.
Design nuances
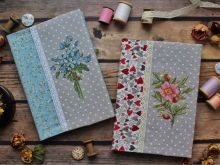
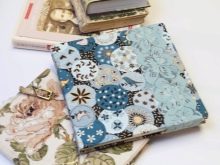
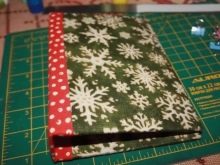
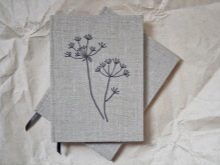
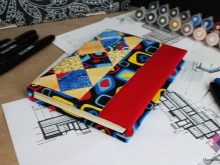
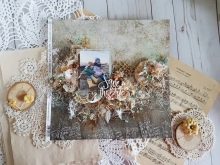
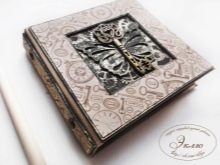
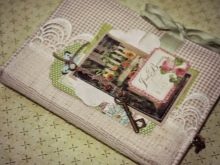
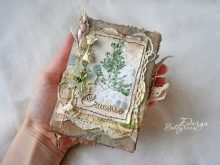
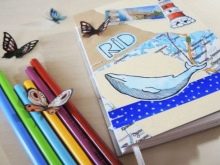
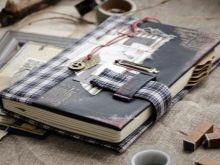
Additionally, replaceable covers can be made for the product. For example, one linen, with a homemade print, which is affixed with stamps. It will be a boho cover (or eco boho). The second cover is made of a different type of fabric, the third is knitted, and another is velvet. And so - as far as imagination is enough. First of all, it is interesting and will allow you to change the "clothes" for the sketchbook along with your mood. In addition, the covers can be used later for new sketchbooks, because they are removable.
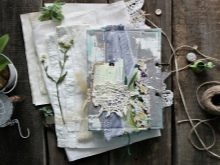
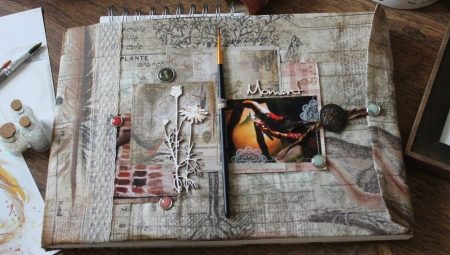
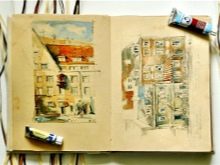
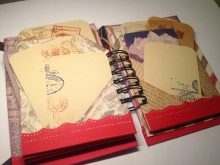
Products with a "window" look just as cool, where, for example, a piece of fabric with hand embroidery is inserted. Or with a mini-painting in watercolor technique, or with beaded mosaics. All this makes the thing even more distinctive and attractive.
Useful Tips
At home, you can make a gorgeous thing, and if you then show it off to like-minded people, you can get an order for manual work. By the way, such exclusive things are expensive, and this is understandable.
What will help you not to fail your first attempt:
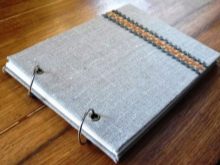
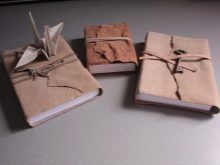
- to make the binding stronger, you can use fabric, and it looks very cool in such products;
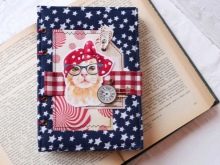
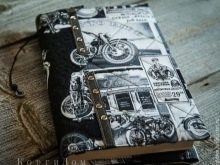
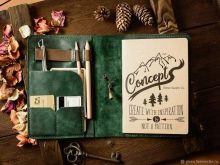
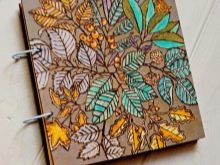
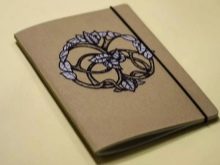
- the cover is the face of the sketchbook, it is thought out carefully, colors, fashionable prints and much more are taken into account;
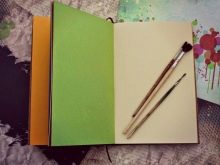
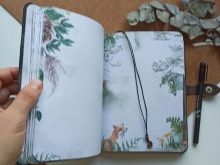
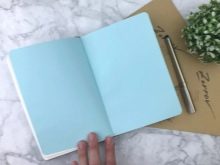
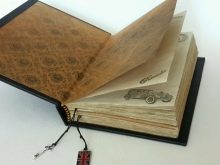
- the paper inside does not have to be white;
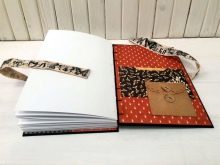
- it is good if a fabric bookmark is provided in the sketchbook;

- another useful detail is an elastic band, it will not allow the product to accidentally open (in a bag, for example) and get dirty;
- inside some pages, you can make pockets - and it looks nice and utilitarian - you can put some wrappers, tickets, stickers that "caught" the eye, and which you don't want to throw away.

In fact, with or without stitching, making a sketchbook is a very risky business. When such beauty emerges from your hands, you want to repeat the experiment. Perhaps it will grow into a hobby or even a profitable business.
Next, watch a master class on making a sketchbook in 10 minutes.


