All about sketching
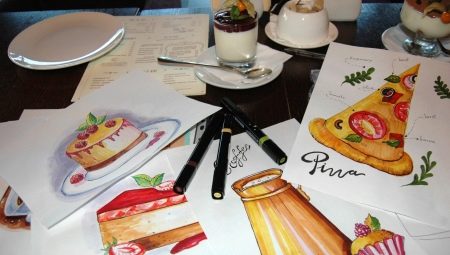
Sketching is a type of drawing that has literally taken over the world in recent years. You can get involved in it without much preparation, financial initial investments are small, and the result is quick and inspires for further study. Well, now for more details.
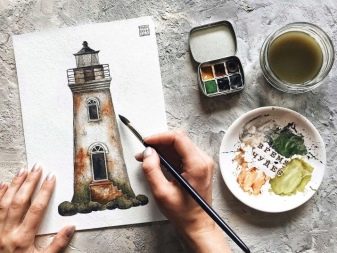
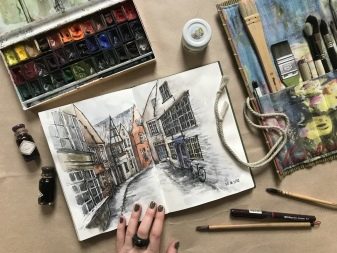
What it is?
Sketching is the technique of fast drawing.... That is, sketches, sometimes sketches, but more often finished works - both in terms of thought and in terms of design. By the way, the English word “sketch” means “sketch”. The drawing is performed not just quickly, but at a fast pace. This is not some kind of novelty that the world has not seen before. It's just that the working tool of designers and artists has simply separated from the "middle service" function and turned into a completely separate area.
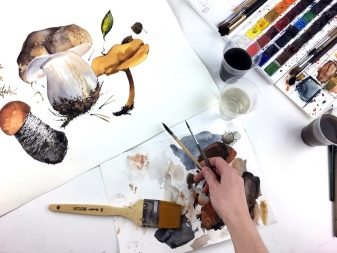
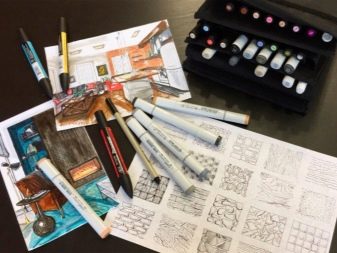
Previously, for example, a designer, in order to make his idea illustrative, quickly sketched a corner in the interior, and this visually clarified the situation for the client. And then these sketches became attractive as separate units. In the same academic drawing, a sketch is used as a sketch for an already full-fledged work, which helps to choose a color scheme, to decide on a composition. But now the sketch was separated from the applied modest goals and came to the fore.
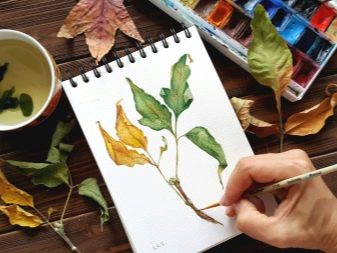
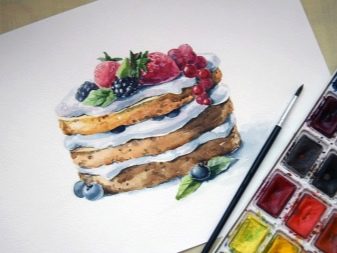
What are the functions of sketching - to leave a quick, instant impression. That is, to capture an emotion, mood, image that is about to change. Hence the speed, which does not look like haste, but looks, on the contrary, like a deliberately chosen tactic. The ability to express thought and emotion through a sketch is quite in the spirit of the times, where everything flows quickly and where everything wants to be unique.
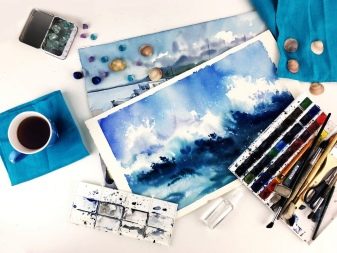
Application
It seems that what they are for has already become clear. Where they can be used later is worth explaining. And not only because everything is now being monetized, but also because the applied nature of the sketch prolongs its life.
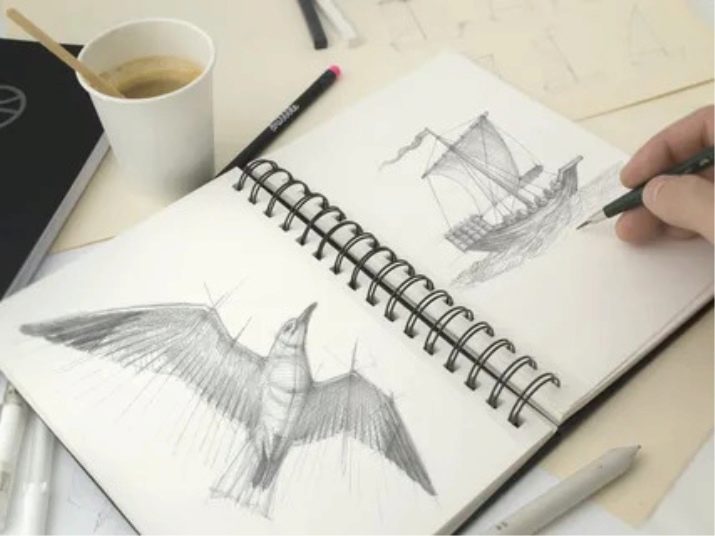
Where sketches can be used:
- to create copyright postcards - fashionable, popular and always in demand;
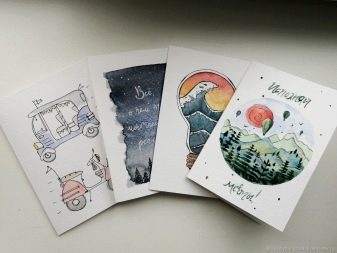
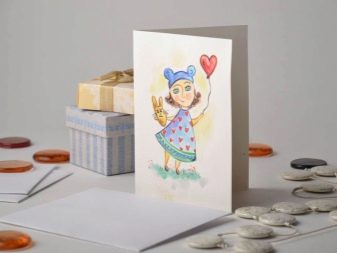
- to design unique posts on social networks - photos from everyone, you can't take someone else's (and you don't want to), but a quick and simple sketch attracts attention, is remembered and enchants;

- for small print - notepads, T-shirts, shoppers can be decorated with author's sketches, especially if it's some kind of cute merch;


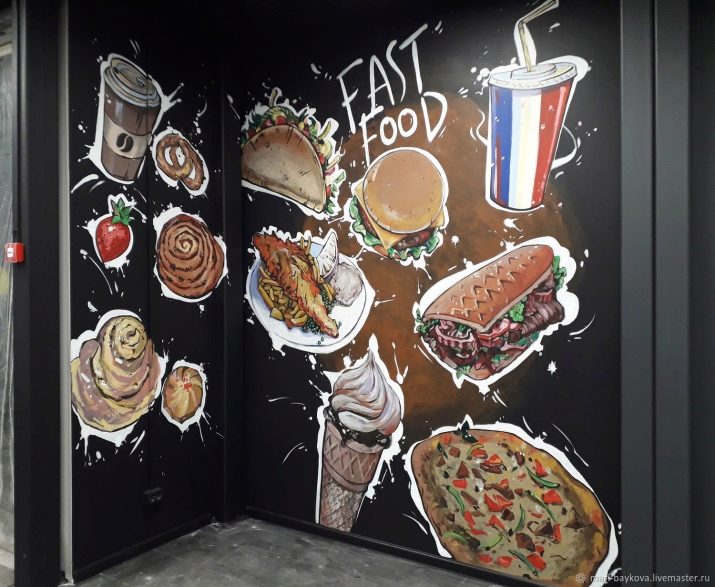
- advertising - a successful sketcher can be ordered to draw the design of tea bags or social advertising, and sometimes paint a graphite wall in a cafe, which is also well paid;
- running your own blog - enhances the impression of the text product, uniqueizes the content;
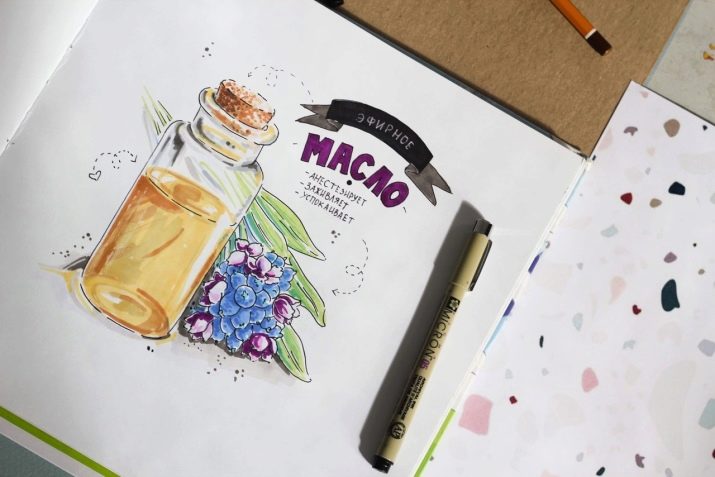
- sale on stocks - sketches are also in demand, because the entire digital world needs a visual accompaniment of texts, products and information content.
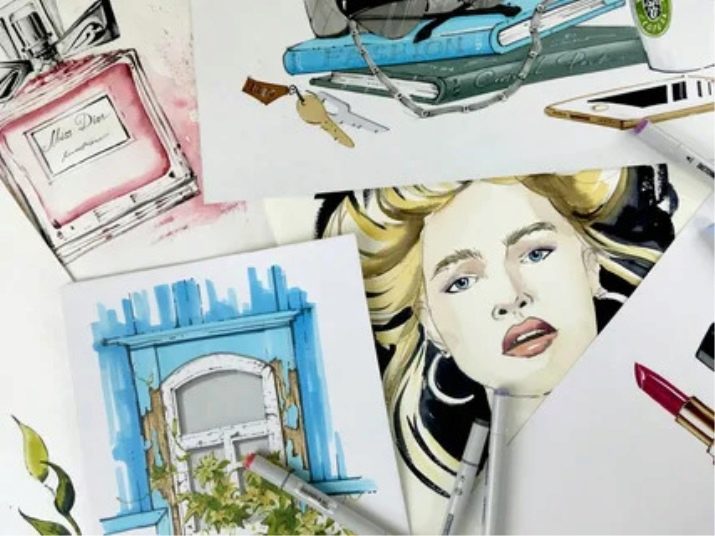
Finally, you can draw for the soul as well. It is a great tool for reflection, relaxation, reboot.
What is necessary?
One has only to enter this river, how to pull a beginner skater out of it becomes unrealistic. Because the infrastructure of the direction itself is, let's say, very nice.
We will find out what to buy.
- Sketchbook... If it is beautiful, pleasant to the eye and to the touch, you will want to look into it more often. This is one of the first and simplest drawing stimulants. It can be pocket, and maybe A4, the sheets in it can be of a variety of colors.
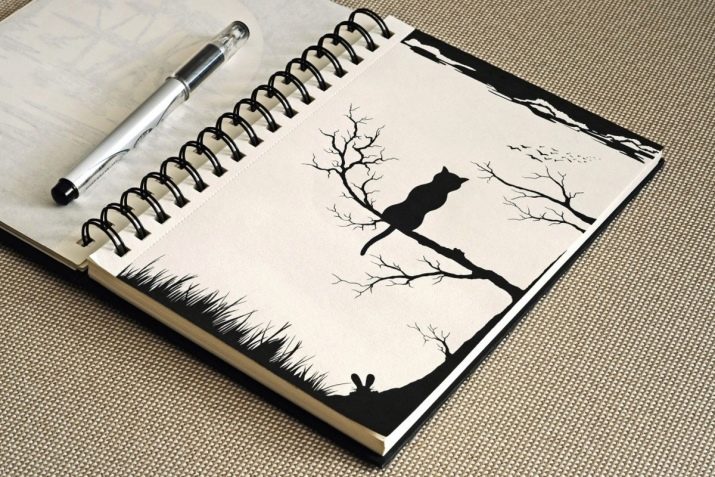
- Simple pencils - soft and hard. Those that fit well in the hand and give out exactly the line that is expected of them.
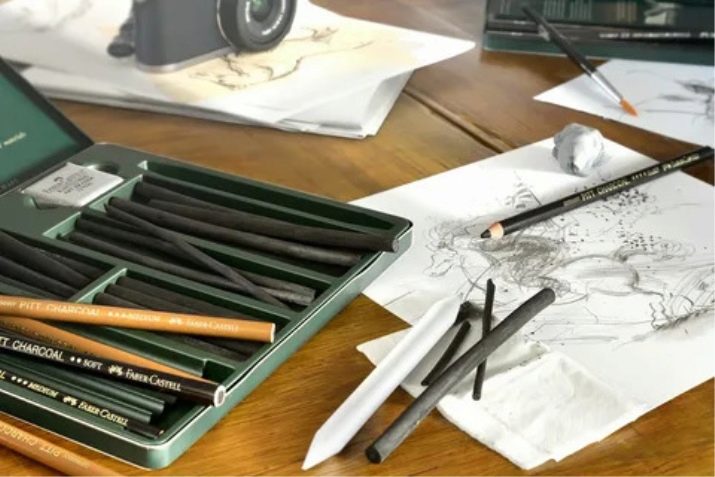
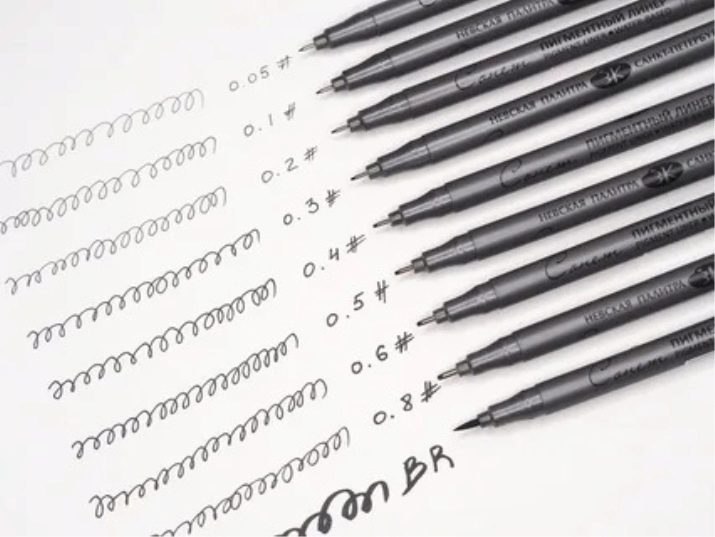
- Black liners of various thicknesses. A black capillary pen is also suitable for a start.
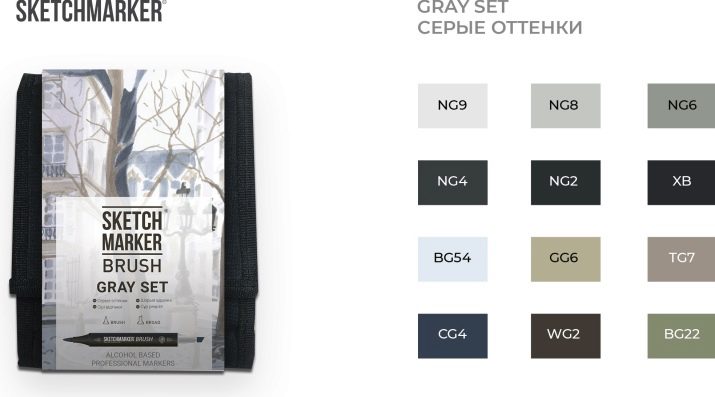
- Gray markers - both light and dark are needed. In sketching, gray will be one of the key colors.
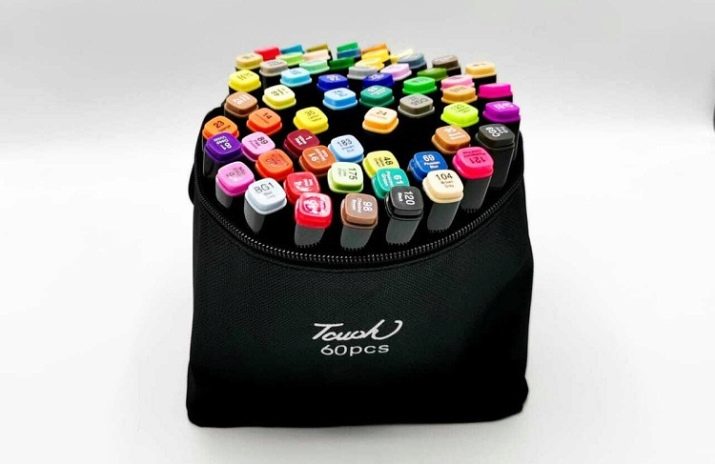
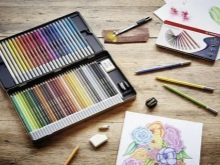
- Set of colored markers... At first, you can buy just a base, 12 markers, for example. Subsequently, colors can be purchased, today paint markers are sold one at a time.
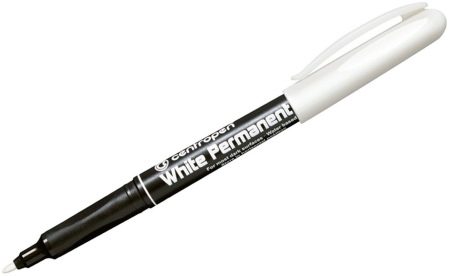
- White marker. Definitely a necessary thing, therefore you should take a good one that does not dry out quickly (accordingly, not a penny).
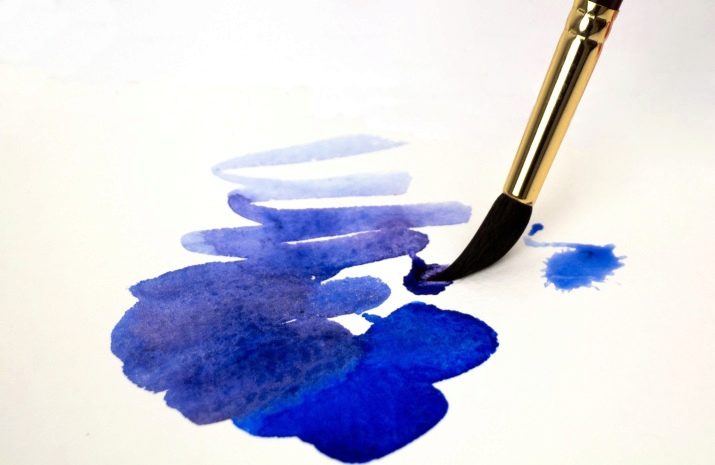
- Brush number 3. Better squirrel, but synthetic is also possible. This is necessary in order to fill the sketch with watercolors - this is often necessary.
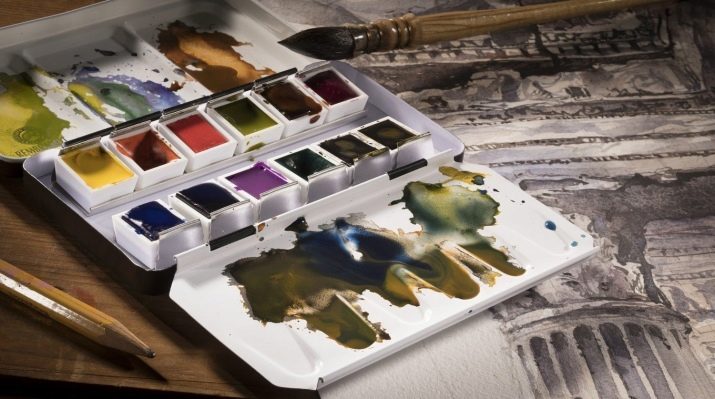
- Watercolor paints... Here you don't have to choose something super professional - classic paints are enough.
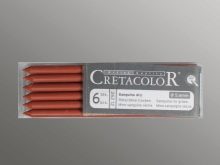
And that's not all - you may need pastels, sanguine, various types of pencils and pens, but this is already in the process of skill progression. Some questions need to be clarified. A gray marker is needed because it is one of the key tools for drawing sketches. It is the different shades of gray that give the picture volume, this is how the realistic shadows are achieved - and it does not matter if it is a color image or black and white.
Views
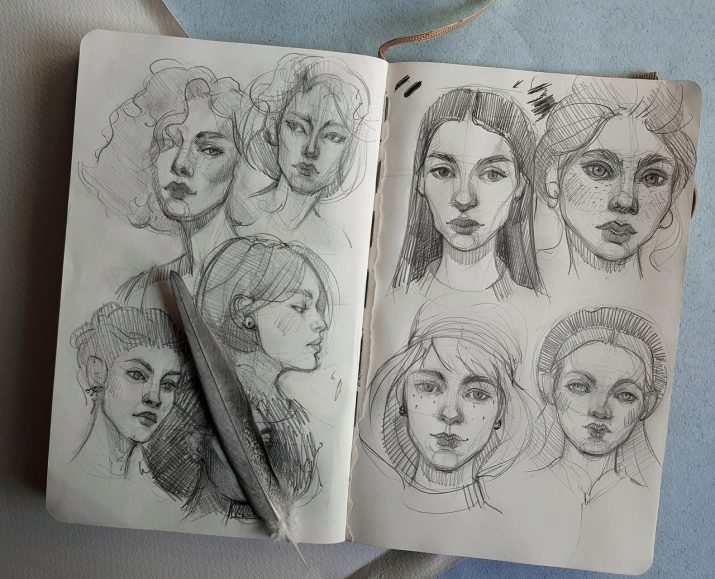
You can bring them down to three basic ones, which are drawn by almost all novice sketchers. Just to try yourself in everything, to find your style and comfortable techniques. The first type is drawing with a pencil... This is the very base of the drawing, at the stage of which the sense of proportion and perspective is being worked out. To create a sketch, there is no better teaching view to be found. No additional materials required. The main thing is to have a place where you can comfortably accommodate.
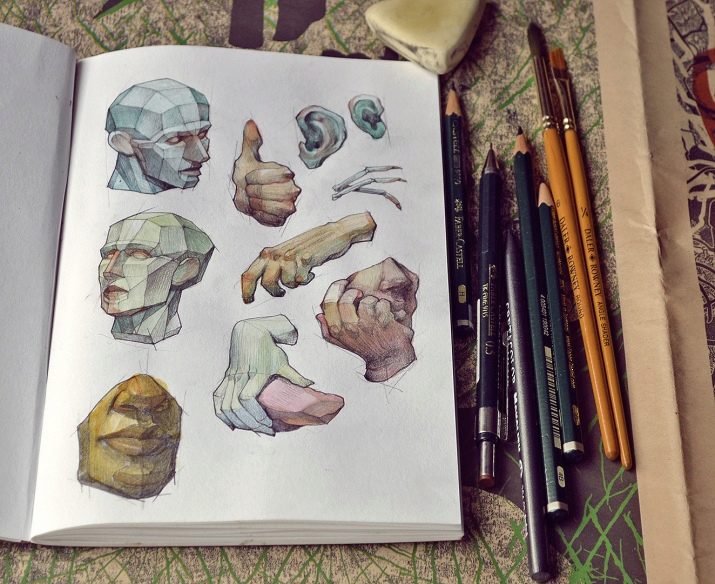
The second type is a pencil, combined with a flood of watercolors and drawing outlines with a liner. This option is more complicated, but it is also suitable for beginners. Even if watercolor seems to be a matter of time and you want to work with markers, then color preparation will definitely not be superfluous. Why are liners needed at this stage: they draw outlines on top of the watercolor. The drawing needs to add life, expression, and therefore, draw all the cracks, texture, detail it.This is the only way to achieve both the completeness of the drawing and its individuality.
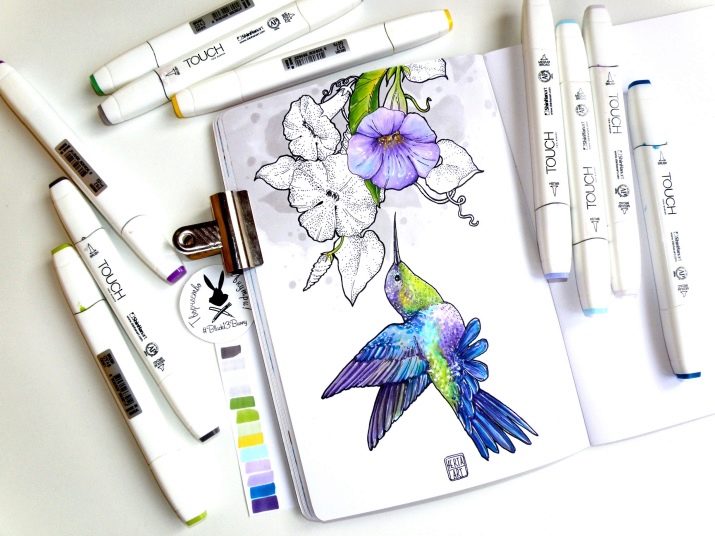
The third type is drawing with markers. They, unlike watercolors, do not mix, do not form such subtle transitions. But this does not mean that they are expressionless. Therein lies the difficulty - to learn how to wield markers so that it is technical, expressive, difficult and realistic in terms of image transfer.
Genres
There is a sketch, an express sketch, and there is a sketch illustration. This is a little different, and newbie sketchers tend to get it up. Sketching an illustration - which is predictable - will take longer. You need to find information, think over the composition, where it is more thorough to choose materials. And the work on the details will be more meticulous. But such works are easier to sell and find a use for them, especially if a genre is selected in which the sketcher is improving.

Let's find out what genres they can be.
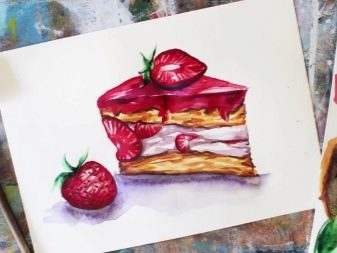
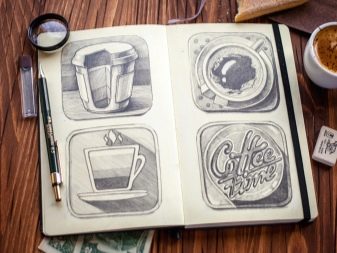
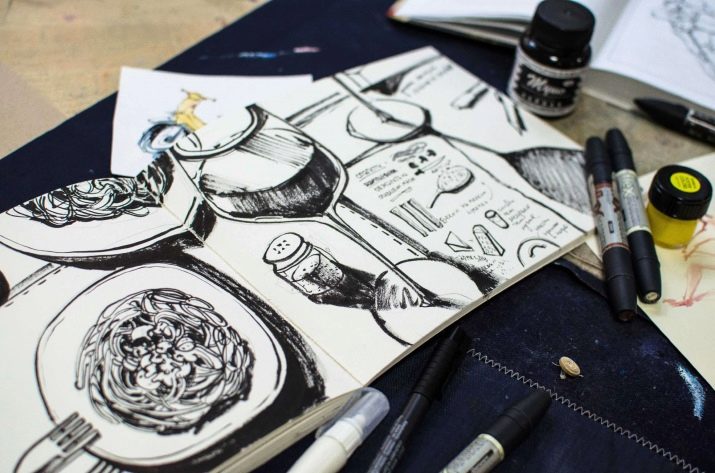
- Food illustration... Simply put, they draw food there. This is the most popular type of sketch, in demand and well-developed. It is suitable for visualizing culinary recipes, advertising food products, and decorating the interior of a cafe, for example.

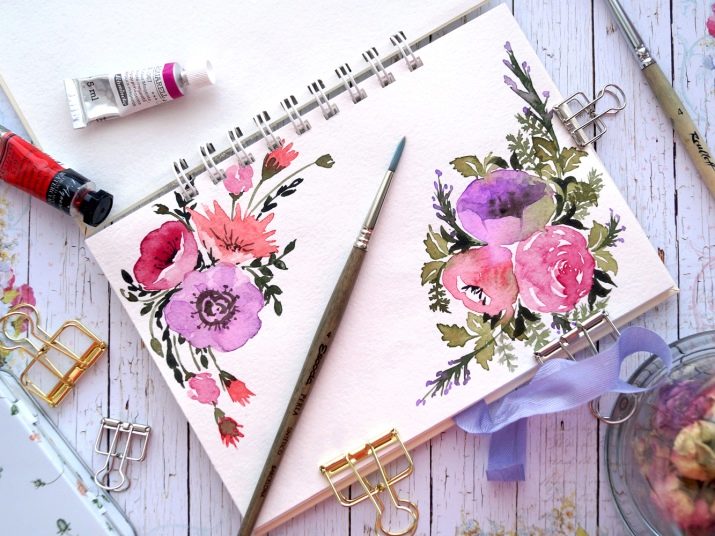
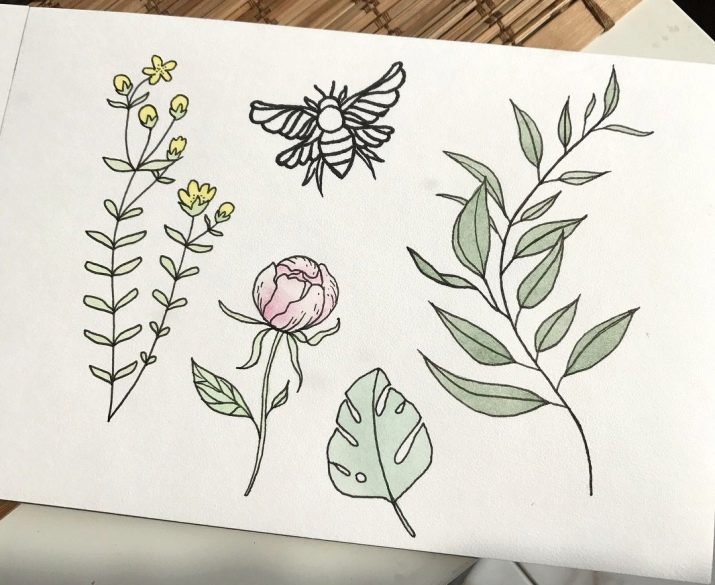
- Botanical or floristic... Floral arrangements are also in high demand: from postcard design to decorating a wide variety of thematic spaces. Decorators and florists are actively using this trend. You can excel at advertising. This is one of the most developed genres, requiring maximum immersion in the topic.
- Interior... Interior design, space decor - that's what this genre is all about. Designers are often enrolled in interior sketching courses because this gives them another powerful working tool. This means they are becoming more competitive.

- Landscape... It is also necessary mainly for designers - only those who draw landscape compositions. Both for narrow orders and for the design of thematic magazines, portals, etc.

- Architectural or urban... At the center of attention are houses, cities, streets, beloved by many urban studies. The genre is developing very actively.

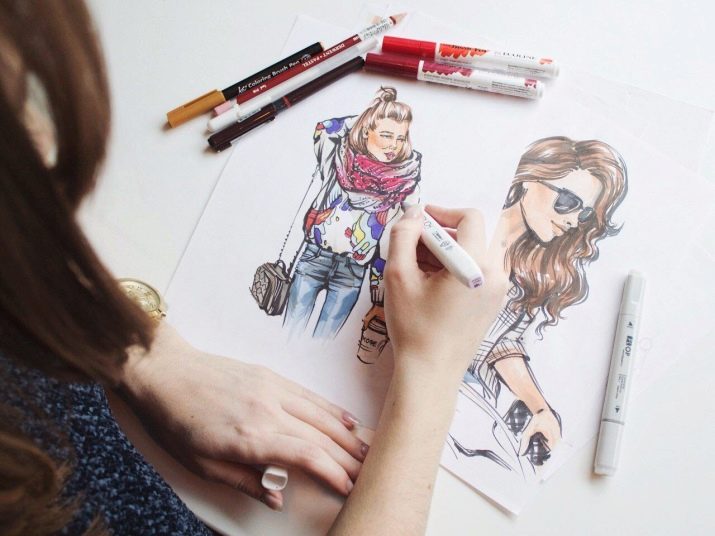
- Fashion... The very graceful models in outfits, who so wanted to learn how to draw in childhood, can be mastered by sketchers. And often from scratch. For blogs on style and taste development, fashion coverage, this is a useful topic.
- New Year... Only on seasonal orders in this area can you earn several months in advance. Because the New Year holidays are a whole industry that also requires visual design with sketches of varying complexity.
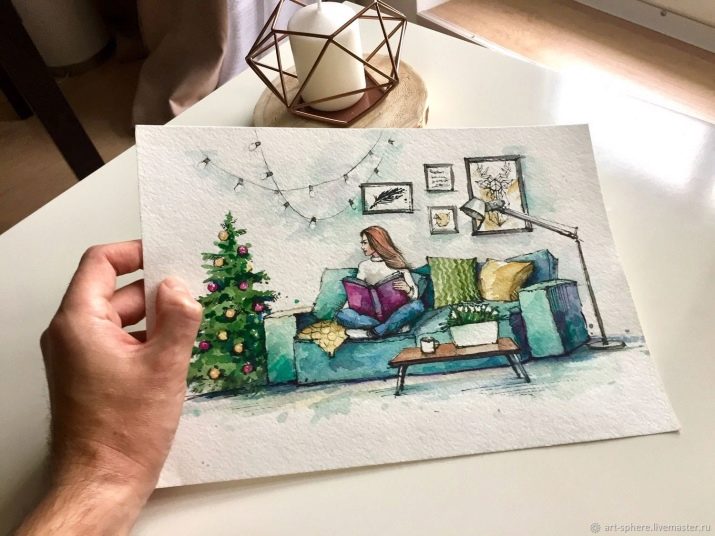
Sketching is now considered a very relevant and progressive direction, therefore new genres can appear constantly.
How to operate a pencil?
They usually start with a sketchbook (or a pad of watercolor paper) and a good graphite pencil. They build a drawing almost always from free lines, while pressing on the pencil is at a minimum and it should also be positioned relative to the paper at a slight angle. By the way, the same applies to the toning of the picture. It's so easy, quickly outlined figures. And to mark the contour lines, you need to hold the pencil straight, as when writing - the angle to the paper will already be large. Such lines must be well controlled.
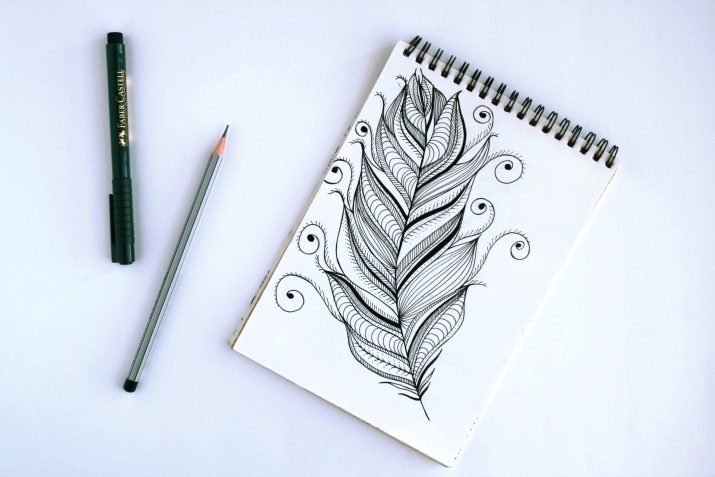
But in principle, a universal drawing is created like this:
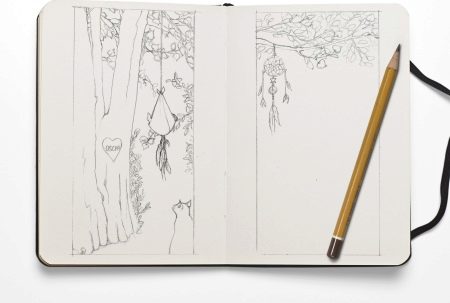
- first sketch with a pencil - outlines and main elements, key points of the image are indicated;
- the color is poured - the main color spots appear, this is done either with watercolors or with markers;
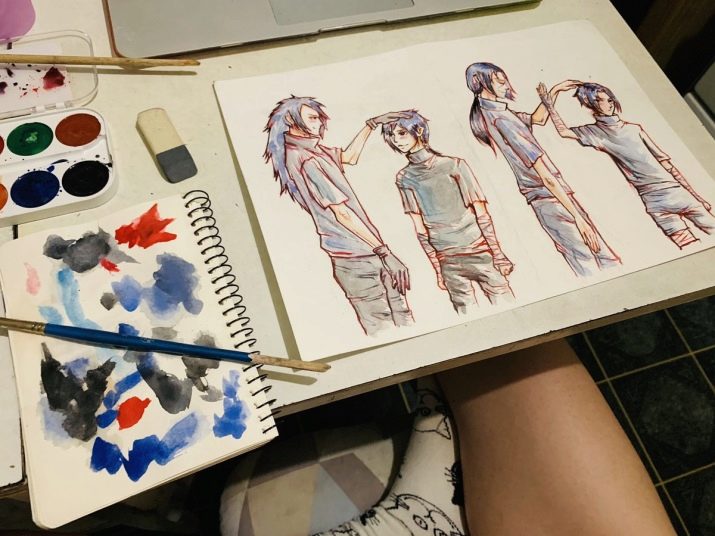
- processed by markers - they need to work out the contours of the image, details that will make the work complete.
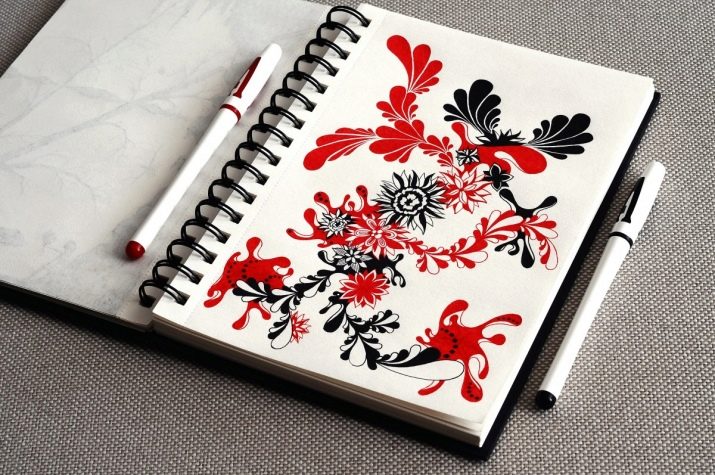
Sometimes it's the other way around: sketch, then markers, then fill with color. There is no concept of "better or worse" - to whom it is convenient.
Painting technique for beginners
You can find out exactly how to draw with elementary examples.
Human
First you need to figure out the proportions - draw a line on the sheet, divide it into equal parts (7-8), if standing, and 5-6, if the person is sitting.
- Fill the drawn scale from top to bottom: first the head, then - the chest, pelvis, knees and feet - all, respectively, divisions. It is necessary to provide transitional places where one nodal point ascends to another. The base is ready and the scale with numbers is erased.
- Muscle to begin with, they are made out in ovals, the joints are highlighted.
- Now you can draw figure, connect all its parts with a smooth line, add clothes, hairstyle, detail the work.
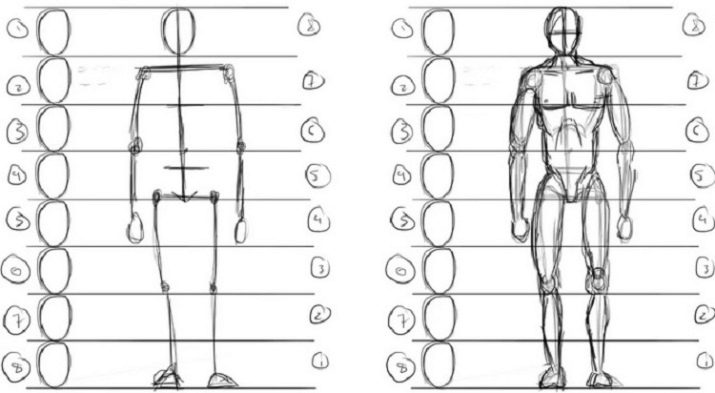
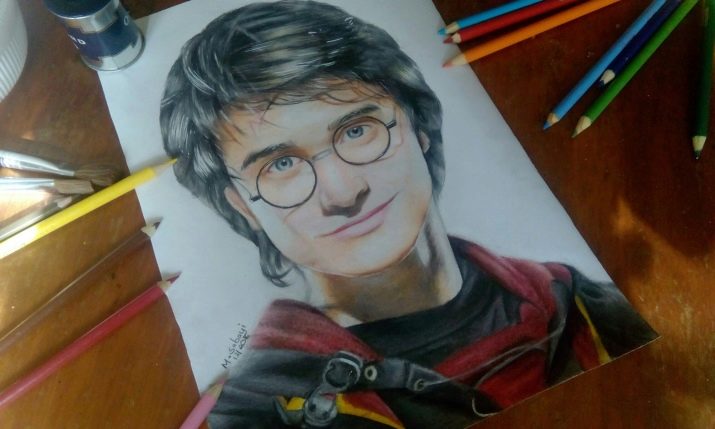
That is, both the princess and Harry Potter, anyone, any character, begin to draw from the scale, and only then clothes, objects in hands appear, etc. The drawing of hands, feet, eyes, face, poses appears later. First, you need to draw the body as a whole.
Animals
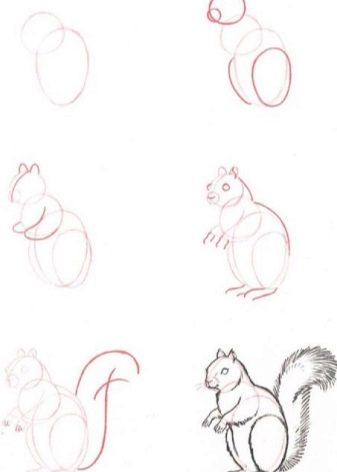
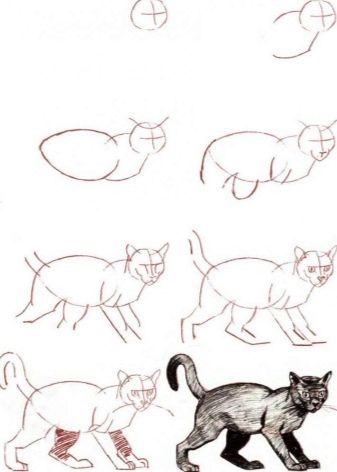
To learn how to draw any animal (from a wolf and a dog to a fox and a porcupine), you need to imagine it simplified. Better to focus on geometric shapes. They are the basis of the drawing: an oval - a body, a circle - a head, etc. Then the outline and silhouette of the animal, parts of the body are drawn. At first, step-by-step algorithms are very helpful.
Food
The most popular topics are cakes, candies (sweets) and vegetables, fruits (healthy foods). In trend and everyone's favorite avocado.
A step-by-step and easy sketch using the example of a radish:
- a small circle is drawn at the bottom of the sheet, to which a couple of vertical lines are added;
- a tail is created from the bottom line, from the top - the base of the leaves;
- lines indicate future leaves at the top of the sheet;
- the contour must be carefully drawn, veins are added;
- the finished sketch is outlined in black marker;
- leaves are painted over green;
- the fruit is sketched with a red pencil, the tail remains white;
- the drawing lacks white highlights, which is why you need a white marker or liner.
Other food sketches are created according to this principle.

Plants
Beginner sketches are not difficult, otherwise they will not be the quickest sketches. Copying helps a lot in the beginning. The first lessons can be analogs of the presented works - they are simple, expressive and understandable.
Other
You can choose your specialization, for example: sketches of landscapes or cartoon illustrations. Or maybe it will be transport (train, plane, bike, electric scooter). The heart of any work is the message that the artist gives it. It is expressed by mood, colors, details.
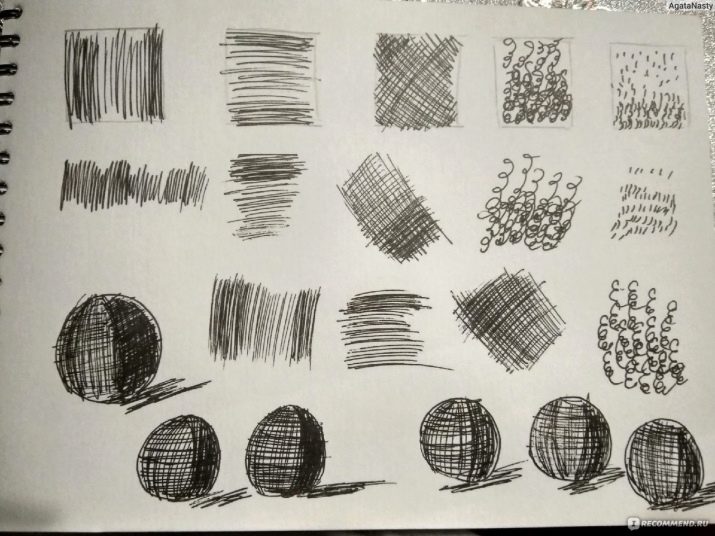
And the best start for beginners will be exercises for training the hand: shading, drawing lines in different directions, rounding lines, drawing circles and ovals, moving to shapes and figures, drawing colors and shadows. A confident hand will more easily pick up plot illustrations.
Useful Tips
There are a lot of them, because the very sphere of sketching is great. But here are 12 universal tips to help you get going.
Here are 12 recommendations for beginners.
- You need to put a sheet of paper under your arm, because from the palm lying in the figure, the already painted area can be smeared... If the work is big, you can't get off with a sheet - you will have to use a bridge or a drill.
- If there are crumbs on the drawing, do not brush them with your palm, fingers - sketchers have a brush for these purposes, it must always be kept clean.
- Two basic sketching techniques: hatching and feathering. The latter is used if it is supposed to work with soft materials (coal, sanguine). Hatching shows the direction of light and shade, the ratio of tones, texture.
- Zigzags and commas cannot be used in hatching... The movement always goes from dark to light. The hatching follows the shape of the figure. The strokes are always superimposed separately, next to each other, after drawing each, the pencil comes off the paper.
- To make long strokes, hold the pencil in the middle.: it is clamped by outstretched fingers, located almost parallel to the sheet. The hand is working and the hand is relaxed.
- To work out small details, hold the pencil with a "pinch" - only fingers will work.
- To draw long lines, the pencil is clamped inside the palm with the thumb. - the hand is relaxed.
- Lines in sketching are always live, which means they are drawn sharply and quickly, without stroking over and over again.
- If you want to accentuate any of the objects, drawing with wide lines will be required.
- Item pictured farther away will be drawn in thin lines, and the one that is closer - in bold.
- Thick lines represent more heavy object accordingly, thin - light.
- Symmetry is important in drawing, and in order to draw an object symmetrical, you need to show the central axis - it's just easy to outline a half of the object, and then copy it around the axis.
For the rest, you need to practice, develop observation, try different techniques and materials.


